How To Create A Lovely Spring Mantel In 10 Minutes
As an Amazon Associate, I earn from qualifying purchases. This post contains other affiliate links too. If you click on these links and buy something, I make a commission at no cost to you.
I had the best time designing my mantel for spring with my no-fail formula to approach mantel decor! Follow these steps, and you can learn how to create a LOVELY spring mantel in 10 minutes.
Mantels can feel daunting to decorate, but after you read these three steps, you will feel empowered to give your mantel a fresh makeover too. Are you ready to get started?
Want to check out some of my 2023 Amazon spring trending favorites? Go here, where I am chatting with you face-to-face about these unique spring home finds.
Be sure to follow along with me on Amazon Livestream!
Identify Your Mantel Inspiration Piece
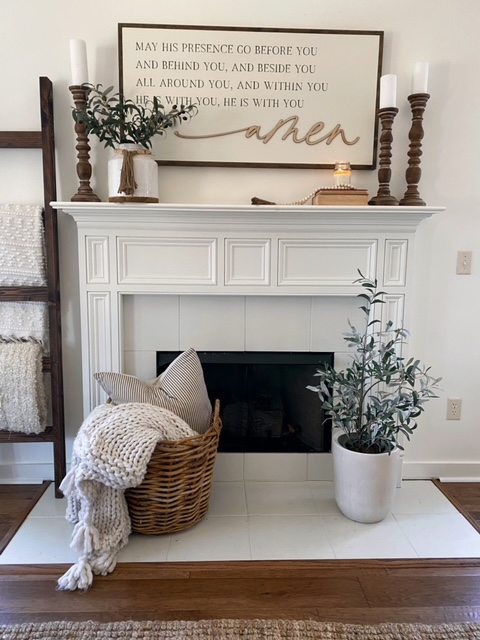
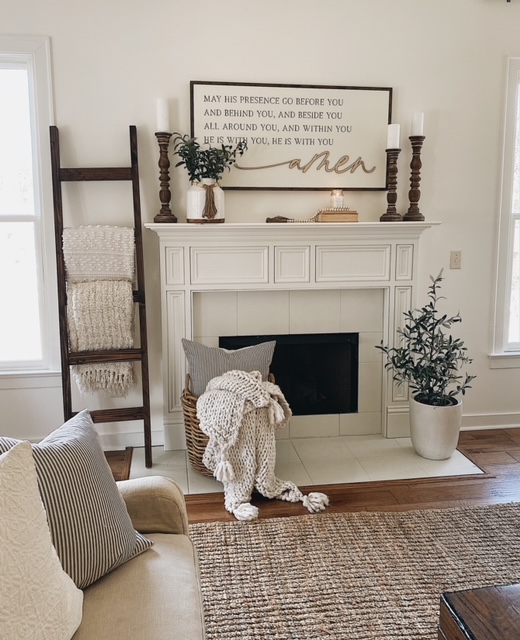
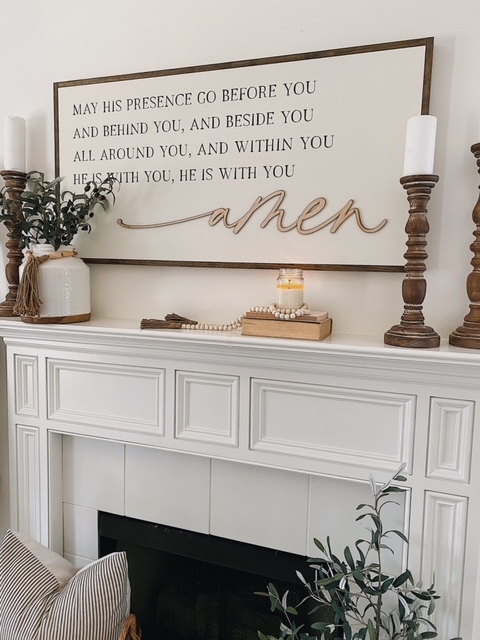
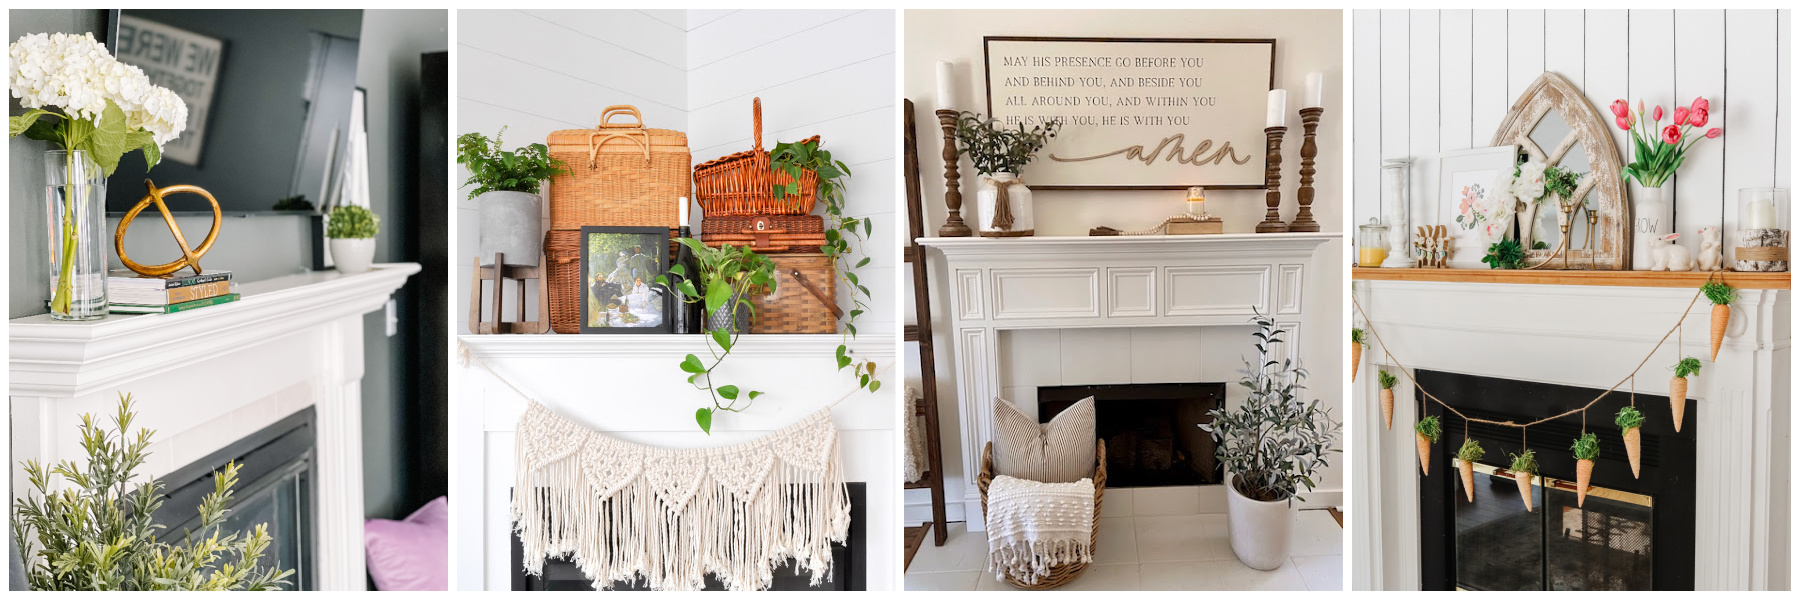
The inspiration piece is the piece that helps drive the rest of your mantel or whatever space you are decorating. Make sure you love it and want to look at it every day (haha). I love wooden signs, and this “May His Presence” sign from Joyfully Said is so perfect for our living room, greeting people and sending people off as we are coming and going (use code SHEGAVEITAGO20 for 20% off any of their amazing wood signs). Plus, it helped me decide that I wanted to go for a more neutral spring look for my mantel.
Choose A Set Of Three Decor Items For Your Mantel
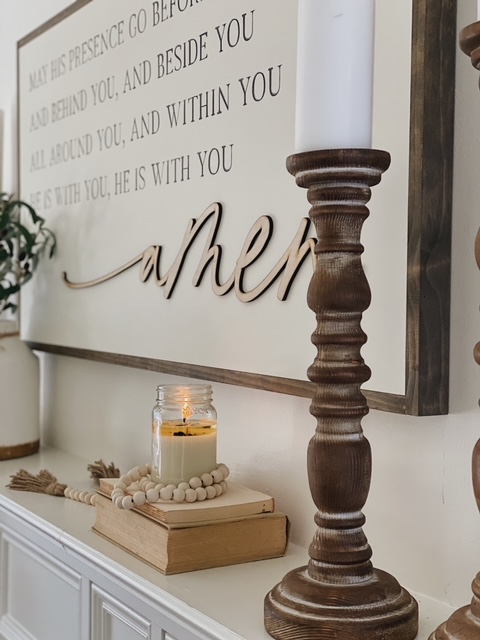
I know this is very specific (and I’ve written other articles HERE and HERE that don’t use a set of three necessarily), but this is how to decorate your mantel in 10 minutes! So you want to grab like item pieces with varying heights like I did with these candlesticks (similar ones HERE). Not only did they have different heights, but they were in line with my neutral color palette. I placed two on one side and one on the other and topped them off with candles.
Grab A Few Old Books, Candles, And Vessel To Hold Stems/Florals For Your Mantel
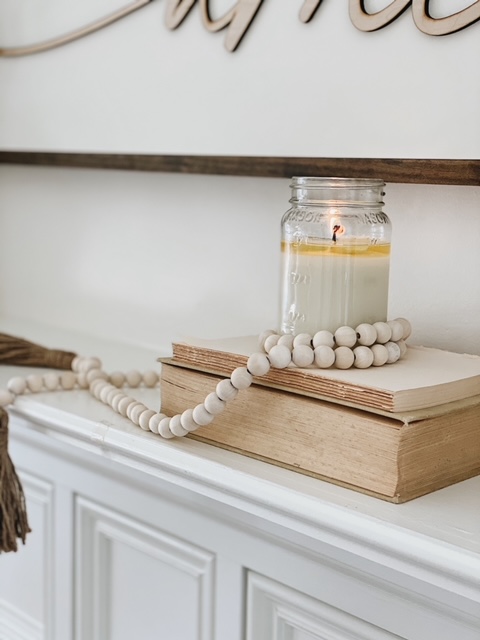
These specific items I am hoping you may already have on hand and can grab them (haha). I did have to tear the cover off of the book sitting there on top, but the books instantly add some great texture and interest. I also added a lovely spring scented candle (shop this Lemon Eucalyptus candle and other amazing Spring scents HERE) to sit on top of the books and draped a wood garland around for another layer. On the left is the white vessel with faux eucalyptus stems placed inside it.
Protip: Unlock the ultimate coziness! Sign up for my newsletter and receive a FREE Cozy Home Checklist. Stay connected for exclusive decor tips, recipes, encouragement, and valuable resources for faith and family.
Bonus step (minute 11!):
Finish Out The Fireplace Surround With A Basket And Plant In A Basket
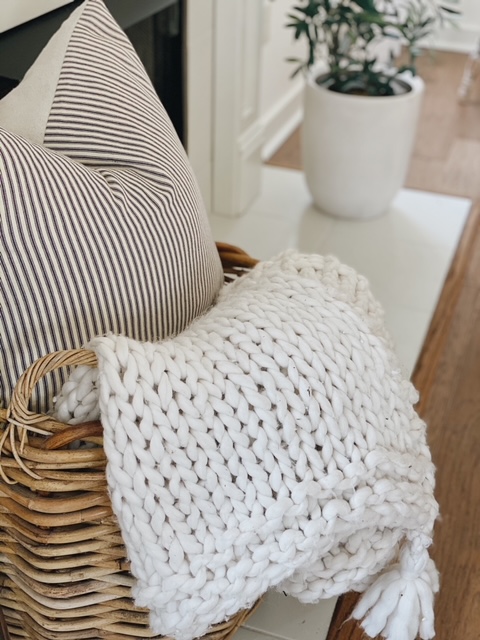
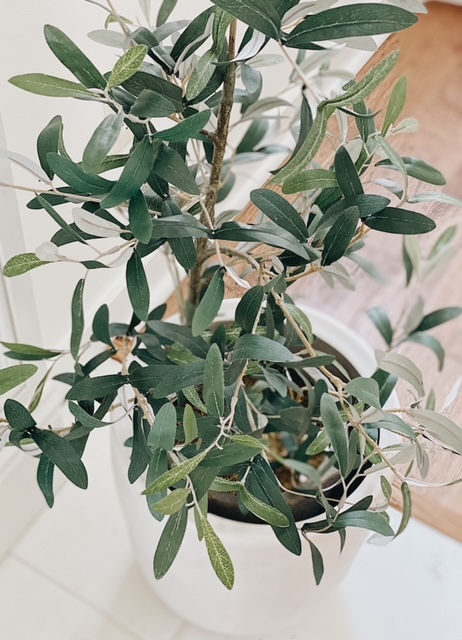
I love using cozy blankets and pillows inside a large basket on our fireplace. It’s nice to have the extra blankets handy on those cooler spring evenings. Pinch the middle of your blanket and stuff it inside the basket (similar basket HERE) to create an overflow of the basket, like the one shown in my space. And, if you know me, you know I love putting faux plants inside a basket! For this mantel design, I placed this olive bush inside a white planter (one similar HERE).
You are done! Did you come in at 10 minutes?! I hope you will feel inspired to create a lovely mantel for spring with this no-fail, three-step formula! You probably have most of these items on hand, and now it’s just a matter of pulling it all together. Are you ready to get started? Give it a go, friend!
If you enjoyed this post, I recommend checking out these posts too:
30+ Spring Home Decor Ideas (Welcome Home Saturday)
Create An Incredible Kitchen with These 5 Spring Decorations
PIN NOW, SAVE FOR LATER!
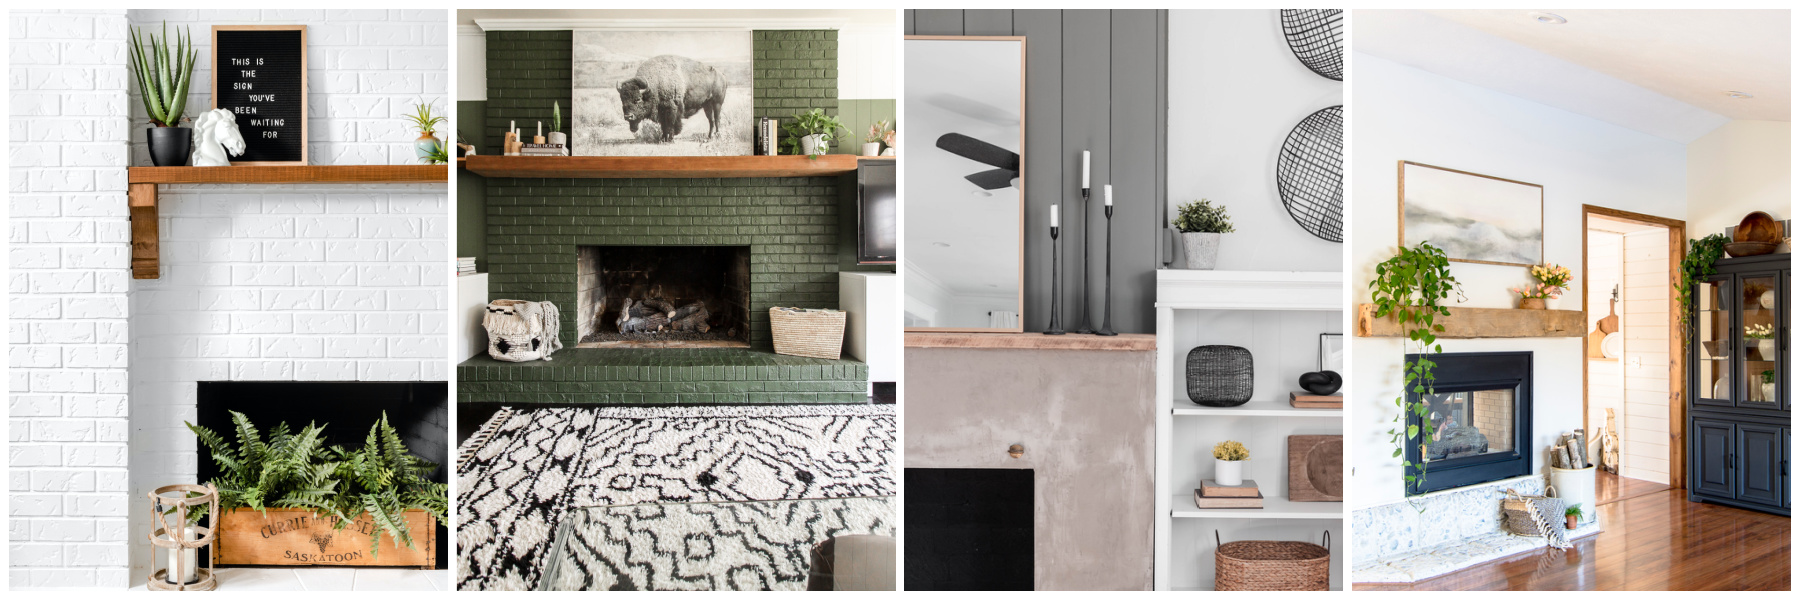
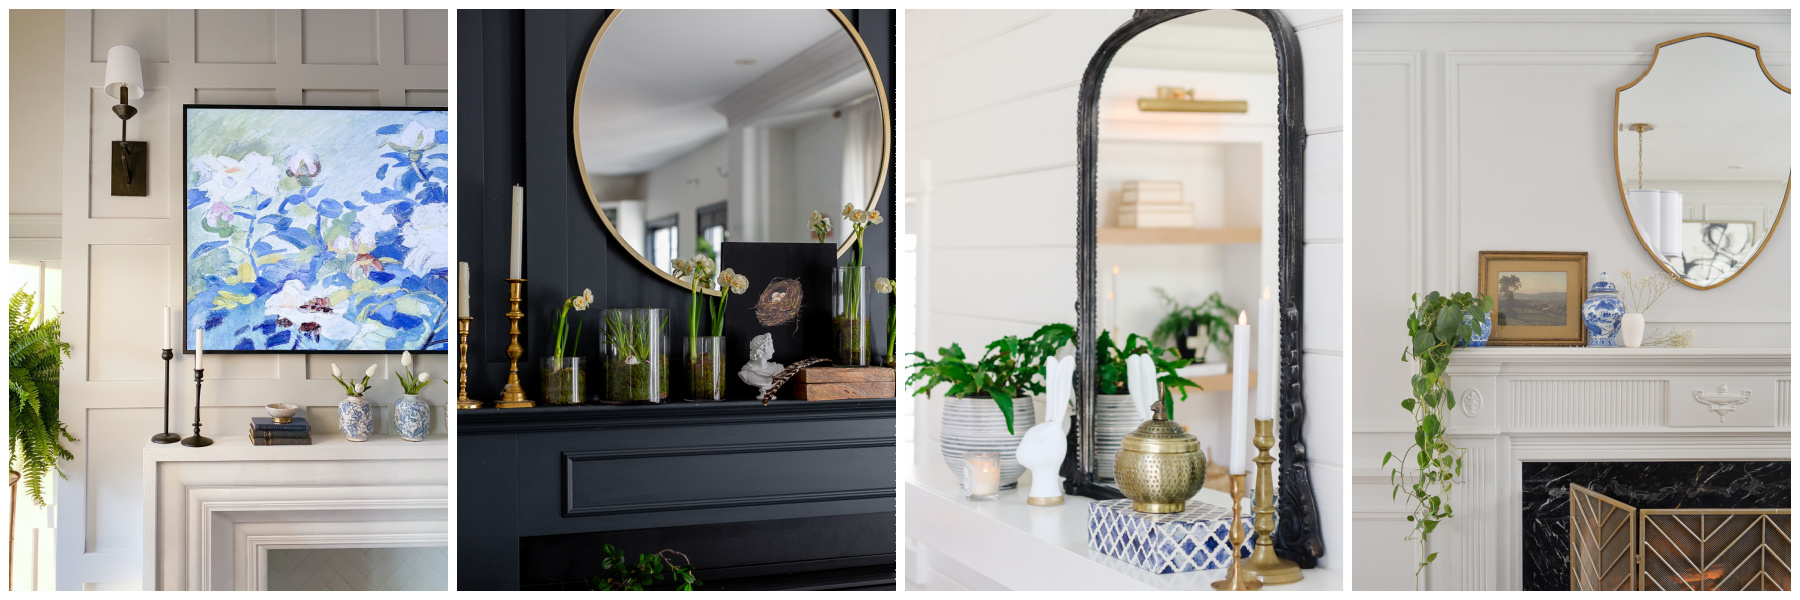
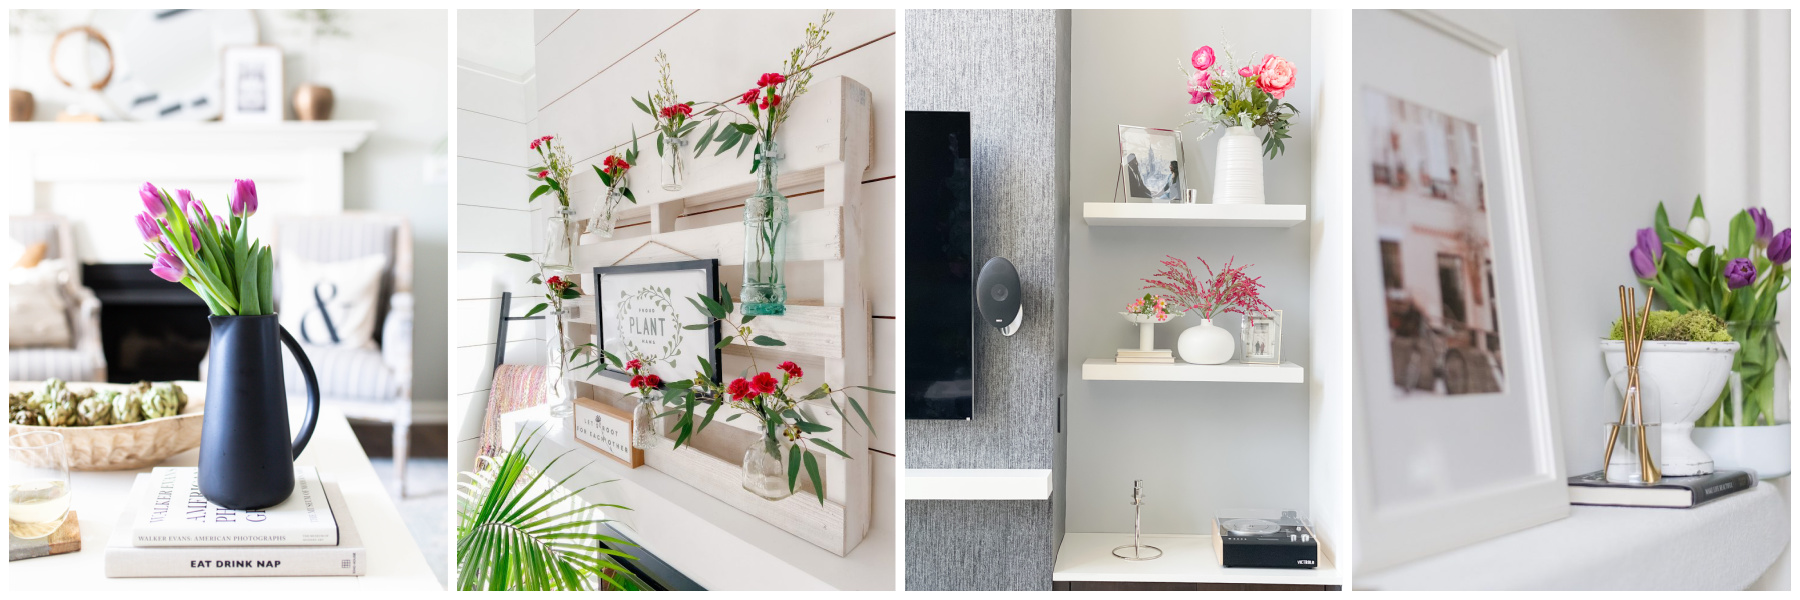
This week I’m joining some of my talented blogging friends for the Spring Seasonal Simplicity Series! We’re all sharing some inspiring mantel decorating ideas with you! You can see each mantel in more detail by clicking on the links below each image.



[…] She Gave it a Go […]
it looks so pretty, brendt- love the tasseled garland especially!
Hi Cassie,
Thank you so much, friend! I am so happy you stopped by, and loved doing this blog hop with you!
Have a wonderful day,
Brendt
[…] She Gave it a Go […]
It looks beautiful my friend!
Thank you so much, Sarah!
[…] She Gave it a Go […]
[…] She Gave it a Go […]
[…] She Gave it a Go […]
Love your super simple tips! Mantels can be so daunting but you’ve made it look easy.
Hi Jen,
Thank you so much for stopping by friend. I appreciate your kinds words!
Have a wonderful day,
Brendt
[…] How To Create A Lovely Spring Mantel In 10 Minutes HERE. […]
[…] a blog post on how to decorate your mantel in just 10 minutes with my no-fail formula! You can head here to check it […]
[…] She Gave it a Go […]
[…] She Gave it a Go […]
[…] Photo Credit: shegaveitago.com […]