These DIY rustic shelves are an easy and inexpensive way to add texture and styling to your walls. The wood shelves with the iron brackets create a rustic feel yet can work with many decor styles. Come check out our step-by-step guide on how to make them.
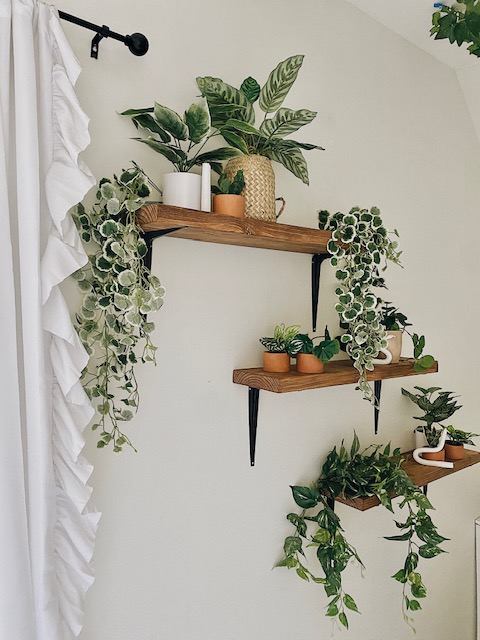
Completed DIY rustic shelves with plants
This post contains some affiliate links. If you click on these links and buy something, I make a commission at no cost to you.
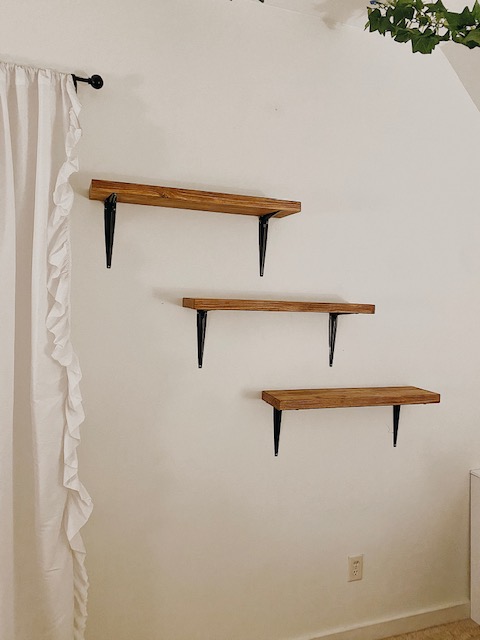
My oldest daughter had been wanting open, wood shelving in her room for some time. She had a great vision for it: transform a large empty wall in her bedroom, into one with interest and texture. My husband jumped on this idea with her and together they set out to build and install these easy DIY rustic wall shelves.
DIY Rustic Wooden Wall Shelves
The great news about these easy wall shelves is that they do not require many supplies (making them budget-friendly!) and they are geared towards a beginner-intermediate project level so they are very do-able. Are you ready to get started? My husband, Andy, is sharing all the details below.
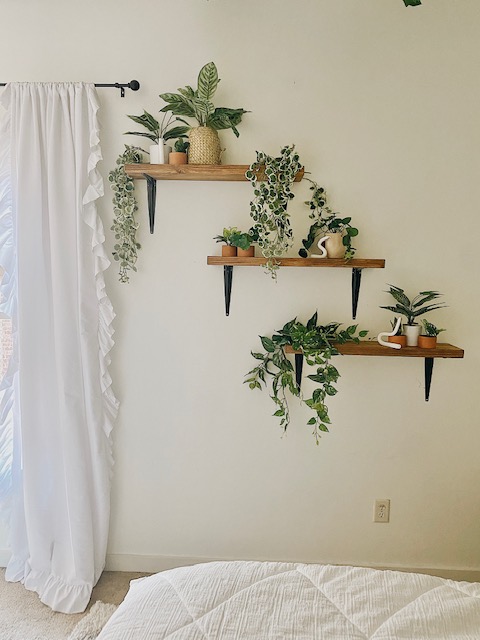
View of shelves from across the room
Supplies for your DIY rustic shelves:
- One ten-foot 2 x 8 HERE.
- These 8 X 10 in shelf brackets HERE. (We cut our shelves to 30 inches and used two brackets per shelf. If your shelves are much longer than, say, 36 inches, you’ll likely want three brackets per shelf.)
- A stain of your choice. We used Varathane 1 qt. Early American Classic Wood Interior Stain HERE.
- 36 1/4 in. flat head wood screws HERE. (These shelf brackets look great and are extremely budget-friendly. But they do not come with mounting hardware, so don’t forget the extra screws!)
- 1 in. hollow door and drywall anchors HERE.
- 120 grit sandpaper HERE.
- Tape measure, level, drill, pencil
Directions to Make DIY Rustic Shelves:
Step 1 for building rustic shelves: Cut your shelves to size.
The size of your shelves will obviously be dictated by the space you have available. We cut our 10-foot 2 X 8 down to three, 30-inch shelves. If you don’t have access to a saw, the fine people at The Home Depot will cut your board to size for you. Have your measurements ready going in, and you’ll walk out with shelves cut.
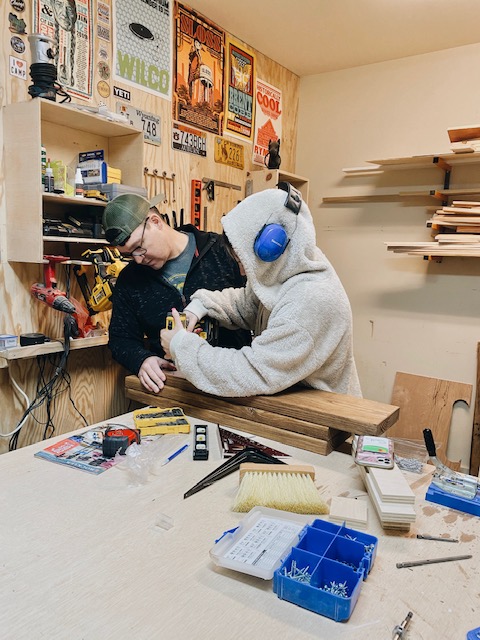
Step 2 for building rustic shelves: Sand and stain.
One of the things that makes this such an easy DIY is that there isn’t a ton of finishing work to be done on the shelves. A little sanding with 120 sandpaper is all you need. Our go-to sander is a DeWalt 5 in. Variable Speed Random Orbital Sander, here. It’s a great investment for any DIYer. You certainly don’t have to have one for a project like this, but the nice thing about it (other than how quickly it gets the job done), is that you can round off the edges of your shelves if you like to give the wood a weathered, older look.
Staining a project like this is super easy, as well. We used Varathane Early American Interior Stain, here. We simply used a lint-free rag to wipe it on, wiping off the excess. We used one coat because my daughter wanted a lighter look. Again, such a simple project!
Step 3 for building rustic shelves: Attach the shelf brackets.
There’s a little trick here that is pretty important. When attaching the shelves, make sure you have a pocket level handy. You want to position the pocket level vertically, running with the back edge of the shelf as if it were simulating the wall you’re going to hang the shelf on. Butt the shelf bracket up against the level to make sure that it’s flush with the back edge of the shelf. If you don’t do this, you could put your bracket either too far toward the front of the shelf (resulting in a gap between the bracket and the wall when you go to hang it), or too far toward the back (resulting in a gap between the back edge of the shelf and the wall).
You can go ahead and attach the brackets by drilling the screws directly in, or you can mark where the screws will go, drill small pilot holes, and then screw in the screws. I like drilling pilot holes. It’s an extra step, but it ensures that the screws won’t “jump” while you’re trying to drill them into the shelves, resulting in more accurate placement of the brackets.
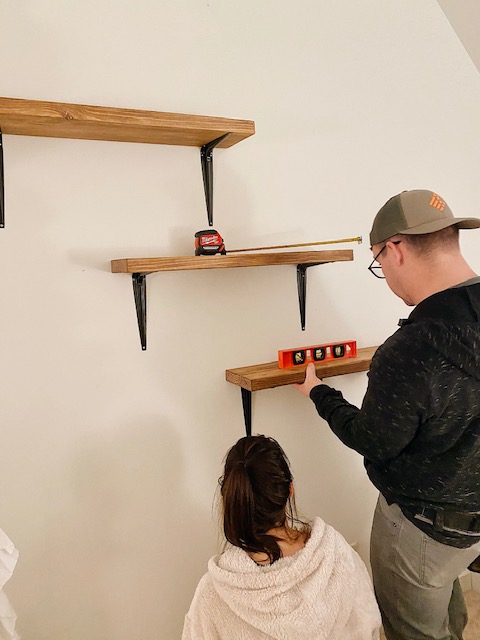
Step 4: Hang the rustic middle shelf.
This is a combination of eyeballing and measuring, lol, and definitely is a two-person job. To get the staggered look we went for, decide roughly the width of the space in which you’re going to hang the shelves. Then, using your measuring tape, find the middle of that space. Mark this on the wall. Measure the middle point of your middle shelf (for us it was 15 inches) and mark that on the shelf. Now, eyeball the rough height you want your middle shelf to be, keeping in mind that if your set-up is similar to ours, you need to leave room for a top and bottom shelf.
Once you’ve decided how high you want the shelf, simply align the mark you mid-point marl you’ve made on your shelf with the mark you’ve made to note the middle of the wall. Get out your level, make sure the shelf is nice and level, and then using a pencil, mark the screw holes.
Set the shelf down, grab your drill, and screw in the drywall anchors, here. (You want the anchors barely flush with the wall. and screw these in slowly! You don’t want them to spin in the drywall, which they will if you overtighten.) Then, attach your shelves, screwing the screws through the holes in the bracket into the anchor.
Step 5: Hang the top and bottom rustic shelves.
If you want all three shelves to be in line with one another, simply use your level and pencil to lightly mark a line that extends upwards and downwards from one of the outside edges of your middle shelf. Then, determine how much space you want between the shelves, align the edge of the top shelf with the line you just drew, and repeat the process from step 4. Do the same with the bottom shelf, making sure your space between shelves is uniform.
If you want the staggered look we went for, this is where the eyeballing comes in! You’ll want to play with how much you want the shelves to overlap. Have someone hold the top shelf at the approximate height you want (again, being careful to remember that the distance between shelves needs to be uniform), and play with the overlap. Get it as you like it, then measure both the amount of overlap and the distance between the two shelves. Repeat the steps from Step 4 to hang the top shelf.
Now, for the bottom shelf, you need to make sure that the overlap is consistent. You want the overlap of the middle shelf of the bottom shelf to be the same as the overlap of the top shelf of the middle. Make sense?! Once you’ve done that, ensure that the distance between the bottom shelf and the middle shelf is the same as the distance between the middle and the top, and then repeat the process from Step 4 to hang your bottom shelf.
Step 6: Decorate the wooden shelves!
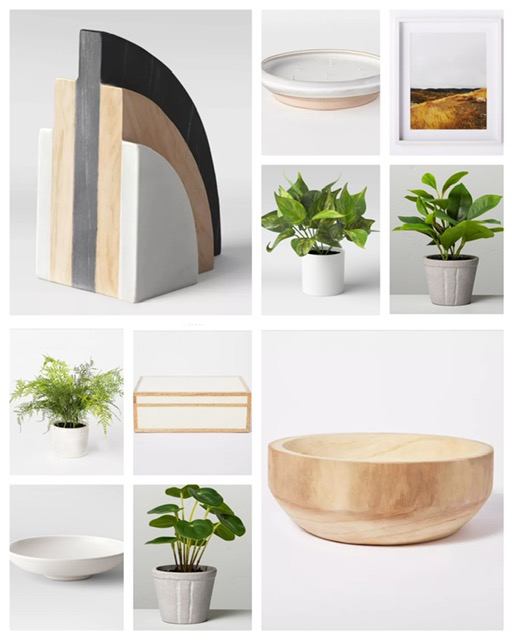
Ideas for styling your DIY Rustic Shelves:
- Framed Artwork: vary your sizes and frame textures for an appealing and collected look.
- Small Pottery Pieces: jugs, bowls, etc.
- Bookends
- Glass vases
- Candles
- Small Boxes
- Candlesticks
Shop these ideas below:

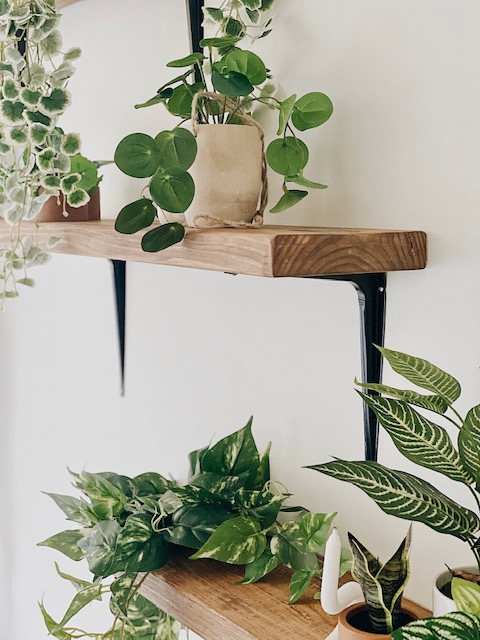
Up close of DIY shelves styled with plants
And that is it! What do you think? We hope you feel ready to now create your own rustic shelves. As you can see, my daughter wanted to style them with various sized faux plants for a boho feel in her room, but you can style them however you prefer. Below are some ideas when styling your DIY rustic wooden shelves.
I would love for you to stay in touch by becoming a She Gave It A Go Insider! Get weekly tips, encouragement, special deals, and more!
Sign up HERE and receive a FREE DIY Guide for making any table the perfect chippy paint table.
If you enjoyed this post, I recommend you check these posts out too:
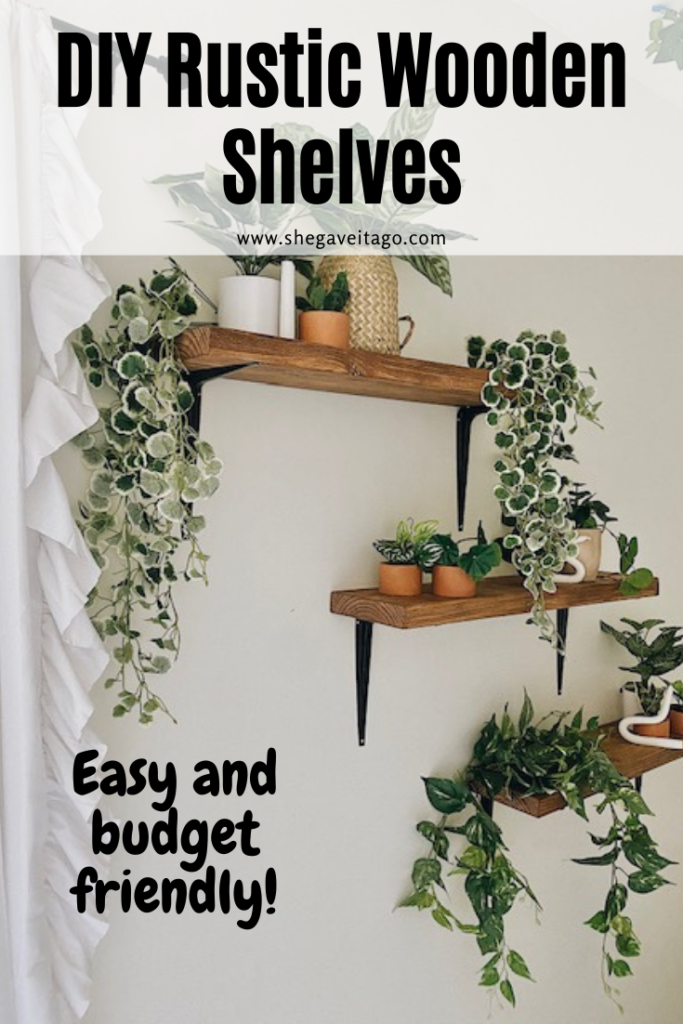
PIN NOW, SAVE FOR LATER!
