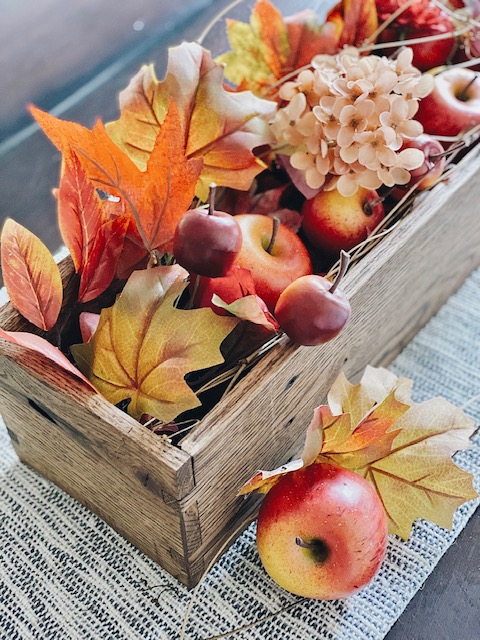
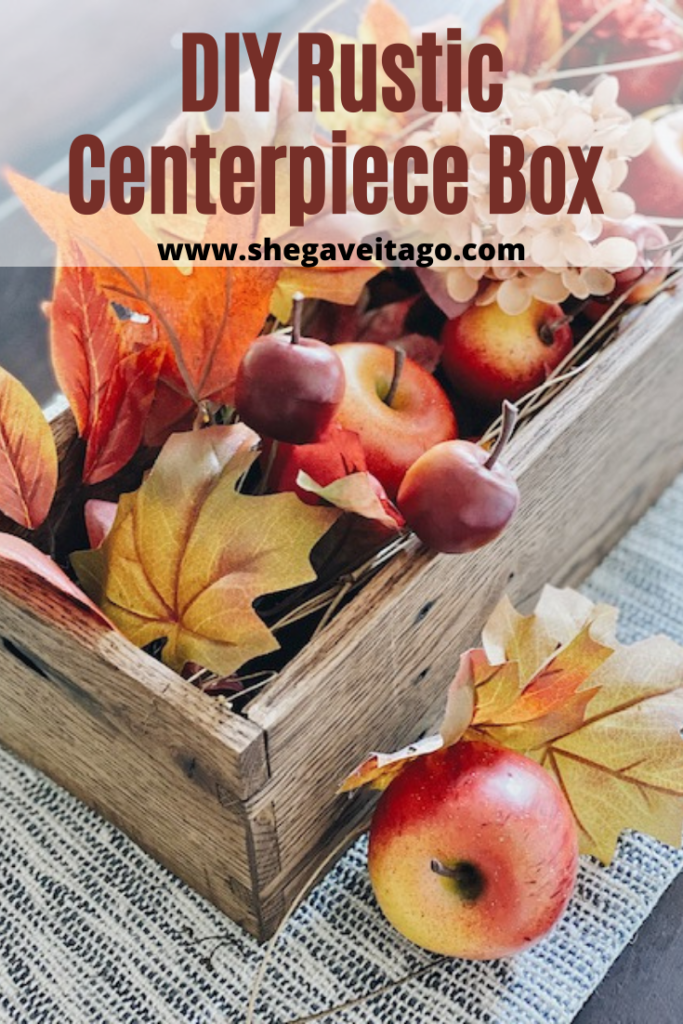
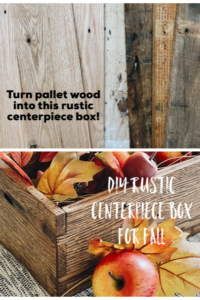
This DIY rustic wood centerpiece box is an easy project that you will enjoy making and displaying in your home. Whether you fill it with seasonal decor as I will be sharing in this post, or use for storage, it is such a great piece for your home. I love how it looks old and truly rustic.
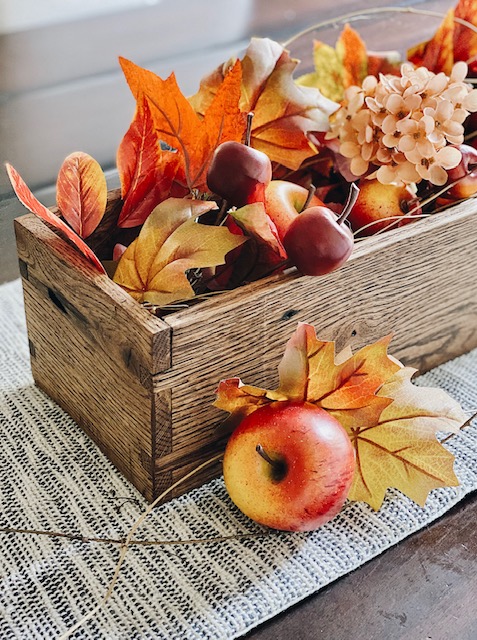
Rustic centerpiece box decorated for fall.
For the longest time, I have wanted a rustic centerpiece box to use on our dining table. I have had visions of changing out the decor seasonally and I am excited to say that my hopes have come true. I shared with my husband this DIY project idea and he said he could do it. So, a couple of hours later he created this amazing, rustic centerpiece box. I filled it with fall florals to create the perfect look for this season.
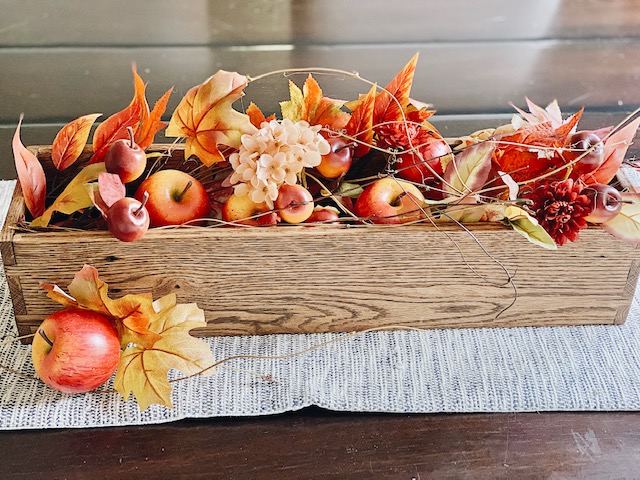
Fall centerpiece on table.
My husband, Andy, will be sharing the supplies list and instructions below. Let’s go!

Rustic centerpiece box filled with fall florals.
DIY Rustic Wood Centerpiece Box
Supplies:
- Reclaimed pallet wood
- Saw of your choice (including a way to cut the dovetail joints if you choose)
- Ruler or tape measure and a carpenter’s square
- Wood glue (or fasteners of your choice, i.e., finishing nails, brads, etc.)
- 120 and 220 grain sandpaper (Sander is optional, though very helpful. We use an orbital sander by Dewalt)
- Shop towels or equivelant
- Stain of your choice (we used American Heritage by Minwax)
- Dark Antiquing Wax
Instructions:
Step 1: Prepare your wood
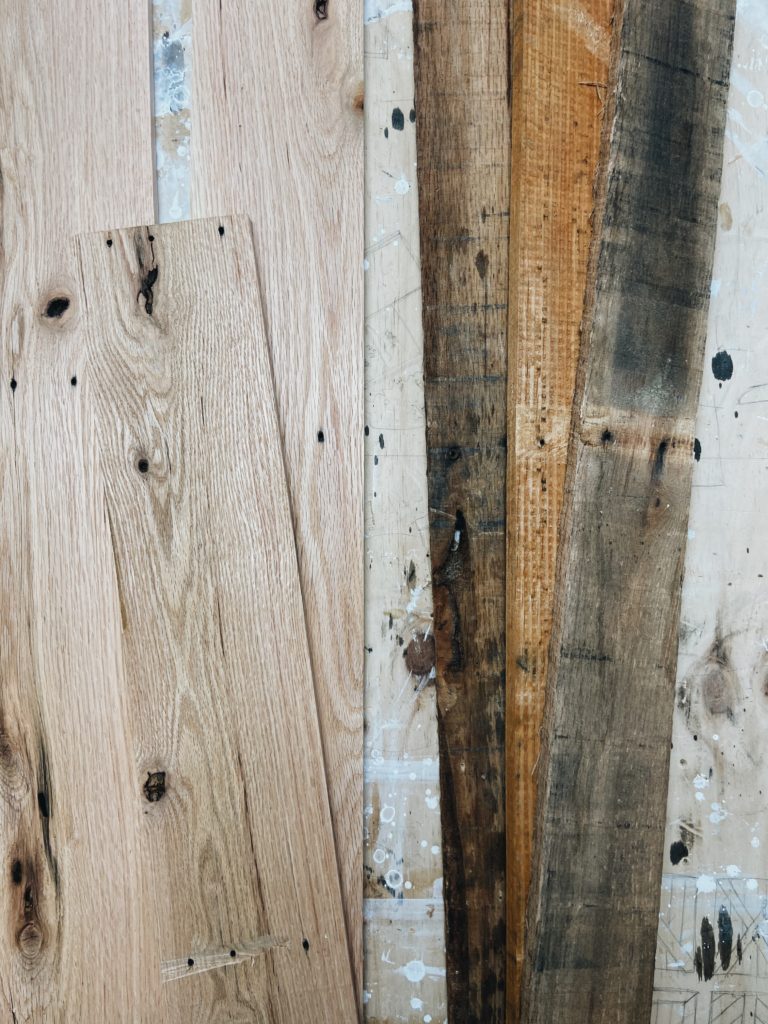
We wanted this to look really rustic as if we found it, aged and distressed, at an antique store. The perfect way to get this look is by using pallet wood. Pallets are easy to find, but hard to get usable wood. You have to pry or cut the wood off (I use a reciprocating saw with a metal-cutting blade on it and cut the nails to detach the wood from the pallet), then you have to get the wood ready to use. There are a couple of ways to do this.
The simple-ish way to prepare the wood once you’ve got it off the pallet is to sand off the grimy, dirty top layer. There is good wood under there, I promise. To do this you will want a sander of some sort (we use an orbital sander by Dewalt) and coarse grit sandpaper, like a 60 grain. Using elbow grease, sand the wood until you get a nice, reclaimed surface. We have access to a planer which makes the job super easy and also gives you a really nice finish. Below you can see the difference in wood straight off a pallet (the wood on the right) and wood that has been through a planer (wood on the left).
Step 2: Make your cuts
We wanted a relatively short box, though you can choose dimensions that make sense for you and your space.
Our box was 24 inches long. You’ll need two side pieces at 24 inches.
We made our box 5 inches wide. You’ll need two end pieces at 5 inches.
The bottom of the box is set inside, so you will need to allow for the width of your side and end pieces. Our boards were 1/2 inches thick. So, our bottom piece was 4 nches wide by 23 inches long. We made our cuts using a miter saw.
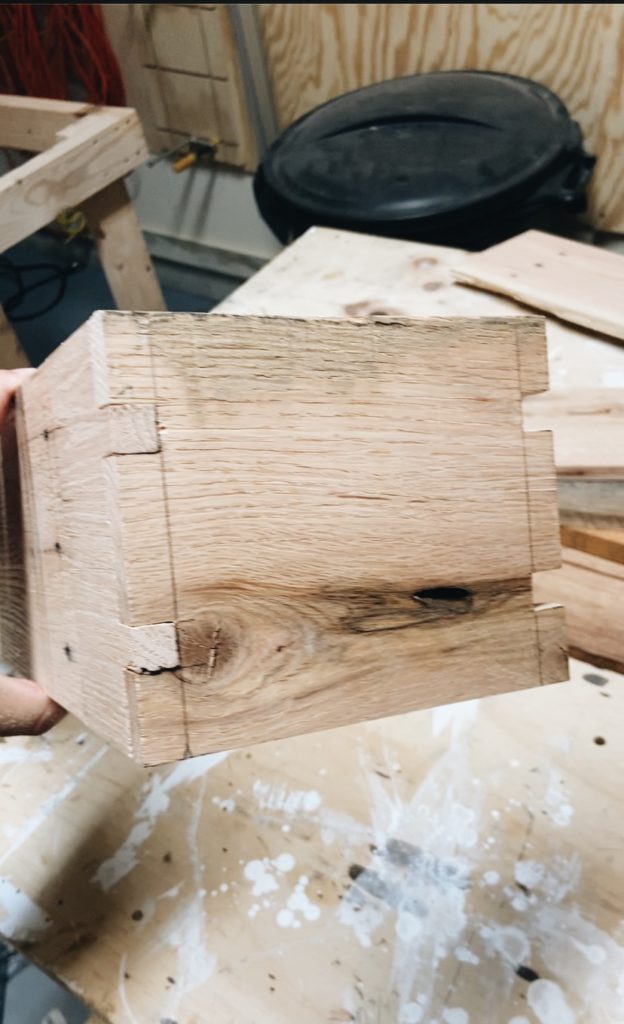
Step 3: (Optional) Cut your joints
This step is 100% optional, but it adds a really cool feature to the box and makes it look extra rustic. We chose to rough in some square joints to make it look like this was an old, hand-crafted piece. The good news about this rustic look is that you don’t have to worry about your carpentry skills. LOL. The rougher the better!
If you’re a carpenter, you know there are a dozen ways you can cut square joints to build a box. If you’re not a carpenter and want this look, there are a few ways to go about it. You can trace your square joints and then cut them out with a jig-saw (probably the easiest), a table saw, or a router. You’ll then use a chisel or sandpaper to smooth down the edges, and voila, you have sqare joints!
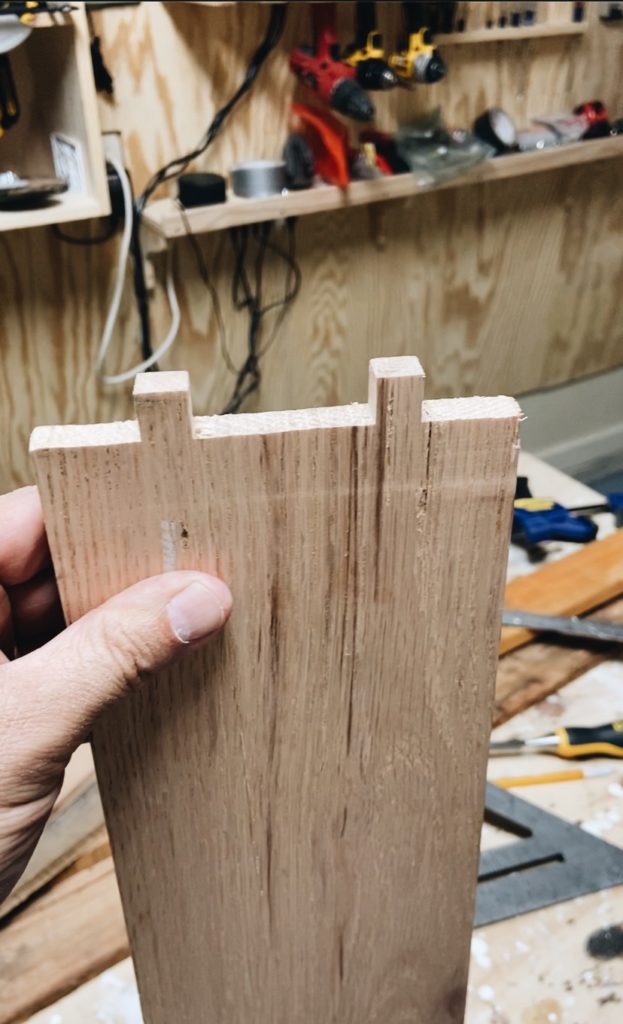
Here is what it looks like attached:
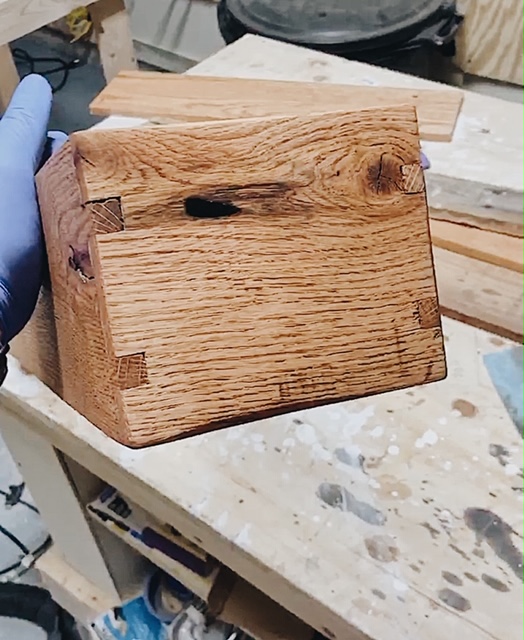
Step 4: Build the box
With a box like this one, you don’t HAVE to use screws. You can use wood glue to assemble the entire thing and it will hold just fine. If you go the wood glue route, it’s always helpful to have some clamps to hold the box together, but you can also use stacks of books, or hand weights you have laying aroudn the house to put pressure on the sides while the wood dries.
If you don’t have wood glue or clamps, finishing nails or brads will do just fine, especially if you’re using pallet wood. The nail holes won’t even be noticed with all the imperfections in the wood. (Keep in mind if you use finishing nails, you’ll want to recess the nail heads using a nail set.)
Step 5: Sand, stain, and wax
Once assembled, it’s time to sand and stain. We sanded using a 120 grit sandpaper and made sure to knock off the square edges. Again, the goal is for this piece to look old. We rounded off the corners and even dug in a little bit in some spaces to make it look really beat up.
Once you weather it with the 120, switch to a 220 for the finishing sanding. You want it smooth to the touch.
When you’re finished sanding, you’re ready for stain. We used Minwax American Heritage stain. You do not need a brush, applying it with a shop towel will do. Simply rub it on uniformly with one shop towel, and then wipe away the excess with a second dry shop towel. Let it dry according to the intructions on the label. We put two coats on.
Box with first coat of stain.
We then finished it with a dark antiquing wax. It adds the luster we wanted in something that was supposed to be aged, and makes the grain really pop. It’s a great way to finish your piece.
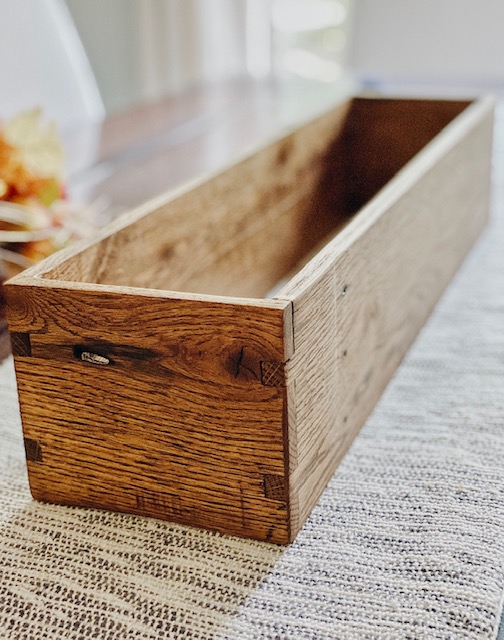
Box is finished!
What do you think? It is such a great DIY to try out. This rustic centerpiece box is multi-functional and can be used all year long. If you like the look of collected, time-worn items, this project is for you. We encourage you to give it a go.
DIY rustic centerpiece box.
I would love for you to stay in touch by becoming a She Gave It A Go Insider! Get weekly tips, encouragement, exclusive deals, and more!
Sign up HERE and receive a FREE DIY Guide for making any table the perfect chippy paint table.

Fall centerpiece idea for dining table.
PIN NOW, SAVE FOR LATER

DIY Fall Acrylic Abstract Landscape Painting at The Happy Housie
Five Fun Fall Arrangements at Finding Silver Pennies
How to Make a Dried Floral Wreath at the Tattered Pew
DIY Painted Pumpkins that Look Like Cement at Modern Glam
How to Make a Doormat with a Cricut at The DIY Mommy
DIY Fall Sign at Clean & Scentsible
Scrap Wood Fall Pumpkins at Tatertots and Jello
Macrame Garland at Life is a Party
DIY Abstract Art Our Best Tips at The Handmade Home
Modern Fall Lunaria Wreath at This is Simplicite
Painted Mason Jars at Dans le Lakehouse
Fall Macrame Wreath at Place of My Taste
Easy DIY Fall Shelf Decor at Cherished Bliss
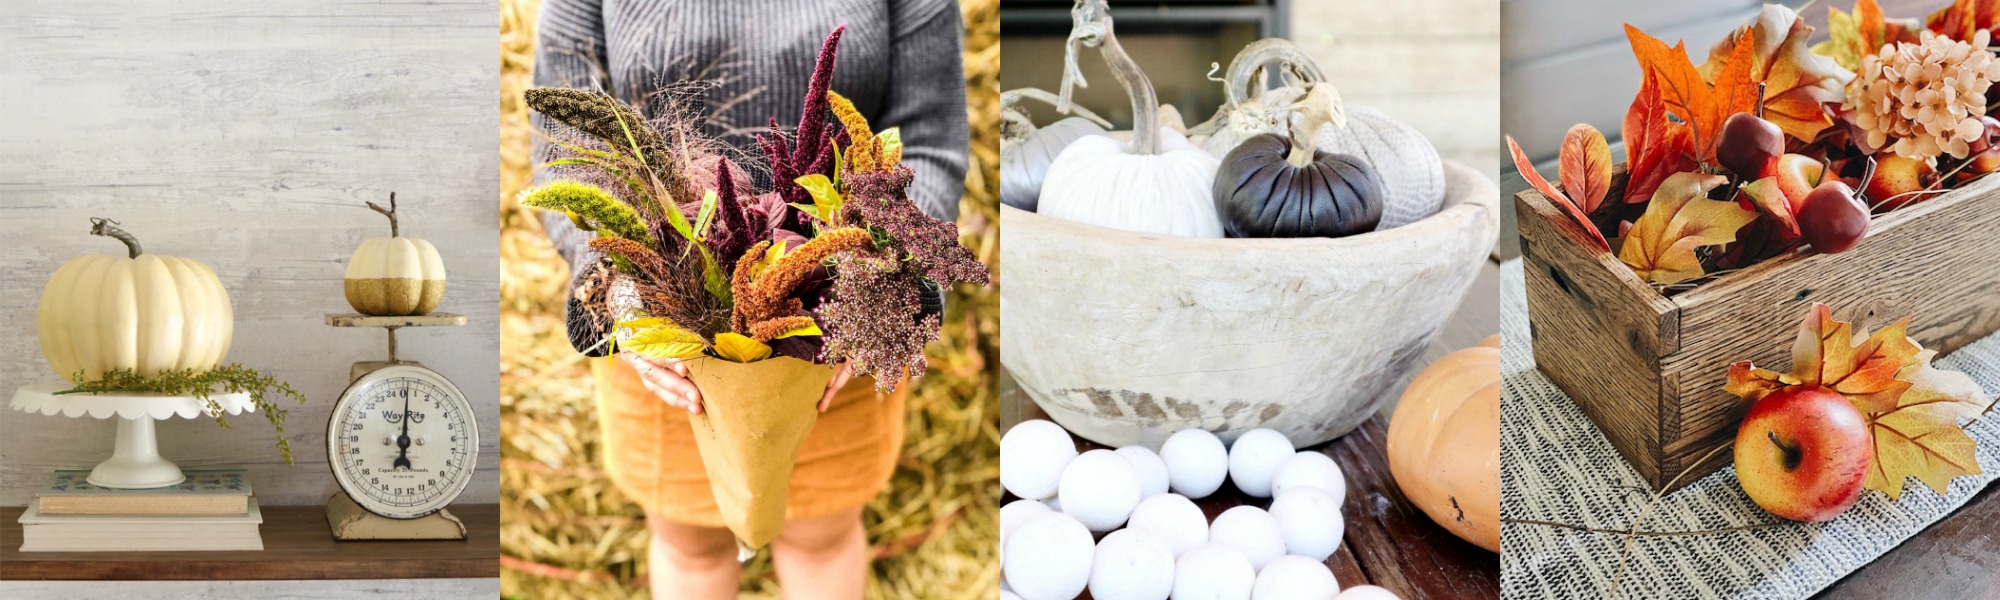
DIY Glitter Pumpkins at Lolly Jane
DIY Rustic Fall Flower Arrangement at Pretty Life in the Suburbs
How to Make a Handmade Clay Bead Garland at My Sweet Savannah
DIY Rustic Wood Centerpiece Box at She Gave it a Go
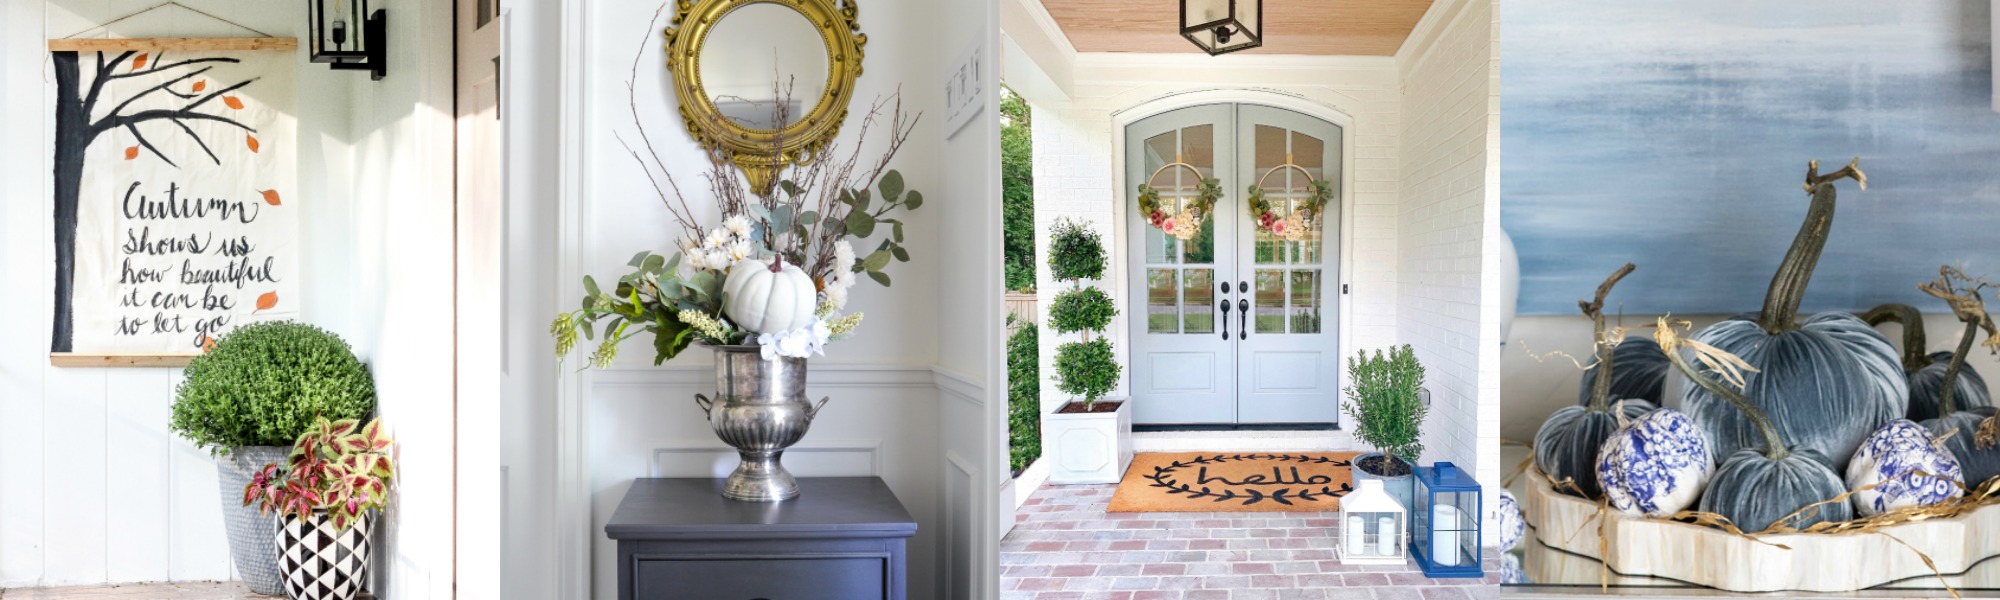
How to Make a Fall Wall Hanging at Cassie Bustamante
Elegant Fall Flower Arrangement at Rambling Renovators
Blush Fall Hoop Wreath Tutorial at Chrissy Marie Blog
DIY Blue and White Chinoiserie Pumpkins at Jennifer Maune
PIN NOW, SAVE FOR LATER


[…] DIY Rustic Wood Centerpiece Box at She Gave it a Go […]
[…] DIY Rustic Wood Centerpiece Box at She Gave it a Go […]
[…] DIY Rustic Wood Centerpiece Box at She Gave it a Go […]
[…] DIY Rustic Wood Centerpiece Box at She Gave it a Go […]
[…] DIY Rustic Wood Centerpiece Box at She Gave it a Go […]
[…] DIY Rustic Wood Centerpiece Box at She Gave it a Go […]
[…] DIY Rustic Wood Centerpiece Box at She Gave it a Go […]
[…] at Pretty Life in the Suburbs How to Make a Handmade Clay Bead Garland at My Sweet Savannah DIY Rustic Wood Centerpiece Box at She Gave it a […]
Wow! Nice hubby! I love the way he did the joints. Looks so pretty all dressed up for fall!
Beautiful!
[…] DIY Rustic Wood Centerpiece Box at She Gave it a Go […]
Thank you for this post. I found it very helpful. https://conservationconstructionofdallas.com/ I will highly recommend this blog to others. I can’t wait for more content. I’ll check back later for more!!!
[…] DIY Rustic Wood Centerpiece Box HERE. […]
[…] love this rustic wooden box my husband made for me last Fall. Head here for the full DIY on this rustic wood centerpiece box. Once you’ve grabbed your centerpiece […]
[…] a couple of hours later he created this amazing, rustic centerpiece box. I filled it with fall florals to create the perfect look for this […]
[…] Instead of a vase or other single vessel, I simply placed two tulips in a mason jar, nestled inside of a rustic box we made. […]