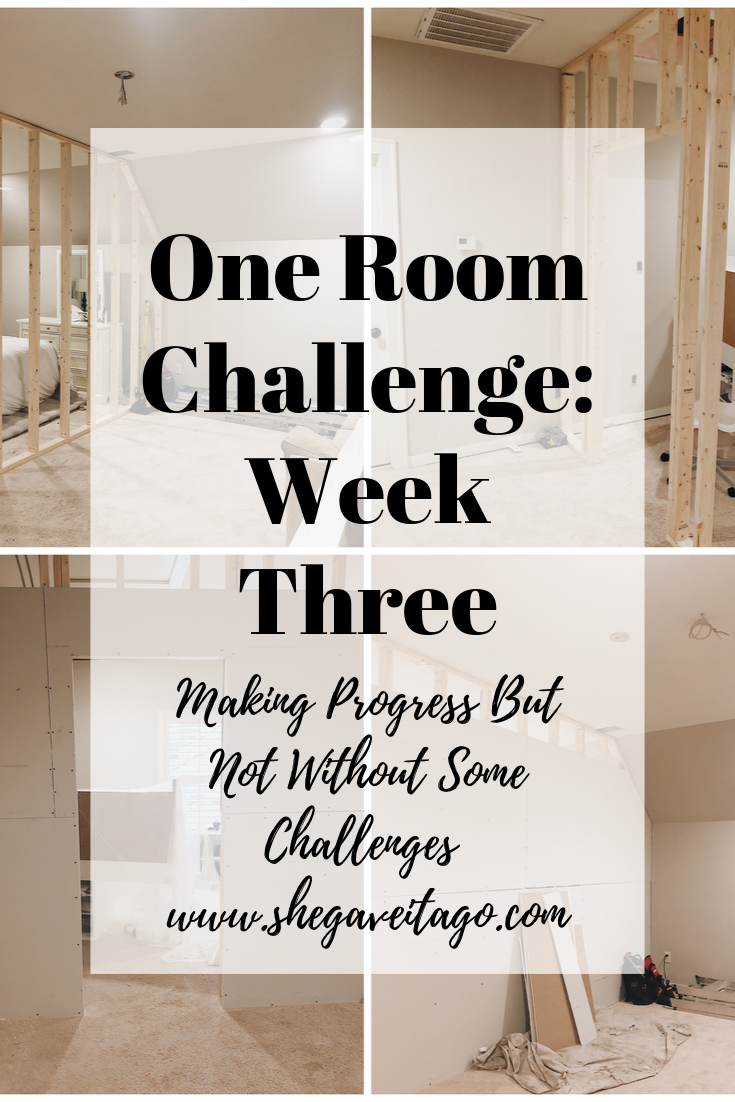
One Room Challenge: Week 3 (Making Progress But Not Without Some Challenges)
Decor | October 17, 2019

Hi friends! Welcome back to week 3 of the One Room Challenge. If you missed the first two weeks, you can go check it out week one here and week two here. I share all about my goals for this challenge and tons of before pictures, plus the mood boards for the two spaces that I am creating out of the current one space. Before I walk you through the exciting progress that has been made over the last week (along with some obstacles), you can go here to check out all the participants for this challenge. It’s already been such fun joining alongside so many creative and talented other blogger friends!
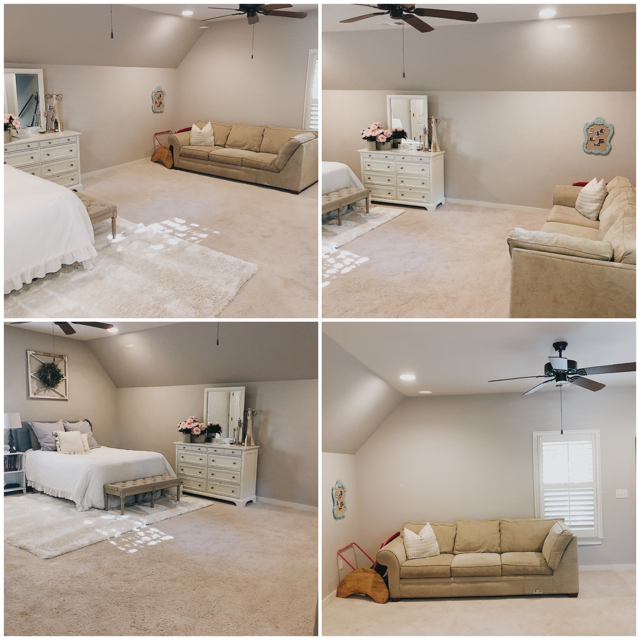
Let me first share with you a before of this space so you can envision along with me the space I am transforming into two. I am creating a small cozy den by adding a wall down the middle ( + or – 1 foot) of the room, and a teen girl’s bedroom on the other! As you can see, it was one big space that had no real design plan and outdated and mismatched furniture. It just didn’t function as we had initially intended it to when we moved into our home a few years ago.
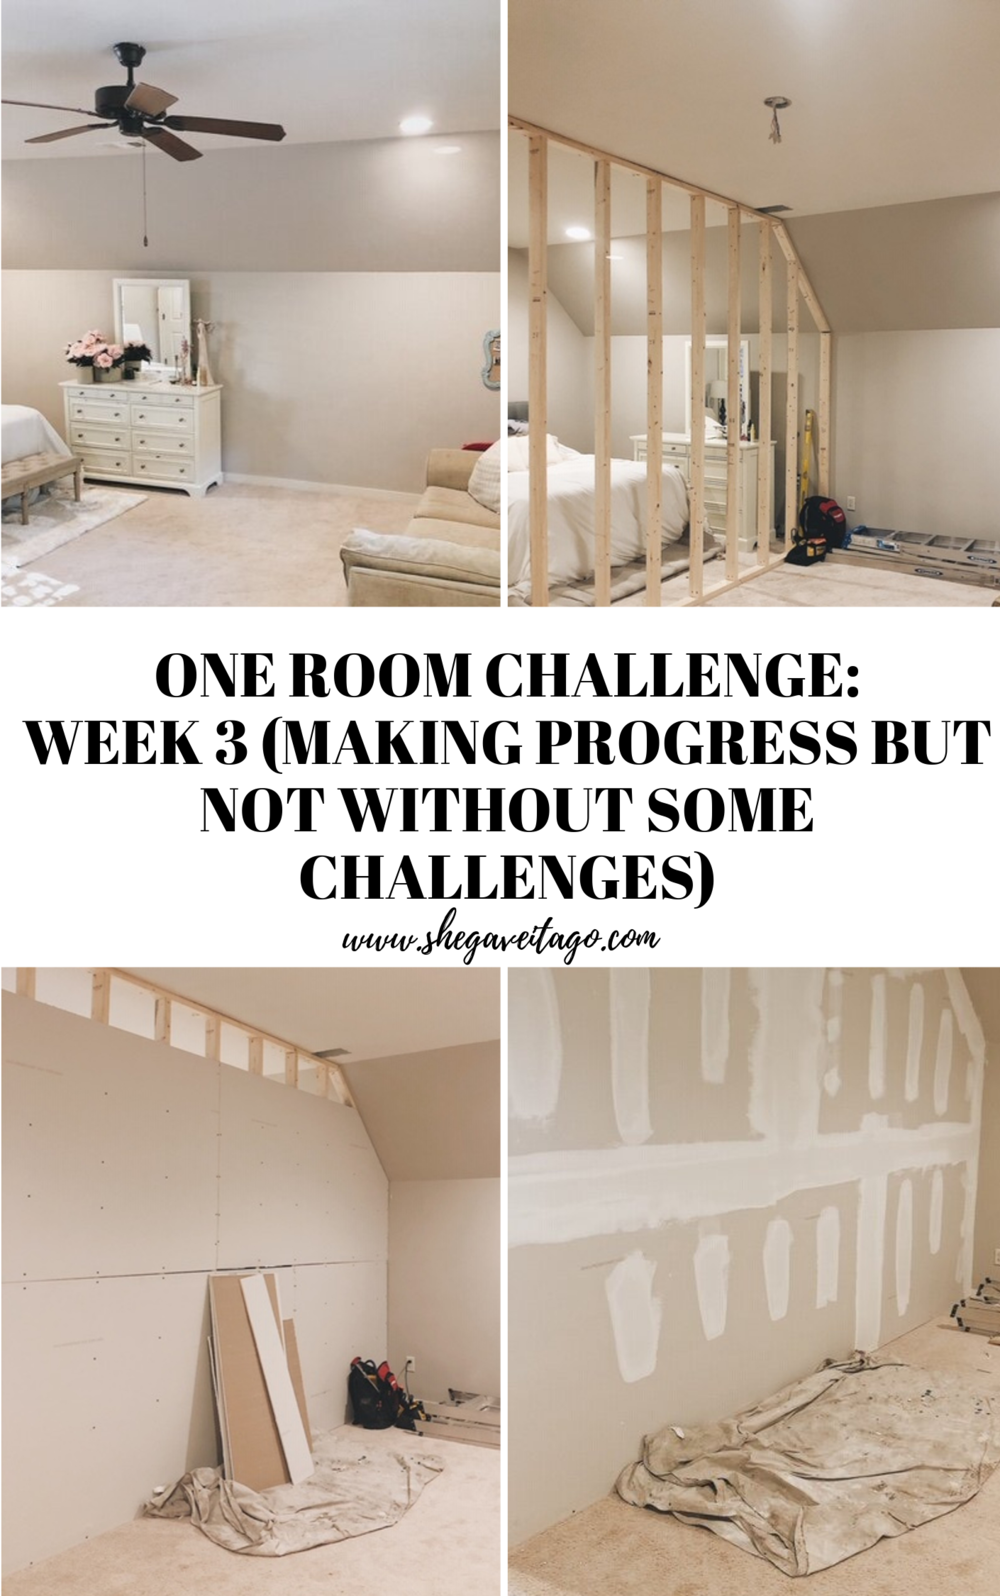
Now it’s time to share with you the progress that has been made in just one week! My husband was the brains behind the wall that is being built. He had the vision of how much better this space could function as two instead of one while meeting a need to have a room for our teens to hang out in. I was skeptical of how big the spaces would “feel” and boy have I been pleasantly surprised! This post is going to mainly be about the progress of the wall, starting first with framing and ending with it being spackled and ready for paint!
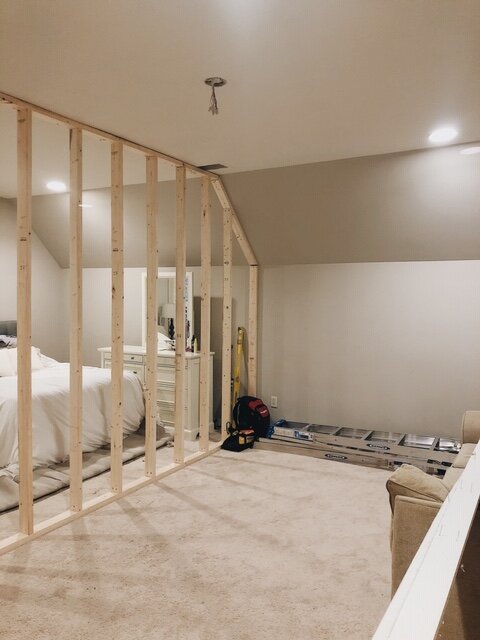
Framing
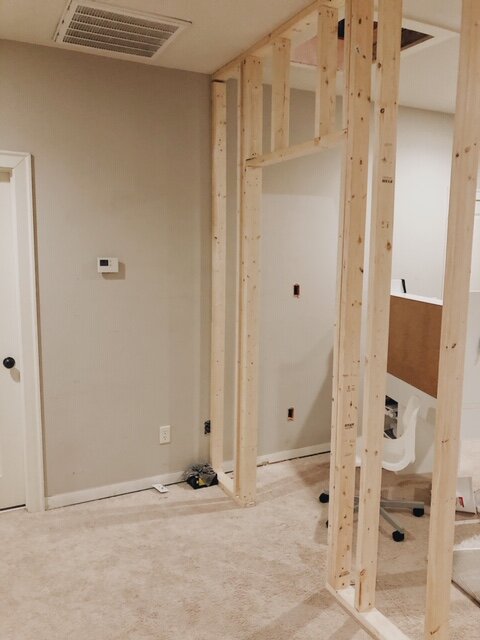
The photos here show the framing up. This was the first peek of how it was going to look once the wall was up. (It got me so excited!) Also, we are removing the can lighting, and the old ceiling fans have been taken down. With the wall built, we did have to have the new ceiling outlet moved to be in the center of each new space, as you can see in the photo below. The workers also added a new light switch to my daughter’s room while doing electrical work.
Speaking of the new lighting, this is one of the obstacles we are currently trying to work through. The original fixtures I had counted on using fell through. So, I am now in contact with another company about a light fixture to go into my daughter’s bedroom, while also reconsidering having a ceiling fan in the den instead of a chandelier, as I had initially planned. Going back to the drawing table can feel a bit frustrating, but you have to work through it by considering options you may not have considered originally.
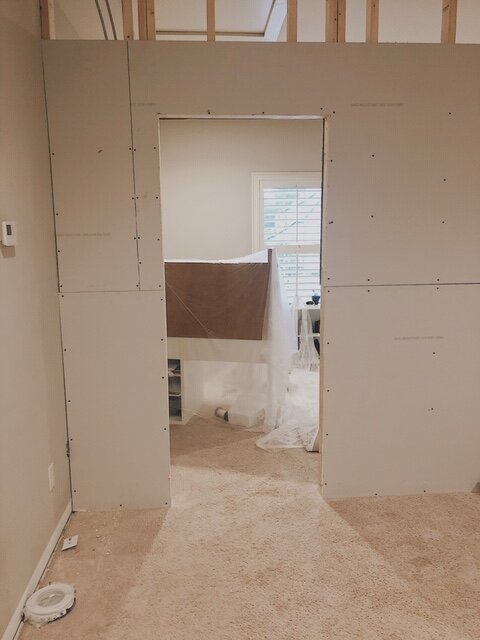
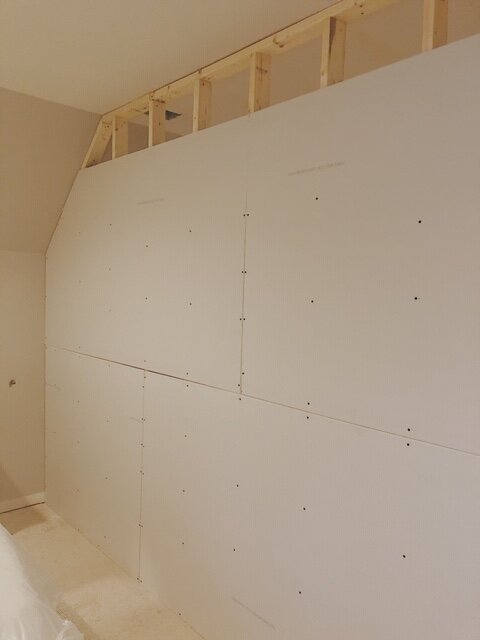
Drywall
Next up was hanging the drywall. The men that are installing the drywall worked quickly one day, and when I walked in to see this up, it felt like things were coming along. I loved the way it looked. One thing we also had to consider was the door that would connect the two spaces. We are using a six-panel door, and it will swing into my daughter’s room. Her light switch will be on the left, which will make it easy to turn on when she walks into her room.
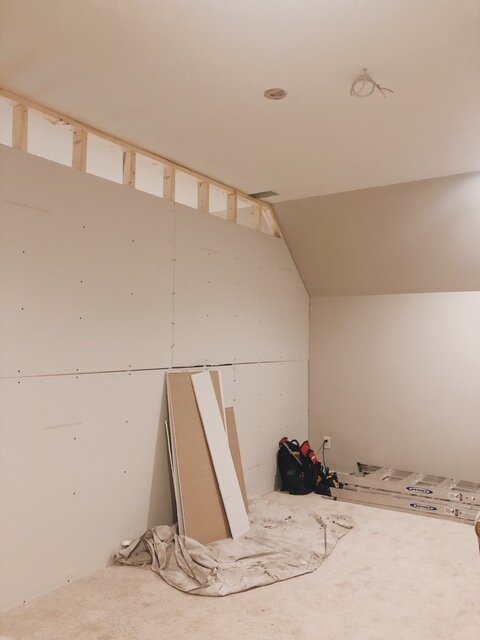
You can see below the left corner of the cozy den we are creating, which leads to another obstacle that came up this week. The sectional sofa we were planning on getting sponsored did not work out, which was disappointing. We have a part of one that we’ve owned for many years in the den space that was already there. The other part of it is in our upstairs loft area where our other girls’ bedrooms are. We are considering getting this sofa custom slip-covered as a solution to this obstacle. Stay tuned to see if that works out. In the meantime, I’ve also reached out to other companies to see if they may (last minute) be able to sponsor one.
It is called a “challenge” for a reason! But, I’m learning that while challenges may feel tough or hard at certain moments, the learning you gain from it all is so worth it! It helps get you outside your comfort zone and allows you to problem-solve while learning new things. I have great hope that all these things will come together. Whether or not it will happen at the end of six weeks is another story! 🙂
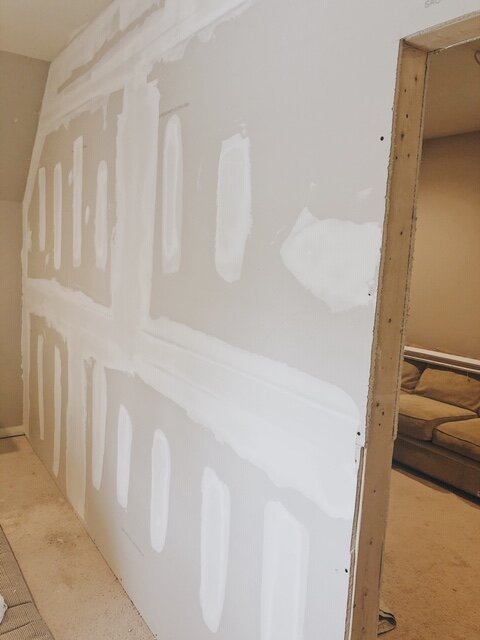
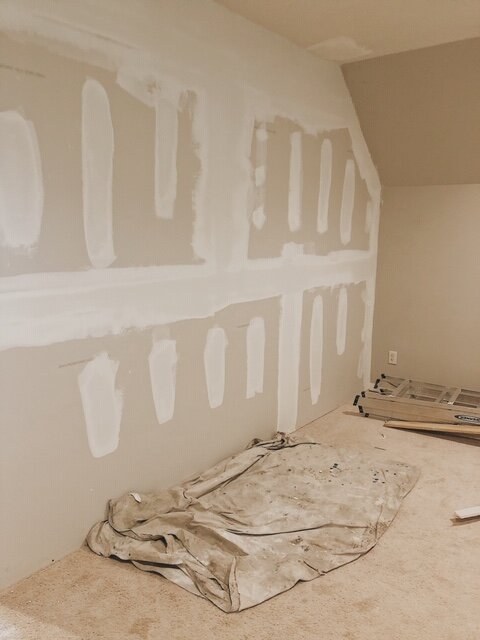
Mudding
Last but not least is the mudding that happened toward the end of yesterday. Once the mud is applied, it takes around 48 hours or so to dry. Then it will be sanded to prepare for painting. Both spaces will be getting a fresh coat of paint, Dove White by Benjamin Moore. It is going to be so bright and pretty in these spaces with that white. The windows already do an excellent job of bringing natural light in, but the white paint will only help even more.
One other obstacle we are working through is a few of the items that we were going to get sponsored (including new bedding and a second set of curtains). I am continuing to reach out to companies but in the meantime, looking into some very budget-friendly alternatives to our original plans. The rugs for both rooms, as well as the curtains for my daughter’s room, are all en route. We also have a lovely piece of artwork that should be coming in the mail tomorrow that I will share in next week’s post. You are going to love it!
Thank you so much for continue joining me in this challenge. You will have so much fun catching up on all the other participants as well here. If you are on Instagram, feel free to follow along with me there for daily updates! I share a lot on my stories and would love for you to check them out.
I would love for you to stay in touch by becoming a She Gave It A Go Insider! Get weekly tips, encouragement, special deals, and more!
Sign up HERE and receive a FREE DIY Guide for making any table the perfect chippy-paint table.