
If you’re like me, you work to make sure your kitchen has a streamlined look. . . only to look over and see a trashcan. Our kitchen does not have a pull-out trashcan. Ours has always been a little in the way and I’ve often found myself wishing it were more out of the way. And then, we had an idea . . .
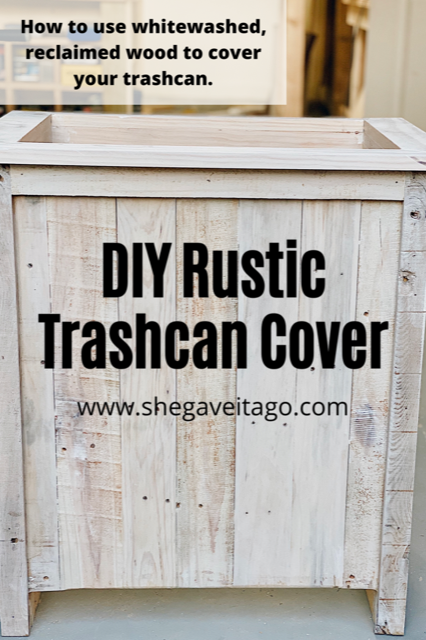
What do you do with a trashcan that’s an eyesore? Easy: you cover it with reclaimed, whitewashed wood.

Processed with VSCO with a6 preset
That’s what we did, and the look turned out great. So great that we wanted to provide you with the steps to make this transformation yourself. Following these easy steps, my husband Andy Blanks shares here, you can make a DIY rustic farmhouse trashcan cover too.
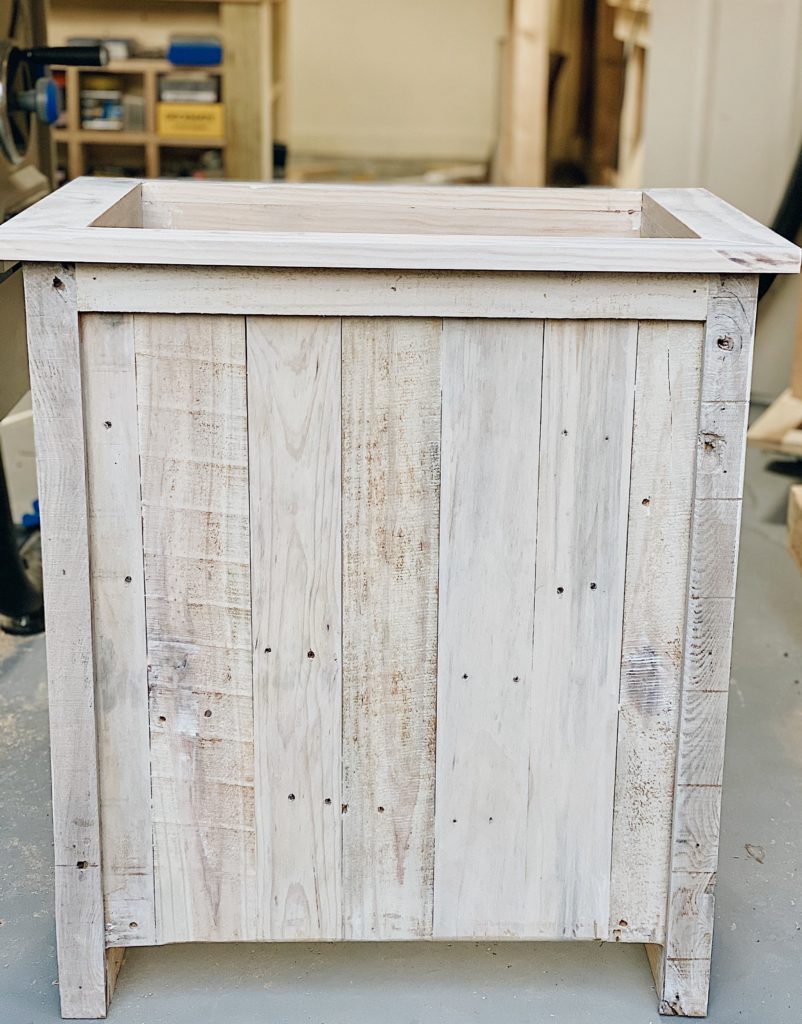
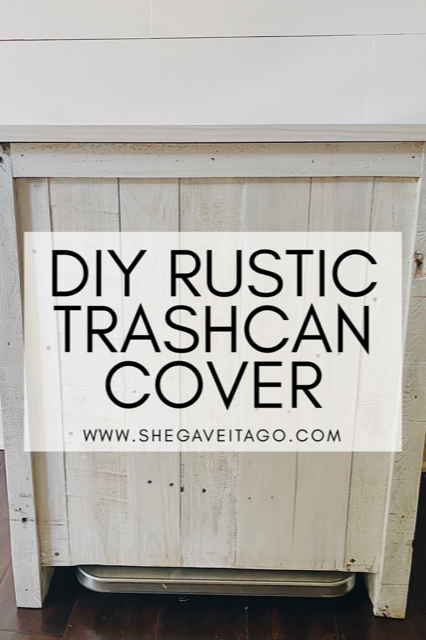
FINISHED TRASHCAN
By: Andy Blanks
First things, first, here are the supplies we used:
- 1 x 2’s and 1 x 4’s for the frame
- Pallet wood for the actual panels and trim
- Your choice of fasteners (Nail gun, drill, finishing nails, and/or clamps/glue)
- A saw (a table saw and/or a compound miter saw is pretty handy but not a must)
- Sandpaper (We used 150 grain)
- The paint of your choice (We used Minwax White Wash Pickling Stain)
- Tape measure
Let’s get started!!!
Step 1: Measure Your Can
You want to start by measuring the dimensions of your trash can. You are essentially building a box around your trashcan. So, you need to make a frame that is only slightly larger than the can. You don’t want much more than a quarter of an inch gap all the way around. So, measure your width and depth, and add 3/8’s to 1/2 inch to those two measurements. (Measure your height and do not add anything to it!)
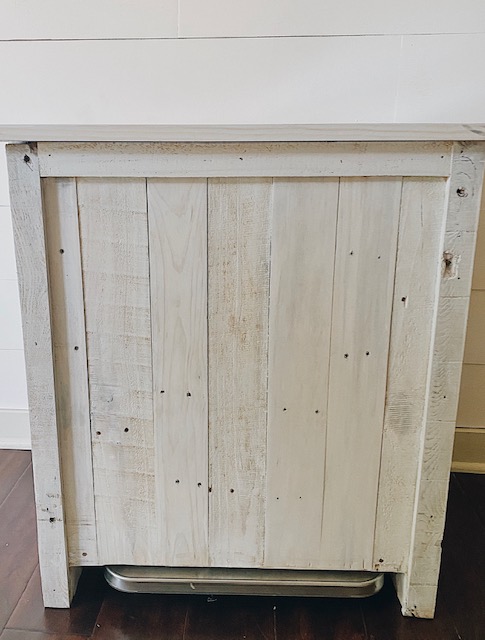
Important: If your trash can has a foot lever to open the lid (like ours does) you will need to build your frame to allow for the lever. You’ll want to make sure you leave an opening at the bottom to allow not only for the lever to be pushed without being impeded, but room for a foot to step on the lever. We only added about an inch to ours to account for pressing the lever, and it worked great.
Step 2: Build Your Frame
This is simple, but if you get ahead of yourself, you will find yourself starting over. Be sure that when you build your frame using your 1 x 2s, the frame’s interior is the exact dimensions you need. If you’re not careful, you can construct the frame so that you don’t account for the thickness of the wood and inadvertently make a smaller frame than your trashcan. Go slow . . . measure twice, cut once. lol.
We basically made two boxes using 1 x 4’s, as seen below. These will be the top and bottom of the frame. We use pocket holes to build the frame using a Kreg pocket-hole jig. (We cannot recommend Kreg product enough for DIYers and carpenters alike. If you build anything from picture frames to cabinets, you need to be taking advantage of Kreg’s various jigs. Pocket holes are such a great way to build frames like this one.)
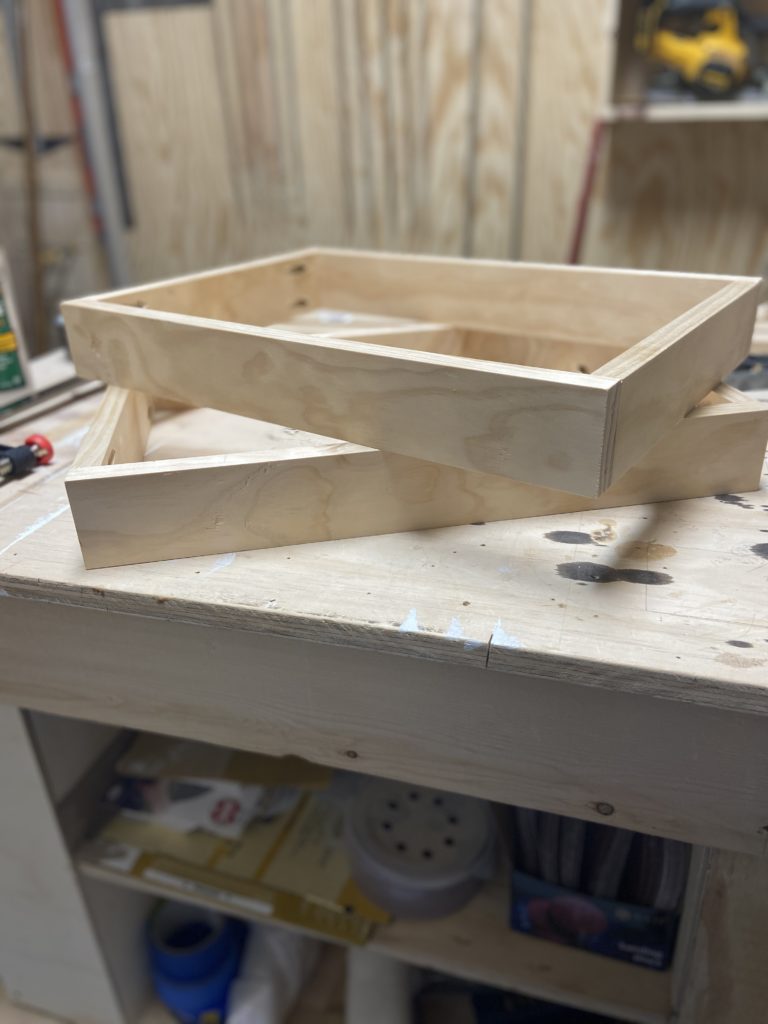
These boxes will be the top and bottom of the frame.
Then, when you’re done building the top and bottom boxes, you’re going to attach them using the 1 X 2’s. You’ll be attaching them on top of your 1 X 4’s, so make sure you measure and account for the 1 X 4 in your overall height.
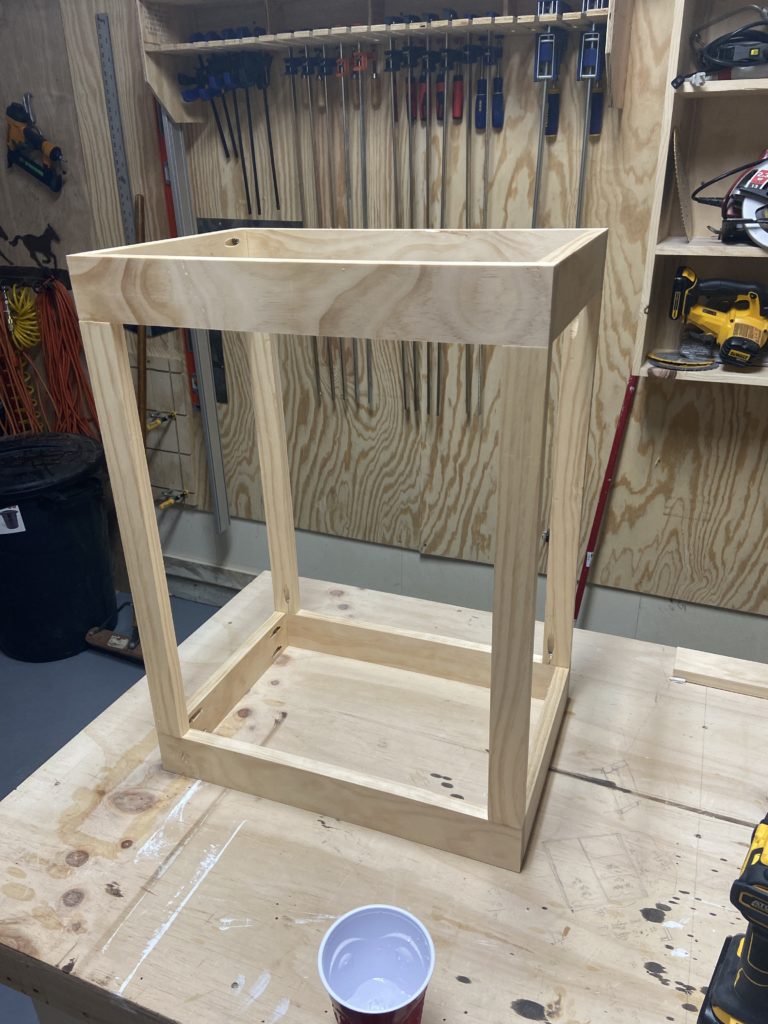
This is what the frame looks like completed.

Paul lending a hand drilling some pocket holes using the Kreg jig.
Step 3: Build Your Pallet Board Panels
We used pallet boards for this build. They are cheap (free) and already have the weathered look you want. Using pallet wood, or any wood of your choosing, attach the slats to the frame, starting with the front panel, and then the sides, working from the front corner to the back. The great thing about this rustic design is that you don’t have to have uniform widths. Cut the boards to size and fix them to your frame.
You have some options here. You can use a nail/brad gun if you have one. You could also use finishing nails or even screws (though screws are kind of overkill and leave significant holes that need to be patched). BUT, if you have a few clamps, you can simply just use wood glue and clamps to fix the pallet wood to the frame. The wood is relatively lightweight, and it’s not going to bear any load. Wood glue is plenty strong enough to hold it, as long as you have a way to press it down while the wood cures (hence the clamps).
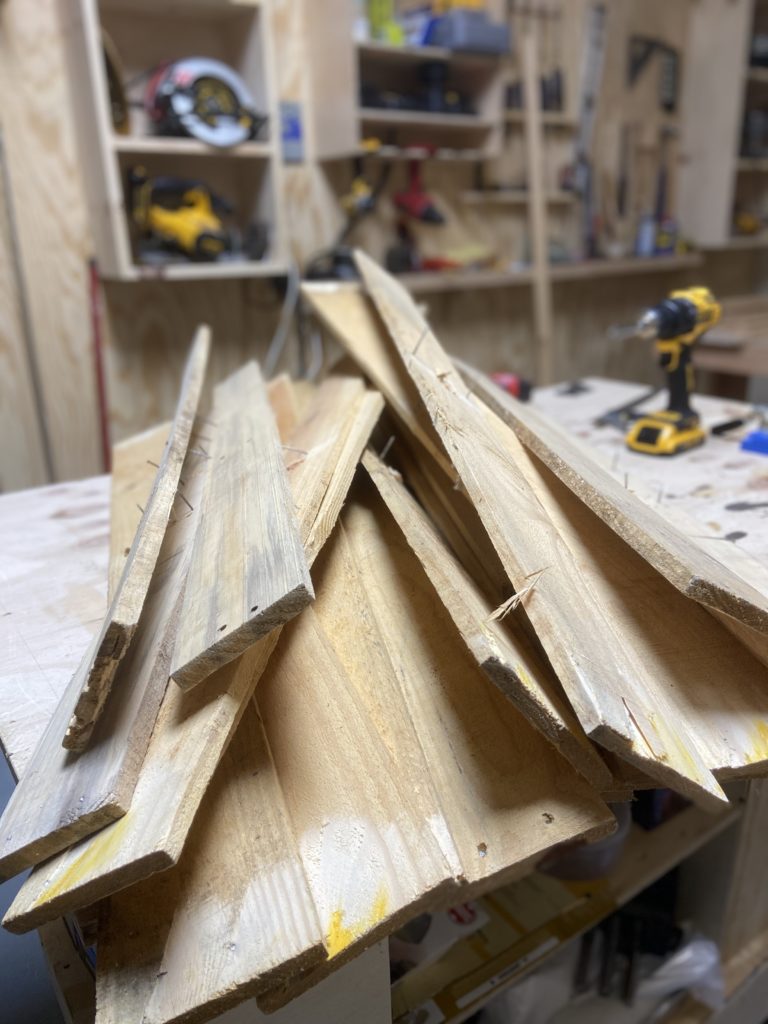
Our stack of pallet wood waiting to be turned into a trashcan cover.
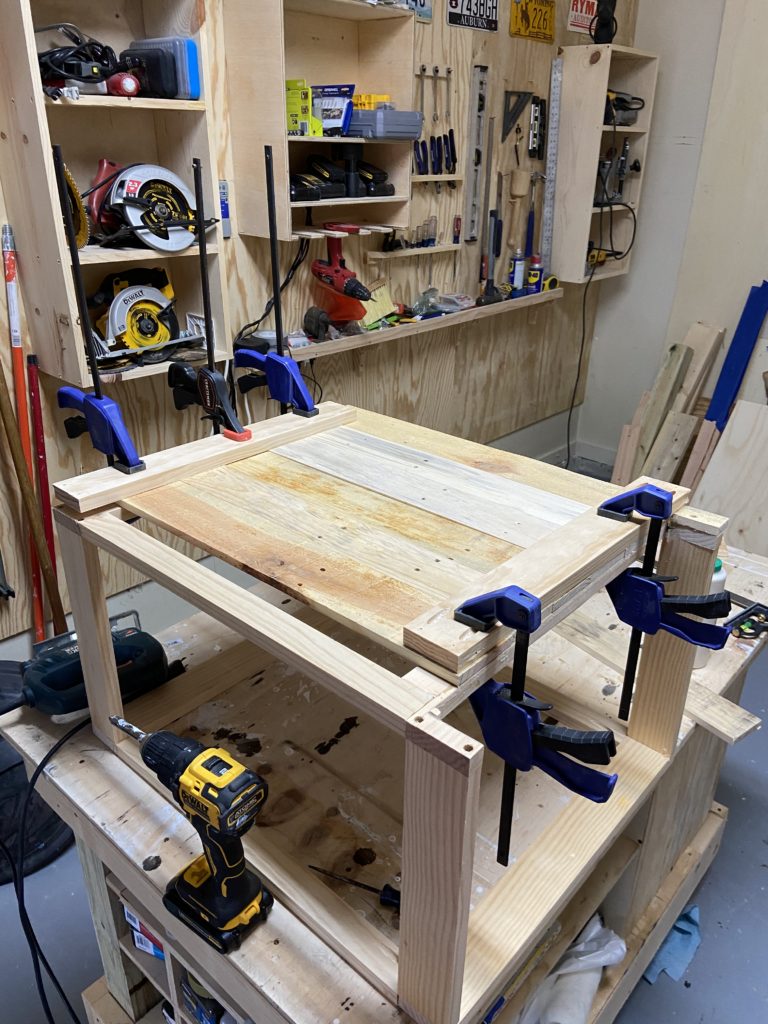
This is what it looks like to use clamps and glue to attach the slats to the frame.
Step 4: Trim It Out
Once you get the wood attached to the sides, you’ll want to put some trim around the edges and the top to make it look a little more “finished.” I took pallet wood and cut it in half using the table saw to make long, narrow pieces of trim. You have options for how to trim your project. You can make ornamental crosses, or horizontal access trim, or whatever your heart desires. We simply put trim around each edge and trimmed the top with 45-degree angle miter joints. We wanted a simple look.
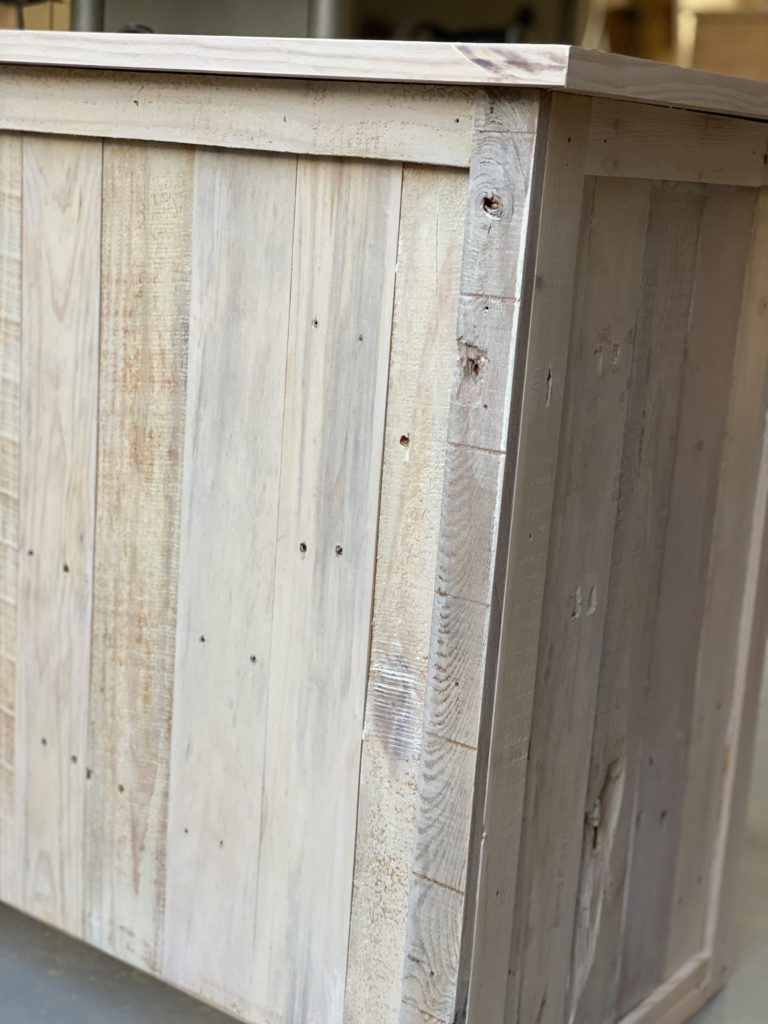
Detail of the side trim.
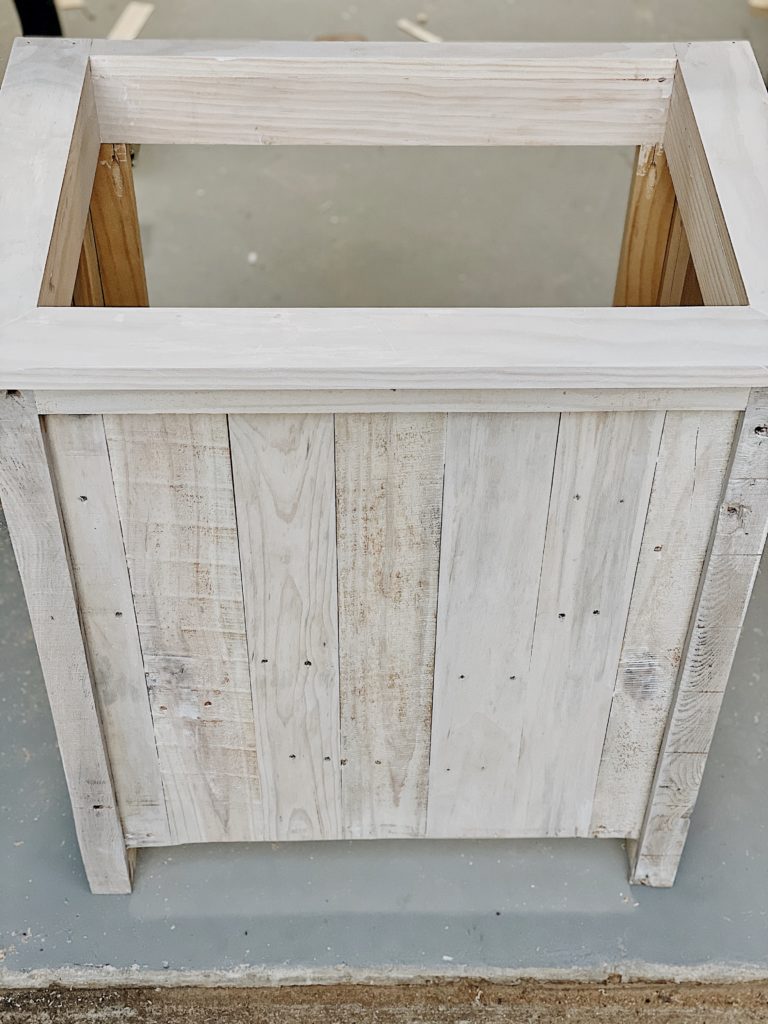
Step 5: Sand and Paint
We used our trusty Dewalt orbital sander, but you can use sandpaper if you don’t have a sander. We used 150 grain. You don’t want the pallet wood “smooth” per se (that would take forever!), just smooth enough to not give you splinters while you’re throwing out the leftovers. Then, you’re ready for paint.
We used a whitewash pickling stain because we wanted the wood to show through. There are lots of options here. If you’re going for a rustic look, the whitewashed look is a great option.
Processed with VSCO with a6 preset
And with that, you’re done!
Isn’t this such an improvement? We are so pleased with it and are so thankful we took the time to make it happen. Is this a DIY you’ll try? I’d love to see a picture of it if so. Good luck!
PIN NOW, SAVE FOR LATER
Shop The Post:

PIN NOW, SAVE FOR LATER
If you enjoyed this post, I recommend these posts too:
Leave a Reply

