Installing a faux shiplap wall is something we’d wanted to do for some time now! I am happy to say that this budget-friendly DIY makes a significant impact on any space in your home. This post will walk you through each step of the way so you can create this farmhouse style wall too.
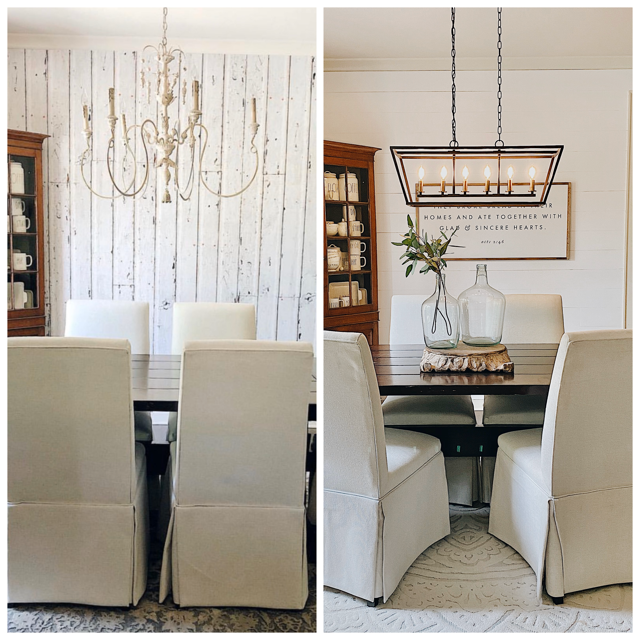
BEFORE AND AFTER
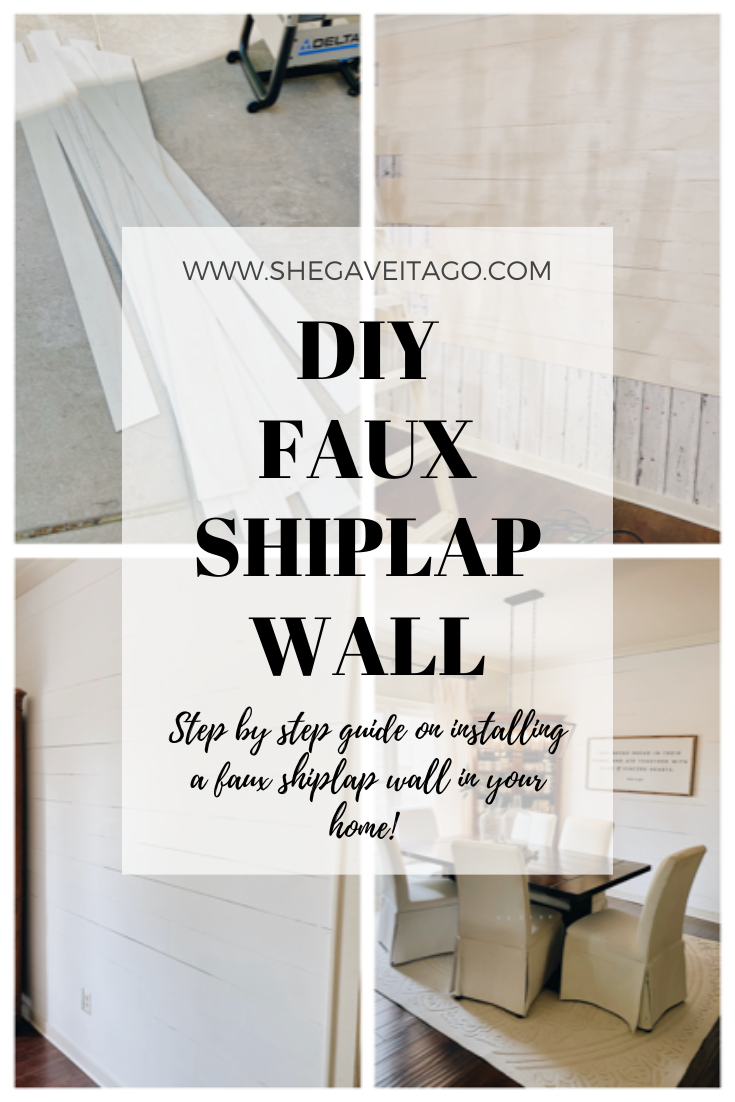
DIY Faux Shiplap Wall Tutorial
You may have found yourself wanting a shiplap wall in your home; it’s a standard element of farmhouse design and adds just the right touch to any space. But many people either don’t feel comfortable installing it, or they simply can’t afford it. After all, real shiplap can be very expensive. That’s where this fantastic DIY comes in.
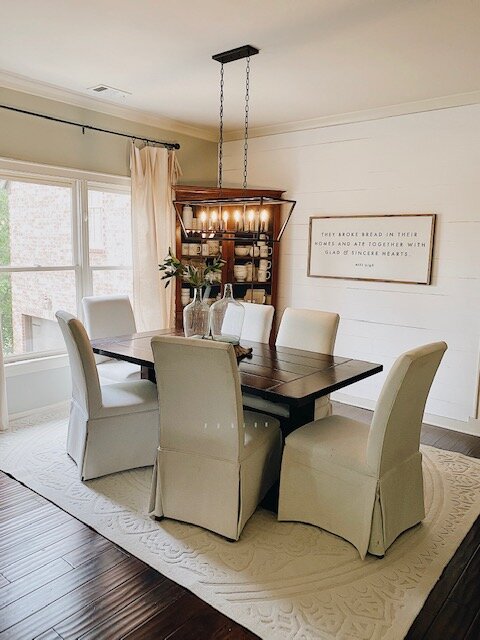
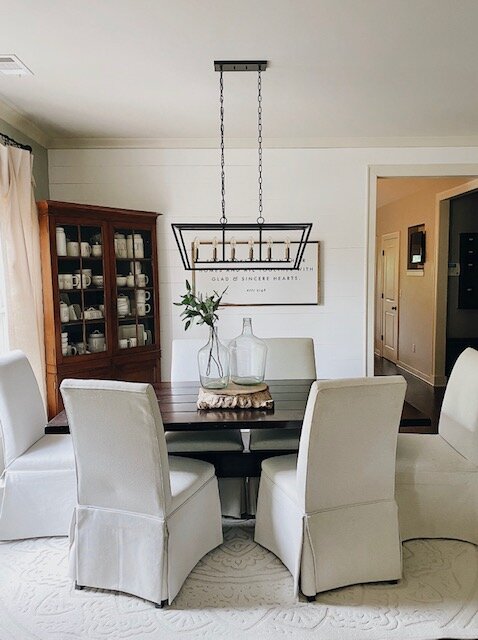
AFTER
This faux shiplap is not only easy to install, but it’s also about as budget-friendly as you can get. With the supply list and detailed step-by-step guide provided below, you will have the confidence to start building your faux shiplap walls in no time. Ready to get started?
TIP: We oftentimes share in our Instagram stories these DIY projects as they are happening, so be sure to follow along with both of us, here and here!
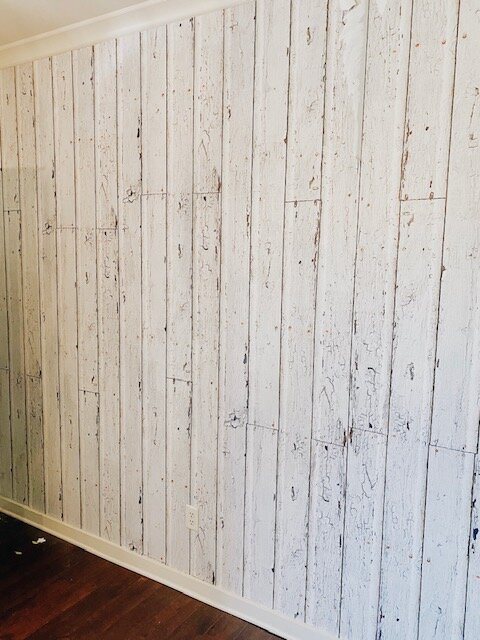
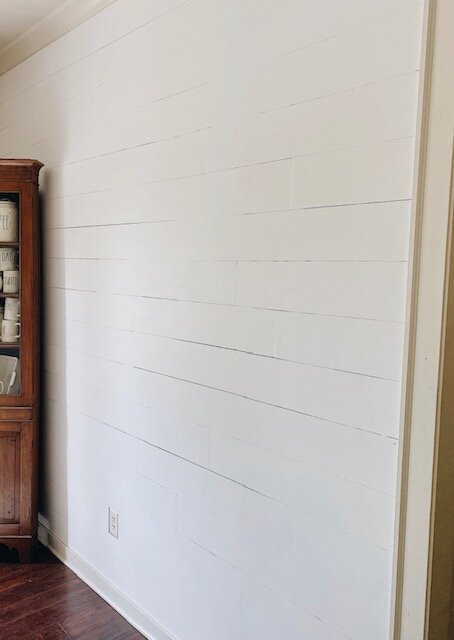
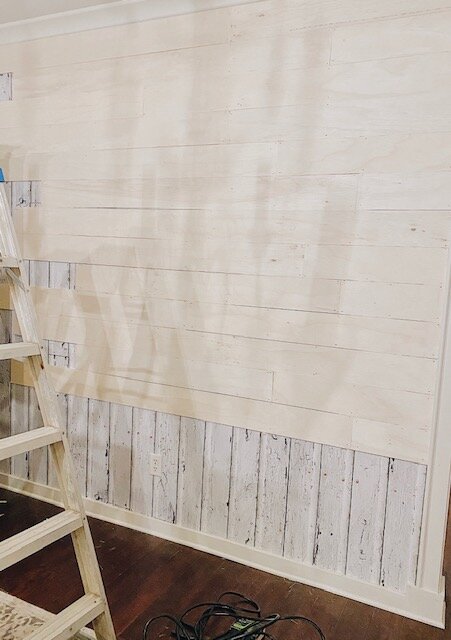
BEFORE
Before we begin, I wanted to show you our “before.” As you can see, our dining room wall was covered with wallpaper. While I enjoyed this look for some time, I was ready for something different. We knew we wanted to do shiplap! You may be asking, what is faux shiplap, though? Great question.
Real shiplap is either reclaimed wood or new wood made to look reclaimed. The dimensions are anywhere from 1 x 6 to 1 x 10. While beautiful, real shiplap can be very pricey. Our faux shiplap made from 1/4 inch sanded plywood retains much of the character of a real shiplap wall at massive savings.
Let’s jump in and see how we made our faux shiplap wall.
Supplies Needed For A Faux Shiplap Wall
-
1/4 inch sanded plywood sheets
-
A table saw, circular saw or other means to rip the plywood into 6-inch strips. (Don’t panic if you don’t have a table saw. See below.)
-
Liquid Nail and caulk gun
-
Brad gun or finishing nails
-
Wood Putty and a putty knife
-
Orbital sander or sandpaper
-
Paint, paint roller, and a brush
-
Painter’s tape
-
Level
-
Tape Measure
Keep reading for our step-by-step guide for installing a faux shiplap wall.
Step 1: Cutting Your Faux Shiplap Strips
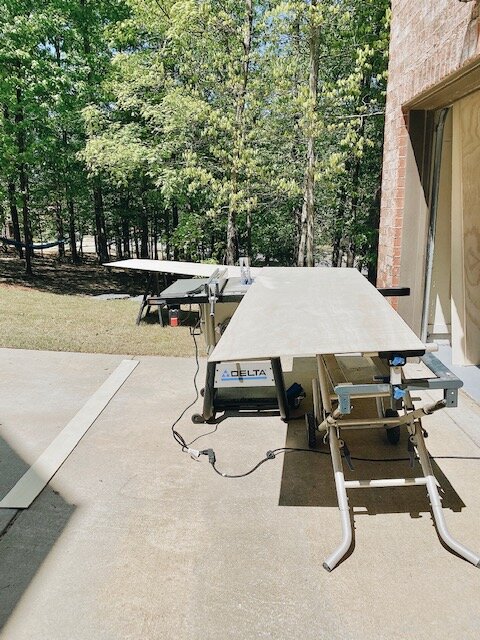
The faux shiplap strips start as 8ft x 4ft pieces of 3/4 inch sanded plywood. These can be purchased at any big-box home improvement store. As you likely know, a sheet of plywood is 32 square feet of wood. So, what you’ll simply need to do is measure the wall you want to cover and divide by 32 to get a rough idea of how many sheets you need to buy.
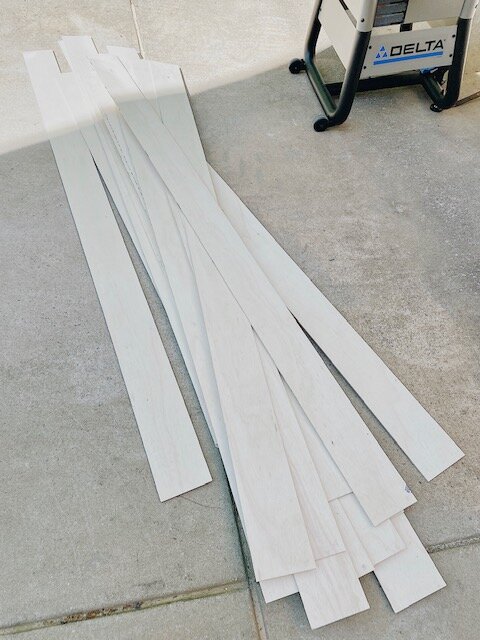
For our wall, we cut each sheet of plywood into 6-inch strips. 4-inch strips felt too small for us (though there are people who like a thinner shiplap look), and 8-inch strips felt too big.
We used a table saw to rip our plywood into the 6-inch strips. If you don’t have a table saw, you can use a circular saw, though you will want to use some sort of straight edge to make sure that your cuts are level.
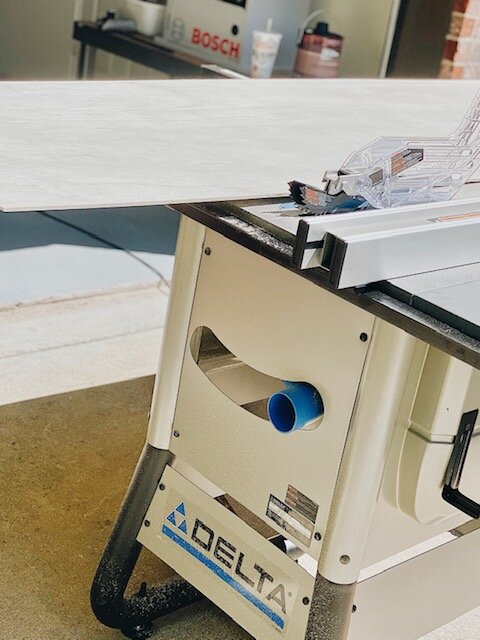
If you don’t have a table saw or a circular saw, don’t worry! If you purchase your plywood from a big-box store like Lowes or Home Depot, they have the means to cut these for you. Two things to note: 1) You may want to call ahead and let them know. This is a lot of cuts to make, and surprising them with “Hey, I need you to cut 50 strips of plywood for me” may not be the way to go. LOL 2) MAKE SURE they are cutting with the grain, not cross grain. This is important. You want your strips to be down the length of the plywood, with the grain (in other words, 8-feet by 6-inches). The way the saws are set up, the easiest way for them to cut is to “rip” the plywood into 4-feet by 6-inch strips. You don’t want this.
Step 2: Hanging the Shiplap on your Wall
You’ve made your strips, and you’re ready to go! Surprisingly, this is the easy part, though you have a few choices.
First, you need to ask yourself if you want to use spacers between your boards, or if you want to “float” your boards. Spacers create a very clean, uniform look. If this is what you’re going for, you’ll need to determine what you want to use for spacers in between your boards. Most people use tile spacers that are available at any hardware store. We chose not to use spacers because floating your boards creates a little more rustic look. ALSO, you may have noticed that we did not remove the wallpaper before we affixed our shiplap. For us, the time it would have taken simply didn’t justify it. We were likely going to float ours anyway, but the wallpaper sealed the deal. LOL. Decide what look you prefer, and either account for spacers or not.
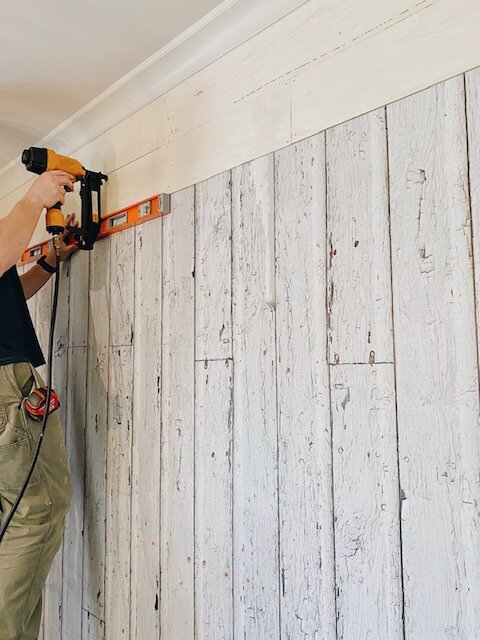
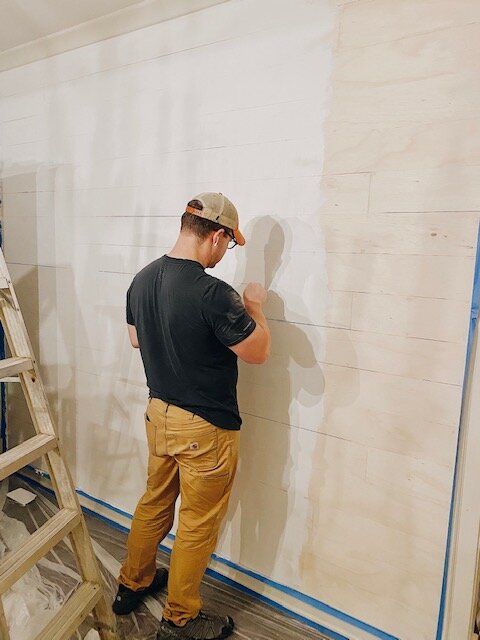
There are a lot of tutorials out there that only instruct you to use Liquid Nail OR brads/nails, but not both. Having hung many of these walls over the years, trust us when we say that you will want to use both. If you only use one or the other, there is a very high likelihood that your strips will buckle over time. We used both. So, for each strip, you’ll slather some Liquid Nail on, use your level to make sure your good to go (see pic below) and nail your board to the wall. We used a brad gun with 1 and 1/4 inch brads. (The boards are super thin, so if you use a brad gun, you’ll need to make sure you’ve got it dialed in just right.) You can use hammer and finishing nails, but you’ll need to make sure you have a nail press to recess your nails.
Leveling your shiplap wall as you go is important! Don’t rush it. Put on some good music (we recommend a little George Strait) and have fun.
Step 3: Filling and Sanding your Shiplap Wall
OK, so, this is a fun project. But this is the part that’s not so fun. Haha. But it is rewarding! You’ll need to go back and fill all your nail holes. If we’re doing a project with MDF board, we’ll often use caulk or drywall spackle. We’ve found that for sanded plywood, Plastic Wood (or another wood putty) works best.
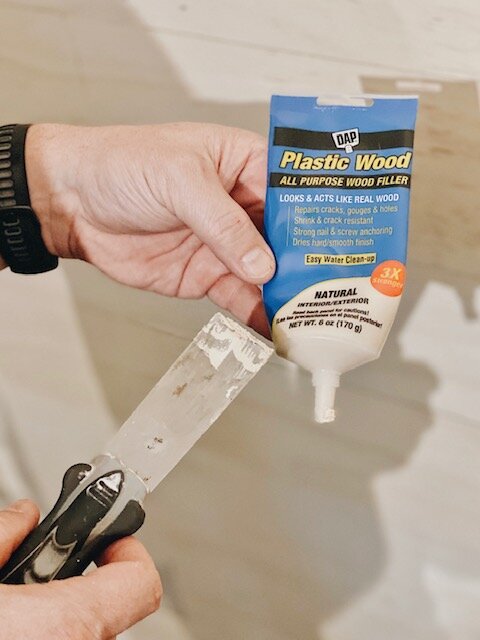
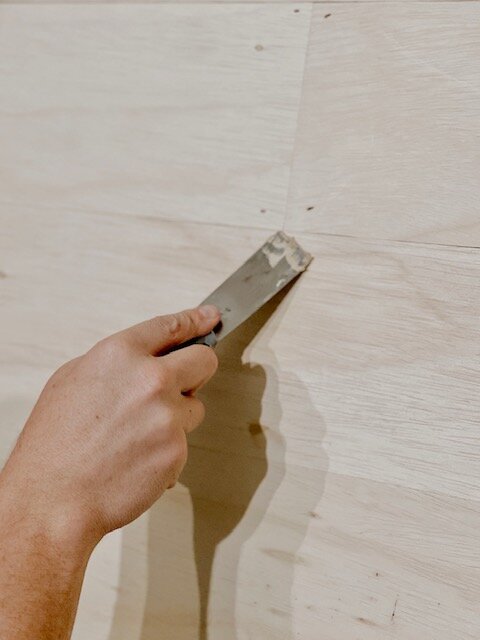
Taking your putty knife, apply wood putty to your nail holes. We also apply it to the ends of your strips where they butt up to each other. Allow it to dry according to the directions on the package, and then sand down flush using an orbital sander or sandpaper.
Step 4: Painting your Shiplap Wall
Now you’re ready to paint. There’s not a ton of advice we have here other than this: sanded plywood will SOAK UP the first coat of paint. If you are trying to cut costs and skimp on your paint, you may find yourself needing three coats. We used a higher-end, “one coat” paint and still needed two coats. We’d suggest budgeting $30-40 or so to get a nicer paint so that you don’t have to do three coats.
TIP: If you don’t use spacers and opt to float the boards, you’ll want to make sure you minimize paint in the cracks between your boards. You can do this by lightly loading your roller to begin with, and putting a thinner first coat on. But inevitably, you’ll get paint in between your boards. You can take your putty knife or a pocket knife, and as the paint is drying, simply run it between the boards, wiping the excess off your knife with a rag to prevent buildup. If you’ve used spacers, this is a little easier. You can use a business card or an envelope and just run it in between your boards.

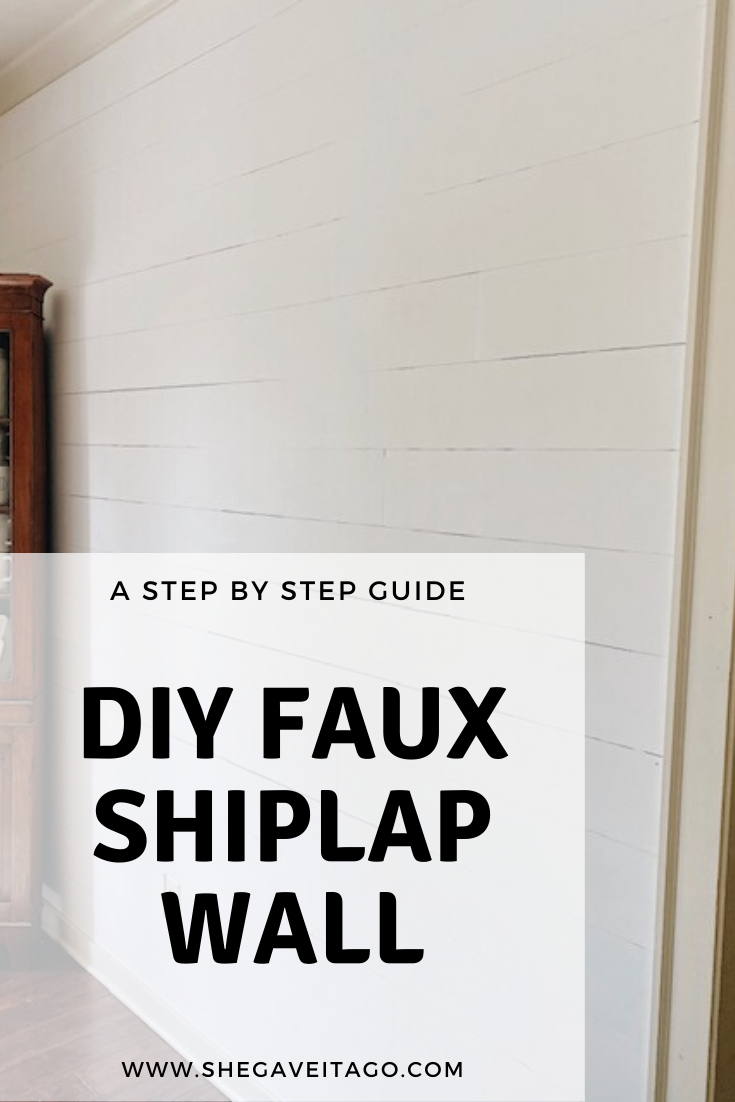
Step 5: Step Back and Admire Your Shiplap Wall
What do you think? We couldn’t be more excited to share this step by step guide with you and hope you will give it a go too. It adds so much character to any wall(s) in your home.
I would love for you to stay in touch by becoming a She Gave It A Go Insider! Get weekly tips, encouragement, special deals, and more!
Sign up HERE and receive a FREE DIY Guide for making any table the perfect chippy paint table.
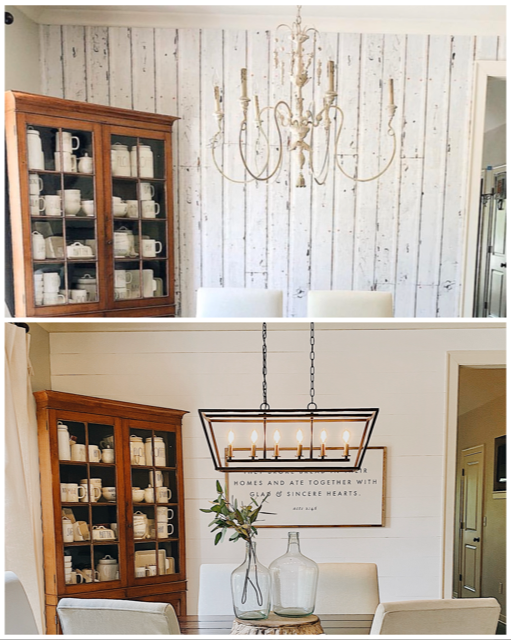
BEFORE AND AFTER
If you enjoyed this DIY post, I recommend you checking out these posts too:

[…] DIY Faux Shiplap Wall here. […]
[…] DIY Faux Shiplap Wall HERE. […]
[…] their walls. This Old House has a thorough tutorial on installing your own wainscoting, and we love She Gave It a Go’s play-by-play on how she pulled off her own faux shiplap […]
[…] fit fairly well in a much more setup. A gorgeous instance is this living-room included on shegaveitago Look into the tutorial to see exactly how its decoration transformed as well as exactly how this […]