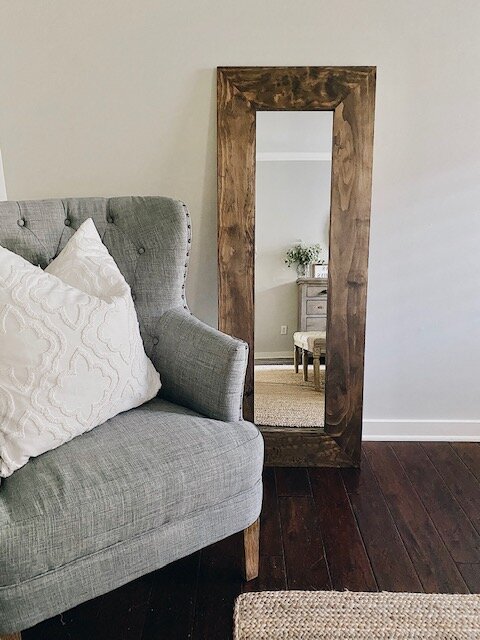
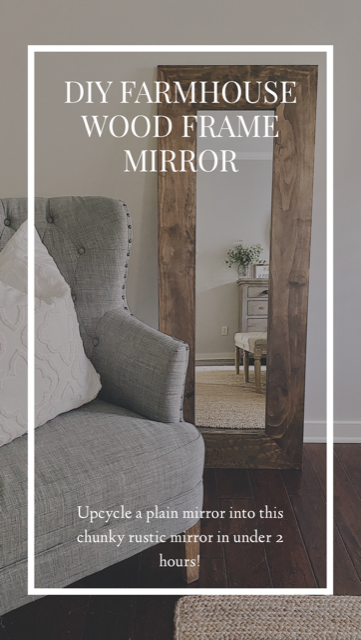
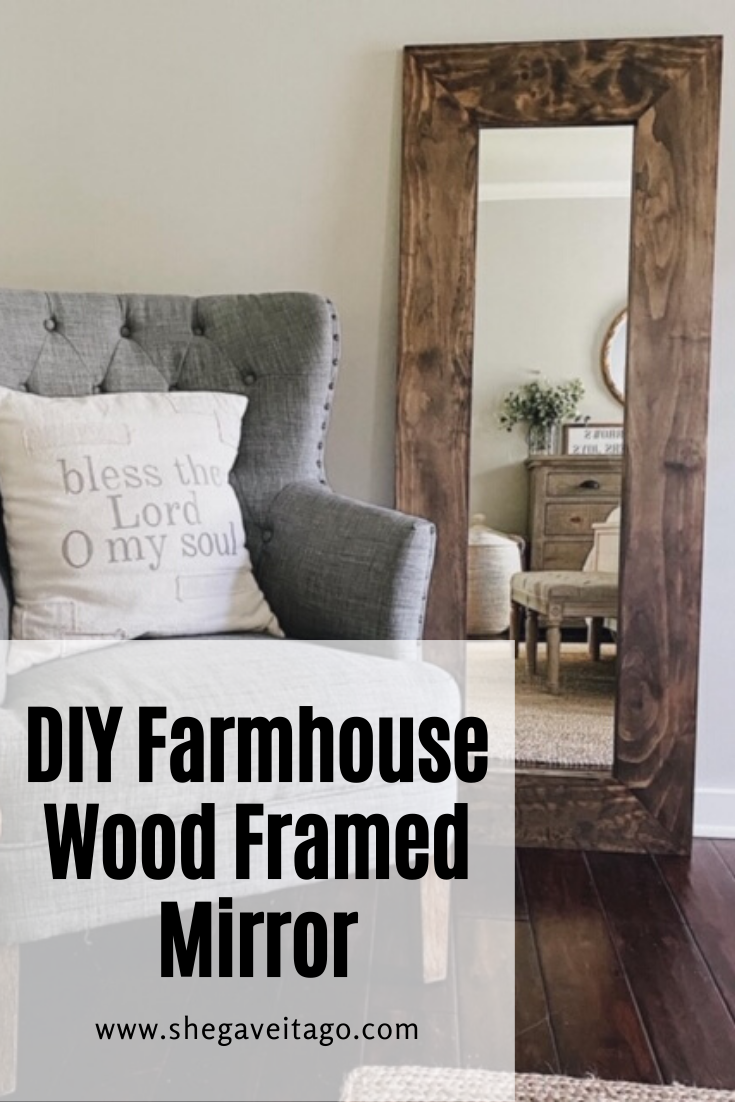
This step-by-step guide will walk you through how to make this DIY farmhouse wood framed mirror. The project itself only takes two hours or so, and depending on the supplies you have on hand, it costs no more than about $30. We cannot believe what a transformation this mirror took when applying these steps, and we are excited to share it with you.
DIY Farmhouse Wood Frame Mirror Tutorial
This wood frame mirror tutorial contains some affiliate links. If you click on these links and buy something, I make a commission at no cost to you.

AFTER
I have been wanting a farmhouse style, full-length mirror in our bedroom for some time now but without the high price tag! I found this plastic-framed mirror from Target that was $6.99 and with my husband’s woodworking skills, I knew we could create the chunky wood mirror I had been dreaming of.
TIP: We oftentimes share in our Instagram stories these DIY projects as they are happening, so be sure to follow along with both of us, here and here!
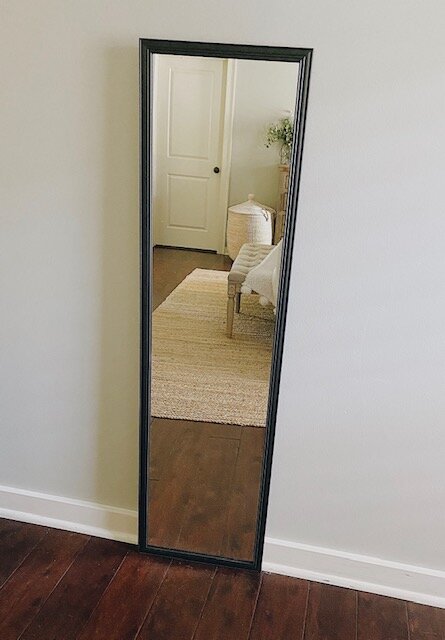
BEFORE
We are going to give you some options along the way that will allow you to take a few different paths based on your available tools and your woodworking/DIY skills. But overall, if you can do some math, measuring, cutting, and gluing you can knock this DIY out of the ballpark. The transformation is so rewarding and this mirror is an awesome addition to any farmhouse/rustic style home. Now let’s get started!

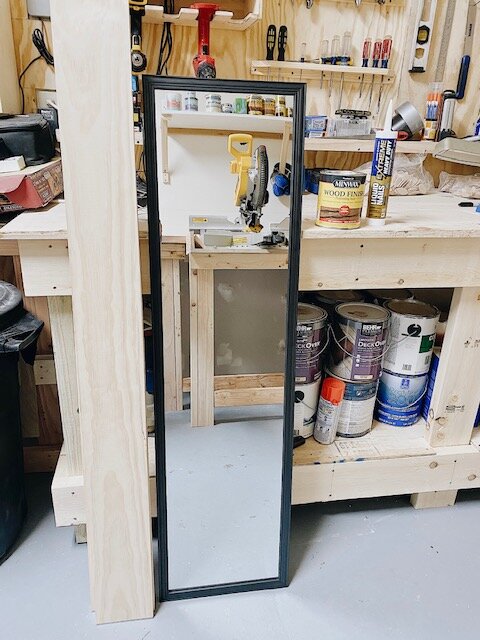
Supplies Needed For A DIY Farmhouse Wood Frame Mirror:
-
Inexpensive Mirror
-
Utility knife
-
Wood Stain (we used Dark Walnut as our stain color)
-
1 x6 Wood (enough to frame your mirror based on your mirror’s dimensions)
-
Liquid Nail
-
Wood glue
-
A saw that can cut miters (45-degree angle cuts)
-
Screws and a drill OR staples and a staple gun
Step One: Backing and Frame Removal
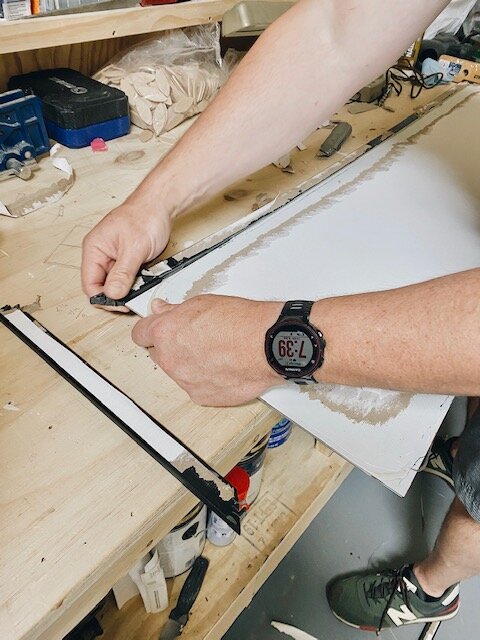
This is easier than it looks. Using your utility knife, tear off the backing so you can get to the strip of glue holding the frame on the mirror. Cutaway the glue so that you can pull apart the frame. Pull away and discard.
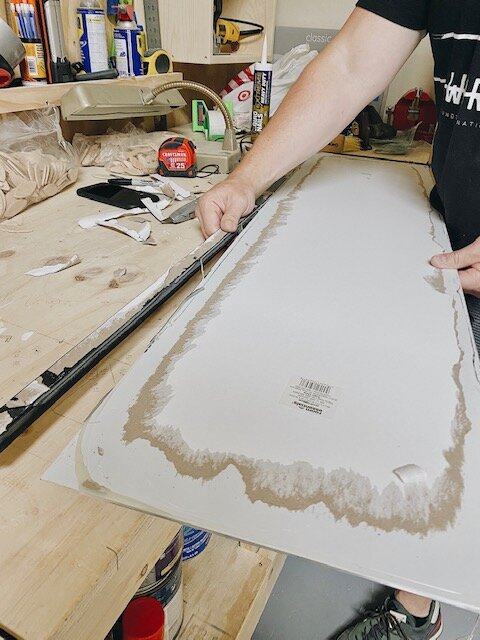
Step Two: Cutting The 1 x 6 for your Wood Frame Mirror
For this step, you’ll need a saw configuration to cut your frame. You will need to make 45 degree angled cuts. We used a compound miter saw. But if you don’t have one, a very inexpensive set-up that you’ll find a lot of use for is to purchase a miter box and saw kit. If you Google “miter box saw” you’ll find lots of options for under $20.
When you cut your frame, you need to allow for some overlap so that you can have an edge to glue your mirror to. It’s pretty simple. If you want a half-inch strip to be able to glue to (which is what we did), simply make your cuts an inch shorter than the width and length of your mirror. For example, the width of our mirror was 12 inches. We cut the board for the top of our frame at 11 inches. Same for our length. Our length was 48 inches, so we cut the sides 47 inches.
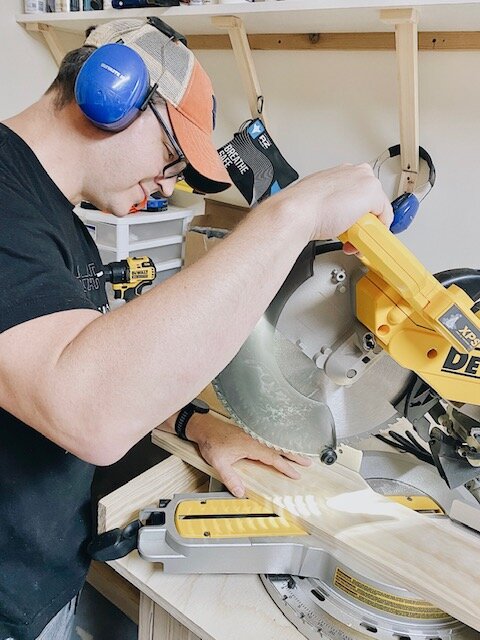
Step Three: Assembling the Frame
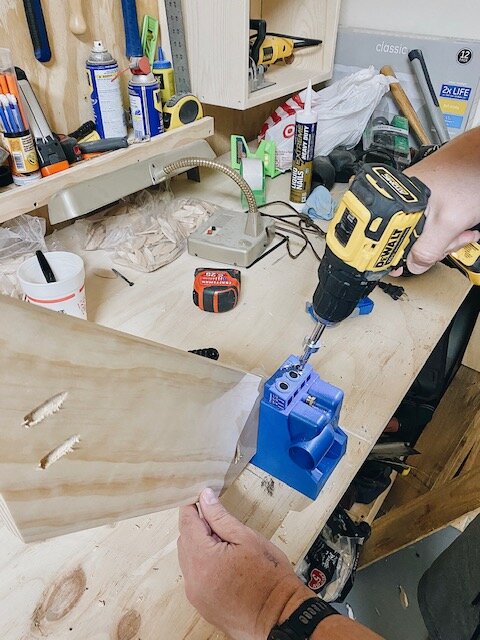
This is where you have some options. We used the Kreg pocket hole system, and we can’t recommend this enough if this sort of DIY is something you do often. Pocket holes allow for a really strong frame without having to know any advanced carpentry. So, for this mirror frame, we drilled pocket holes. But there is another way to assemble your frame.
If you don’t have the desire or the means to use the Kreg system, you can use a staple gun and staples to fix your frame. Focus on making your frame as tight as possible.
Whether you use staples or pocket holes, we suggest adding some wood glue before you assemble just for extra strength.
Step Four: Staining your Wood Frame Mirror
We used a Dark Walnut stain by Minwax and it turned out really well. We learned a long time ago that for this type of project, you don’t need to brush on the stain. It takes forever and the results don’t look any different than our method. For a great finish, simply take an old rag and generously wipe down your frame with stain. Have another old rag to wipe off the excess. We put two coats on ours, but only because we wanted a darker look. One coat would have sufficed.
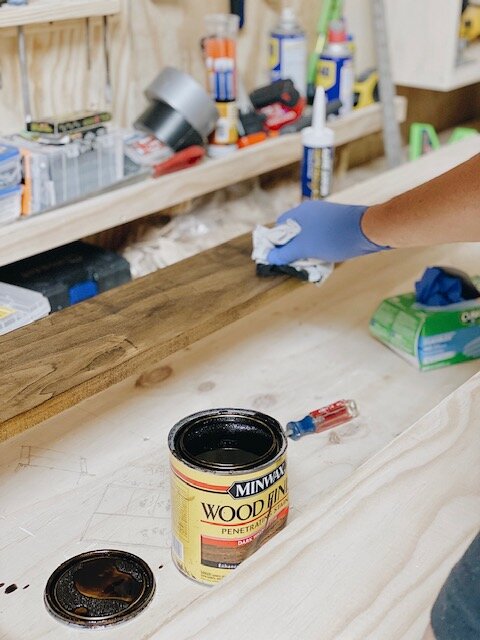
Step Five: Gluing the Mirror
Once the stain has dried to the touch (which doesn’t take long), flip your frame over. We cut our frame to account for a half-inch “lip” to glue the mirror onto. To help know exactly where to glue the mirror, we measured a half-inch all the way around the inside opening of our frame and drew guide marks. This way we could get the mirror in exactly the right spot.
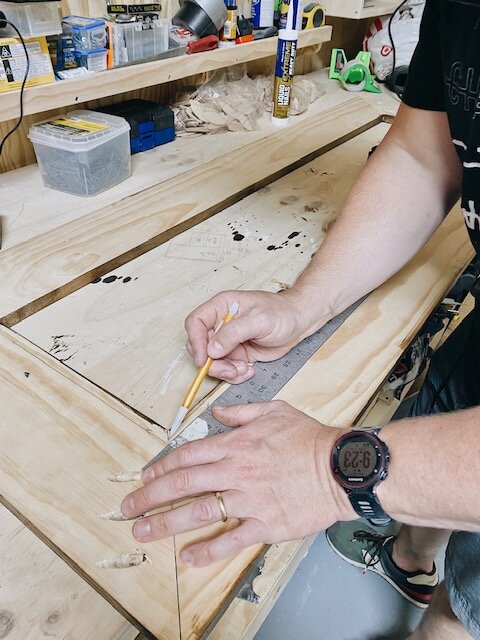
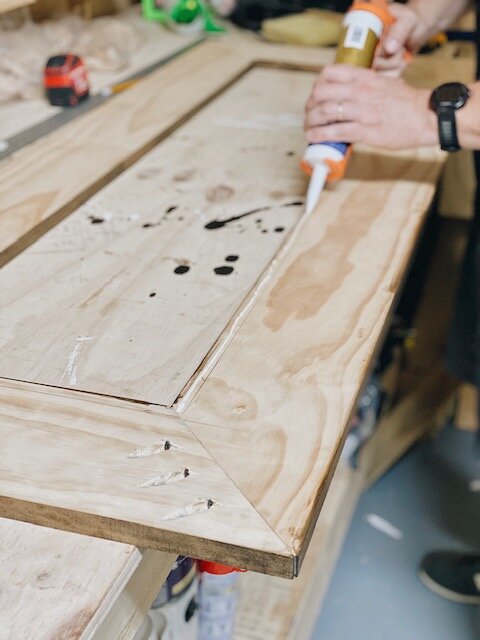
Using Liquid Nail, we ran a thin bead around the half-inch strip. DO NOT OVERDO THIS. A little Liquid Nail goes a long way, and any overage will be visible when you turn your mirror over. Once you’ve run your strip of glue, simply lay your mirror on the glue, using your guidelines to make sure it’s where it needs to be.
Apply pressure all the way around, and if you want, you could put something moderately heavy on top to ensure the glue holds. We didn’t do this and it worked just fine. But, it doesn’t hurt to go the extra mile! Follow the drying instructions on the Liquid Nail tube, but we let ours dry overnight and it was fully set up by the next morning.
(TIP: If you do have extra glue that has seeped over into your mirror, don’t panic. It’s easily scraped off with a utility knife and a putty knife.)
That completes our tutorial for making this farmhouse wood framed mirror. We are so pleased with how it turned out and hope you will give it a go too. With just a few supplies and tools and a couple of hours you will have an awesome, chunky mirror that you will enjoy daily!
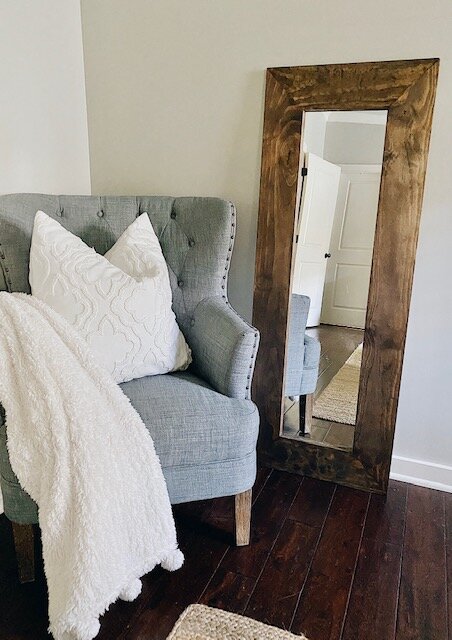
You can shop this chair here, pillow here, and rug here.
I would love for you to stay in touch by becoming a She Gave It A Go Insider! Get weekly tips, encouragement, special deals, and more!
Sign up HERE and receive a FREE DIY Guide for making any table the perfect chippy paint table.
Now, check out what several of my blogger friends are sharing! There are so many amazing repurpose/upcycling ideas linked below that I know you will love trying out too.
14 Repurpose Project Ideas
Egg Carton Crafts String Lights – My 100 Year Old Home // DIY Furniture Restoration – Grace In My Space // Butterfly Kaleidoscope Art – The Handmade Home // Moss Covered Tin Can Vases – The Happy Housie
Easy Tin Can Project – Happy Happy Nester // 3 Ways To Repurpose Your Candle Jars – Modern Glam // Gold Leafed Wine Bottles – Cassie Bustamante
Faux Cement Planter DIY – Craftberry Bush // DIY Wooden Ball Mirror – Zevy Joy // DIY Tabletop Tiki Torch – My Sweet Savannah // Canvas Banner Hoop Wreath – Lolly Jane
DIY Wood Slice Serving Board – Taryn Whiteaker Designs // DIY Farmhouse Wood Framed Mirror – She Gave It A Go // Faux Mother of Pearl Inlay Tray – A Blue Nest


This looks amazing! I love how you used a simple old mirror and updated it so beautifully!
Hi Krista!
Thank you so much for your kind feedback! I am so glad you love it.
Have a wonderful day,
Brendt
[…] Diy Farmhouse Wood Framed Mirror (via She Gave It A Go) […]
[…] Click Here […]