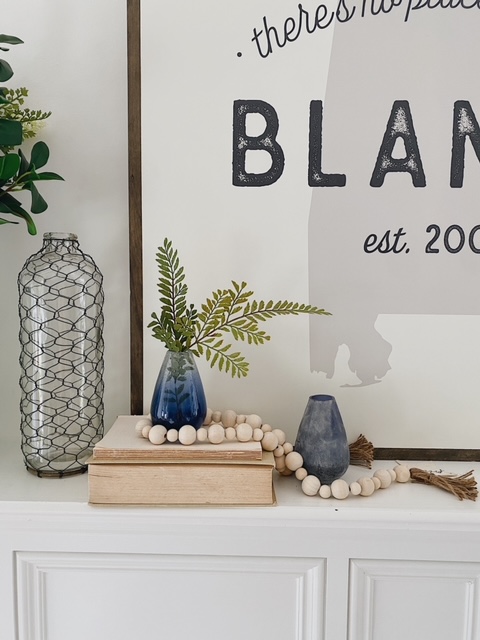
DIY beaded garland on mantel
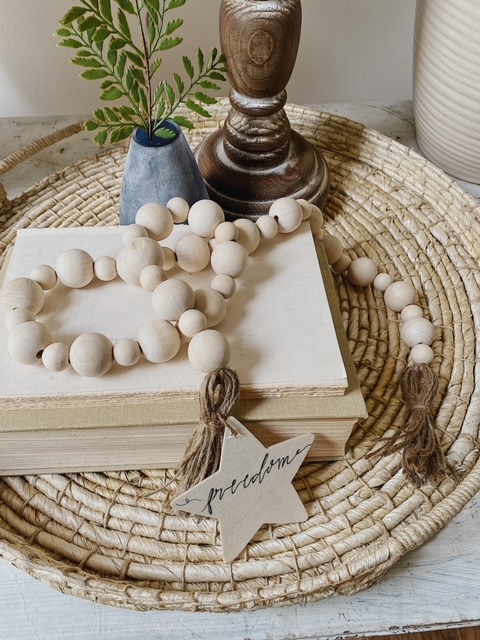
Styled garland for a summer vignette.
PIN NOW, SAVE FOR LATER!
Summer Crafts: DIY Beaded Garland Tutorial
I love a DIY beaded garland! I’ve used them in our home for a while now and even shared a spring beaded garland last year here. This includes painting the beads, which can be done with this garland as well if you so choose! I decided to keep this DIY garland simple and natural with a splash of summer you’ll notice there on one end of the garland. Can you spot it?
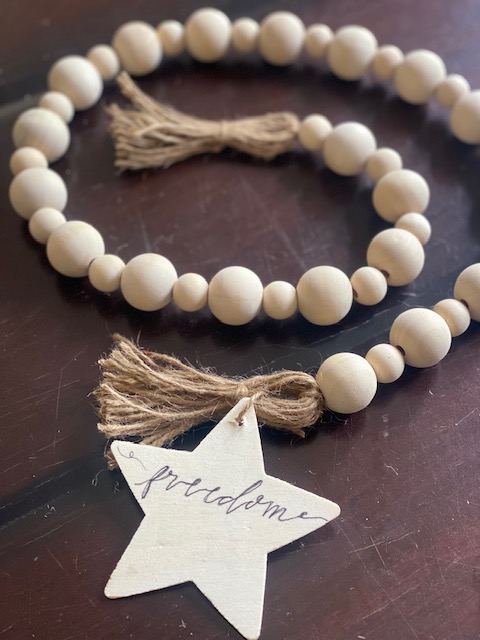
Summer wood bead garland with wood star.
DIY beaded garlands are the perfect layer to vintage jugs or draped across a coffee table stack of books. These wood beads painted in spring colors are sure to brighten up your spaces and provide amazing texture. Plus, the tassels are easy to make and the perfect finishing touch.
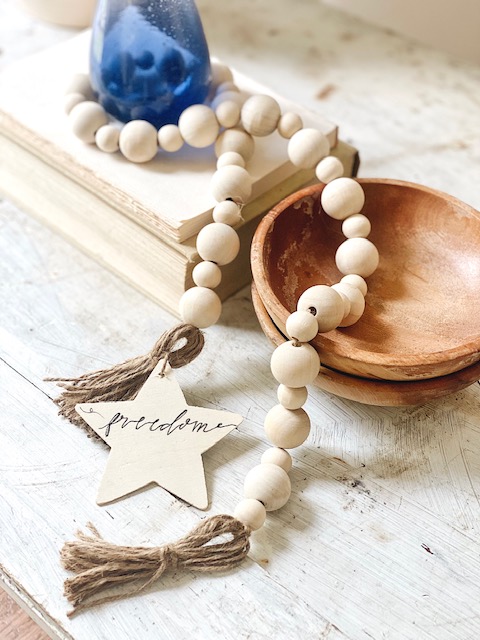
Summer garland draped across books and bowl
There are endless possibilities of how to use them in your home. I show you throughout this post various stylings and hope one may inspire how to use the one you make in your home. Are you ready to get started?
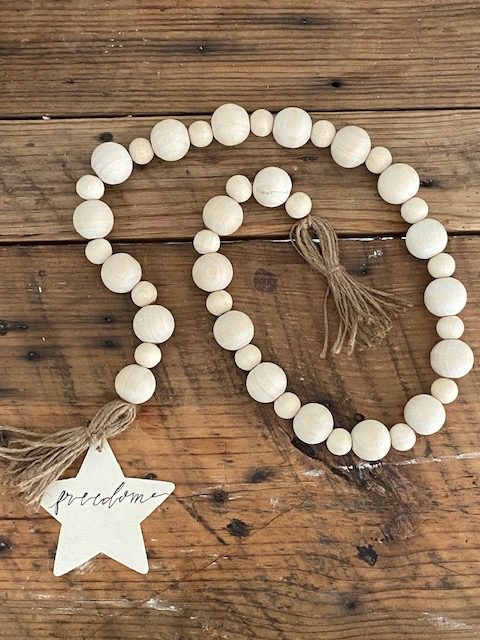
DIY beaded garland
Supplies I used to make the DIY beaded garland:
- Wood Beads (I would recommend not grabbing ones too small, as it may be difficult to string them).
- Jute twine
- Scissors
- Wood star (or other summer accessory)
- Tape (optional)
Directions for the DIY beaded garland:
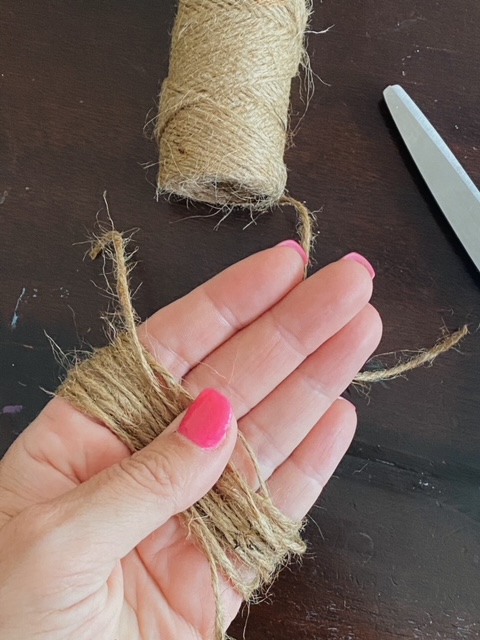
Twine tied for tassel
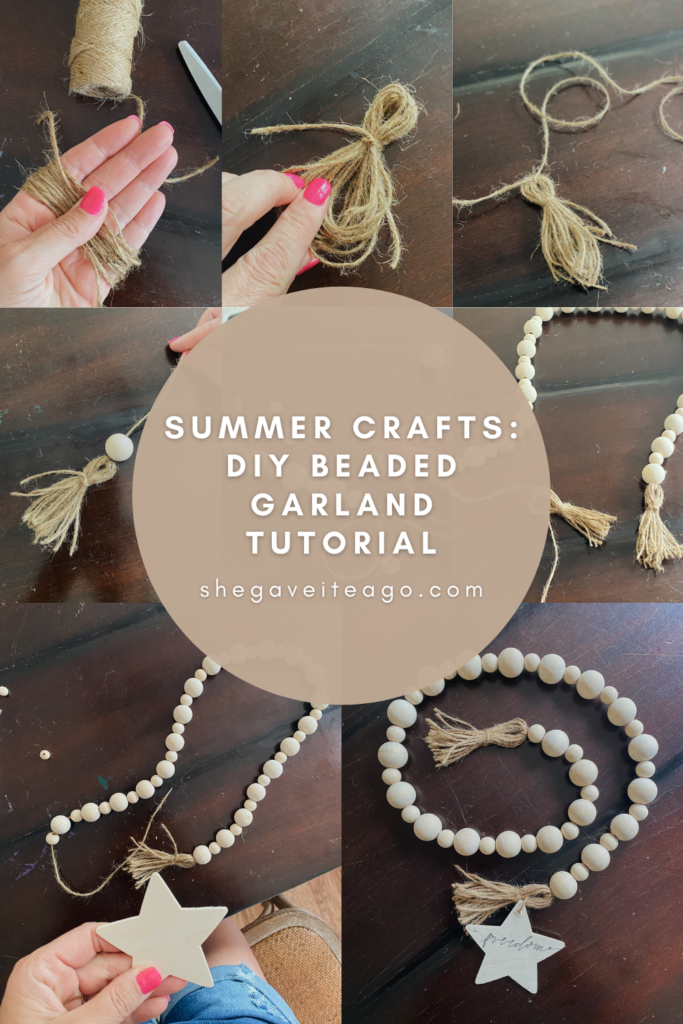
I started with making the tassel that would go on one end of the garland. Tassels are very simple to make and are that cherry on top with garlands. You can use your hand or a piece of cardboard paper and just start wrapping it around and around until you get the thickness you prefer for your tassels (just be sure to count your wraps, so you do the same for the other tassel). Then you will slide it off your hand or cardboard and tie a piece of the twine to hold it in place.

Make a circle with your twine and knot it.
I made a secondary loop to my tassel by squeezing the “circle” together and tying it toward the upper 1/3 of the circle. Do you see how it created that little circle above the “fringe” of the tassel now?
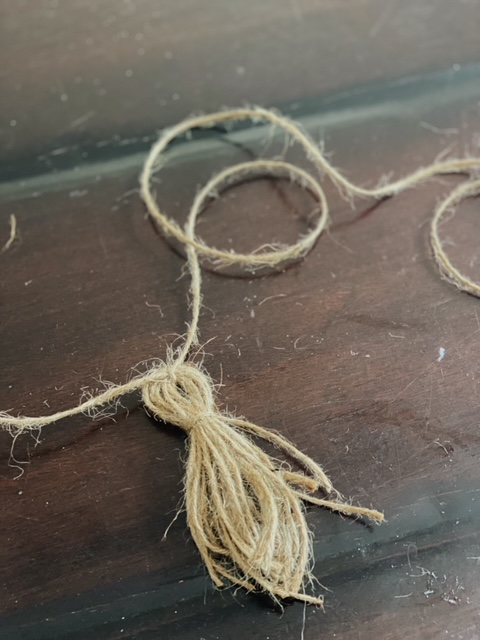
Twine ready to string the beads
Lastly, for the tassels, take a long (at least the length of your garland) piece of your twine and pull it out. On the other end, tie it around the top of the tassel to secure it in place. Now you are ready to start stringing your beads.
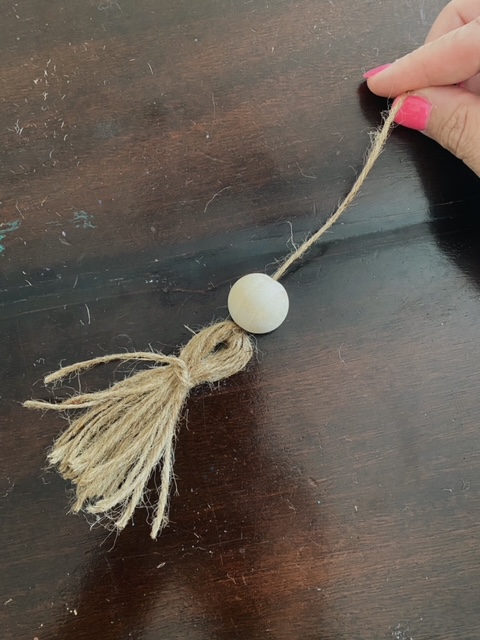
String your beads now!
Your DIY beaded garland can be all the same size beads or you can vary it up with a pattern like I did. I used two different sizes, one larger and one medium. Simply string them onto your twine and repeat till you’ve almost reached the end of your rope.
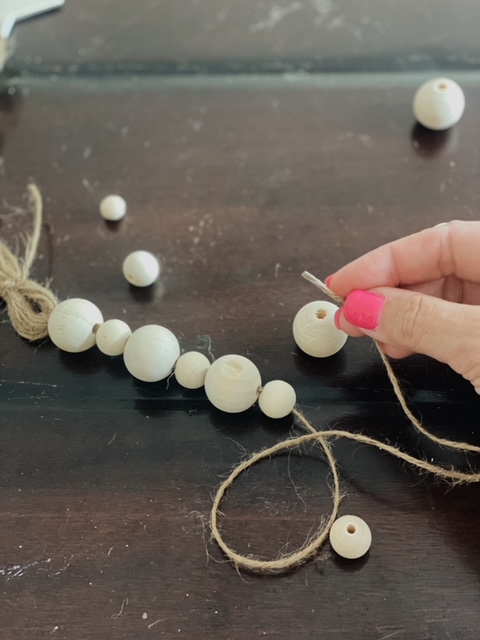
Pattern your beads
Now, you simply make another tassel and repeat the above steps. For this summer craft, I added a wood star and wrote the word “freedom” on it. I love how easy it was to add something as simple as a wood cutout to create a seasonal feel.
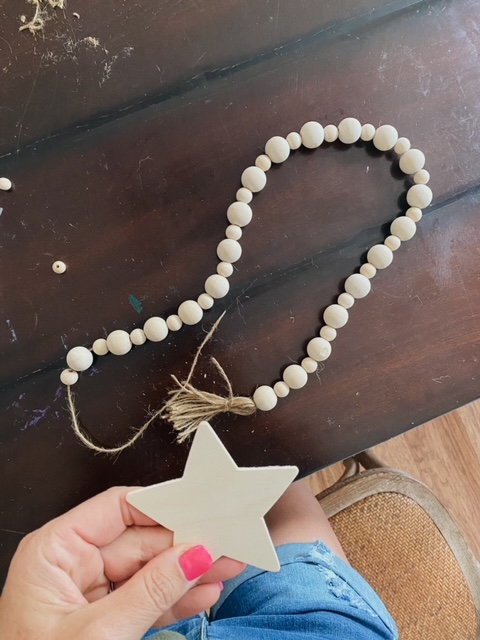
Wood star for your summer craft
Now, you can take the garland and find a place for it in your home. Where do you imagine yours going this summer?
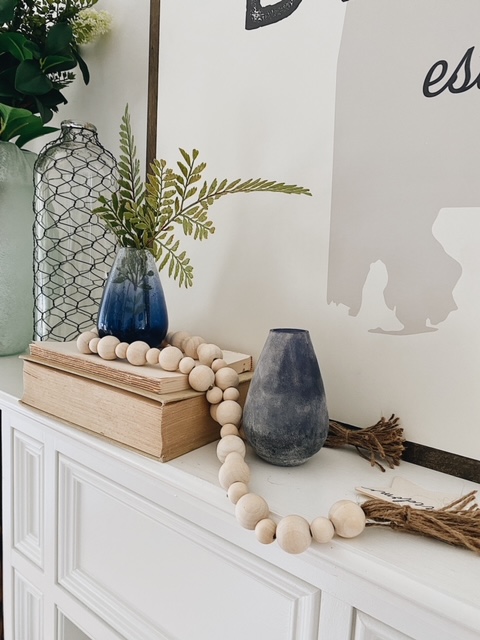
DIY beaded garland on mantel
Some of my favorite ways to use DIY beaded garland include:
-
Sitting in a bowl
-
Wrapped around glass vessels (jugs, jars, vases)
-
Draped across a rustic ladder
-
Mantel decor if you have several strands you can drape and layer
-
Sitting atop a book stack
-
Wrapped around terra cotta pots
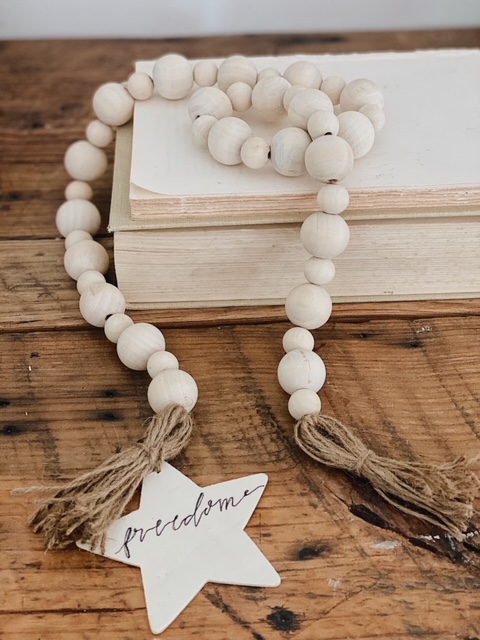
DIY beaded garland on books
I would love for you to stay in touch by becoming a She Gave It A Go Insider! Get weekly tips, encouragement, special deals, and more!
Sign up HERE and receive a FREE DIY Guide for making any table the perfect chippy-paint table.
Have you made a DIY beaded garland before? Let us know in a comment below!
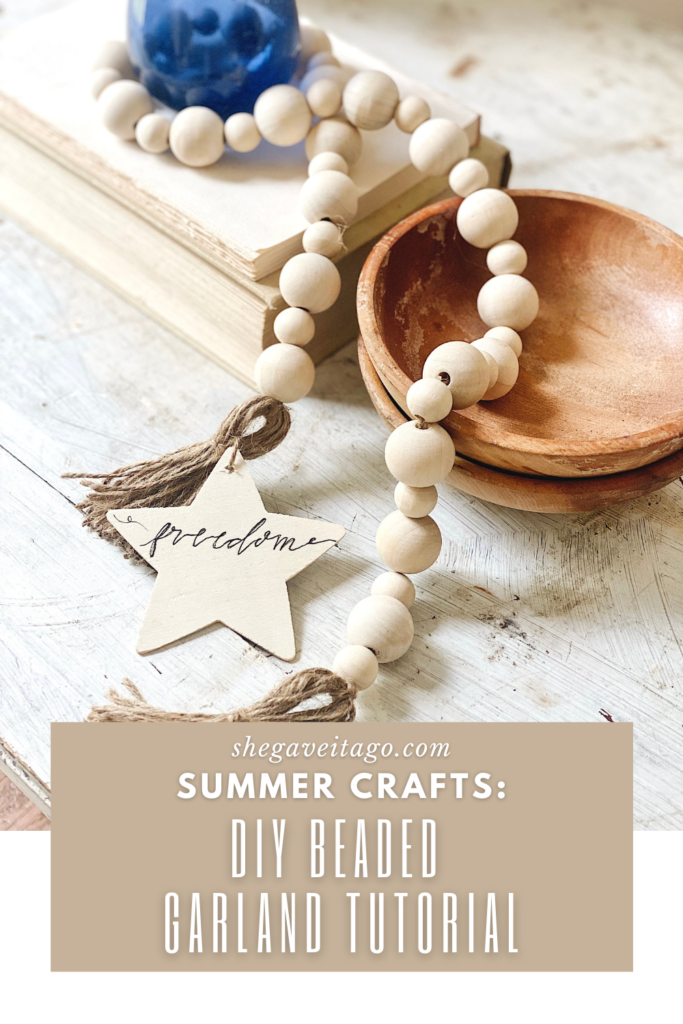
PIN NOW, SAVE FOR LATER!
This week I’m joining some of my talented blogging friends for the Summer Seasonal Simplicity Series: DIY/Craft Project Hop. Be sure to check out all of the creative summer DIY ideas by visiting the links under the images below.
DIY Crate Succulent Planter at The Happy Housie
Poppy and Fern Front Door Planters at Inspiration for Moms
DIY Beaded Garland at She Gave it a Go
DIY Tic Tac Toe Board Game at Modern Glam
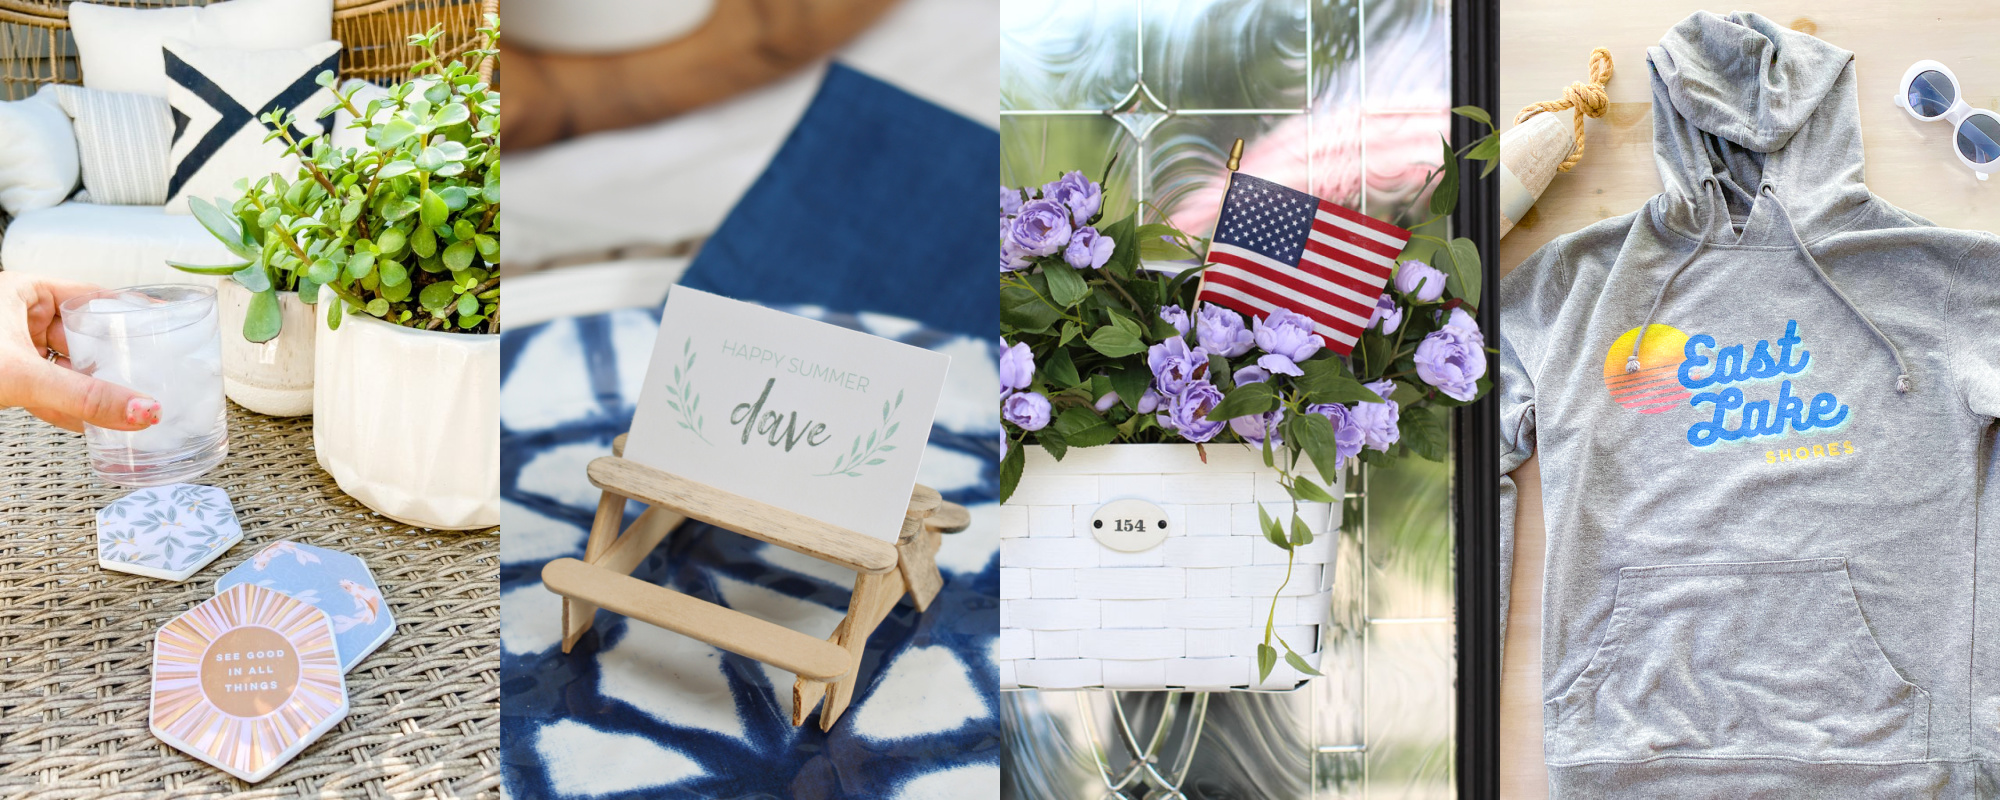
Summer Decoupage Concrete Coasters at Tatertots and Jello
Popsicle Stick Picnic Tables at Clean & Scentsible
Summer Basket Wreath from a $3 Thrift Store Find at Confessions of a Serial DIYer
DIY Custom Hoodies for Summer Fun at Rambling Renovators
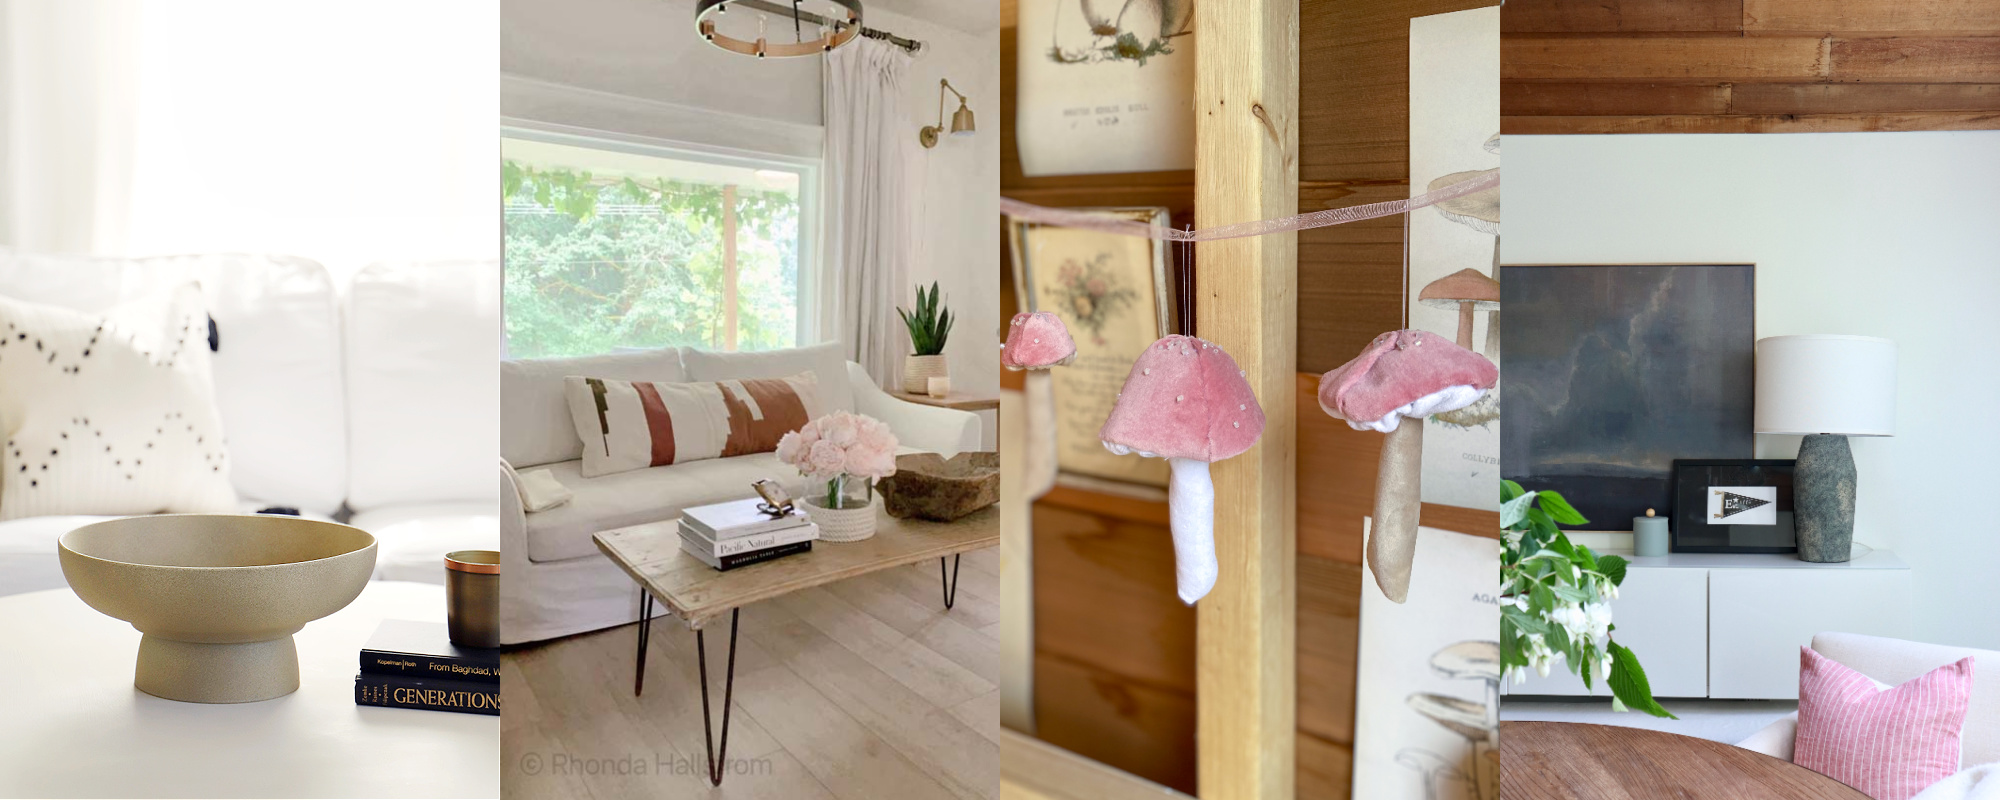
DIY Pedestal Bowl at Paint Me Pink
Dollar Store Hacks at Hallstrom Home
DIY Velvet Mushroom Cap at Life is a Party
Free 4th of July Printable at My Sweet Savannah
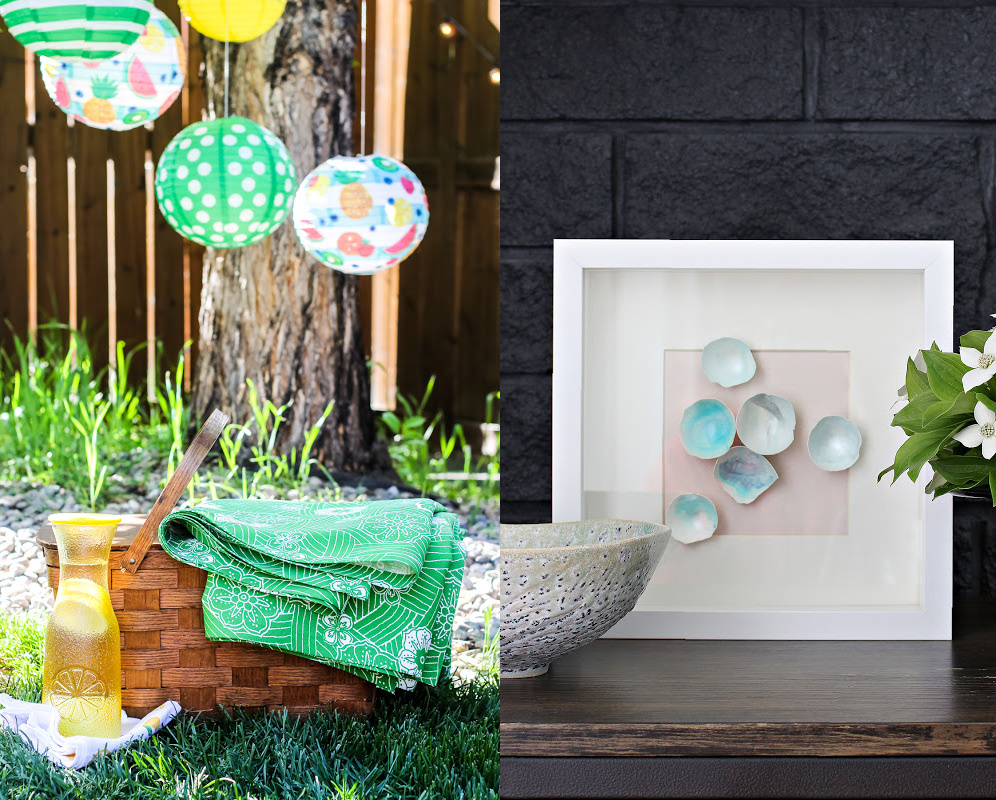
DIY No Sew Outdoor Tablecloth or Picnic Blanket at A Pretty Life
DIY Egg Shell Art at Dans le Lakehouse
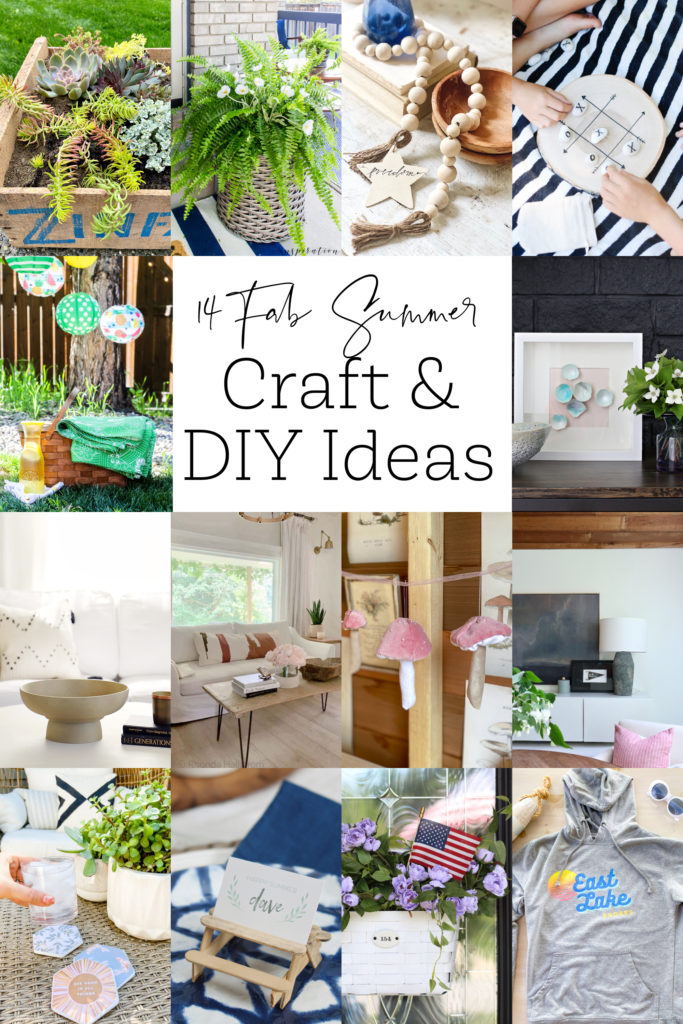
PIN NOW, SAVE FOR LATER!

[…] DIY Beaded Garland at She Gave it a Go […]
Super cute and a perfectly subtle addition to your summer decor! XOXO
Hi Christy,
Thank you so much, friend!
I appreciate you stopping by and love being on this blog hop with you.
Warmest,
Brendt
[…] DIY Beaded Garland at She Gave it a Go […]
I love this Brendt – so simple! In fact it was on my summer DIY list – glad I didn’t do the same project 🙂 Yours turned out beautifully!
Hi Krista!
Thank you so much friend, and…great minds think alike haha!
I hope you do end up making one, they’re so fun and easy to make. Love being on this hop with you!
Have a beautiful day,
Brendt
[…] DIY Beaded Garland at She Gave it a Go […]
I love this! I’ve been wanting to make beaded garland!
Hi Norma,
So happy to hear that, friend!
Thank you so much for stopping by and love being on this blog hop with you.
Happy Summer,
Brendt
[…] Succulent Planter at The Happy Housie Poppy and Fern Front Door Planters at Inspiration for Moms DIY Beaded Garland at She Gave it a Go DIY Tic Tac Toe Board Game at Modern […]
[…] Planter at The Happy Housie Poppy and Fern Front Door Planters at Inspiration for Moms DIY Beaded Garland at She Gave it a Go DIY Tic Tac Toe Board Game at Modern Glam Summer Decoupage […]
[…] and, more times than not, I enjoy making it myself. For example, it was fun making this summer bead garland with a full tutorial I shared with you just a few months […]