This post contains affiliate links. If you click on these links and buy something, I make a commission at no cost to you.
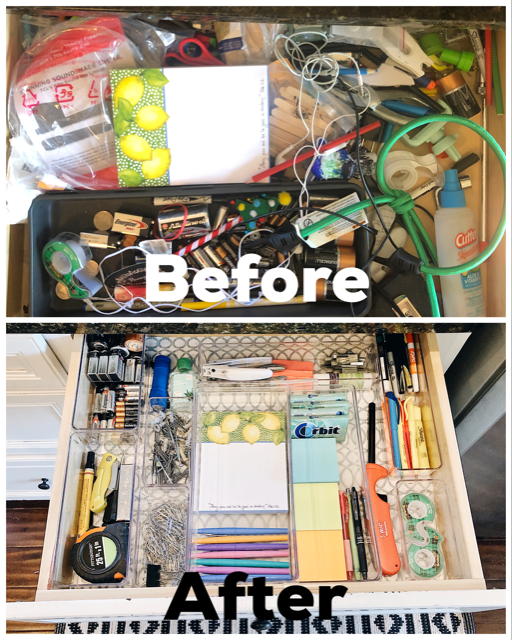
I have been excited about starting some organizing projects around here like I did last year at this time, and what better place to start than our kitchen junk drawer! Who can relate to the before? Almost every house has a drawer (or 2) like this. But over time if it does not have the right organizing pieces, it will get cluttered and not function well.
That is where this one was before yesterday. In under an hour, you can transform a small space into one with a big impact for day to day living. Plus, a small change (like one drawer) can lead to big changes when done throughout your home. So starting here felt doable, and once I was done, felt wonderful!

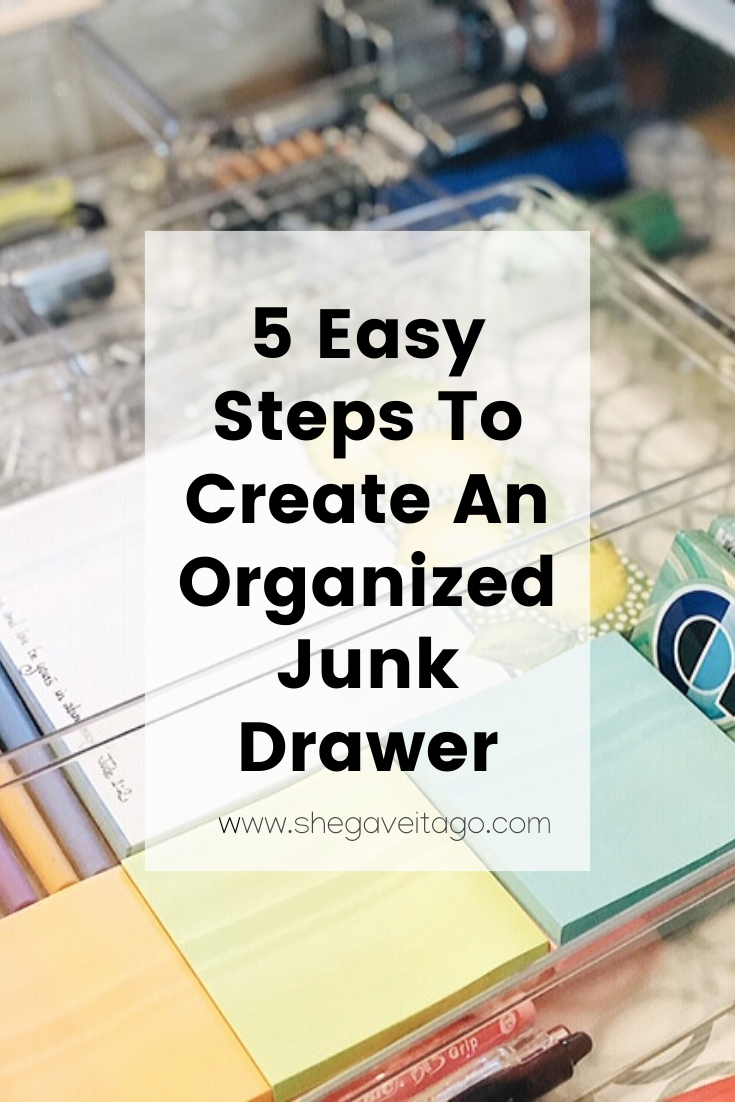
Check out these five easy steps when creating an organized junk drawer:
Step one: Empty the drawer completely!
Take everything out of the drawer, every bit of it! Then, take everything you’ve emptied and divide items into one of the categories: trash, keep, give away. Once you have your keep pile, then divide that into those items that you are keeping to put back into the junk drawer and those items your keeping but have a different home than the junk drawer (for me it was several items like the Popsicle sticks, car keys, extra tools, and colored pencils).
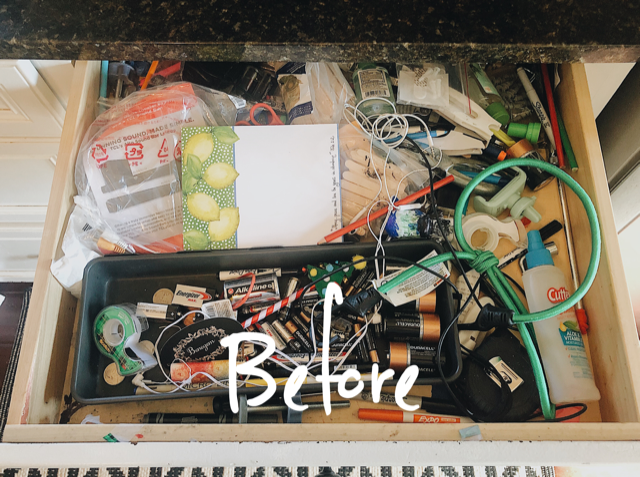
BEFORE
Step Two: Wipe Down And Clean The Drawer
Over time, our junk drawer had collected grit and grim as well as other things like loose staples and dirt. Further, we had little hand that had made marker marks in the drawer and a great trick for those it using a magic eraser. After scrubbing our drawer, the magic eraser was able to get out all the stains and markings. Wipe it out one more time to not have any dust or other things left in there. It feels so nice and clean now!
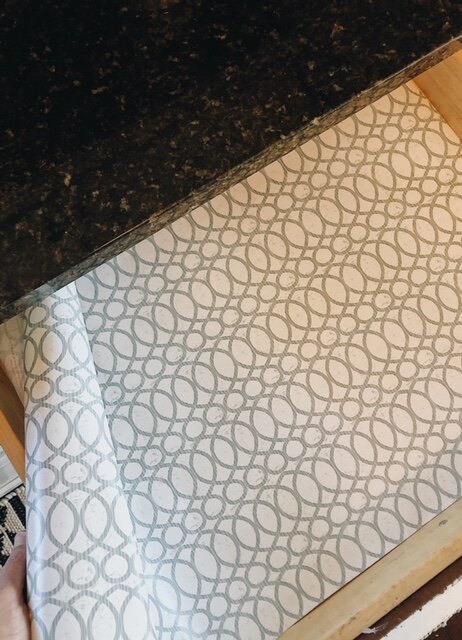
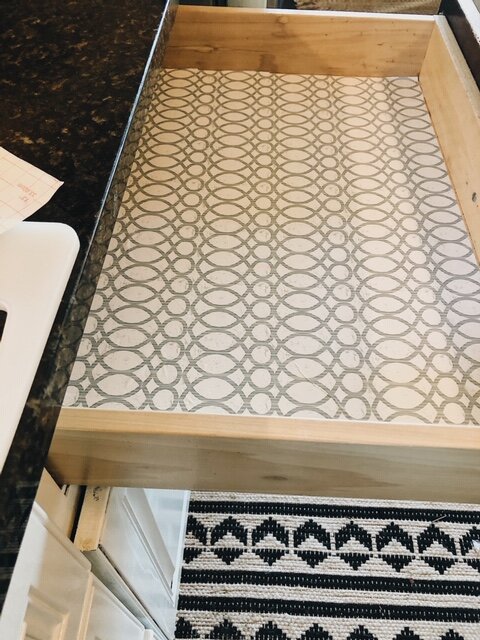
Step Three: Line The Drawer
Line your drawer to give it some color and pattern! You can find my contact paper here (it’s on sale!). Plus, you’ll have a lot left over you can use on other projects!
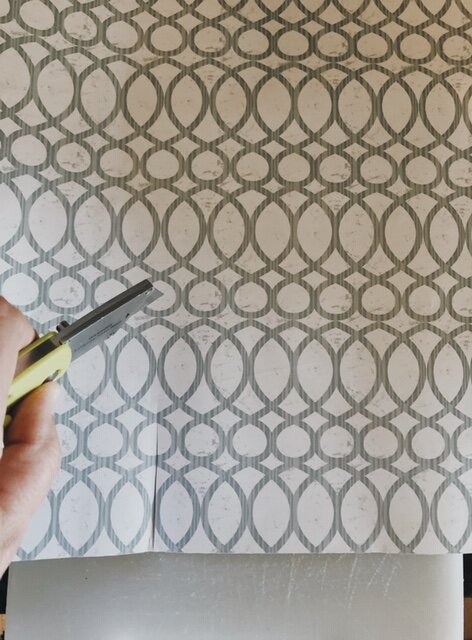
The easiest way for me to do this was to roll it out and create a crease with my finger on how wide I needed to cut it. Then I grabbed my xacto knife and a cutting board. This contact paper was easy to cut because of the pattern repeated and I just went straight down the middle of the design.
Once you have it cut to size, the first line against one side of the drawer is most important to get right! Line up the corners and make sure the line is straight before going any farther. Peeling the back of the contact paper off as you go prevents it from being a sticky mess haha! Once you have it laid out, grab a credit card or other tool (I had one from applying removable wallpaper) and press out any bubbles and press into the sides to really get a good seal on it.
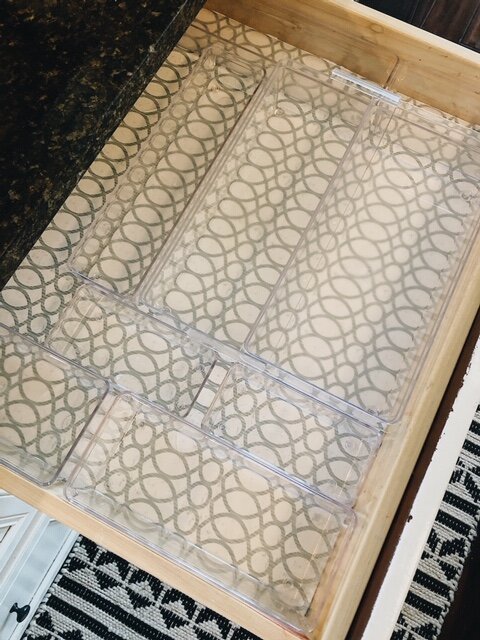
Step Four: Measure Your Drawer And Gather Drawer Organizers
Measuring the width, depth, and height of your drawer will be so important when deciding what drawer organizers you’d like to use. There are several options when organizing your drawer; you can use organizers you already have on hand, cardboard boxes cut to size, or finding new ones that work to hold the items that will be going back in this drawer. I bought mine for this project, and I’m sharing the links below as well as other options.
-
The containers I used can be found in small, medium, and large drawer organizer kits. I highly recommend these kits; it’s so easy to buy the kit that has multiple sizes and shapes ready to go!
-
This one here is a kit specifically for shallow drawers.
-
An under $10 here!
-
5-piece set and on sale here!
-
An expandable option here (also on sale)!
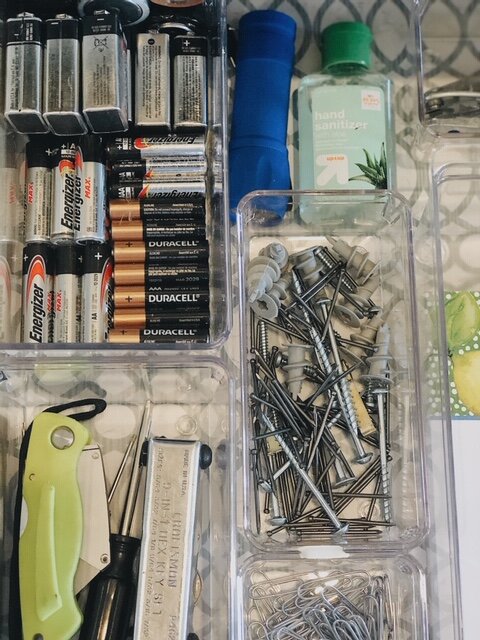
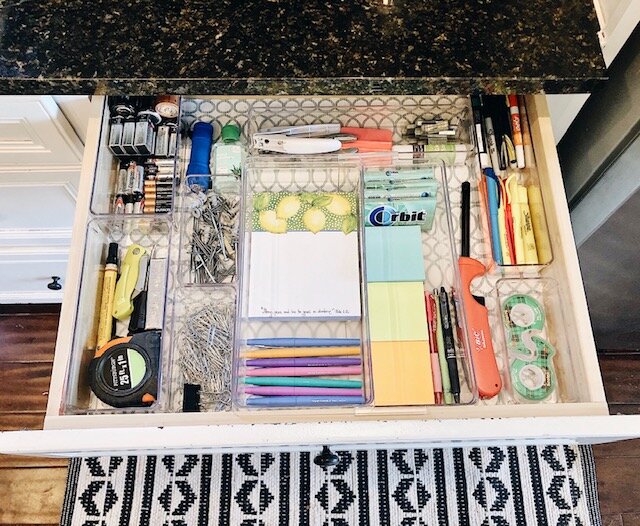
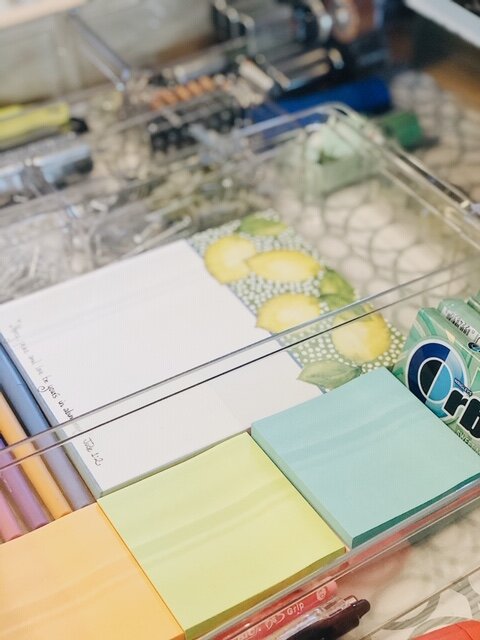
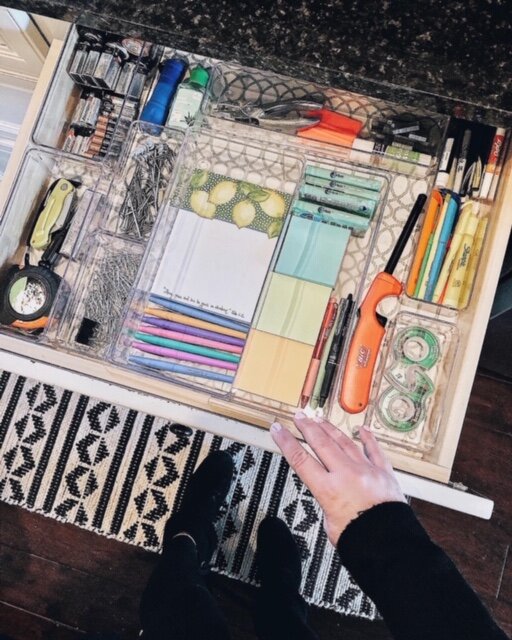
Step Five: Fill Organizers By Grouping Like Items Together
This step is really fun! There is nothing like having a drawer that is all cleaned out and organized according to you and your family’s needs. The goal is for it to function and hold things that your own family use on a daily or regular basis. For us, we have a mix of things including pens, paper, measuring tape, nails, gums, post-it notes, etc. For you it may be other things. Now let’s check out that before again…then the after!
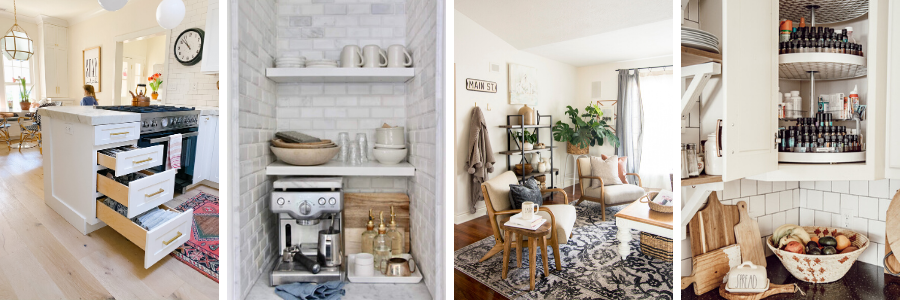
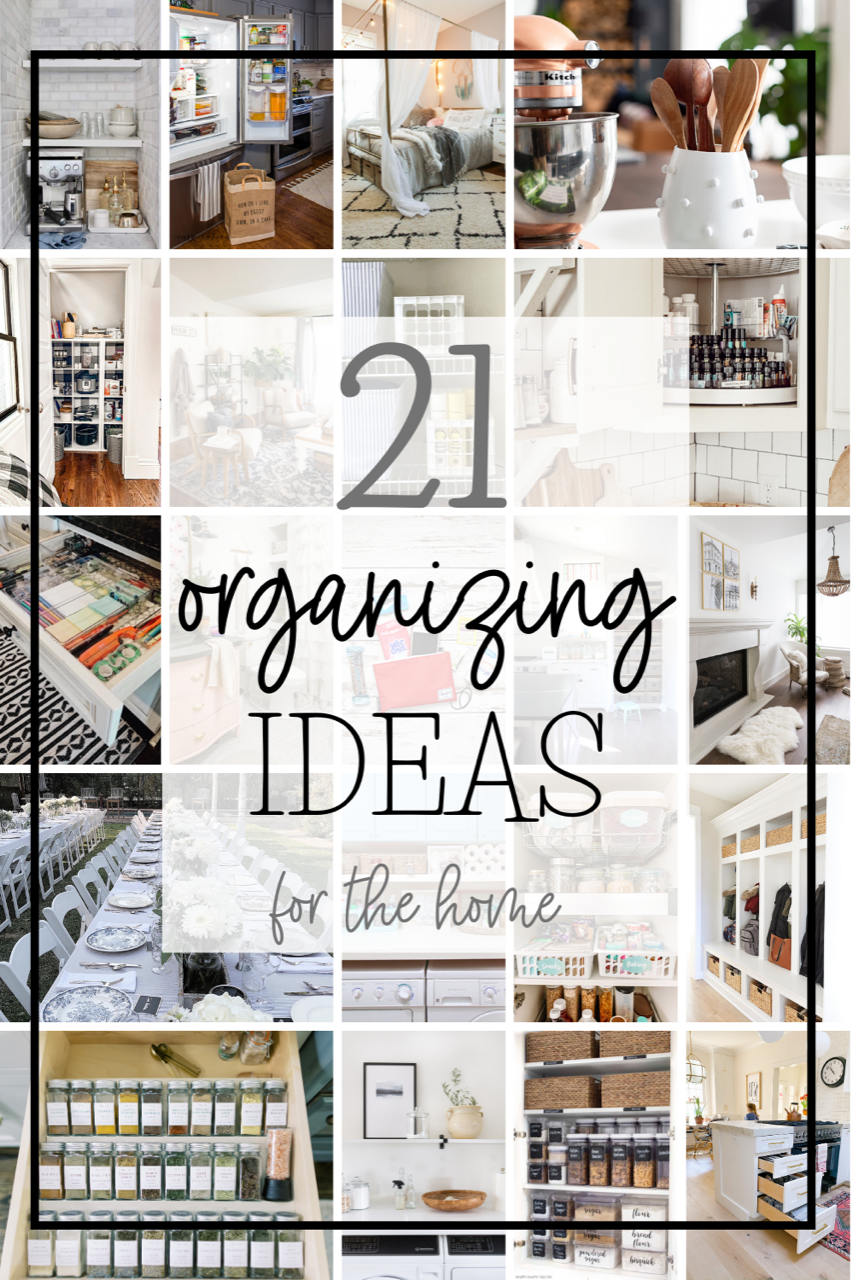
Be sure to check out all of my blogger friends organizing posts. These are sure to motivate and inspire you!
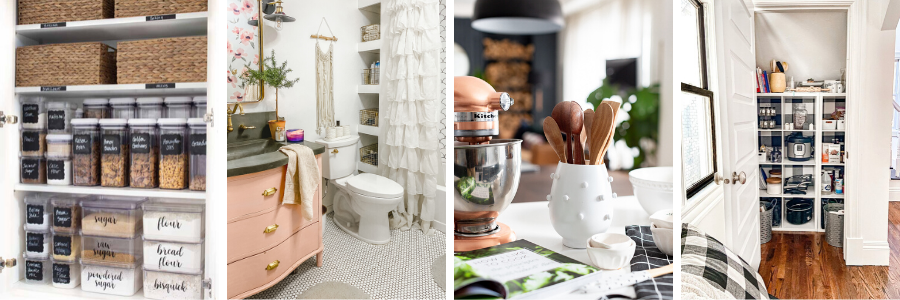
9 Tips For Kitchen Organization – Happy Happy Nester || Bathroom Organization Ideas – Lolly Jane // Textured Polka Dot Utensil Holder – Craftberry Bush // Turn a Closet into a Pantry – Tatertots & Jello
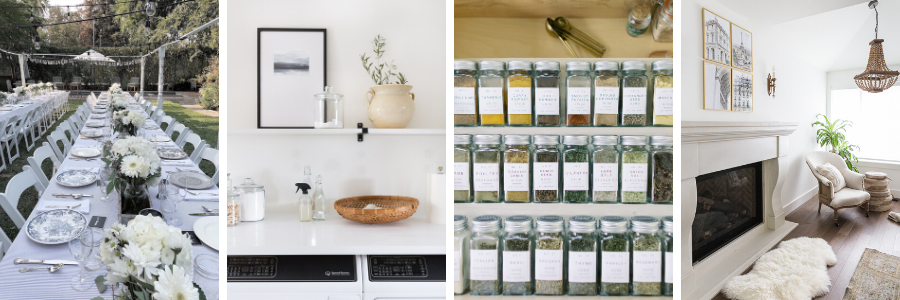
Organizing Your Party Planning – My 100 Year Old Home // Organizing Laundry Supplies – Zevy Joy // Spice Drawer Organization – Finding Lovely // How to Declutter and Decorate a Beautiful Home – So Much Better With Age
How To Organize Kitchen Drawers – Modern Glam // How I Keep My Home Organized – My Sweet Savannah // Whole Home Organization Ideas to Declutter Your Life – Grace In My Space // Medicine Cabinet Organization Ideas and Tips – Twelve On Main
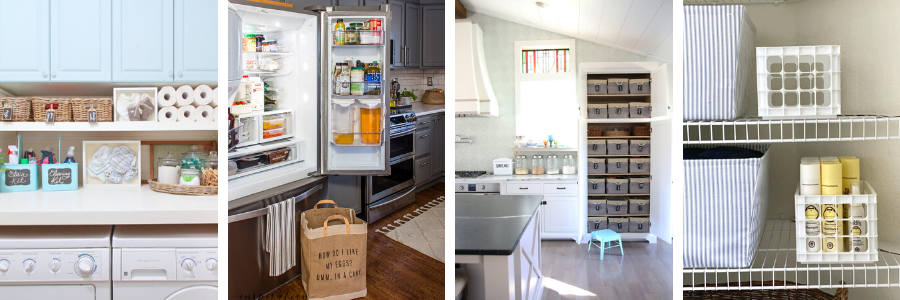
10 Week Organizing Challenge – The Happy House // Fridge Organization and Storage – Inspiration for Moms // How to Organize Your Pantry – The Handmade Home // A Budget Friendly Linen Closet Makeover – The Tattered Pew
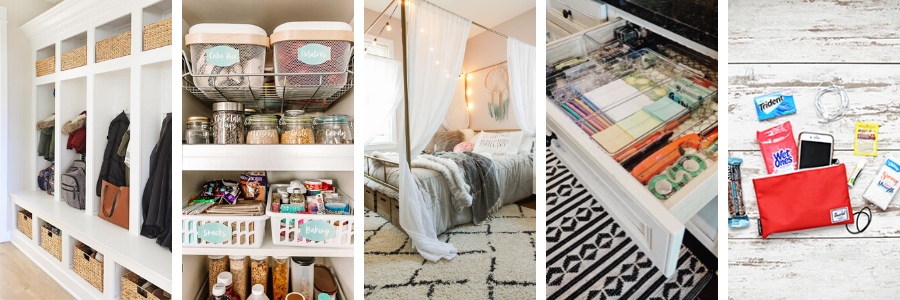
Mudroom Lockers Organization – Two Twenty One // Small Pantry Organization Ideas – The DIY Mommy // How to Organize Kids’ Rooms – Cassie Bustamante // 5 Easy Steps To Create An Organized Junk Drawer – She Gave It A Go // Organizing Tips for Traveling with Kids – Pink Peppermint Designs

I need to do this! Love those clear containers. I pinned this to my organizing board so I can remember to do it!
xoxo