[This post on how to make a symmetrical gallery wall contains sponsored links. The items featured and linked in this post were all provided by JOANN; all opinions and reviews are my own.]
Do you have family photos displayed in your home? A while back I attended a friend of mine’s digital photography class in her home. I noticed how she had several family photos displayed in her home and I loved looking at them. During her class she encouraged those of us attending to get images off our computers/phone and have them out to enjoy. She inspired me to get more of our memories printed and framed.

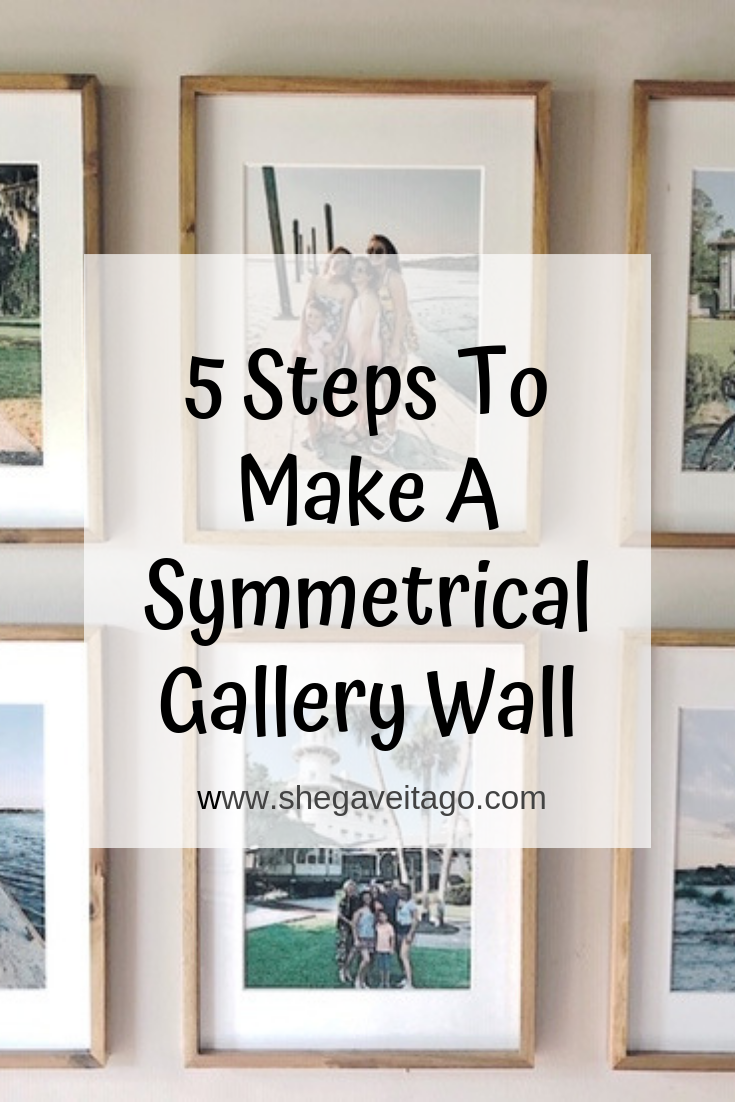
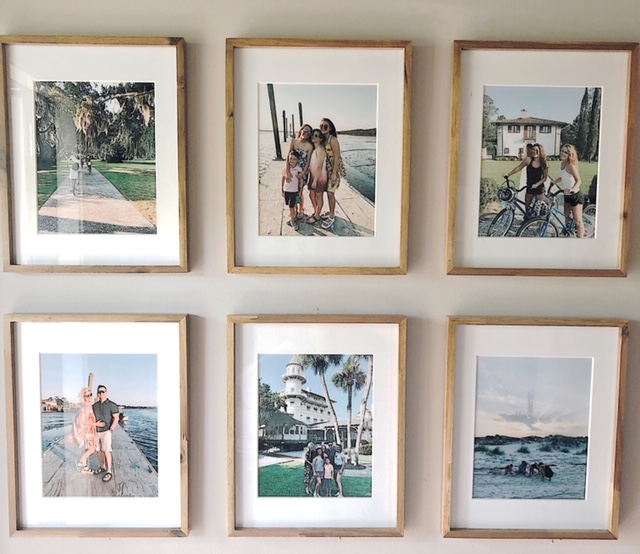
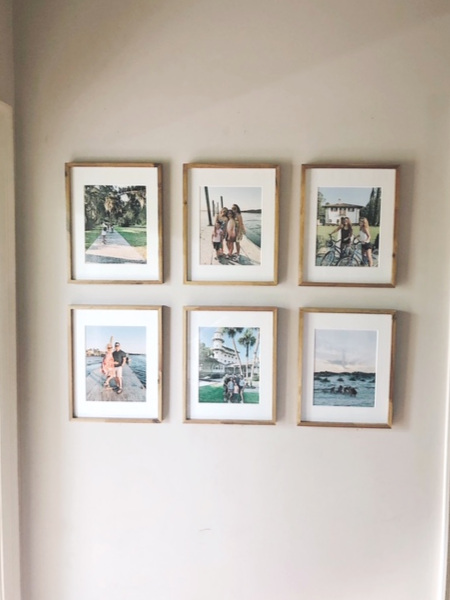
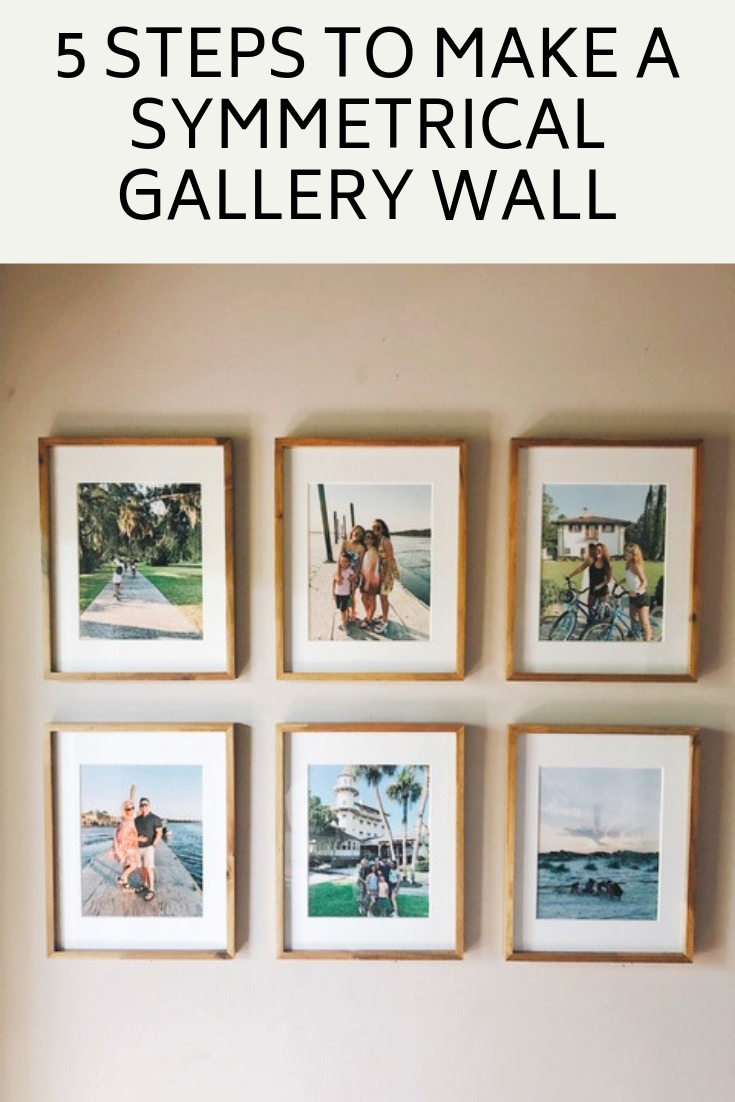
If you follow this blog, you know that we recently took a great trip to Jekyll Island. (You can read all about it here.) It was a special family trip and I wanted to get our vacation photos printed and create this gallery wall using these frames from JOANN.
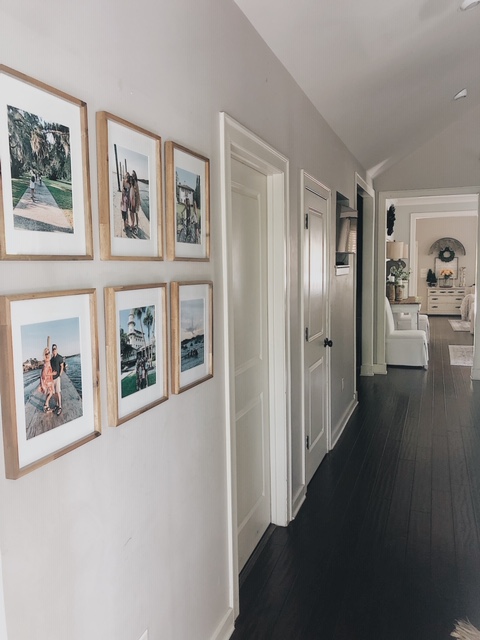
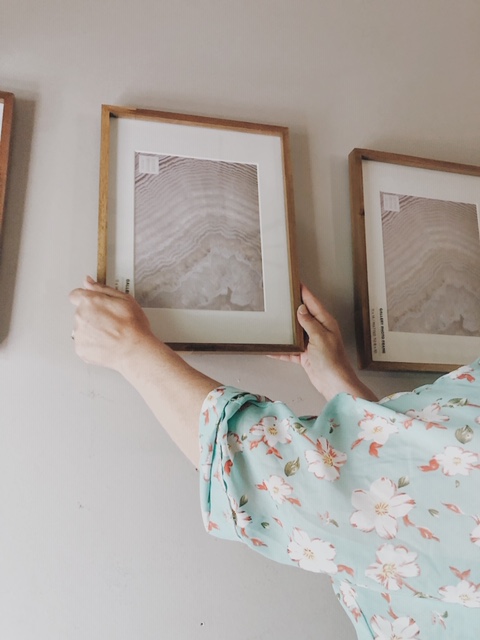
I knew I wanted a modern farmhouse look and for our gallery wall to be symmetrical. Those two goals were easily met with these 6 beautiful JOANN wood and white frames. My husband helped hang them for me, taking about 1 hour to get them up on our wall. I’m excited to share with you 5 easy steps to make a symmetrical gallery wall! Let’s get started.
Step One: Choose Frames and Print Photos for your Symmetrical Gallery Wall
There are a couple of questions I’d ask you to consider before printing your photos and buying your frames.
-
Do you want your prints to be color or black and white?
-
Is there a certain theme you want to have for the gallery wall? For me, it was our recent family vacation.
-
How big of a space are you planning for the gallery wall to go on?
-
If purchasing several frames, it can be costly. Consider ones like these that are budget friendly and look stunning in any decor style.
-
Are you someone who likes to change things up frequently or enjoy having home decor stay consistent? Grab command hooks here if you like change so holes are not left in your walls. I chose to do a more permanent option using picture hanging wire and picture hanging hooks/nails found here.

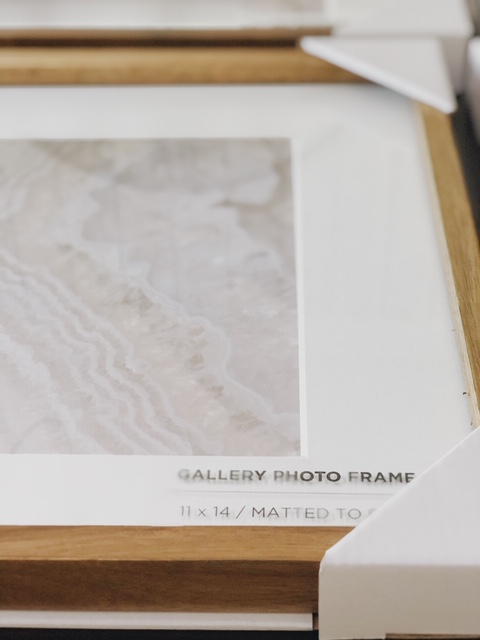
Now it’s time to print your photos and purchase your frames! The good news is you can do both online. I simply downloaded my prints to our local drug store on their app and picked them up an hour later! The frames I used from JOANN can be ordered here or picked up on store. Don’t forget to use a coupon for even greater savings!
Step Two: Prepare the Frames for your Gallery Wall
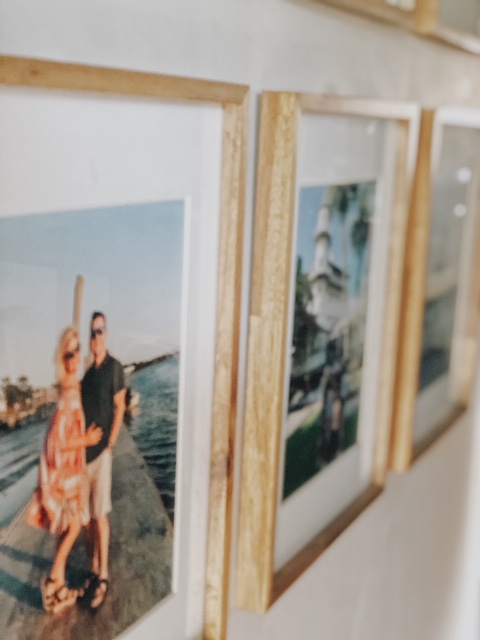
First, you’ll want to place your pictures inside the frames. Take the extra time and tape your pictures to your mat.
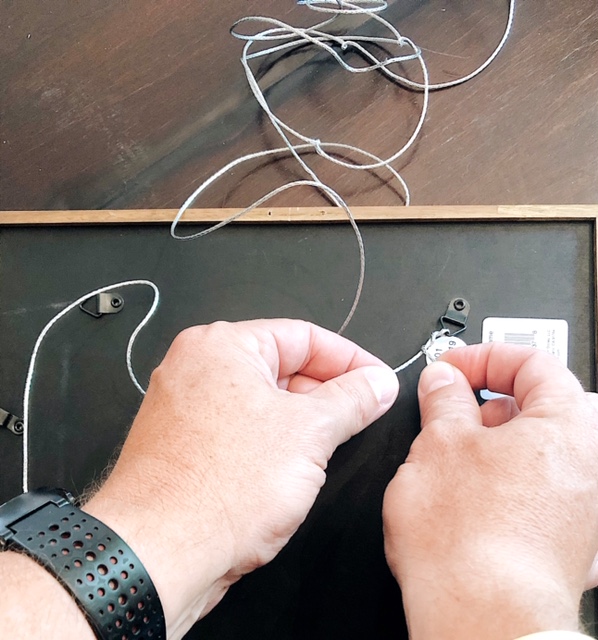
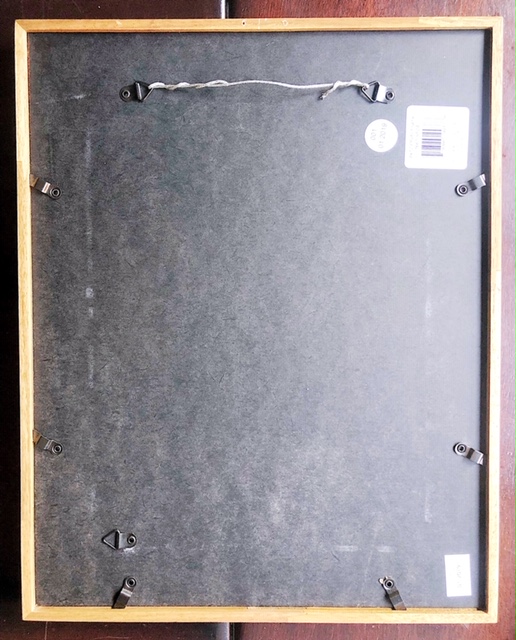
Depending on how your frames are designed, you may need to prepare them to hang. The frames I used allow for a horizontal or vertical orientation. I chose a vertical orientation for my layout and prepared them to hang. I ran picture-hanging wire through the eyelets allowing for one inch overlap on each side. I folded the overlap on each side back onto the wire and wrapped the overlap around the wire.
Step Three: Measuring Part 1
So, this is the part that will vary based on the space you have available. But recall, this is a symmetrical arrangement so there are some aspects that will apply to any situation.
STEP 1:
The first thing you’ll need to do is figure out what will essentially be your anchor point that you’ll use to pull all your measurements from. For me, this was hanging the center picture of the top row. Everything else I would do would be based on this picture.
I found the center of the wall and eyeballed the height I wanted to hang the frame. I wanted the top row to be just a little above eye level. I hung this picture, got it level, and then prepared to hang the rest of the arrangement.
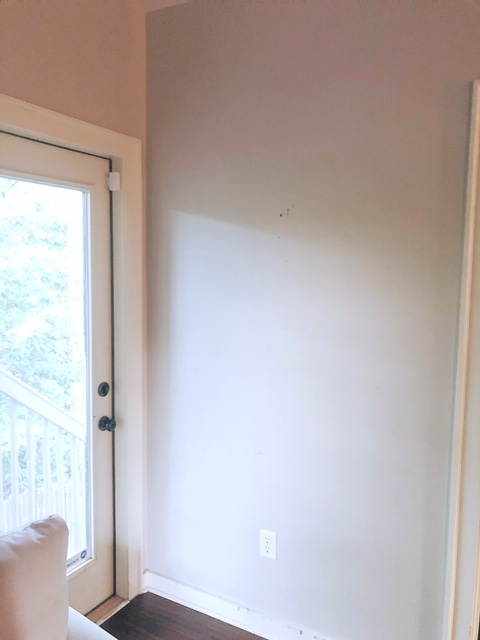
BEFORE
Step Four: Measuring Part 2
At this point, you need to decide how much space you want between frames. Remember, this is a symmetrical arrangement, so the space between your frames and the space between your rows all needs to be the same. There is no standard space or anything like that. Get a child or your spouse to hold up frames on either side of the one you’ve already hung and sort of eyeball a space that seems right to you. For me, I decided on a 2.5 inch space between my pictures.
Once you decide the space you want between picture, you are ready to hang the frames on either side of the frame you’ve already hung. This is where it can get tricky!!! But if you slow down and think it through, you can pull this off.
STEP 1:
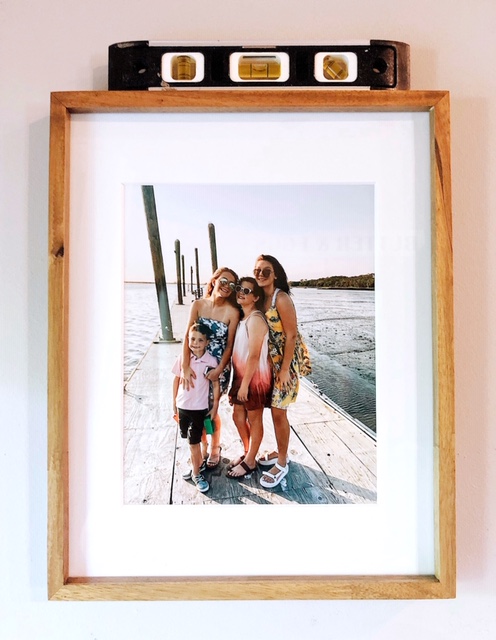
First, you need to make sure the pictures you’re hanging on either side of the middle frame are hung at the same height. The easiest way to do this is to get a large level, place it on top of the picture you’ve hung, and then lightly scribe a line to the left and right of the frame, using the underside of the level as your straight edge. This line will serve as your guide for the height of the frames on either side of your middle frame.
STEP 2:
Second, you need to be able to get your spacing between frames. Here’s how I did it:
-
I figured out the how wide my frames were and divided by two to get the middle point of the frame. My frames were 11.5 inches wide, so the middle of my frame was 5.75 inches.
-
Then, I took that number (5.75 inches) and added the distance that I wanted between frames, which for me was 2.5 inches. I came up with 8.25 inches.
-
I then measured 8.25 inches from either side of the outside edge of my middle frame. That measurement tells me where to put my nail to hang the two frames on either side of my middle frame.
But wait! There’s one more step that can trip you up, so don’t miss this. You have to account for any distance from the top of your frame to the mounting hardware. For me this was the picture-hanging wire I had strung between the eyelets on the back of my frame. The distance varied on each of mine, but for the sake of this guide, let’s call it 1 inch.
STEP 3:
NOW that you have all the measurements, you’re ready to hang the pictures on either side of your middle frame. For me this meant measuring 8.25 inches over from the top corner of my middle frame and marking where this measurement intersected the line I had scribed using my level. From this mark, I measured down 1 inch to account for my mounting hardware. This gave me the exact point to nail in my hanging bracket. I repeated this step for the picture on the other side of my middle frame.
STEP 4:
To hang the bottom row, you are essentially going to repeat the same steps. I hang the middle picture first, just like I did on the top, making sure that it is centered on the top row middle picture and that the spacing is equal to the space between your top row of frames.
Step 5: Symmetrical Gallery Wall Final Details
Once you have the frames hung, you will want to spray some window cleaning solution to remove any fingerprints that may have gotten on them. Also, you can use a damp sponge to wipe away any marks on the walls. As a final check, set your level atop each frame to ensure they’re all level. Now, enjoy!
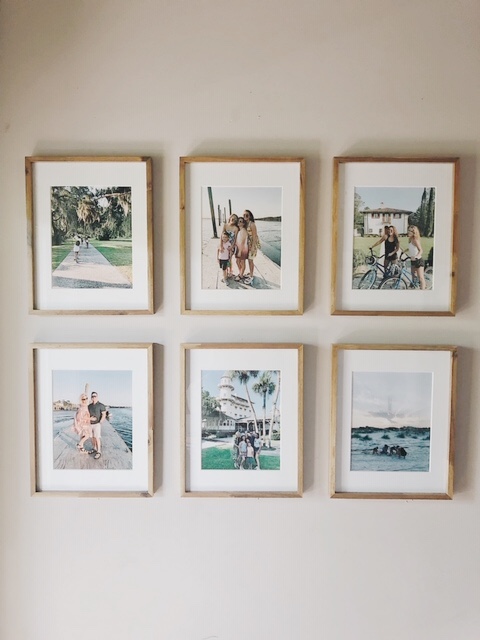
Having a symmetrical gallery wall adds a layer of personalization in your home.
Our children have already loved looking at these vacation photos over and over again. I couldn’t be happier with the addition of this gallery wall in our home. Are you ready to create your symmetrical gallery wall?
I would love for you to stay in touch by subscribing to my weekly newsletter! Get weekly tips, encouragement, special deals, and more!
Sign up HERE and receive a FREE DIY Guide for making any table the perfect chippy paint table.