
[This post contains sponsored links. The items featured and linked in this post were all provided by JOANN; all opinions and reviews are my own.]
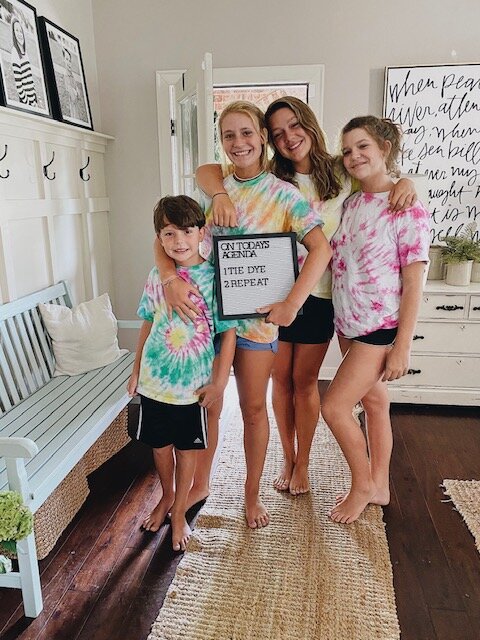
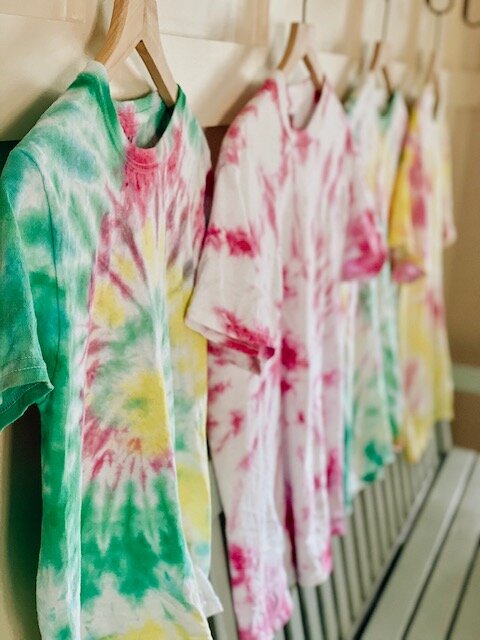
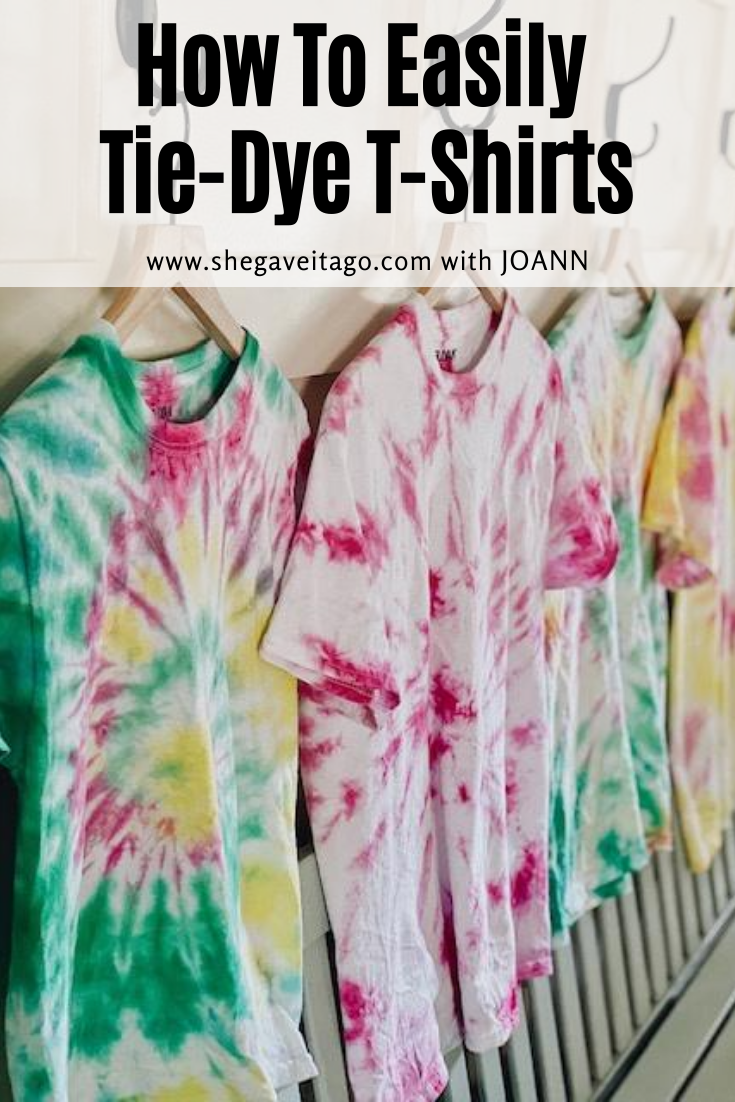
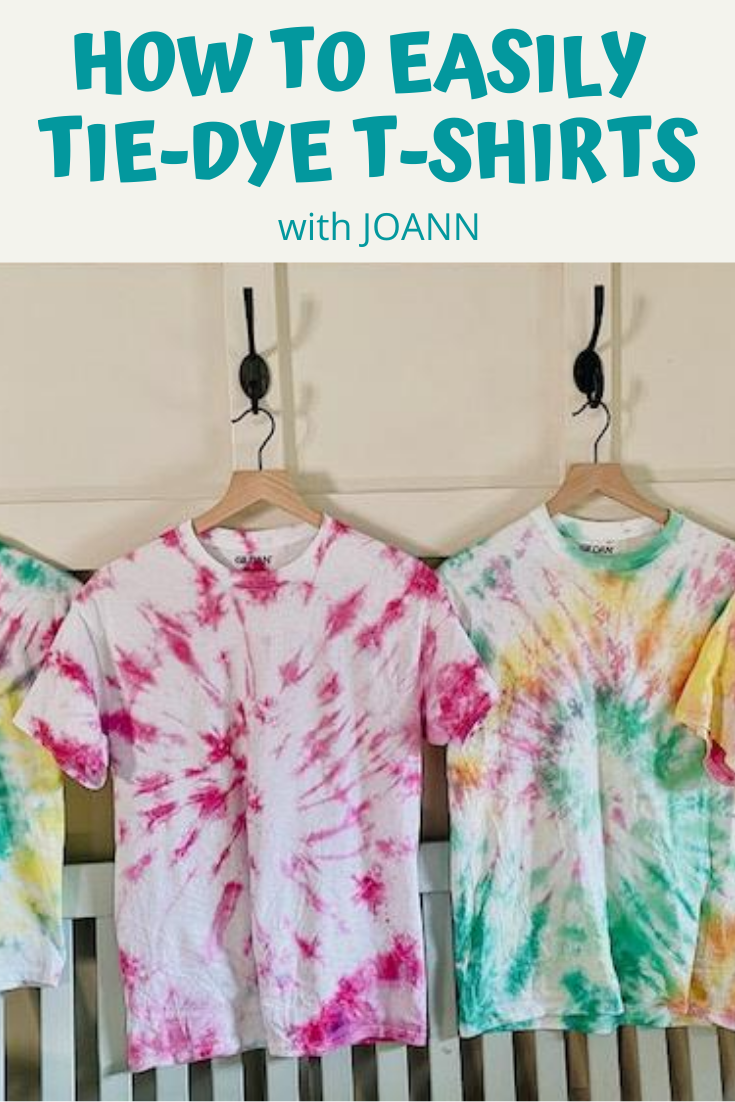
I remember loving tie-dyed pieces as a kid. How fun to know that they are back in style! With the children still home for summer, it was the perfect time to tie-dye some t-shirts. The tie-dye kit we used made it so easy to create colorful, fun shirts that have us wanting to tie-dye more projects soon!
Have you ever tried to tie-dye something? Chances are you may have done this type of craft at a camp or at home with your children. But, for some us (me included), I’d never tried it at home before and wanted to give it a go! I was so happy to find this amazing tie-dye kit found here at JOANN. It seriously made the process so easy and fun!
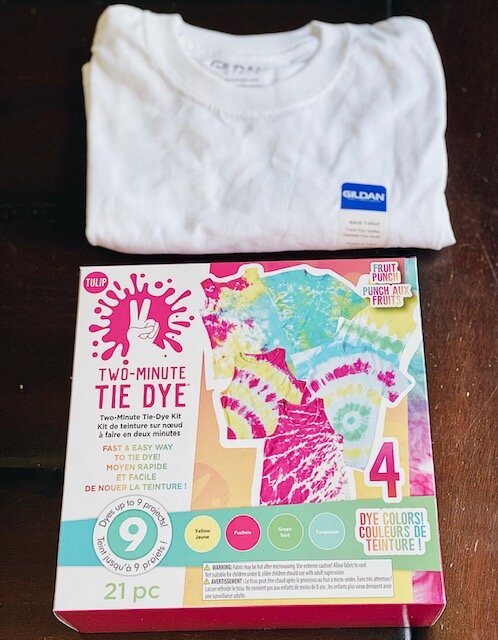
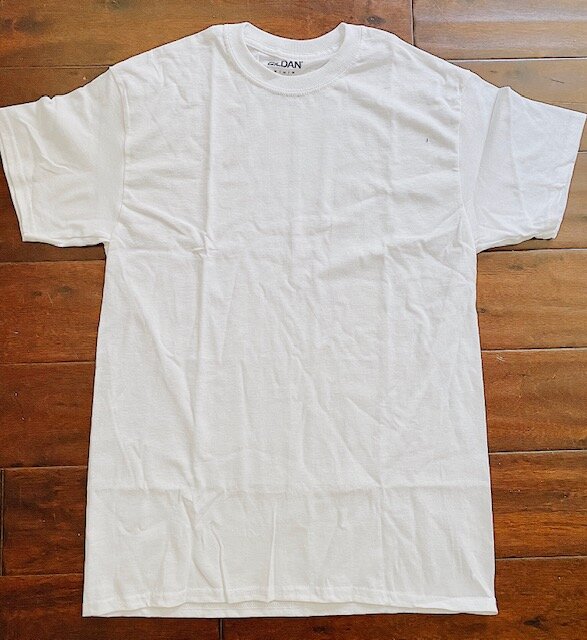
This two-minute tie-dye kit includes everything you need to complete your project. It’s up to you what you choose to tie-dye. We chose to let our children each take a white shirt (that we also found at JOANN) and create an awesome pattern on it. JOANN had several t-shirt sizes and colors to choose from! We used these here.
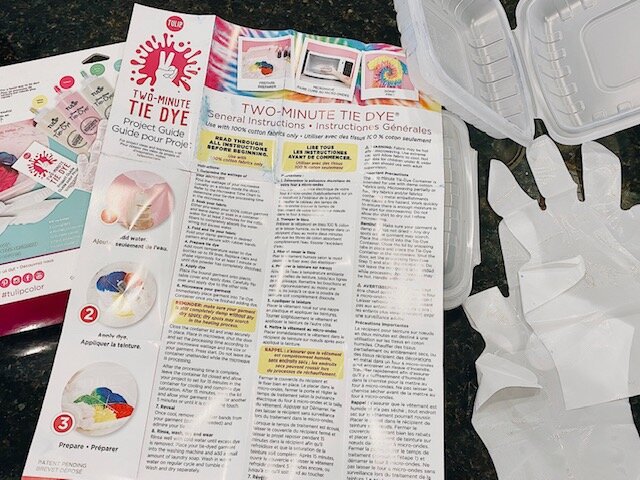
As you can see, the kit even came with gloves, so it seriously takes all the guess work out on what you would need. After scanning over the directions that were included, we were ready to begin!
The first step of the process is making sure to get your item (for us it was the shirt) wet. We simply placed the four t-shirts into a large bucket and made sure they got completely soaked. Then, you wring out the excess water.
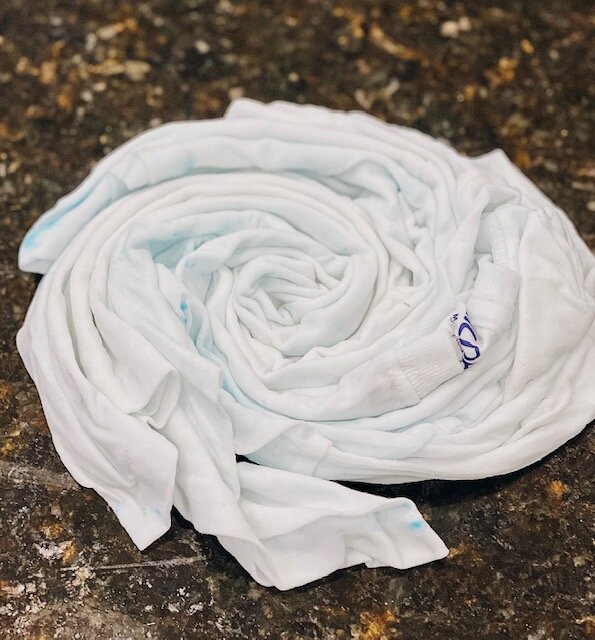
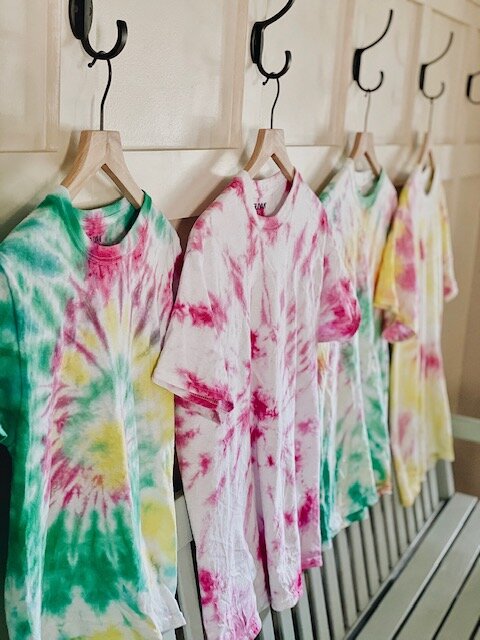
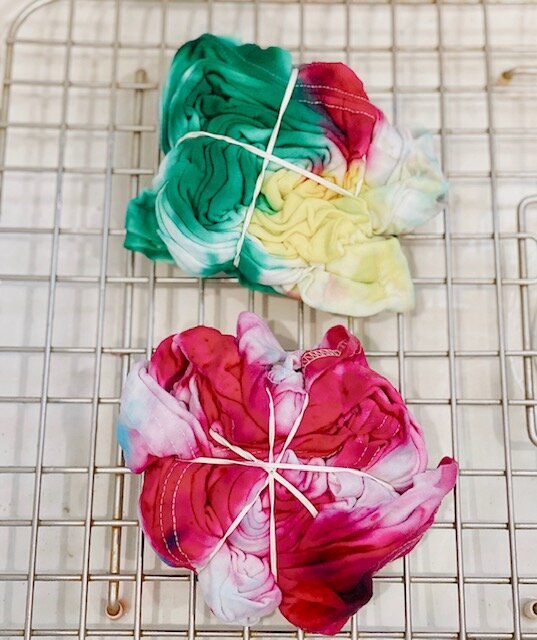
Next, the kit has a diagram explaining various patterns you can choose from. All four of my children chose the swirl pattern. To do that, we simply pinched the center of the shirt and twisted it until it looks like the photo above. Then, you bind the shirt with rubber-bands.
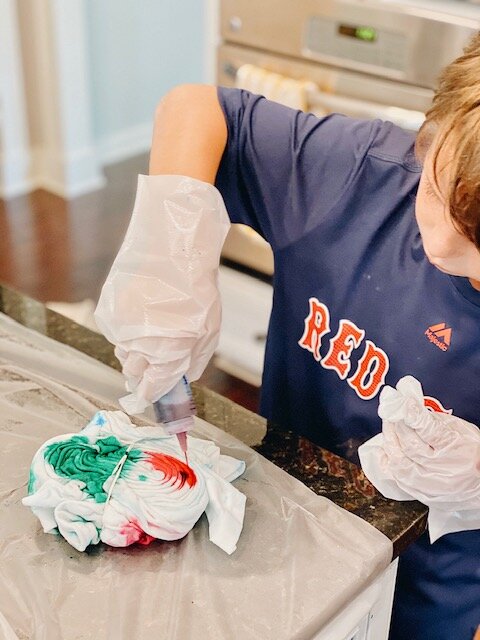
Next up, you add water to the pre-filled ink powder bottles and shake it up. For the best part? You can choose the colors you want to squirt onto the various sections of the bound shirt. It’s really fun doing this; my children enjoyed it so much.
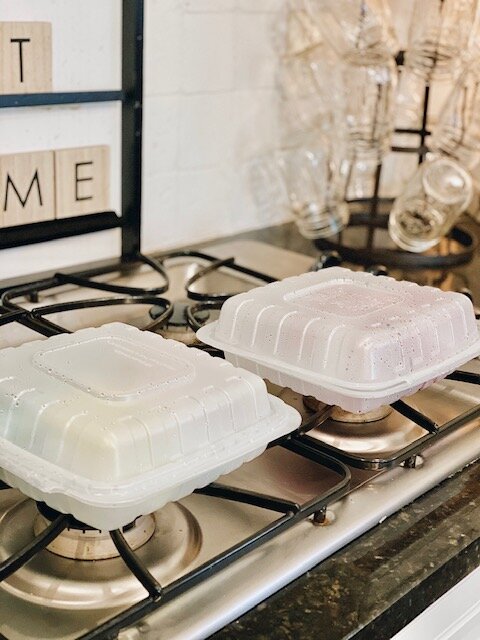
Here is where the two-minutes come into play; you will place your shirt into a microwave-safe container that is provided in the kit and put them in the microwave for two minutes. Afterward, you let them cool for 15 minutes with the top closed, and another 5 minutes with the top open.
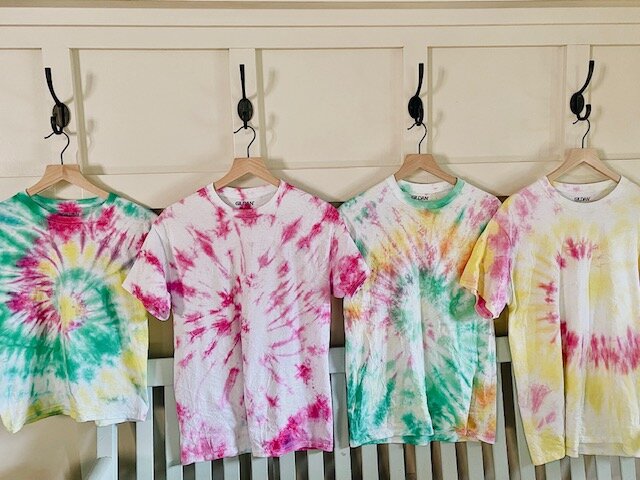
Before you wash them, place into your sink and squeeze out the remaining water/dye from the shirts. And then you’re ready for the funniest step of all: cutting the bands to reveal the pattern of your shirt! It is so exciting to see how they turn out!
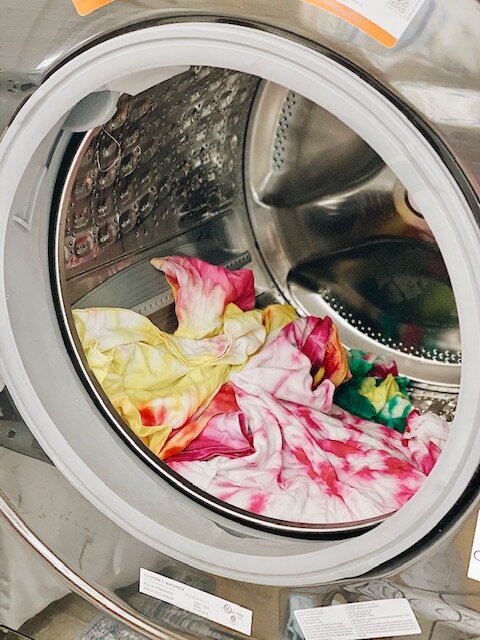
Place the items in your washing machine on a cold cycle (without other items), and wash!
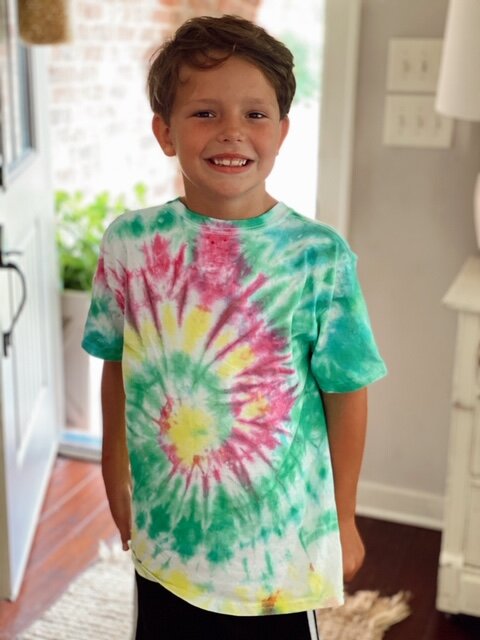
It is that easy! Our children enjoyed this activity so much, and we are ready to tackle another tie-dye project again soon.
Product List for Tie-Dye T-shirts:
-
Tulip Two Minute Tie-Dye Fruit Punch found here.
-
Gildan Adult T-Shirt Medium found here.
-
Gildan Youth T-Shirt Medium found here.
-
DCWV Home 12”x12” Black & White Letter Board with 1” Black Letters found here.
I would love for you to stay in touch by becoming a She Gave It A Go Insider! Get weekly tips, encouragement, special deals, and more!
Sign up HERE and receive a FREE DIY Guide for making any table the perfect chippy paint table.
Leave a Reply

