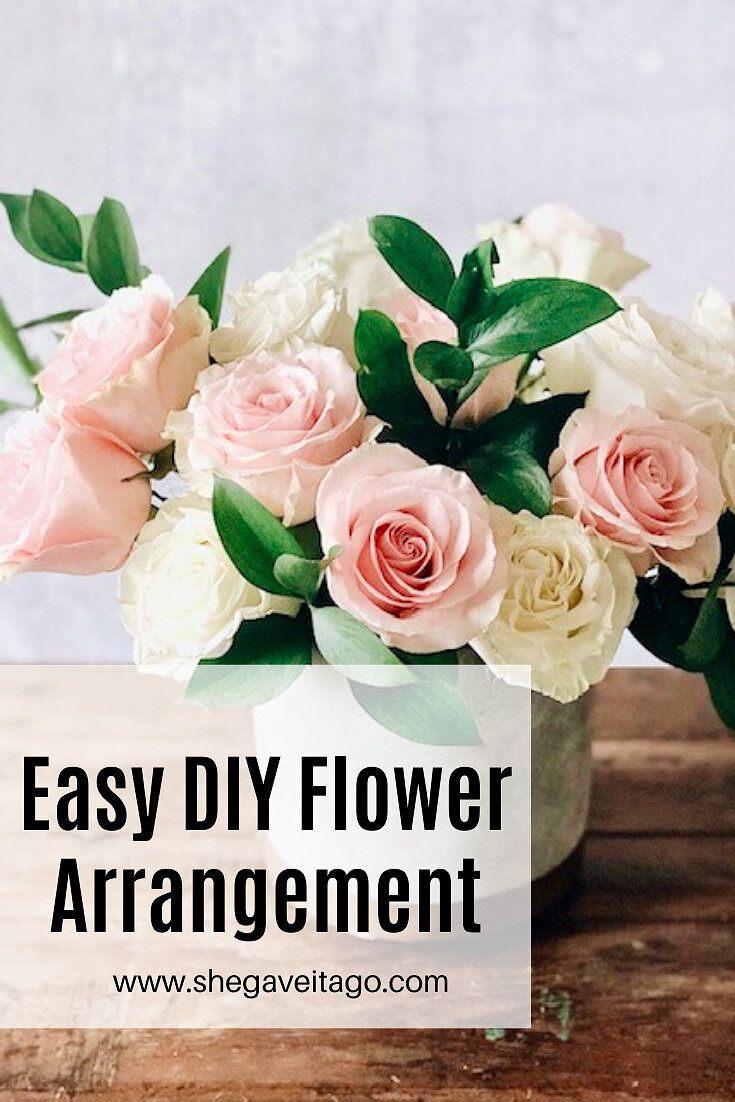
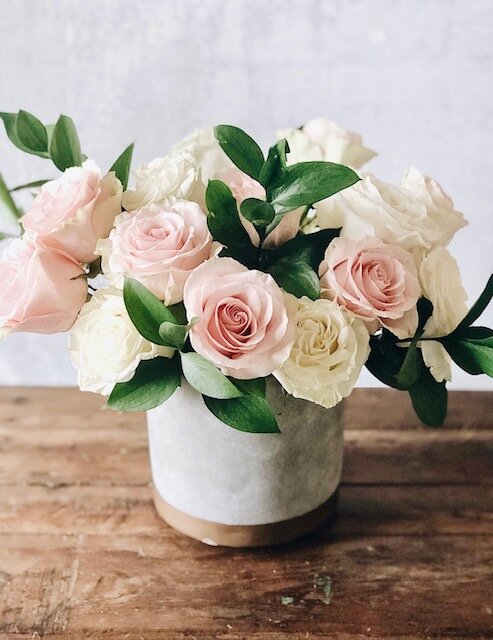
I had some beautiful white roses from Valentine’s Day that my husband had given me that had a lot of life still in them. They just needed a little refreshing, and after a few simple steps, this arrangement breathed new life into them. If you have flowers on hand already or want to grab some inexpensive ones from the grocery store, you can create a lovely flower arrangement with these three steps! Let’s go!
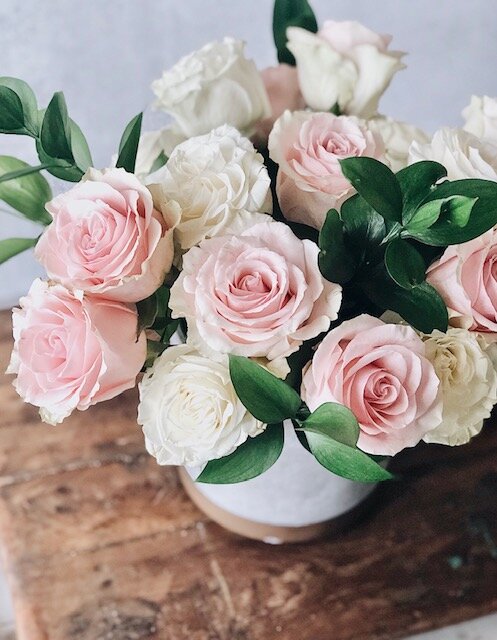
I am so excited to share with you all how to arrange flowers in three easy steps! It really is that simple, and along the way I’ll be sharing some tips I learned all the way back from my college days when i took a flower arranging class! This step-by-step tutorial will have your flowers looking beautifully arranged in no time! Plus, at the end, I am joining alongside several other bloggers who are sharing their gorgeous spring flower arrangements too. Let’s get started!
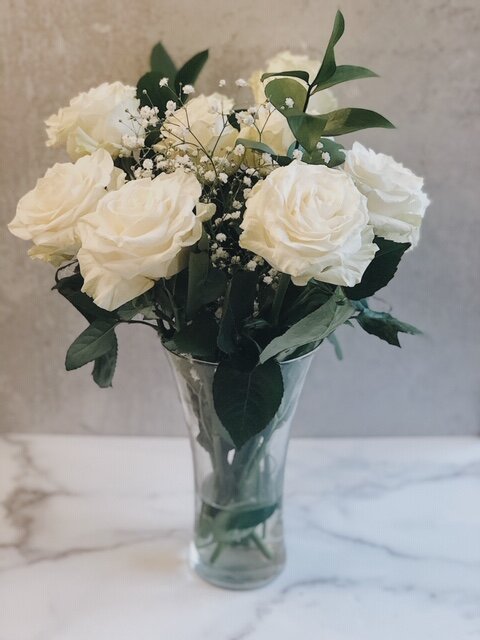
BEFORE
These lovely white roses were a wonderful gift from my husband for Valentine’s Day! As you can see, after a week, they needed to have a refresh because they still had plenty of life left in them. I decided to take this more formal looking arrangement and turn it into a full, smaller arrangement. For this look, grab any vessel similiar to the one I used (mine was concrete). It can be a white pitcher, terra cotta pot, galvanized metal piece, anything! No need to go buy something new!
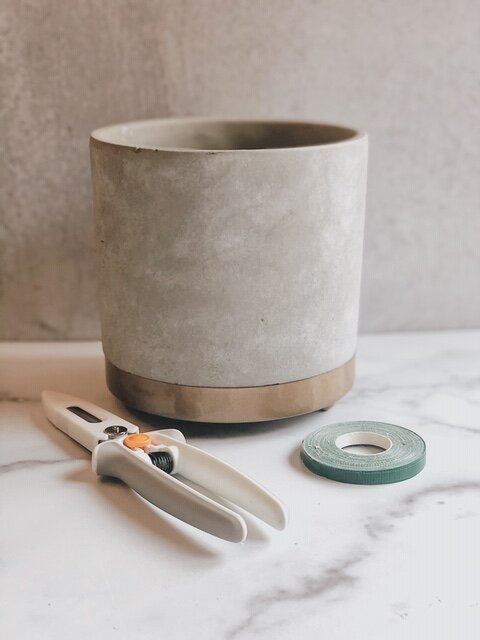
Supplies
-
Vessel
-
Floral Tape
-
Scissors
-
Flowers
Step One
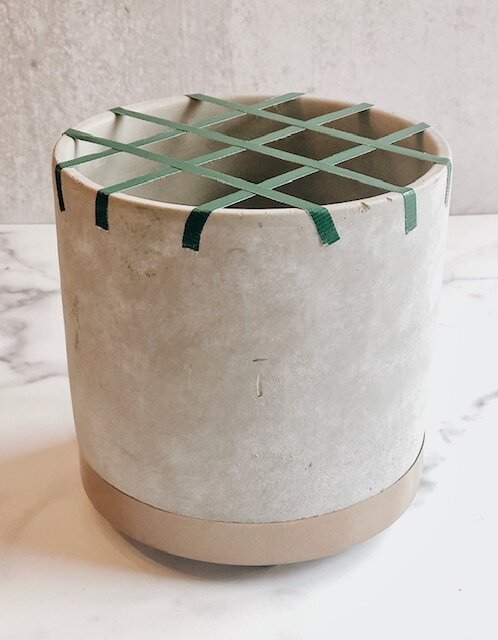
The easiest way to keep flowers in the position you set them in is to create a grid with floral tape (if you don’t have any, just grab some scotch tape!). The grid does not have to be perfect, but rather a tool to use when placing greenery and flower stems in your vessel. And, it keeps them in place! Make sure not to go to crazy with the tape on the sides of your vessel, you don’t want it to show when you are done.
Step Two
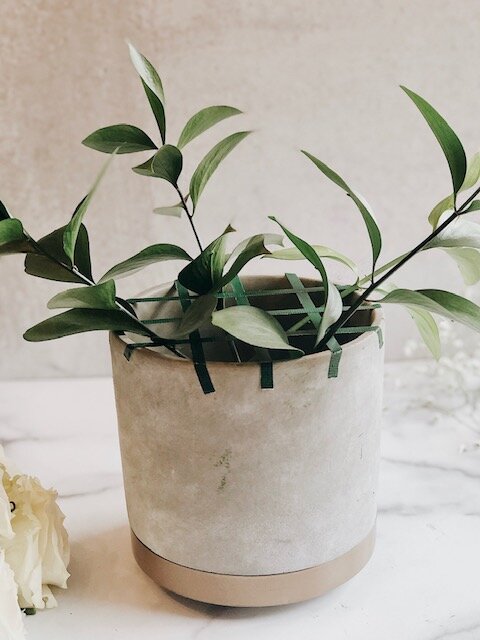
Next up, grab the greenery that came with the flowers! I do not use the baby’s breath, but you can if you like the look of it. I only used the green leaf stems. Pull off the excessive leaves that would go inside the vessel before placing into one of the grid spaces. I just placed several around to have it where you could see the greenery from any angle. You want your greenery to be pointed out, not up.
Step Three
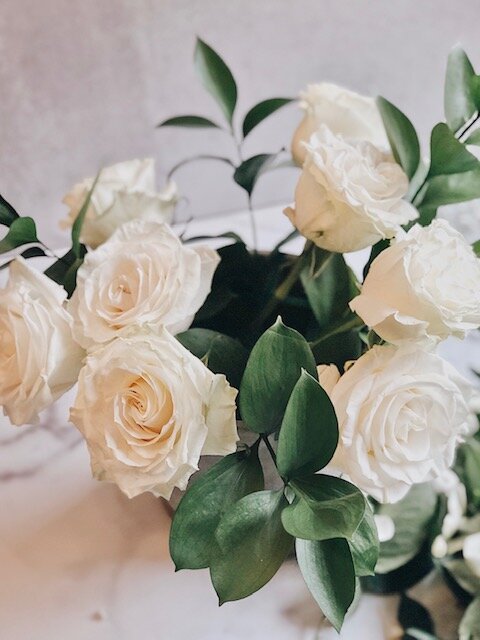
Lastly, you get to add the beautiful flowers! Start from the outside of the grid and move inward. Again, you want the outside flowers to be facing outward not straight up and down. Work your way towards the middle, filling in the holes as you go. It helps to stand up and make sure things are looking good! Once you get to the middle, it’s okay to have the flowers facing upward.
Tip: Remove all leaves and other stems from the flowers. It will make for a cleaner look!
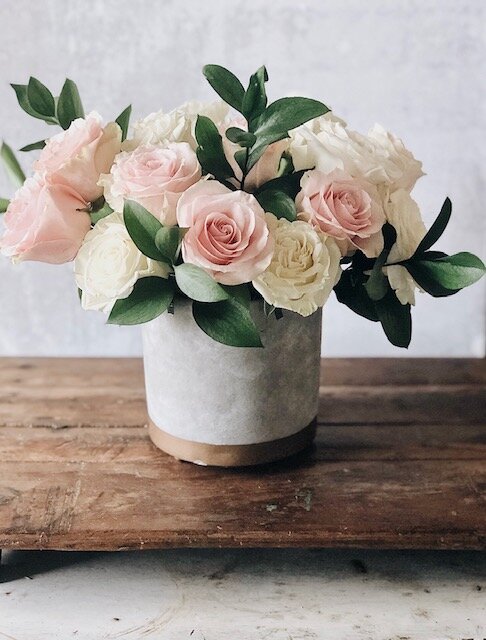
And, it’s all done! How easy was this flower arrangement, but didn’t it turn out lovely? I am glad to be able to keep enjoying these gorgeous flowers for more days to come. It was a completely free arrangement, which is even better! I hope you feel inspired to give it a go now too! Now it’s time to go check out all my talented friends arrangements. I know you are going to love them.
I would love for you to stay in touch by becoming a She Gave It A Go Insider! Get weekly tips, encouragement, special deals, and more!
Sign up HERE and receive a FREE DIY Guide for making any table the perfect chippy paint table.
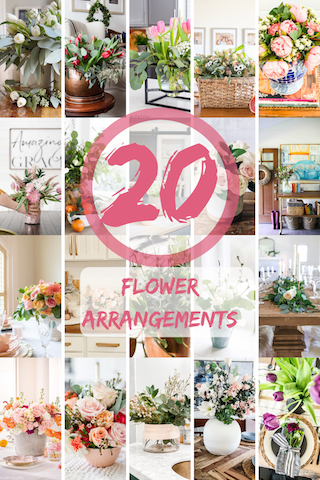
20 Beautiful Flower Arrangements
Click the links below each group of images to visit these inspiring ideas for spring!
Creative Flower Arrangement Ideas for Spring – Happy Happy Nester // How to Arrange Grocery Store Flowers – The DIY Mommy // Grocery Store Roses Spring Arrangement – Craftberry Bush // DIY Easy Tulip Arrangement – A Blue Nest
Spring Floral Arrangements – My 100 Year Old Home // A Flower Arrangement in a Vintage Find – Finding Lovely // Farmhouse Flower Arrangement – My Sweet Savannah // Simple Spring Tulip Floral Arrangement – Zevy Joy
DIY Faux Eucalyptus Garland – Modern Glam // Elegant Tulip Eucalyptus Floral Arrangement – Inspiration for Moms // Easy DIY Flower Arrangement – She Gave It A Go // DIY Color Block Vase – Lolly Jane
Easy Flower Styling Ideas – The Handmade Home // 8 Ways to Style a Big Vase with Faux Spring Florals – The Happy Housie // Spring Floral Table – Taryn Whiteaker // Moody Spring Floral Arrangement – Cassie Bustamante
Easy Spring Flower Arrangement – Twelve on Main // 5 Tips to Make Faux Flowers Look Real – Hallstrom Home // Spring Flower Arrangement – Jennifer Maune // 3 Ways to Style a Faux Flower Arrangement – The Tattered Pew


Such a great tutorial Brendt! And the result is just stunning! Thanks for joining us.