I love having wreaths around our home all year long. I simply change them out seasonally. (Or more often if I find one I like while out haha!) I commonly place them on our front door, above our stove top leaning against the hood, or layer them on top of wall mirrors. They are a wonderful element of farmhouse decor and make for a warm feeling around your home.

Until now, I have bought mine in stores or from small shops online. But I wanted to try my hand at creating a wreath, one that would be perfect for the summer months.
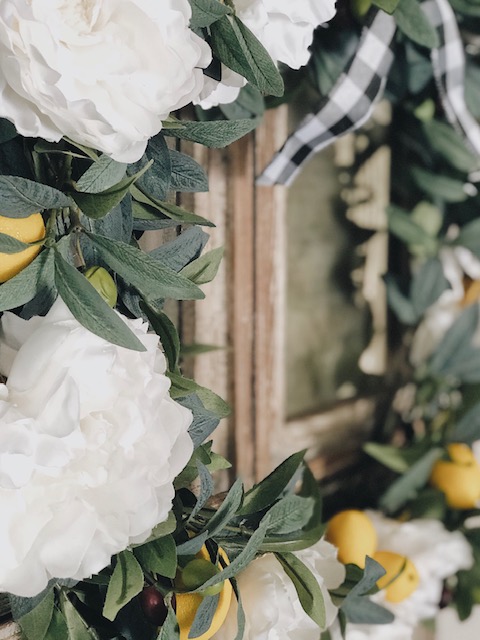
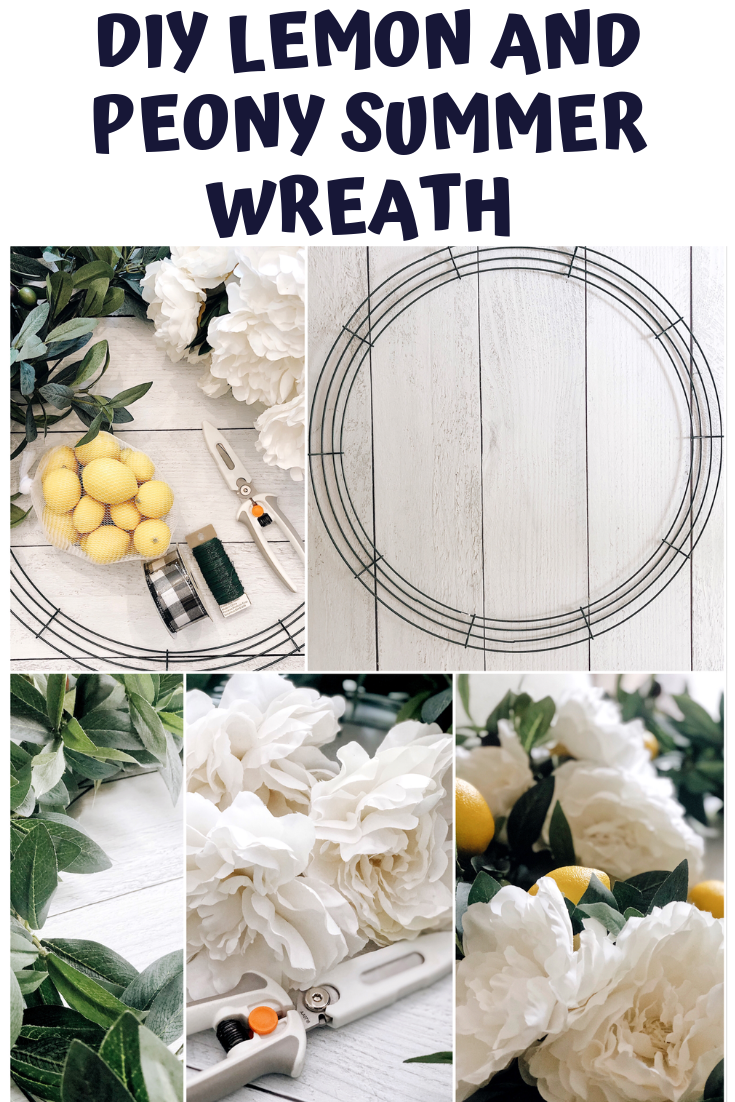
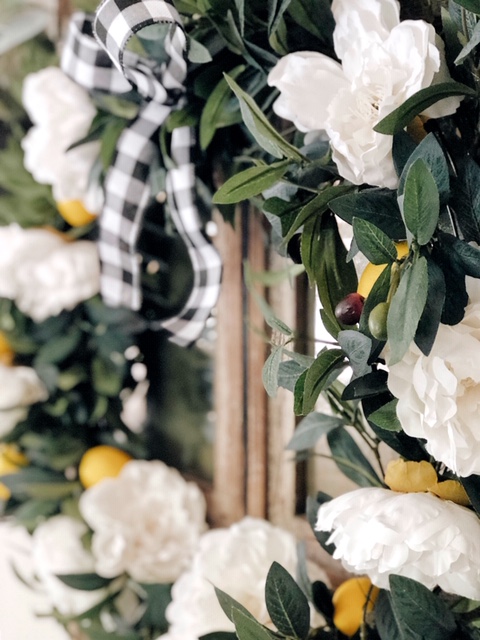
I have been enjoying citrus fruits and colors around our home already this summer, so keeping that in mind I chose to incorporate lemons for my DIY summer wreath. I also chose olive tree leaves and white peonies for the wreath itself. This wreath turned out better than I had imagined and I can’t wait to share with you how to make it.
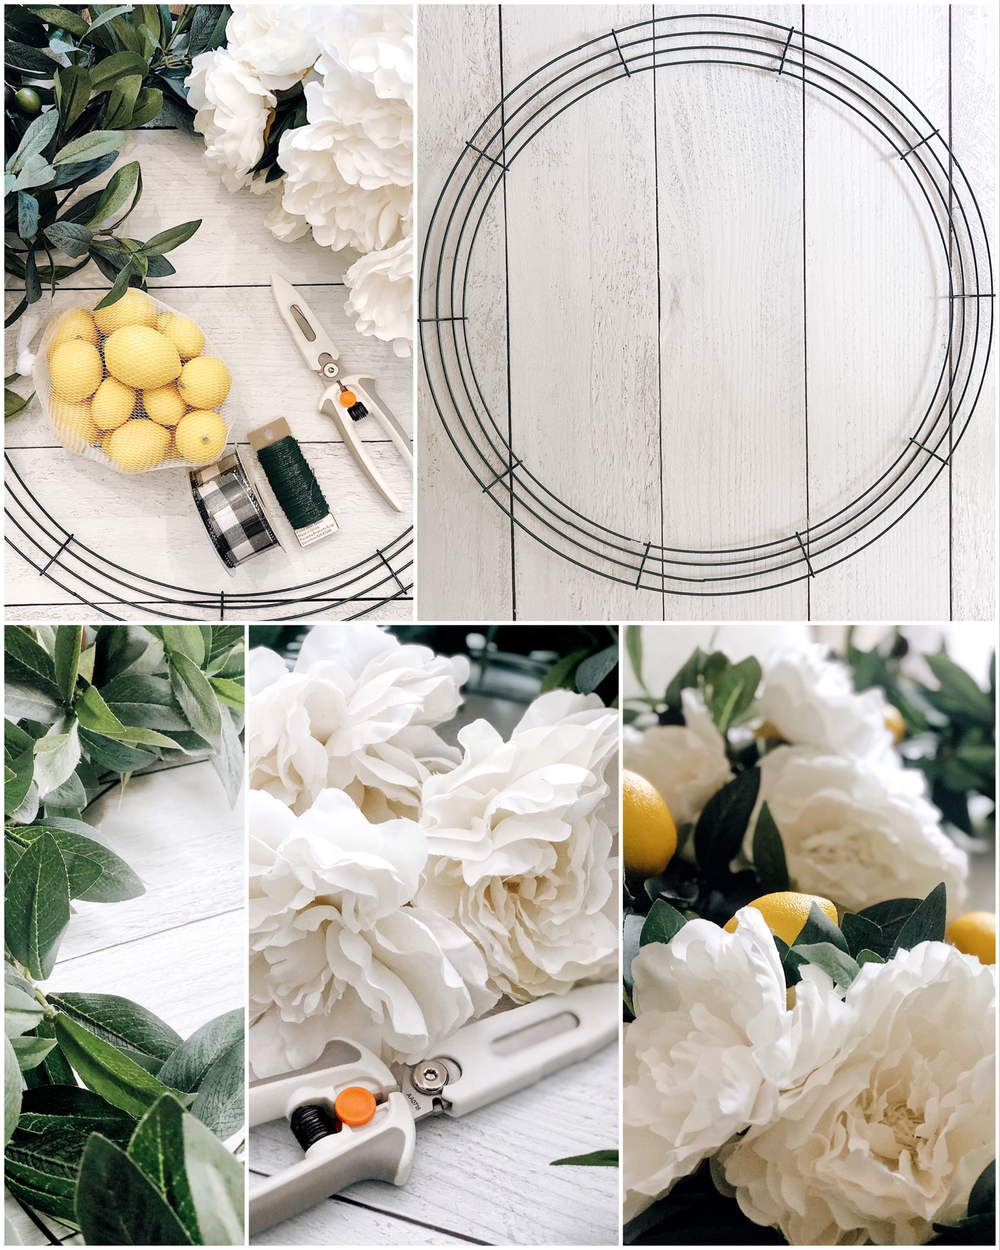
You will first want to gather your supplies. I found mine at various stores and used what I had on hand to make it very budget friendly. Below is the supply list (I’ve linked where you can find each piece).
-
Faux Fresh Picked Lemons found here
-
Faux Olive Leaf Garland found here
-
18” Wire Wreath Form found here
-
Artificial Silk Peony Flowers found here
-
Green Floral Wire found here
-
Wire Cutters found here
-
Black And White Gingham Check Ribbon found here
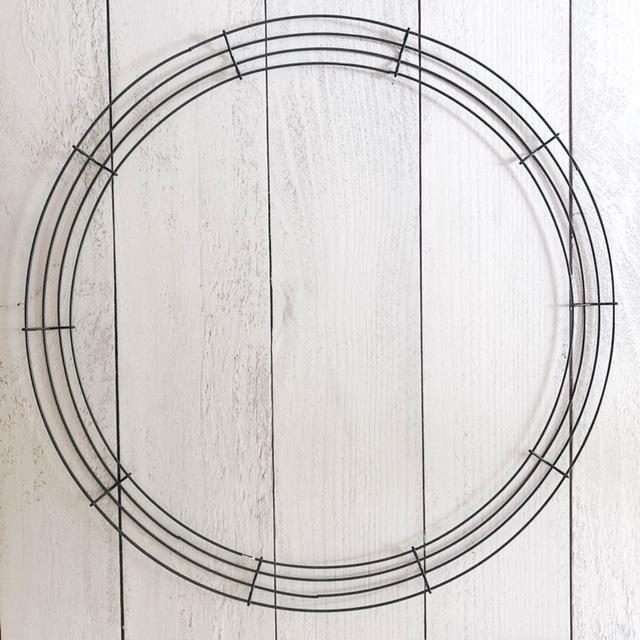
First, you will want to lay your wire wreath form on a flat surface with plenty of space around it. You will then take the olive leaf garland and tie an end to the middle of the wreath form with the floral wire. Continue tying it about every 3-4” around the form until you get back to where you started. Cut the remaining garland and discard.
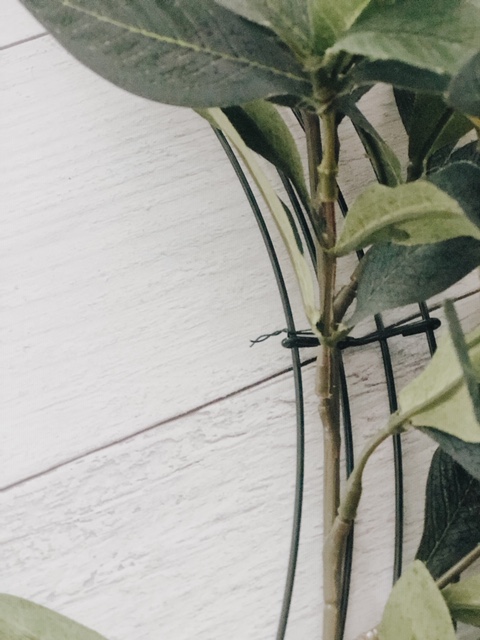
Next, you will want to trim the flower stems with the wire cutters. Leave enough stem (@3”) to wrap floral wire around it to tie onto the wreath form. I first placed mine around the form to see how I wanted them to be displayed. Bunching 2 or 3 together in some places and alternating other spaces with just 1 flower looked best to me. It’s really about personal preference so don’t be afraid to experiment! Tie them onto the inside form of the wire and outside form when having 2 or 3 together. Fullness is key!

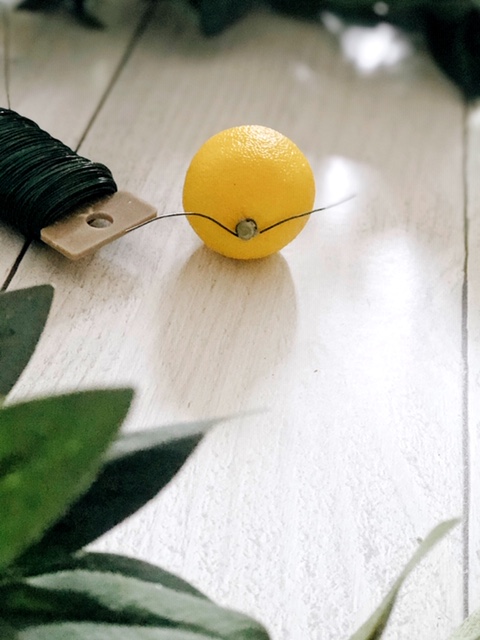
After you’ve attached your flowers, it’s time for the lemons. I wrapped the floral wire around the end of the fruit as seen in the photo above. Again, I placed them about the wreath until I had them spaced out to my liking. (I didn’t place more than 2 together in the same place.) Otherwise, again, it’s personal preference on placement. When you’re ready, tie them onto the form.


Last but not least, tie your ribbon on the top of the wreath! I made a simple bow but you can definitely make a thicker bow or just make a loop with your ribbon. I feel like the black and white gingham ribbon really completed the wreath. Now find a place you’d like to hang your wreath, and voila! You’ve made your own wreath.
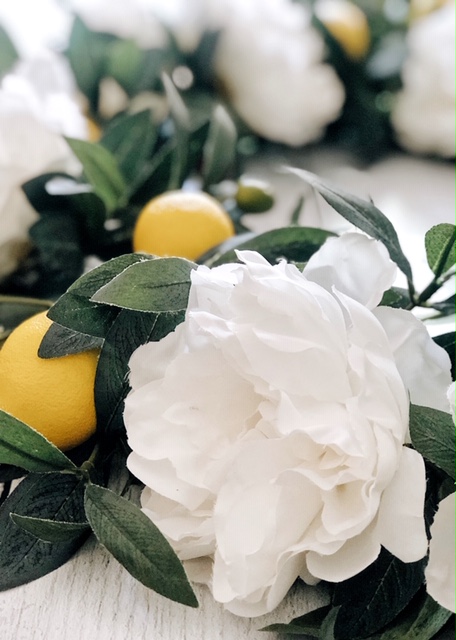
I couldn’t be more excited about the way it turned out! I feel inspired to make more in the upcoming seasons.
And, as a tip, the reason I used floral wire instead of hot glue was to make it interchangeable to use this garland and wreath form again. Simply undoing the wire will have it bare and ready to mix in next season’s fruits, flowers, and other wreath accessories.
Are you inspired to make one of your own now?