In this article, I show you how to transform your plastic jack-o-lanterns into these DIY Halloween terracotta pumpkins. I grabbed all my supplies at JOANN stores and created these adorable pumpkins in under 1 hour. Scroll down to get started.
PIN NOW, SAVE FOR LATER!
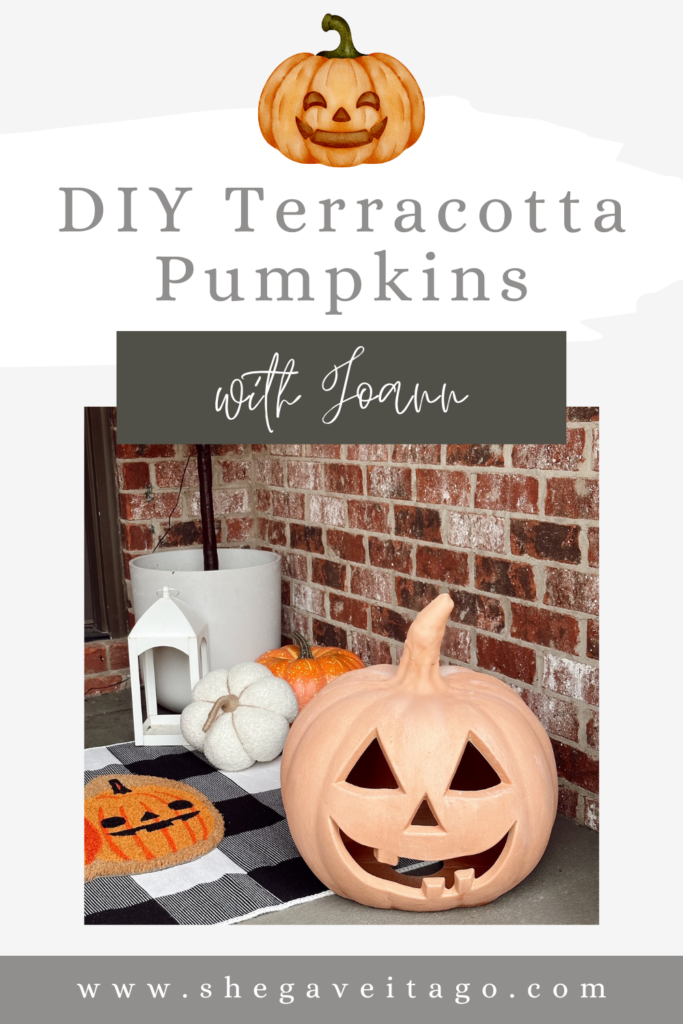
DIY Halloween: Transform Plastic Jack-O Lanterns into Terracotta Pumpkins
Do you want to transform traditional-looking plastic jack-o-lanterns into stunning terracotta pumpkins? I am excited to share this easy-to-follow tutorial to do just that. From prep and assembly to adding the finishing touches, I’ve got you covered.
If you are a beginner DIY-er or advanced skill level, with a few materials from JOANN stores, you can create festive terracotta pumpkins in under an hour.
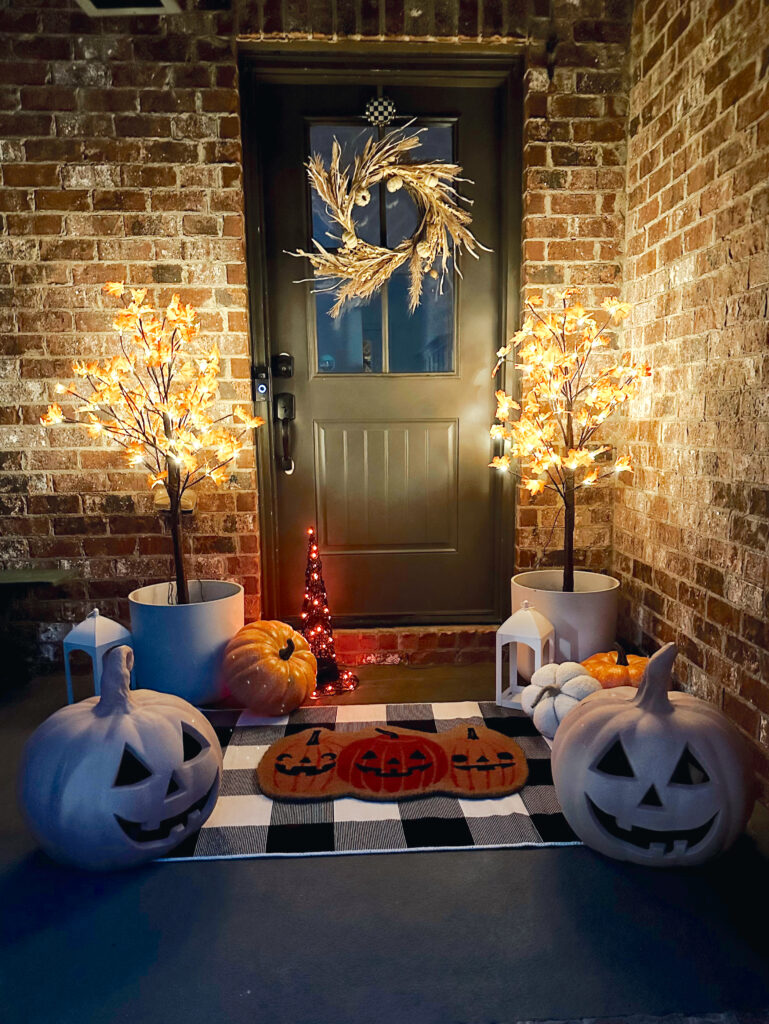
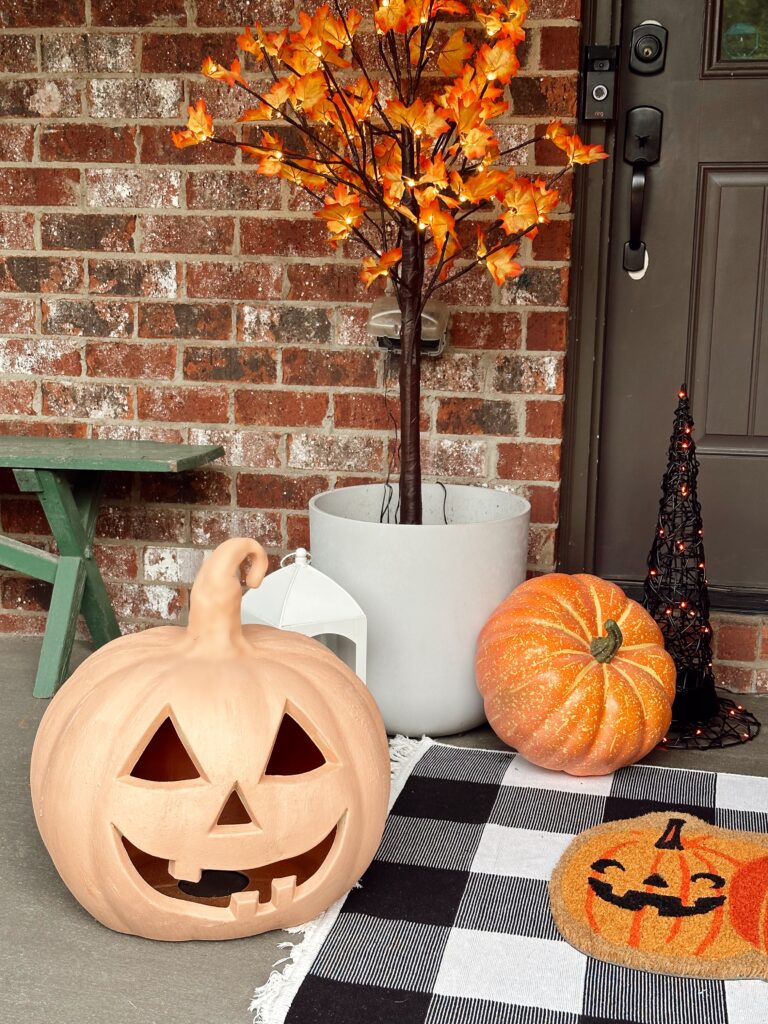
JOANN is always my go-to for craft supplies; the surrounding Halloween porch decorations are also from there!
Let’s get started!
Protip: Do you love all things cozy, including a fluffy bed? I’ve got a FREE, printable document waiting for you with easy, 5-step instructions.
Plus, when you subscribe, you become part of the She Gave It A Go Insider Community! That means you get exclusive decor tips, family resources, decor deals, and more – all just for you!
DIY Halloween terracotta pumpkin supplies from JOANN:
- Model Magic
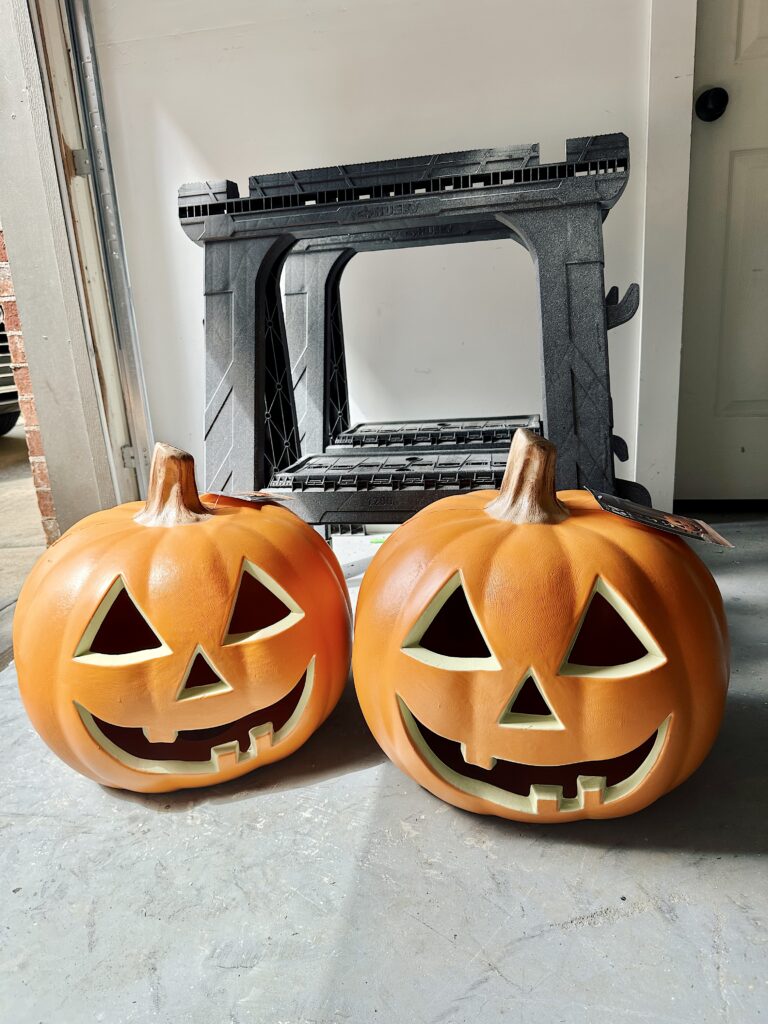
- 17″ Jack-O-Lantern
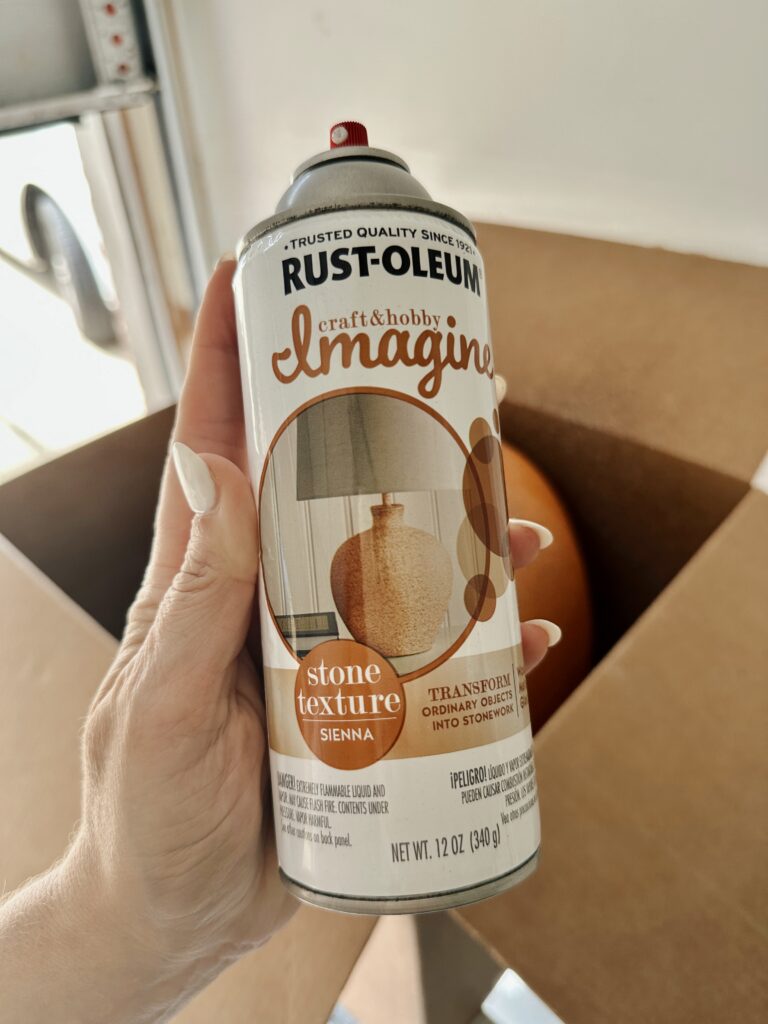
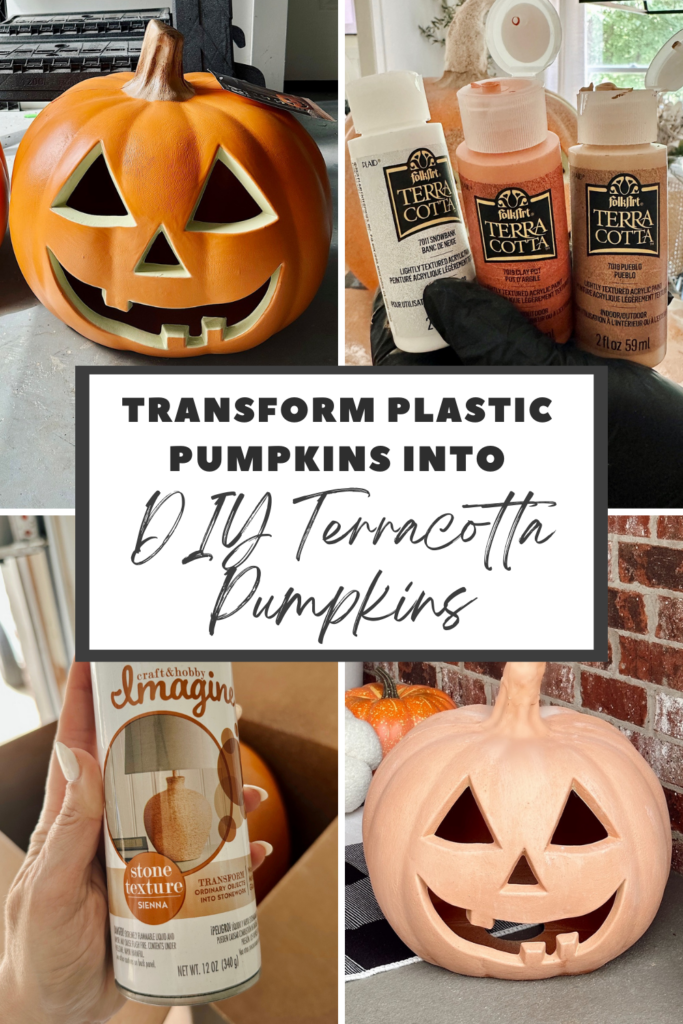
- Stone Texture Spray Paint
- Acrylic Paints (terracotta colors)
- Paintbrushes
- Baking Powder
DIY Halloween terracotta pumpkin directions:
Step One: Model Magic for Stems
You want to start by creating realistic stems. I used Model Magic to achieve this look. It is an air-drying modeling clay that is perfect for adding dimension and texture to your pumpkin stems.
Begin by tearing off a small piece of Model Magic from the package. Roll it between your palms to create a smooth ball shape. This will serve as the base for your stem. Next, elongate the ball by gently rolling it back and forth on your work surface. Gradually apply more pressure as you create a tapered shape similar to a pumpkin stem.
Protip: Simply dip your fingertips in a water bowl to moisten and smooth the clay.
Once you are happy with the texture and shape of your stem, set it aside to dry. This usually takes about 24 hours, but drying time may vary depending on the thickness of your creation.
Step Two: Stone Textured Spray Paint
You’ll want to create a stone-like texture on your plastic jack-o-lantern to achieve an authentic terracotta pumpkin look. This can easily be accomplished with the help of stone-textured spray paint.
Before you begin, make sure to protect your work area by laying down a drop cloth or old newspaper or set inside a cardboard box as I did.
Holding the can about 8-12 inches away from the surface of the jack-o-lantern, apply a light, even coat of the paint, making sure to cover the entire surface.
This will give your pumpkin a more realistic texture. Depending on the brand of spray paint you’re using, it may take around 30 minutes to an hour for it to dry. Be sure to check the instructions on your can for specific drying times.
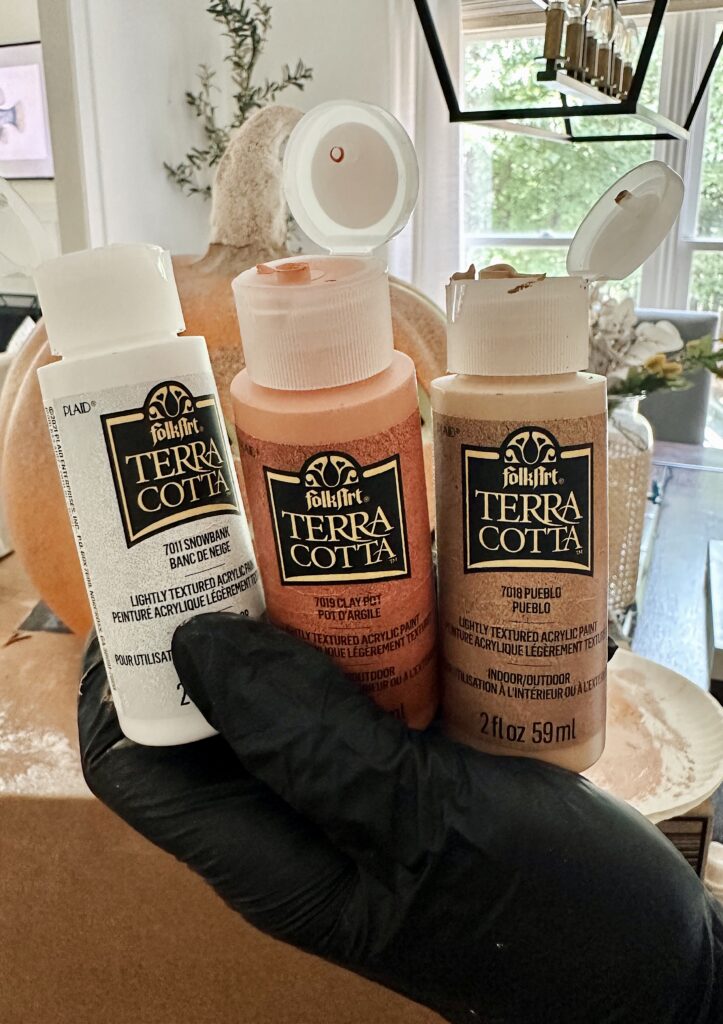
Step Three: Using Terracotta Colored Acrylic Paints
I found this fantastic set of terracotta-colored acrylic paints at JOANN that I mixed and matched until I got the desired shade.
Then, just apply a coat of paint to the entire surface of the jack-o-lantern. One coat covered mine perfectly.

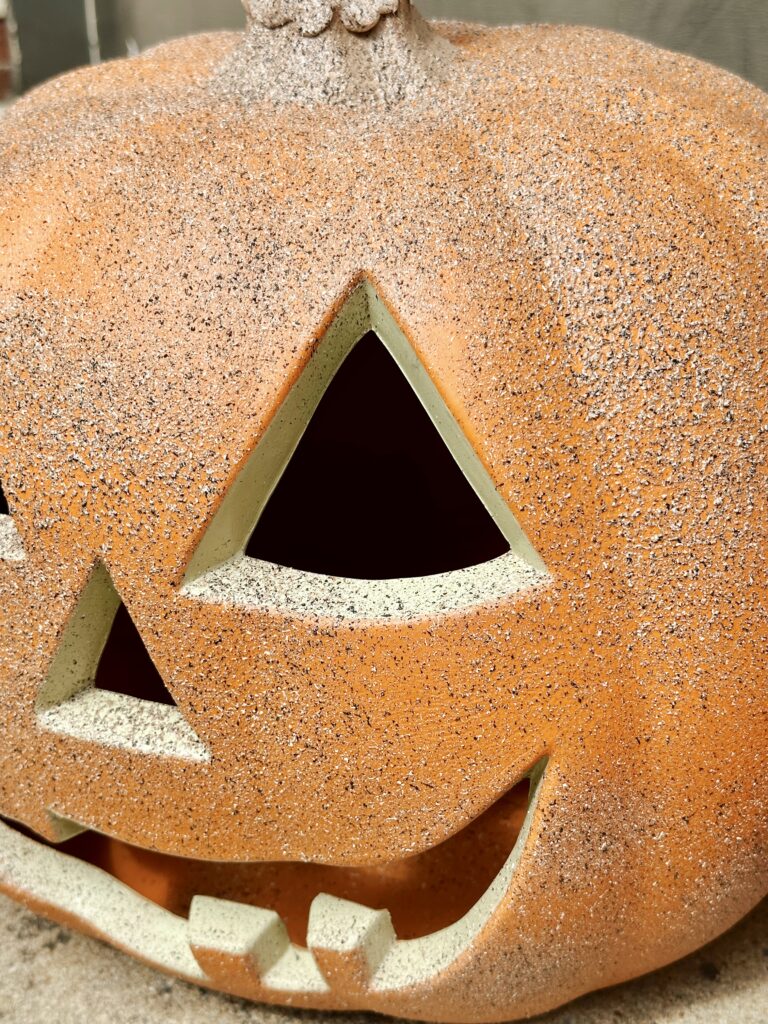
Step Four: Sprinkling In Baking Powder To Paint Mix
The final step is sprinkling the baking powder into your leftover paint mix.
I mixed them together and lightly tapped off any excess powder to prevent clumps from forming on the pumpkin.
Then, I just applied strokes in certain places around the pumpkin to give it a weathered and aged appearance! This could be along the pumpkin’s edges, crevices, or raised portions.
As you work, step back occasionally and assess the overall look. You may find that certain areas require more powder to achieve the desired weathered look, while others may need just a hint.
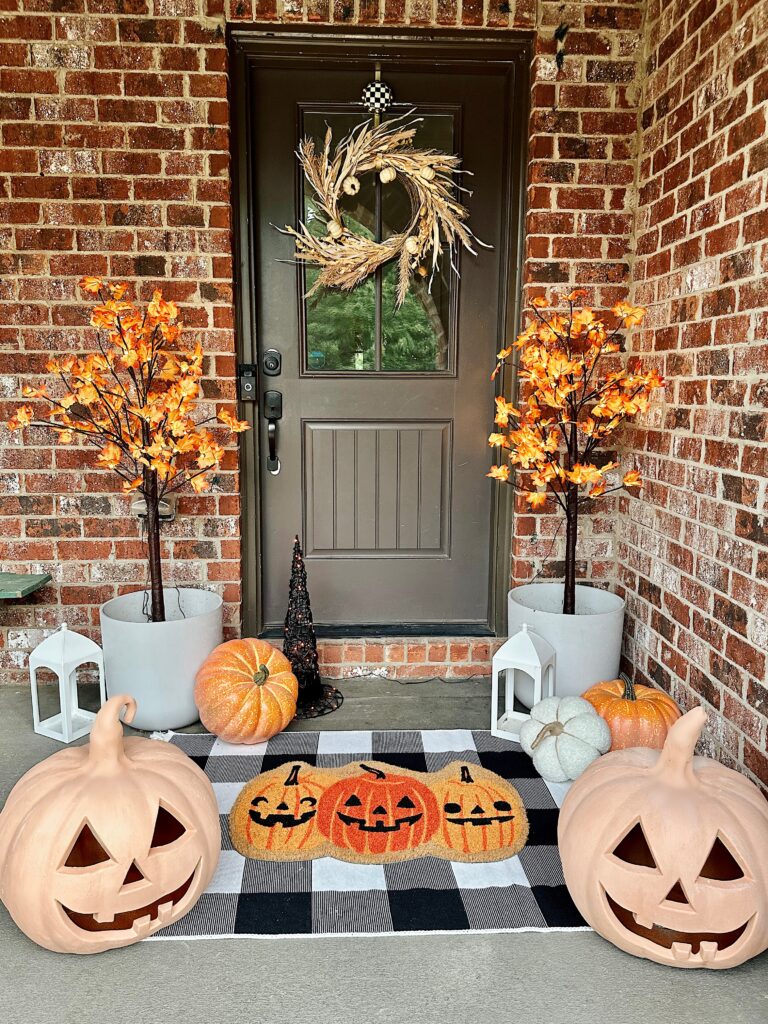
In conclusion, transforming plastic jack-o-lanterns into terracotta pumpkins is a fun and creative Halloween DIY you will enjoy this season. Following the step-by-step tutorial, you can easily create some too!
Happy crafting and happy Halloween!
PIN NOW, SAVE FOR LATER!

Super cute! I love this idea. Happy Fall, my friend.