This criss cross outdoor planters tutorial contains some affiliate links. If you click on these links and buy something, I make a commission at no cost to you.
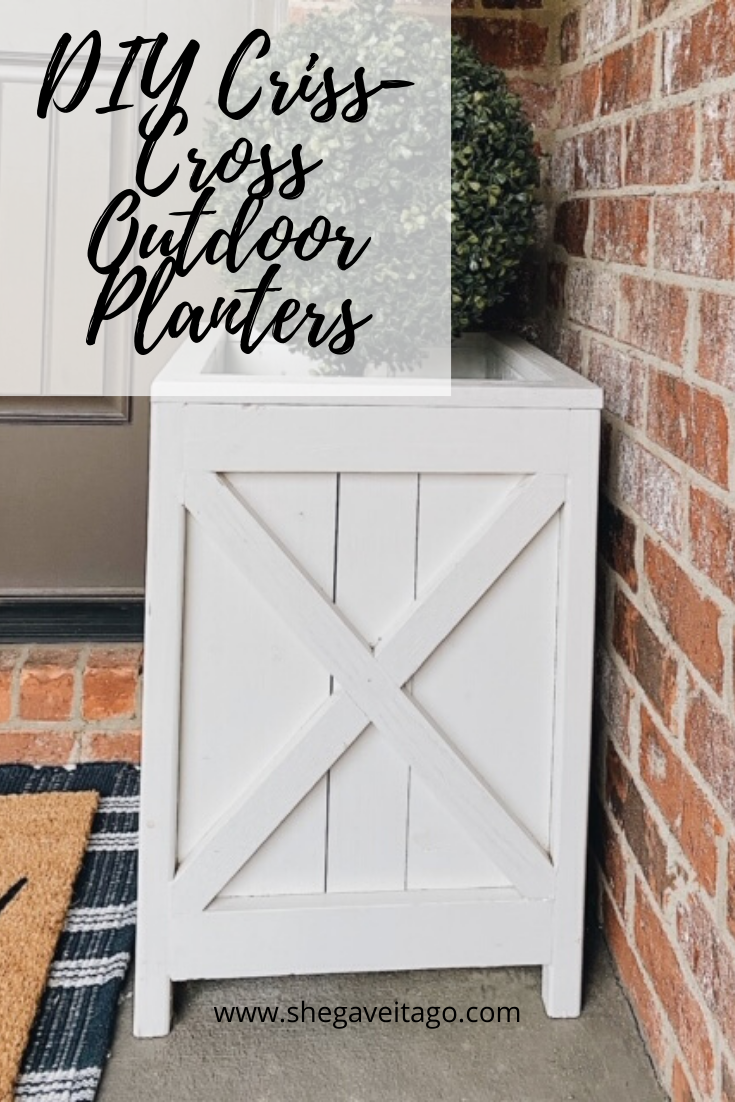
DIY Criss Cross Outdoor Planters
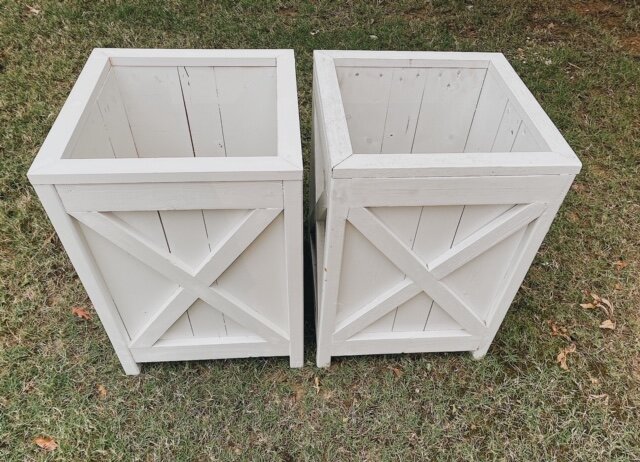
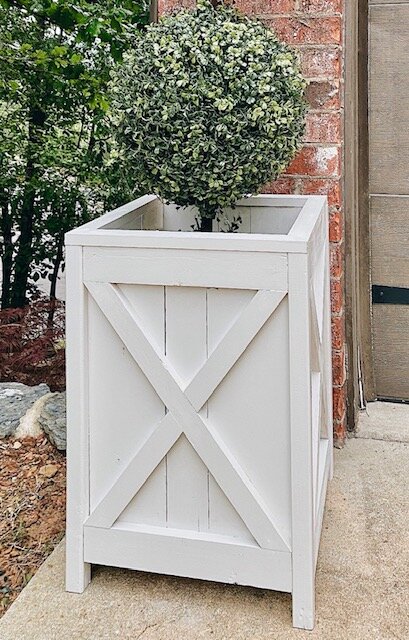
I love the look of these DIY criss cross outdoor planters! I have wanted a pair of these for our front porch, but they can be costly. But making them yourself is so much more affordable. By following our step by step DIY, you too can make these awesome planters. We can’t wait for you to give these a go!
Criss-cross planters have always been such a beautiful style to me. They come in several sizes and colors. After showing my husband this style planter, he knew he wanted to try his hand at building a pair for our home. We were so pleased with the way ours turned out, that we wanted to share our guide on how to make a pair of your own.
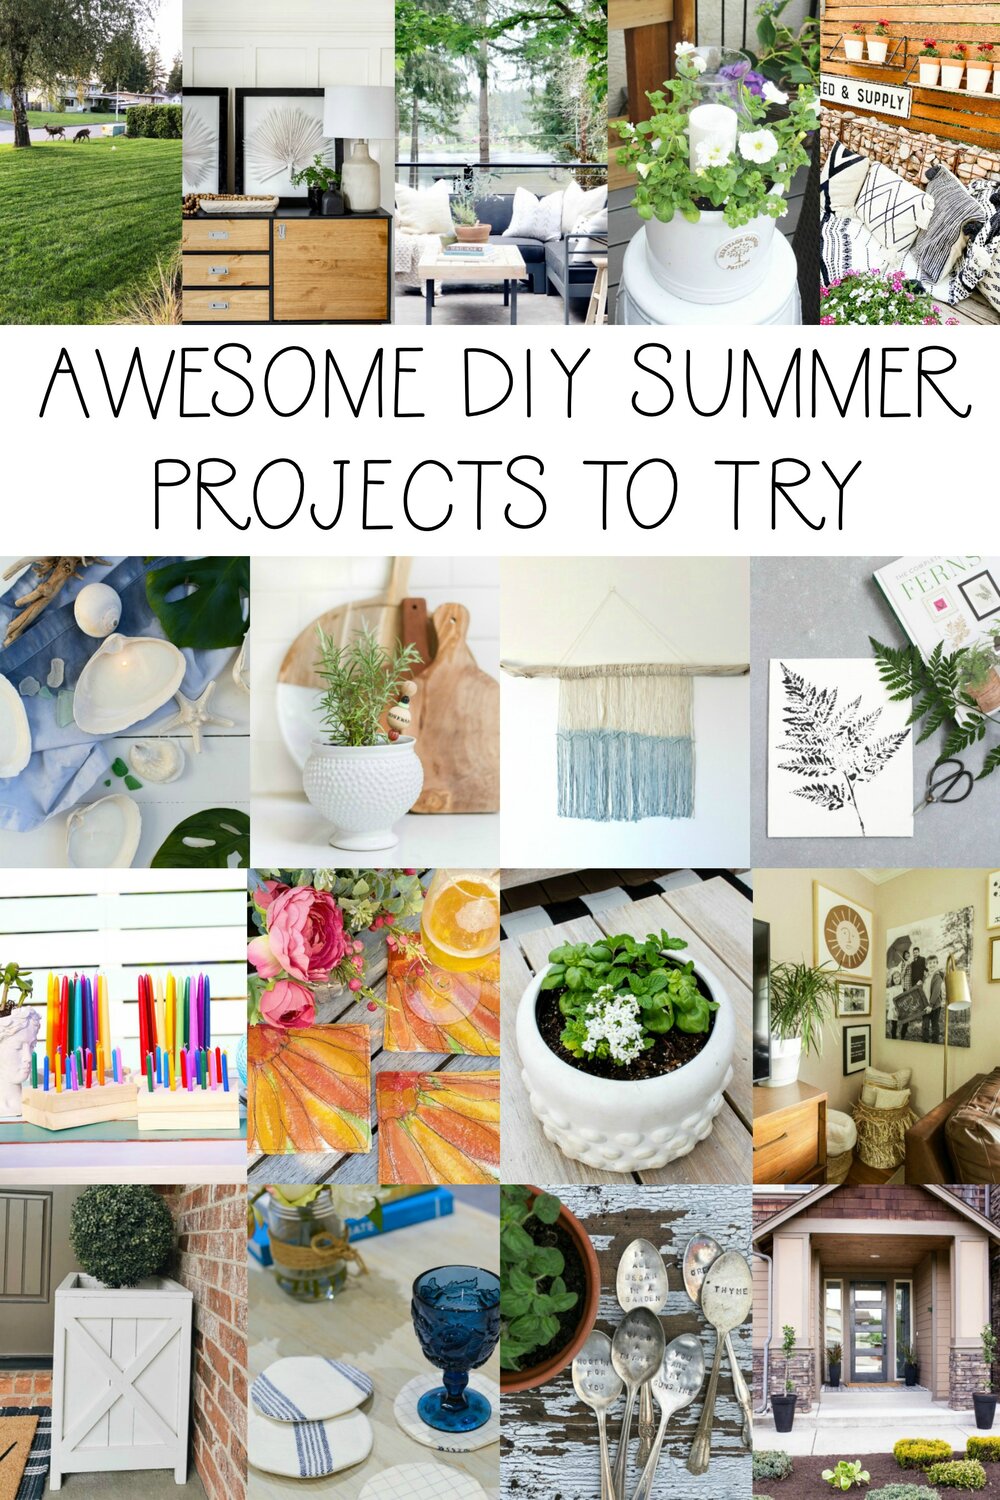
Plus, don’t miss at the end of this DIY, several of my blogger friends are sharing their fantastic summer DIY/craft ideas too!
Supplies for your Criss Cross Outdoor Planters:
-
2 x 2s for legs
-
1 x 3 for bottom and top boards of frame
-
1 x 6 for side panel slats
-
1 x 2 for criss-cross and top trim
-
Wood screws and wood glue
-
Tape measure
-
Hand saw, miter saw, or other means of cutting boards to size
-
Drill
-
Nail gun, brad gun, or hammer and nail
-
Kreg pocket screw jig
-
Wood putty and putty knife
-
Paint
Step 1: Cutting your boards to size
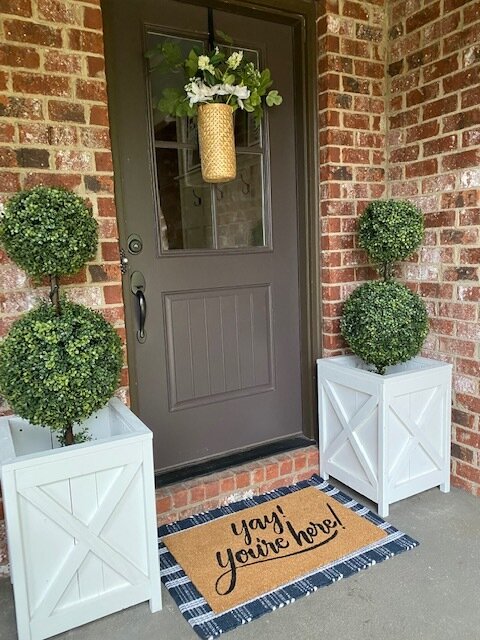
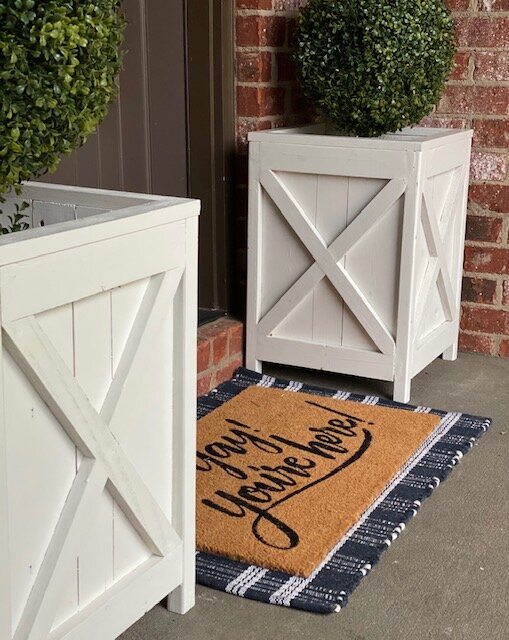
You’ll need to determine what size you want your planter to be. The space to the left and right of our front door determined the size of our planter boxes. We knew the width of this space limited us. We couldn’t make ours any wider than 18 inches. Once we knew our width, using a tape measure, we eyeballed what we thought was a proper height, which turned out to be 24 inches. You can make the dimensions of yours to whatever size best suits your space. We preferred that ours have a taller, more rectangular look. You could choose a boxier, squarish look if it suits you. It’s totally your call!
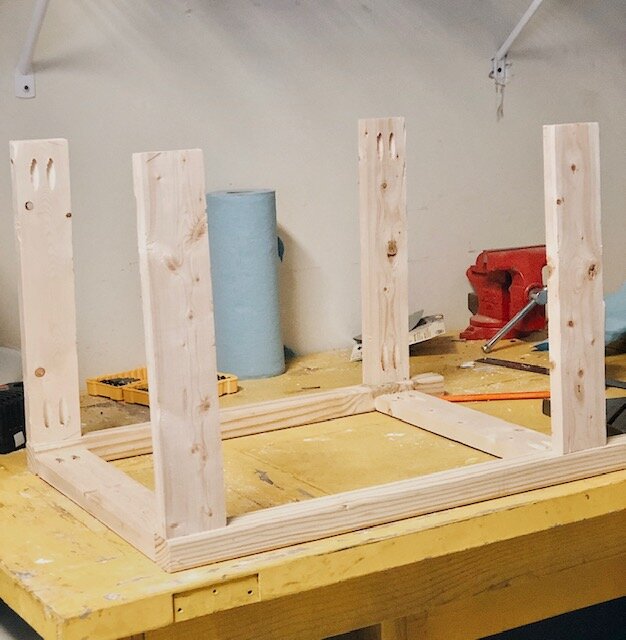
Once you determine your height and width, cut your four 2 x 2 legs and your eight top and bottom 1 x 3 and get ready to assemble them. Repeat this step to make 2 side panels.
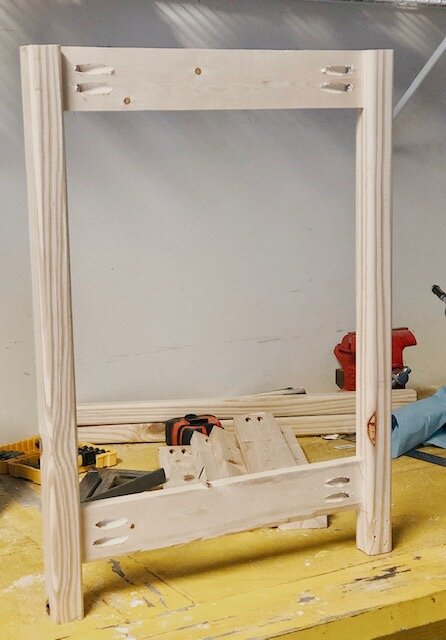
Step 2: Build the Frame for Your Criss Cross Outdoor Planters
As you can see above, these frames are very simple. For most of our DIYs, we use the Kreg pocket hole system. This is a great way to build picture frames, planter boxes, and many other DIY applications. We would strongly encourage you to look into this system. Don’t be intimidated! It is surprisingly easy to use. If you can drill a hole in a board, you can use one of the Kreg jigs. Using pocket holes, we joined the 2 X 2 legs to a top and bottom 1 x 3 board.
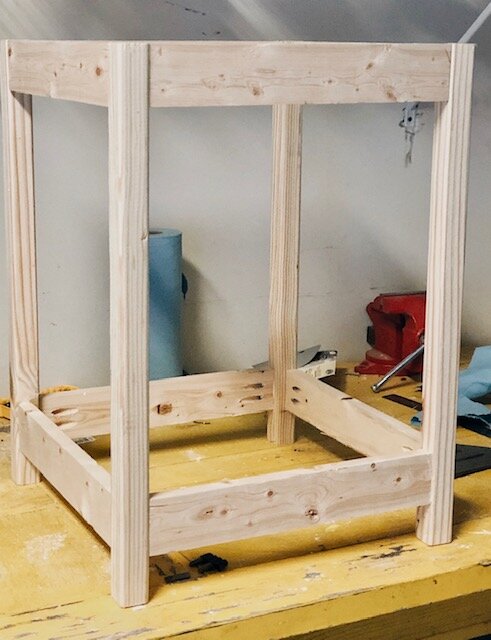
Then, we laid that face down on our bench, drilled pocket holes on another set of top and bottom 1 x 3’s, and attached them to one of the sides as you can see below:
Next, we attached the other side panel we made in Step 1, and JUST LIKE THAT, you have your frame! (Seriously, how easy was that?)
Step 3: Assemble your side panels
This is where our build may differ from ours, depending on your dimensions. Because our width was 18 inches, we had a decision to make: do we rip our 1 x 6’s on a table saw to make them all uniform? Or do we get cute and make them different sizes? We opted to use the two outside 1 x 6’s at stock width. We then ripped the middle 1 x 6 to fit the remaining space. The decision to do this was totally on a whim to make the planter a little more unique. Whatever size you decide to make your panels, go for it!
Once we cut the panels, we attached them to the frame by screwing them to the top and bottom 1 x 3’s. Do this for each side.

Step 4: Cutting the Criss-Cross
This is the only part of this build that requires even a little bit of carpentry skills; and believe us, it’s not that big of a hurdle to overcome. You’re going to need to cut what’s called a “half-lap” joint to make the criss-cross with your 1 x 2’s. Here’s what this requires.
Step 1: Cut your two 1 x 2’s to fit your panels. If you look closely at our top picture, you’ll notice we used two different methods for the criss-crosses. We wanted to try both out. If we had to choose our favorite, it would be to flush your 1 x 2’s in the corners instead of slotting them. It means fewer cuts and a better fit. To do this, you’ll simply measure from corner to corner on the diagonal, scribe your angles, and make the cut using a miter saw or hand saw. You’ll need to repeat this for all four sides of the planter.
Step 2: Make your half-lap joint. The half-lap joint is what allows your criss-crosses to lay flush on top of each other. To do this, lay your criss-crosses on top of each other where they will be in the side panels, and scribe the angle where they intersect. Then, you’ll need to use a table saw, or miter saw to cut out half off the width of both 1 x 2 criss-crosses so that they lay flat and interlocking. You’ll do this by setting your saw to a depth of half the depth of your 1 x 2’s. If you buy your 1 x 2’s from a hardware store, the depth will be 3/4 inches. So we set our saw to remove about 3/8’s of an inch of the wood. You’ll make this cut in each 1 X 2 allowing them to lay flat on one another. Repeat this for all four sides.
Step 3: Use your nail gun or hammer and nails to attach your criss-crosses to your side panels.
Step 5: Make The Bottom Shelf
As is sometimes the case, we didn’t get a picture of this step. We were too excited about almost being done! But you need to make a bottom shelf in the planter so you can have something to sit a plant on. You do not need to make a full bottom to the planter; there is actually some benefit to having just a shelf with space on each side to allow any dirt to other debris not to collect in the bottom. So, simply take a piece of your 1 x 6 that you used for the side panels and cut it to length to serve as a shelf at the bottom of your planter. We used our Kreg jig to drill pocket holes on the bottom of the shelf and screwed it so that it is flush with the bottom of your frame.
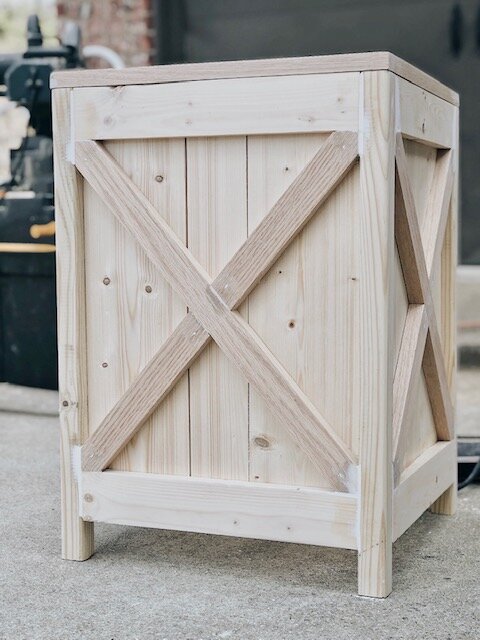
Step Six: Wood Putty, Sanding, Painting your Criss Cross Outdoor Planters
These are relatively rustic planters or will be once they age, so don’t feel the need to cover every imperfection with wood putty. But it’s probably a good idea to cover your nail holes with wood putty to prepare for painting. Once that’s had time to dry according to the instructions on your package, sand the entire planter. Now you’re ready to paint.
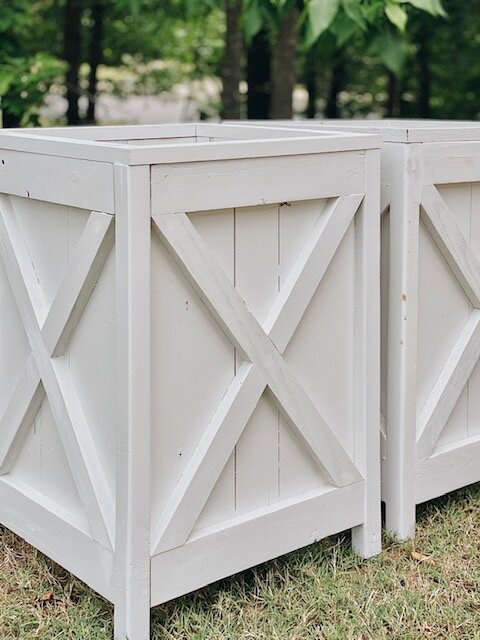
We used an indoor paint (Shiplap by Magnolia) on these outdoor planters because we actually want them to weather. We can’t wait for a year from now when the paint is a little worn in and washed out. At that point, they will be on their way to the time-worn, farmhouse look we love. If you want yours to stand up under the weather, consider using exterior paint.
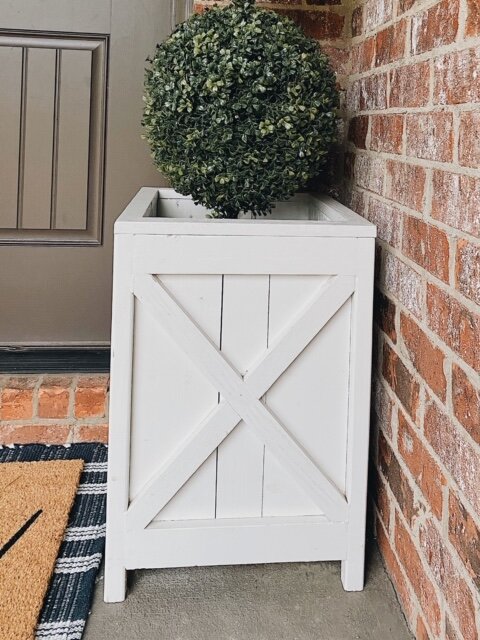
And they are complete! I love how they turned out, and have enjoyed having them on our front porch! You can add any plants to fill these. I am showing them holding faux topiaries but I’ll be replacing soon with ferns for the summer.
Are you ready to give these criss cross outdoor planters a go?
I would love for you to stay in touch by becoming a She Gave It A Go Insider! Get weekly tips, encouragement, special deals, and more!
Sign up HERE and receive a FREE DIY Guide for making any table the perfect chippy paint table.

Today I’m joined by some of my blogging friends who are also sharing their Summer DIY/Craft ideas! Just click the links below the images to be taken to their post…
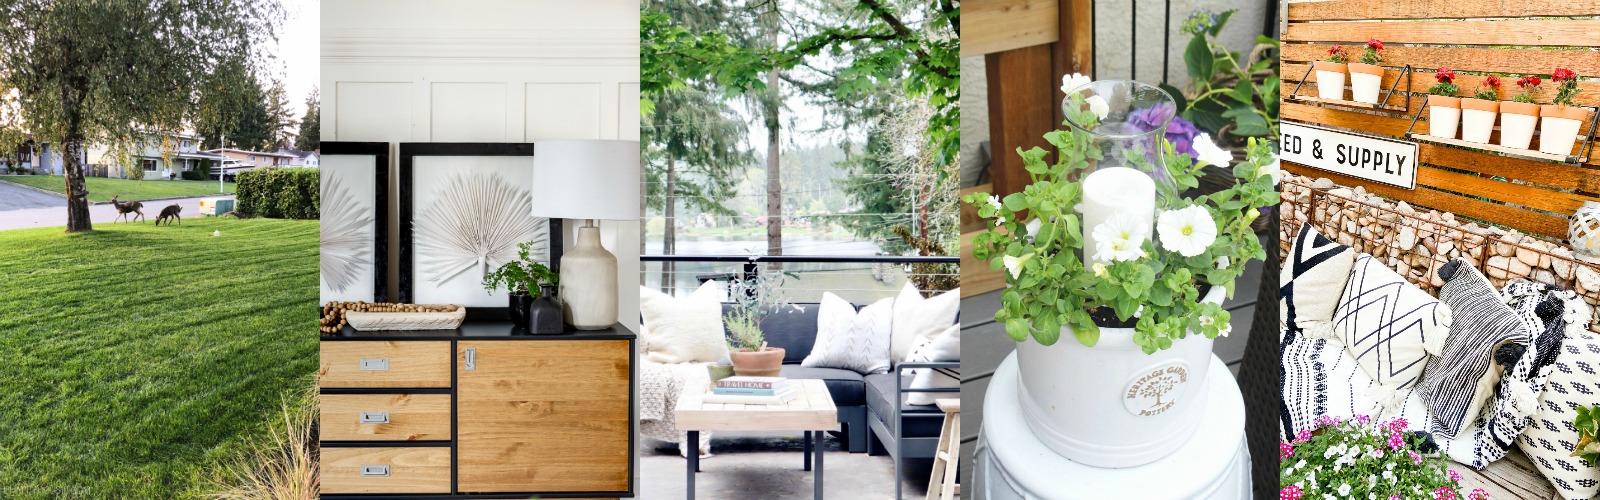
How to Seed a New Lawn from Scratch at The Happy Housie
DIY Palm Leaf Shadow Art Box (PB Knockoff) at Craftberry Bush
How to Make an Outdoor Pallet Tabletop at My Sweet Savannah
DIY Outdoor Planter with Candle at Clean & Scentsible
DIY Hanging Patio Garden at Tatertots and Jello
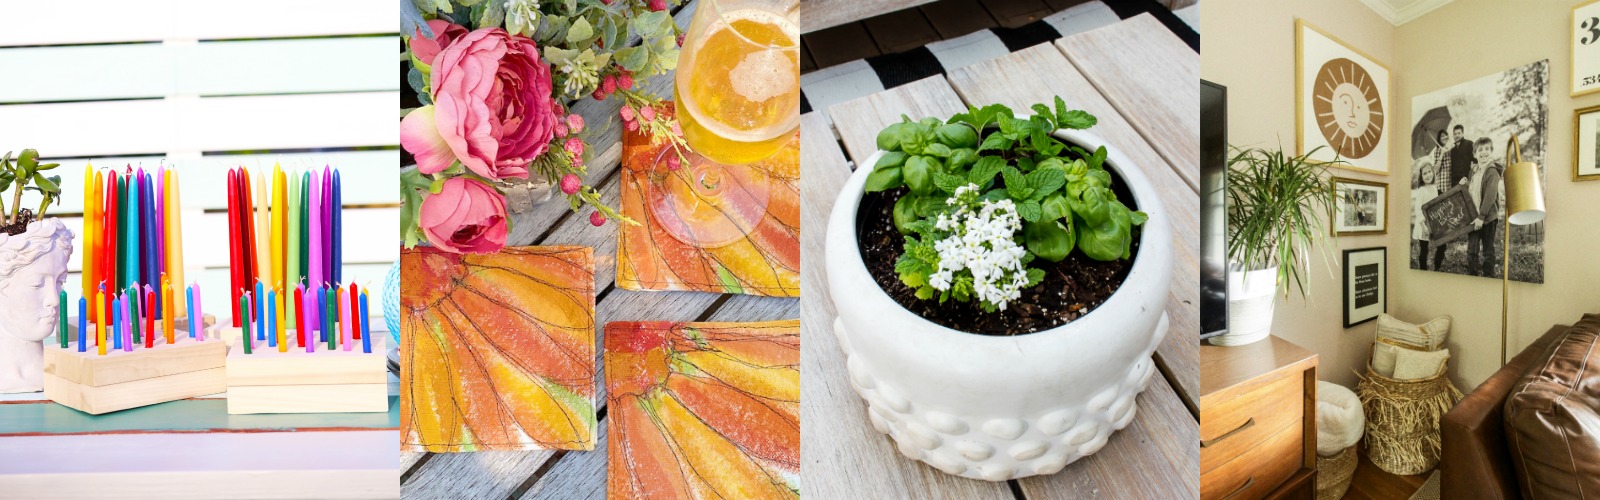
DIY Outdoor Candle Holders at The Handmade Home
DIY Painted Coasters at My 100 Year Old Home
Outdoor Tabletop Herb Garden at Inspiration for Moms
DIY Modern Sun Art at Cassie Bustamante
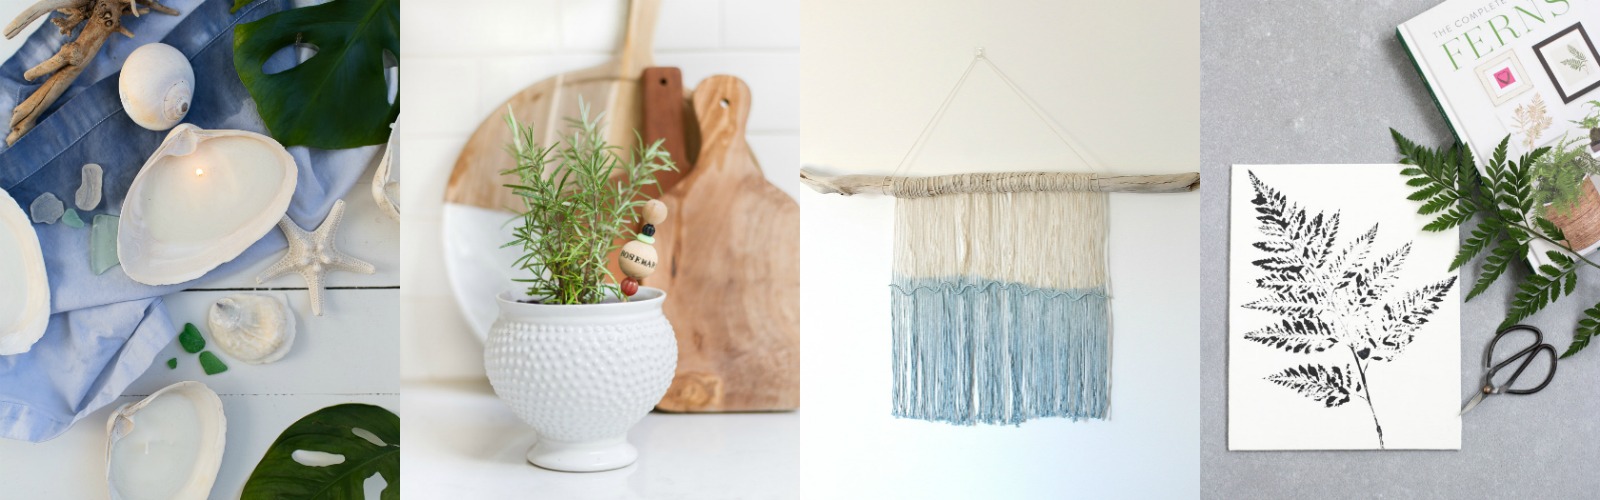
DIY Shell Candles at Finding Silver Pennies
DIY Beaded Garden Markers at Zevy Joy
Easy DIY Macrame and Driftwood Wall Hanging at Dans Le Lake House
DIY Printed Fern Art at Satori Design for Living

DIY Criss Cross Outdoor Planters at She Gave it a Go
Coastal Coaster DIY at Rambling Renovators
Stamped Spoon Garden Markers at Life is a Party
Summer Porch Updates at Taryn Whiteaker Designs

These are so great, Brendt! Awesome DIY project!
Thank you so much! I am so glad you stopped by Krista!
Loved this blog hop with you!
Warmest,
Brendt
These planters are beautiful! And you made it look so easy, too.
Hi Michelle!
Thank you so much for your kind words! I am so glad that you stopped by.
I hope you may give these planters a go!
Have a wonderful day,
Brendt
[…] DIY Criss Cross Outdoor Planters – She Gave It A Go […]
[…] She Gave It A Go […]
[…] white planters ~ we have five of them. They are so classic and any plant looks great with them. Brendt of She Gave it a Go shows us exactly how to make them. I’m so impressed with her […]
[…] Do you know my friend Brendt? She is the sweetest, and so encouraging I was lucky enough to get to met her in person last summer and spend a great amount of time with her! Here she made the most fabulous planter boxes. […]
Brendt what a great DIY! My plant loving heart loves this one! Pinning!
Thank you so very much sweet Stacy!
Brendt
These look so so good. I’m saving for a future project. Thanks for all the great information!
I bet these planters will look amazing this year. Great idea. Thanks for making it look easy! pinned
Yay, Cindy! I am so happy to hear you like them. We had a great time putting them together and sharing the tutorial in hopes others will give them a go too!
Wishing you a happy start to Spring!
xoxo,
Brendt
Brendt your planters turned out great! I’m always so hesitant to use “power tools”, but your tutorial makes it looks so easy. I may need to get brave and give these a try. They would look beautiful on our back patio. Thank you for sharing. Pinned!
Yay, Jen, I hope you will give them a go!
I cannot wait to see how they turn out.
Thank you for your sweet words, grateful for you!
Brendt
Oh my goodness these are fabulous and totally doable! Maybe my new porch needs some!