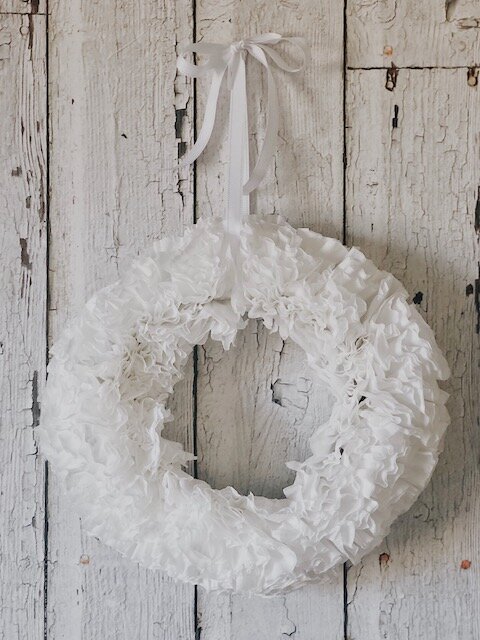
Want to upcycle a wreath for under two dollars and have it turn out this cute? This coffee filter wreath is so easy to make and adds some great texture to your home. You’re sure to love this budget-friendly DIY!
DIY Coffee Filter Wreath
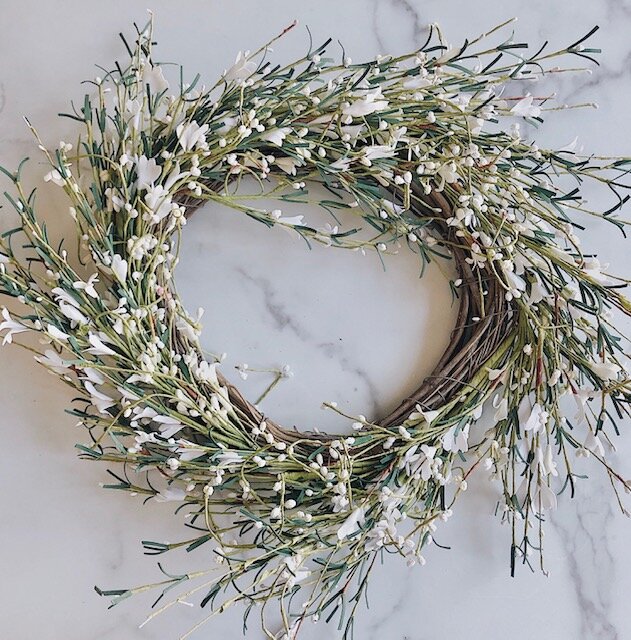
I had this wreath sitting in my decor closet, with no real plans to bring it back out this year. It got me thinking, why not turn it into something that I could use now? So I grabbed it out of the closet and was excited about upcycling this wreath on a dime. I knew I wanted to add some good texture and cover the grapevine form, so why not use coffee filters to create a lovely layered wreath to enjoy?
Are you ready to see how easy it is to make? Let’s go!

Coffee Filter Wreath Supplies
-
The wreath you no longer use
-
Glue sticks and a glue gun
-
Coffee Filters (this was the only cost, and they were $1.98!)
-
Wire clippers (optional)
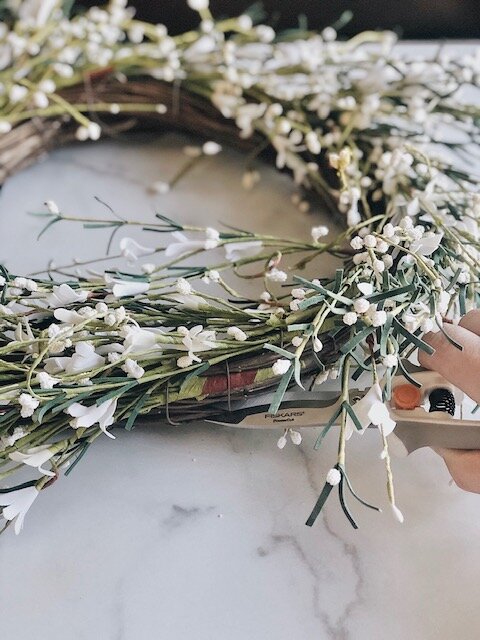
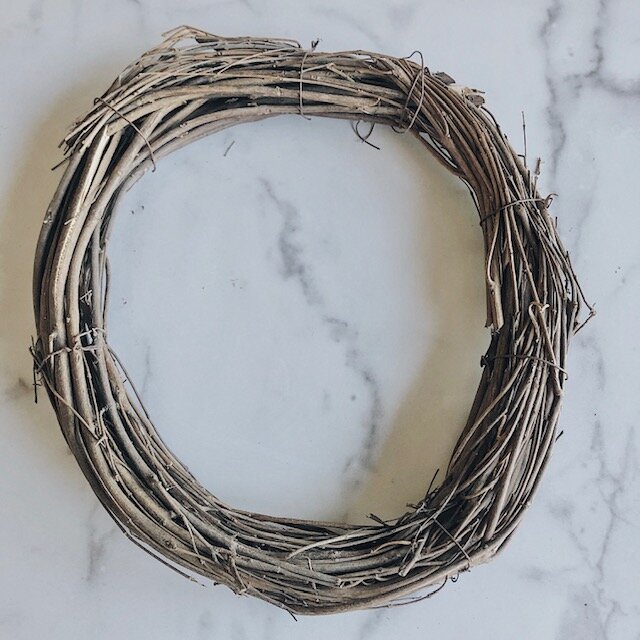
First, if yours is like mine, you will want to take off any stems/clippings to get the wreath back to its original form. Some may have grapevine forms like mine, while others may have wire or straw. You want to create a plain base to start your coffee filter wreath from.
Second, plug in that hot glue gun! You are now ready to start gluing on the coffee filters. Take a coffee filter and fold it in half as the photo below shows.

Then pinch it in the middle, and it looks like a mini gift bag tissue, haha!
Tip: It is easier to do the steps in batches. In other words, fold several in half rather than just one at a time, and so on. The process will go a lot faster.

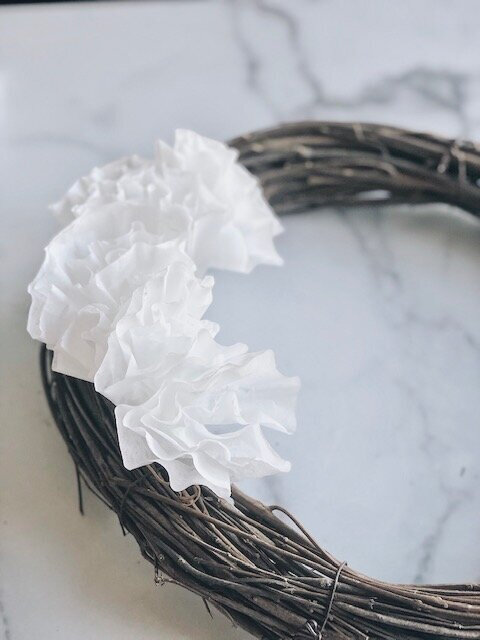
Okay, this is the part you will want to turn on some good music! Full is key with this DIY wreath…the more full, the better. You will want to start on the inside form of the wreath when gluing on your coffee filters. Place the ends of the filters right next to one another to achieve maximum depth.
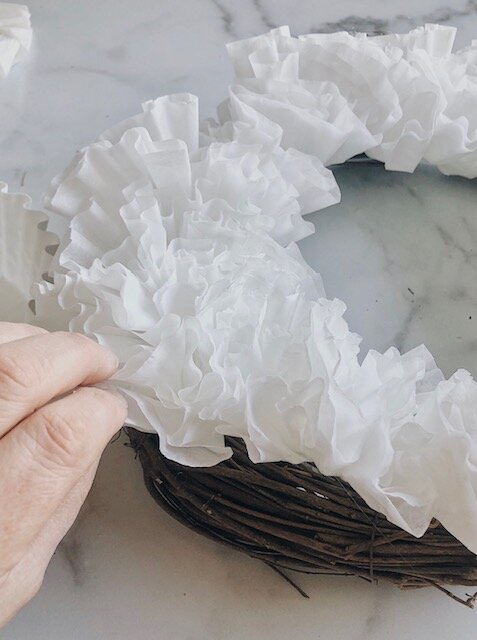
Keep working your way around the form until you get to the outer ring of the circle. Once you feel like it may be done, stand up and take a look at it from further away. I spotted holes in mine and ended up adding more until I felt like those holes disappeared, and it looked even.
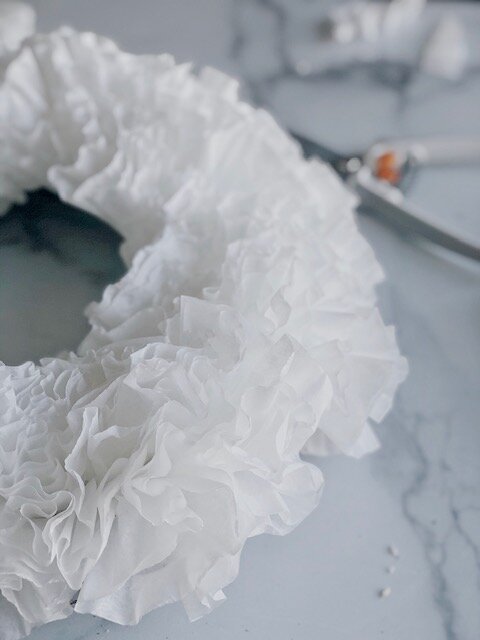
Lastly, grab some scissors and trim the filters that may be sticking up higher than the others. I learned very quickly that coffee filters are so forgiving! You don’t even have to cut it perfectly, the filter edges allow for flexibility! Stand back and give it one final look over, and you are done!
What do you think? I plan to try my hand at another one, next time a bigger one and even fuller. Now, you get to go check out my amazing friends wreaths that they are sharing. I love these beautiful DIY wreath ideas and know you will too!

I would love for you to stay in touch by becoming a She Gave It A Go Insider! Get weekly tips, encouragement, special deals, and more!
Sign up HERE and receive a FREE DIY Guide for making any table the perfect chippy paint table.

Magnolia Wreath – The Happy Housie // DIY Orange Wreath – The Handmade Home // Magnolia Farmhouse Wreath – Tatertots & Jello // Driftwood Welcome Wreath – My Sweet Savannah
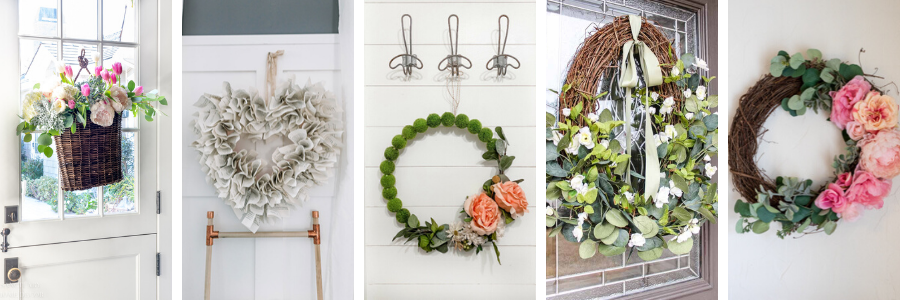
Front Door Decorating Ideas – Sanctuary Home Decor // Book Page Wreath – The DIY Mommy // Moss Ball Floral Wreath – Lolly Jane // Floral Winter Wreath – A Blue Nest // Spring Floral Wreath – Jennifer Maune

Heart Emoji Wreath – Cassie Bustamante // How To Make A Spring Wreath – My 100 Year Old Home // Strawflower Heart Wreath – Finding Lovely // Felt Flowers Wreath – Happy Happy Nester
Simple Spring Wreath – Art of Everyday Living // Coffee Filter Wreath – She Gave It A Go // Minimalistic Spring Wreath – Taryn Whiteaker Designs // How To Make A Spring Wreath – Hallstrom Home // Eucalyptus Wreath – Twelve on Main


[…] Brendt at she gave it a go has step by step instructions, so I won’t repeat them. […]
[…] Brendt at she gave it a go has step by step instructions, so I won’t repeat them in detail. […]