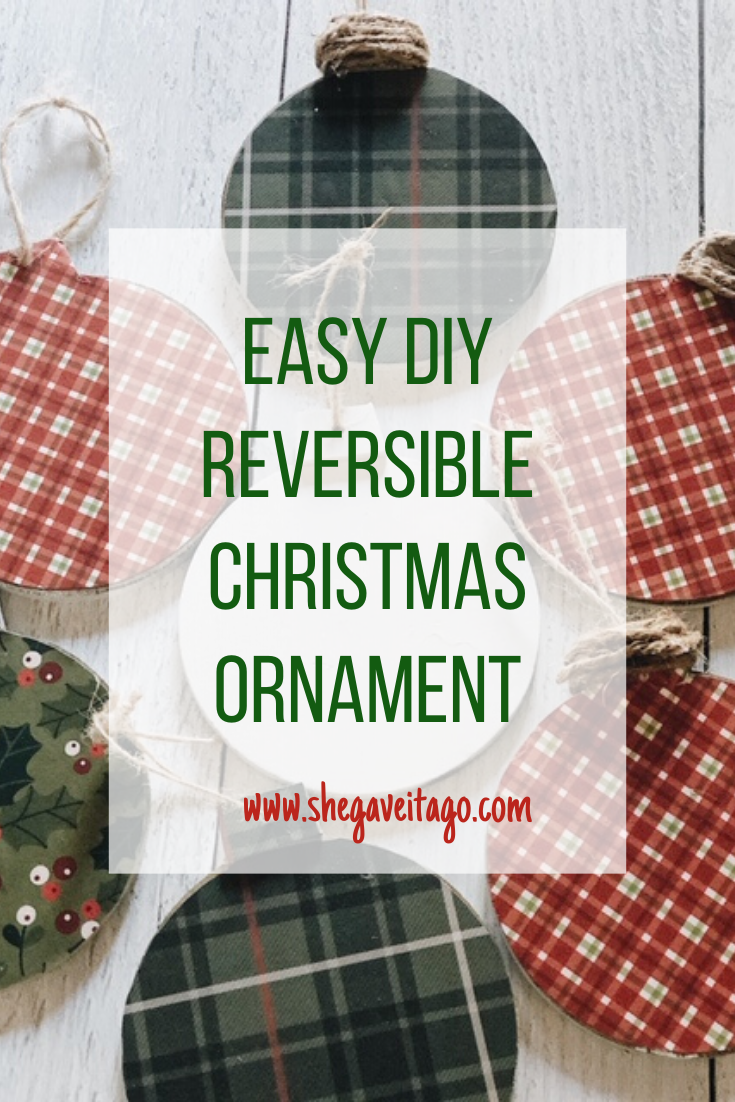
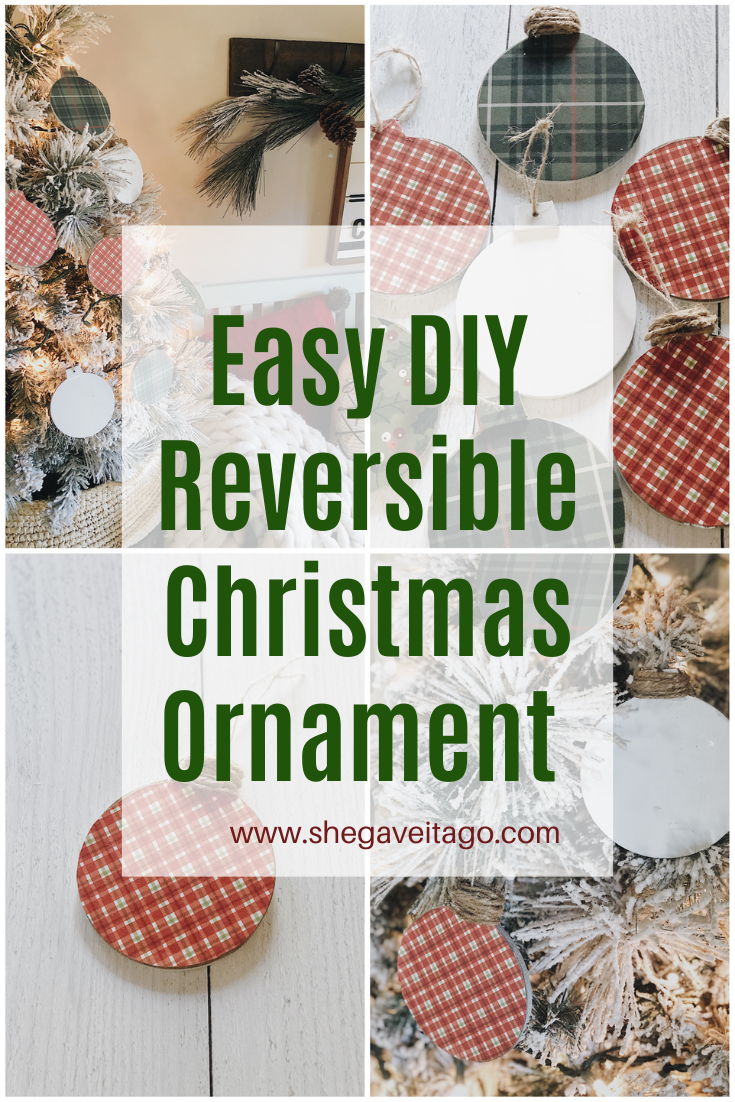
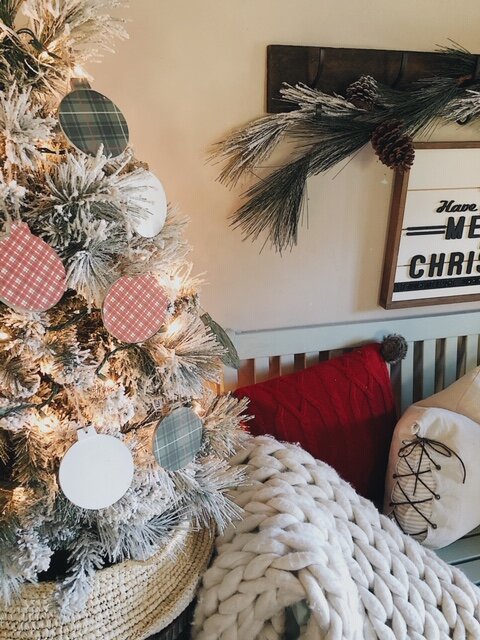
This easy DIY reversible Christmas ornament is one of my favorite DIYs to date! It is a craft for any level DIYer and can be made in under an hour. I love that you can personalize them for any color palette or style to fit into the holiday decor of your home. The results are a fun and festive addition to your Christmas tree to enjoy for years to come.
There are many traditions that have been passed down to me from my childhood and Christmas time, but one of my favorites is the gifting of ornaments each year to my children and looking at ones from years past. Ornaments have always had a special place in my heart. As an adult, I have also had a fun time making ornaments to place on our tree in addition to store bought ones. Thus, I am so excited about sharing with you this easy DIY reversible Christmas ornament; they are the perfect addition to any Christmas home.
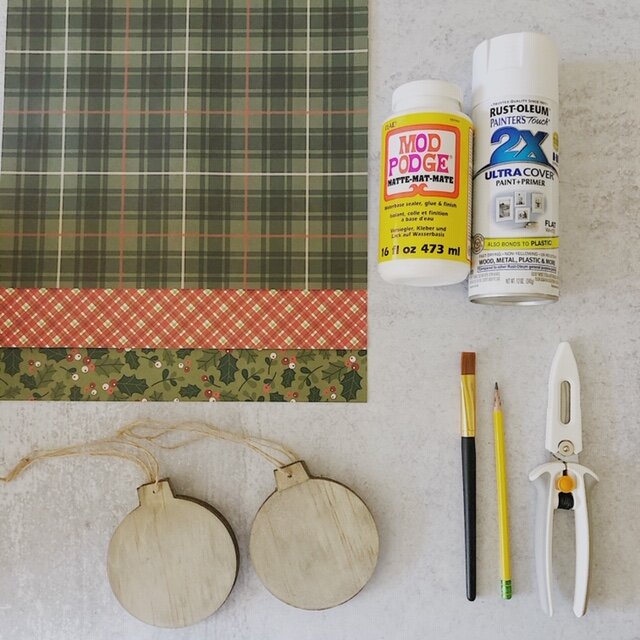
I found everything I needed at JOANN! I am sharing the ornament like below for you to easily recreate. You probably already have some of the supplies for this ornament on hand. Below is the supplies list:
-
Mod Podge
-
Rust-Oleum Fast Drying White Spray Paint
-
Paint Brush
-
Craft Me Wooden Ornaments found here.
-
Multiple, coordinating scrapbook papers
-
Pencil
-
Twine
-
Glue Gun
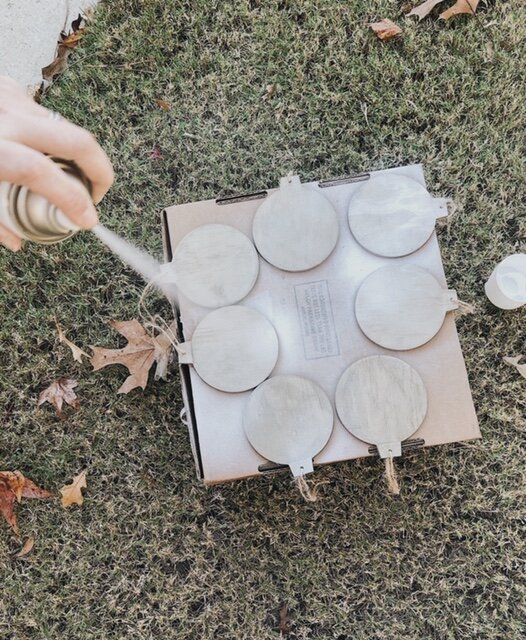
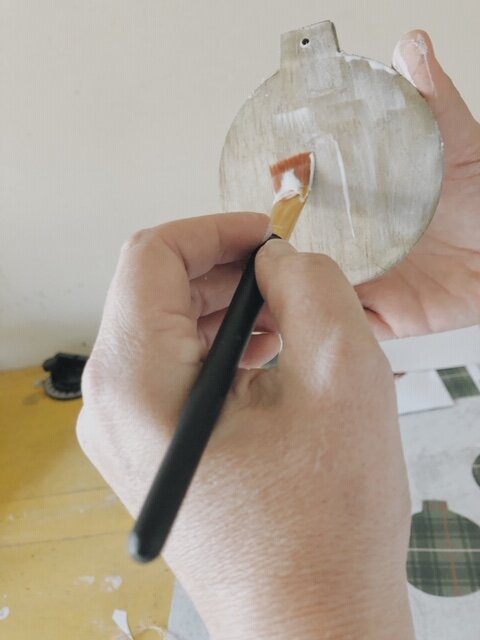
The first step is to get the ornaments spray painted so they can be drying while you work on the other steps. I simply grabbed a used cardboard box and set the ornaments on top of it. Make sure the existing ribbon/twine is draped off the side of the cardboard or taped to the box so it does not get a coat of spray paint haha!
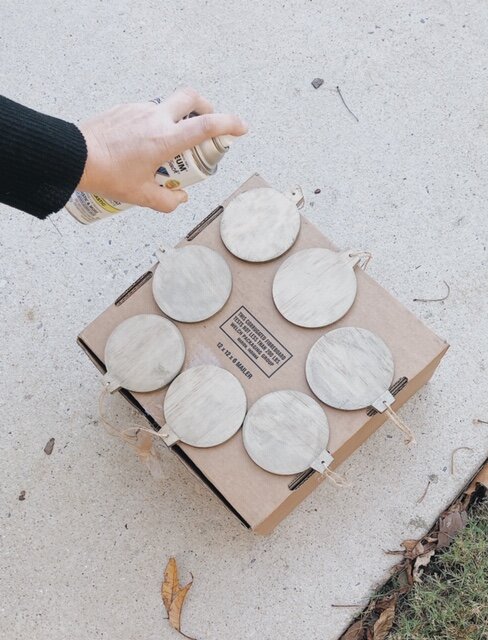
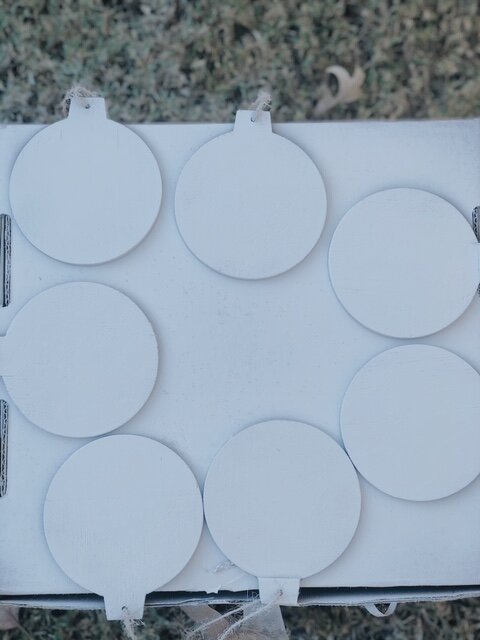
I chose white because it was bright coordinated with my Christmas decor! When spray painting, just do light “sweeping” motions to spray paint the ornaments. If you do a long, direct spray it will be way too much paint and it will not turn out smoothly. Now, let those ornaments dry.
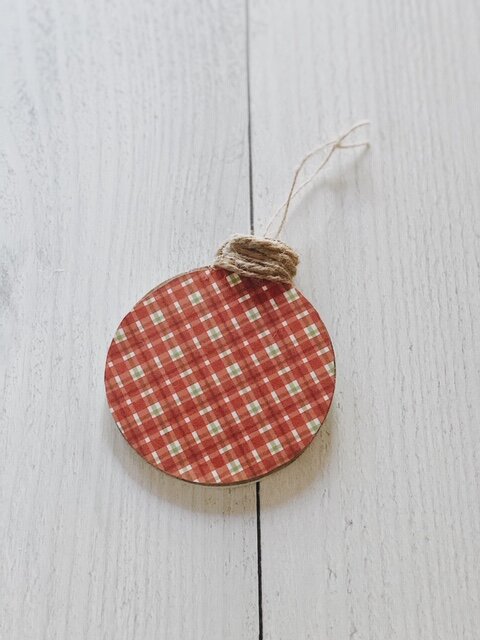
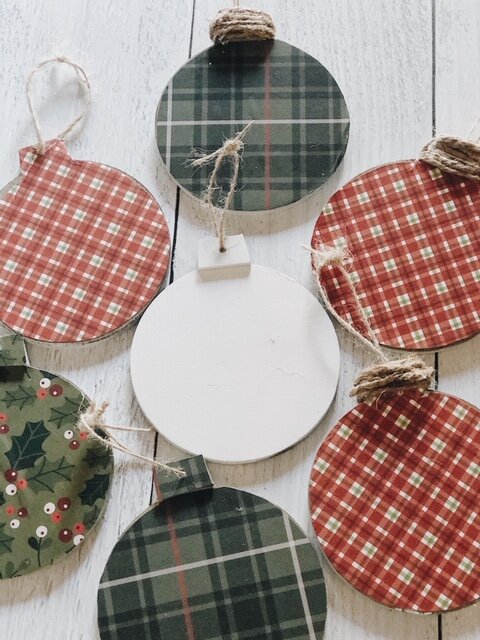
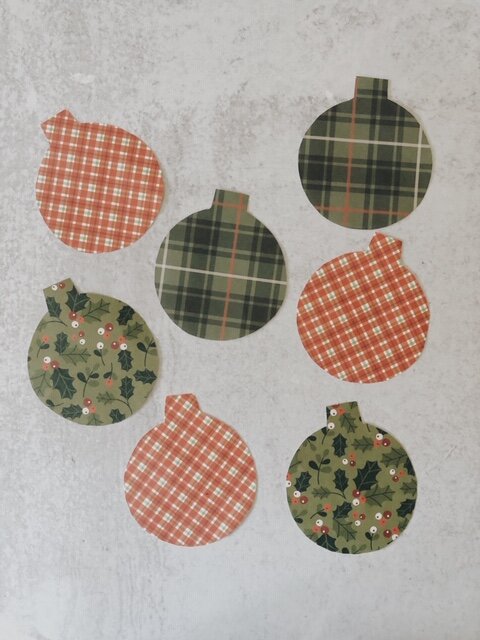
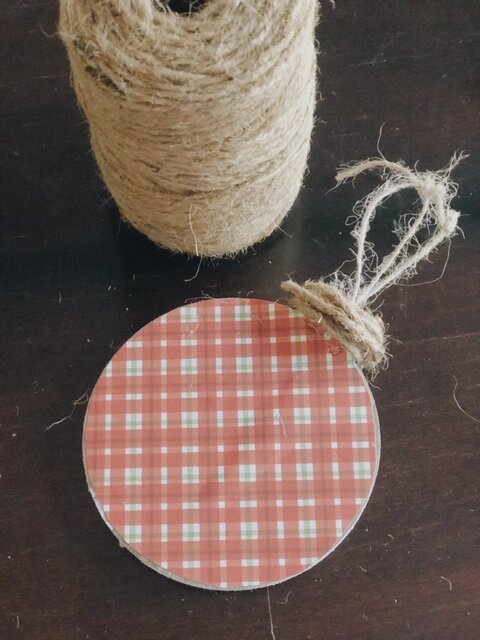
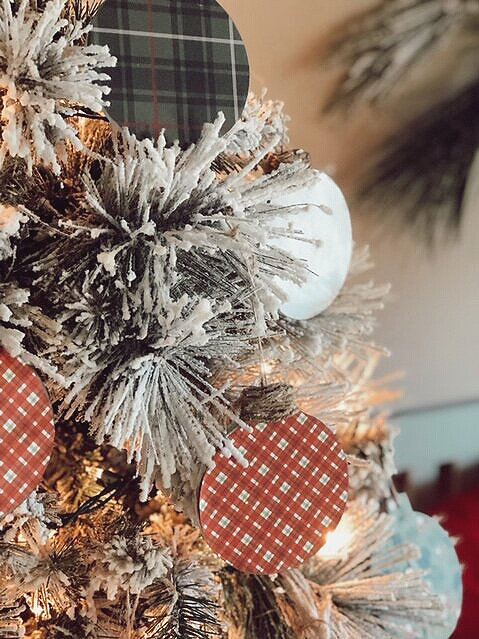
After a few minutes, I selected one ornament to use as my template. I traced the amount ornaments I had bought (which for me it was 7) on the back of all the scrapbook papers. Then I simply cut them out. Having reversible ornaments allows for them to hang and not worry about an “unfinished” side showing as the lights reflect them. So I was excited about how this was going to look on our tree!
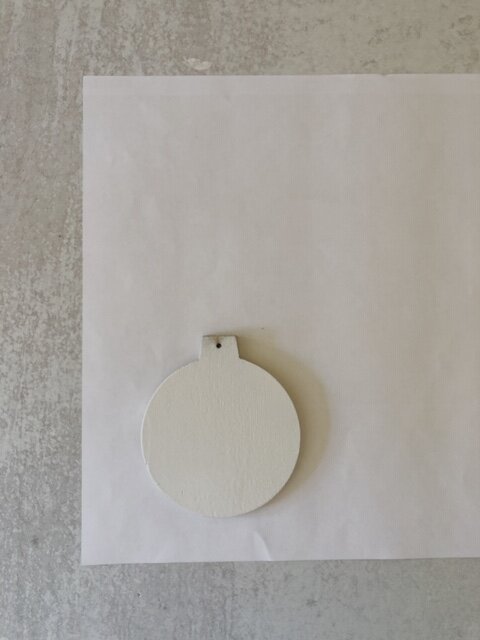
Once the spray paint has dried, you are ready to mod podge the paper on to the other side! Take your paint brush and apply directly onto the wood ornament itself first. Then lay the paper on top of the sticky mod podge and brush a coat on top of the paper. It always feels like you are messing it up, but it will dry clear and this is how mod podge works! Then let them dry (typically @20 minutes). I used the hooks in our garage to hang them on.
Lastly, for added texture, I wrapped twine around the top of some of the ornaments. You could also use other ribbon or raffia if you prefer that instead! There are all kinds of ways to personalize them further to your style! Have fun being creative with what you may “add” or leave off to these easy DIY reversible ornaments!
Are you ready to make some of your own? I hope so, you will enjoy making themselves or with the help of your children or with friends. Now, let’s check out the amazing other ornament ideas that several of my blogger friends created! You’re doing to love them too!

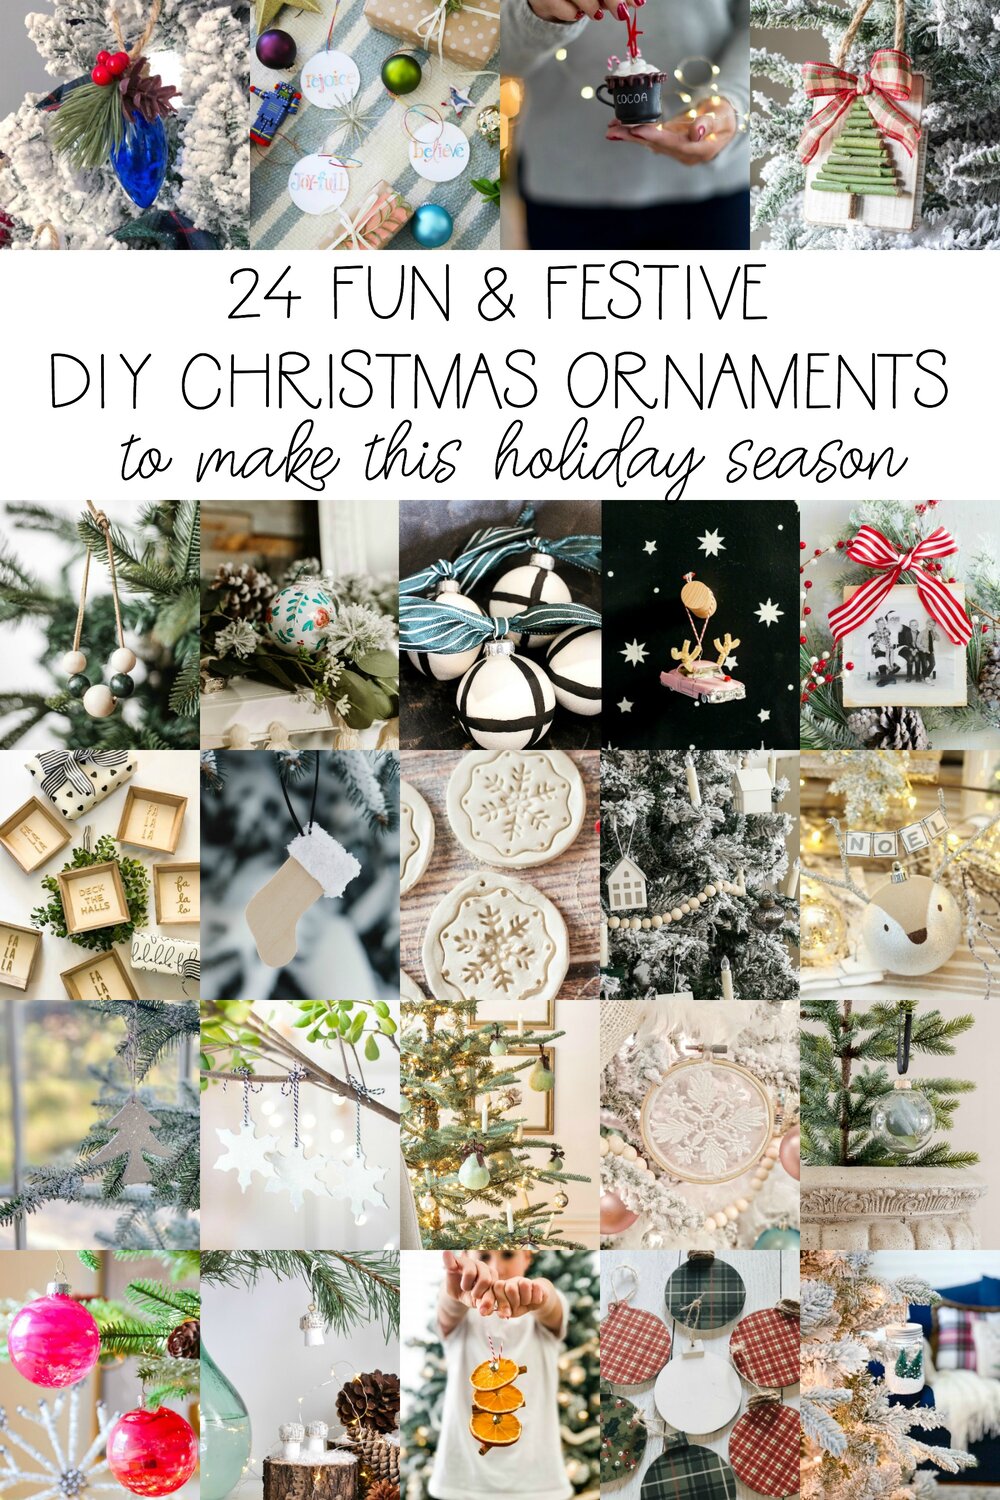
Welcome to the second week of the Seasonal Simplicity Christmas Series! Today a group of my blogging friends and I are sharing our DIY Christmas Ornament projects to help inspire you to get crafty for the upcoming holiday season. Click on the links below each image to be taken directly to the different posts!

DIY Christmas Light Tree Ornaments at The Happy Housie
Handmade Ornaments from Free Printables at The Handmade Home
DIY Dollar Store Christmas Tree Ornament at Craftberry Bush
DIY Twig Christmas Tree Ornament at The Turquoise Home
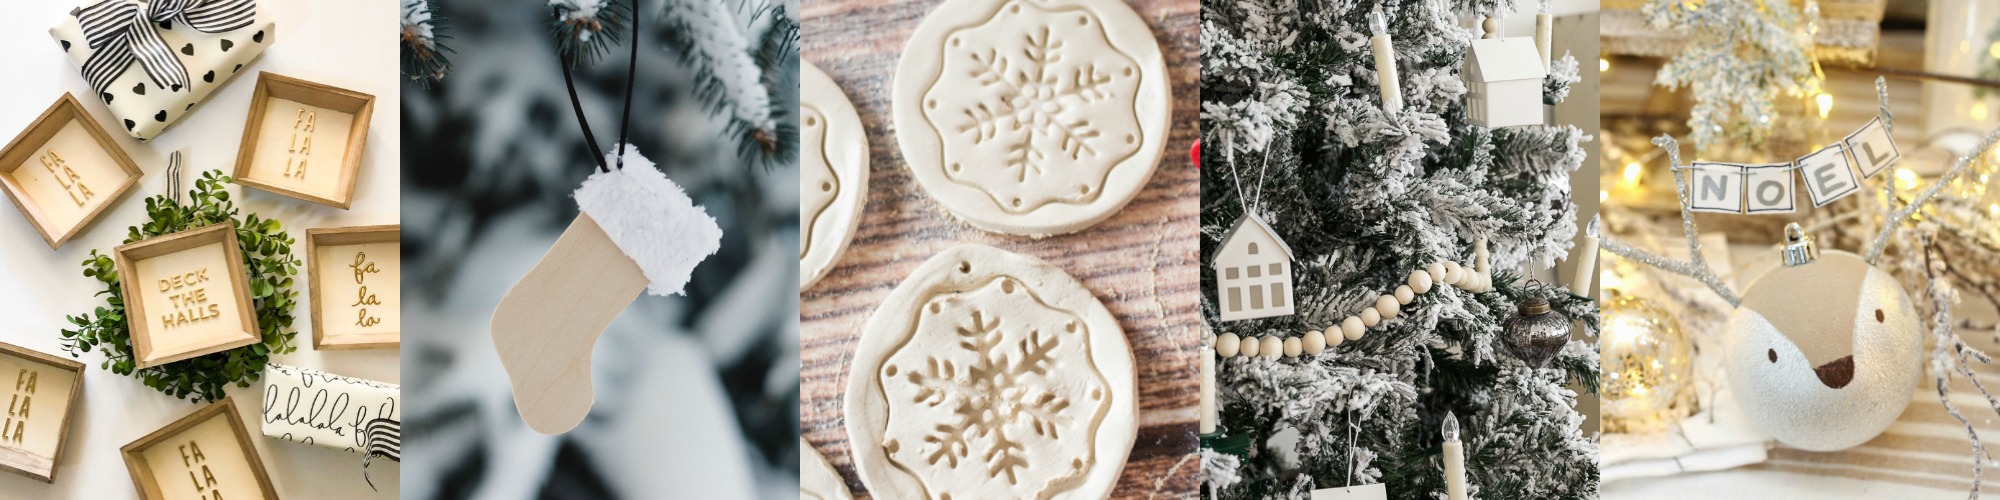
Farmhouse Christmas Sign Ornaments at Tatertots and Jello
DIY Stocking Ornament at Love Create Celebrate
DIY Kid Friendly Christmas Ornaments at Jenna Kate at Home
DIY Wood Bead Christmas Garland at So Much Better With Age
Reindeer Handmade Christmas Ornament Clean & Scentsible
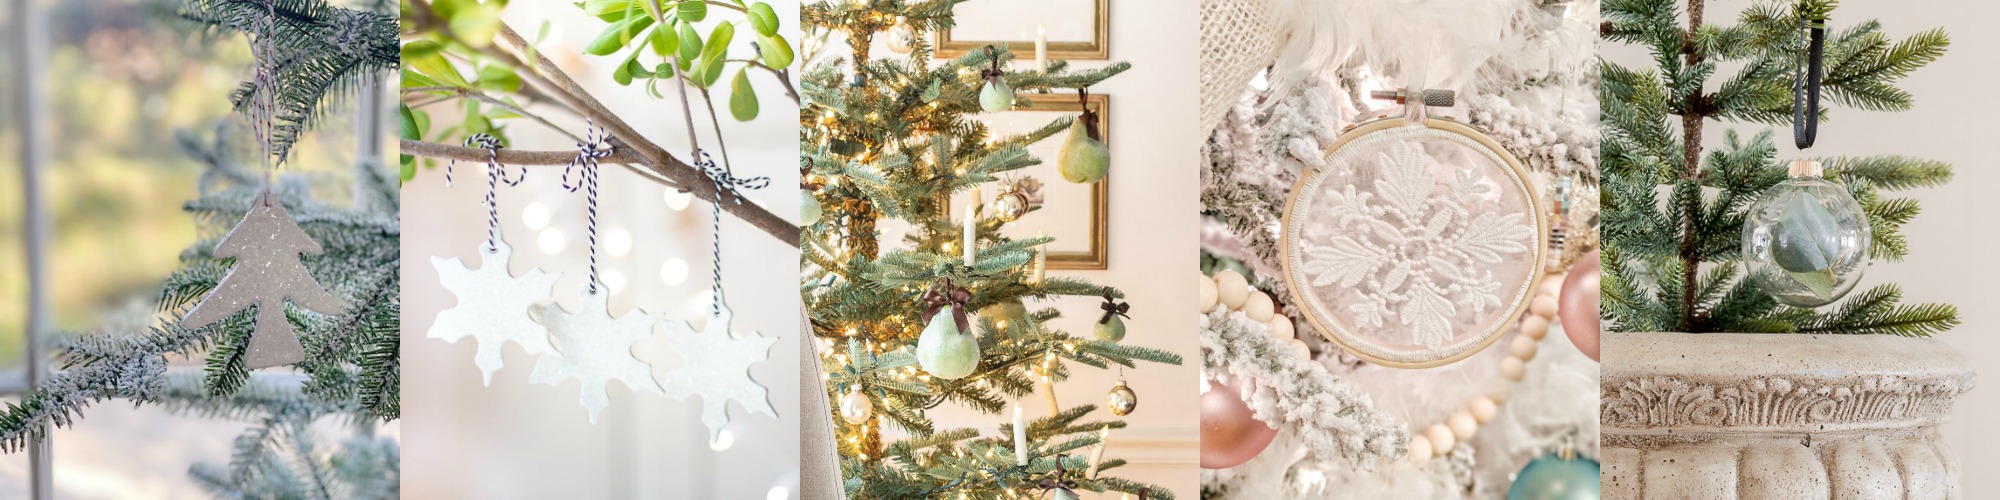
DIY Christmas Ornament at My 100 Year Old Home
Easy Christmas Ornament DIY at Happy Happy Nester
Frosted Pear Tree Ornaments at Sincerely, Marie Designs
Elegant Embroidery Hoop Ornaments at All Things With Purpose
Homemade Christmas Ornament at Seeking Lavender Lane
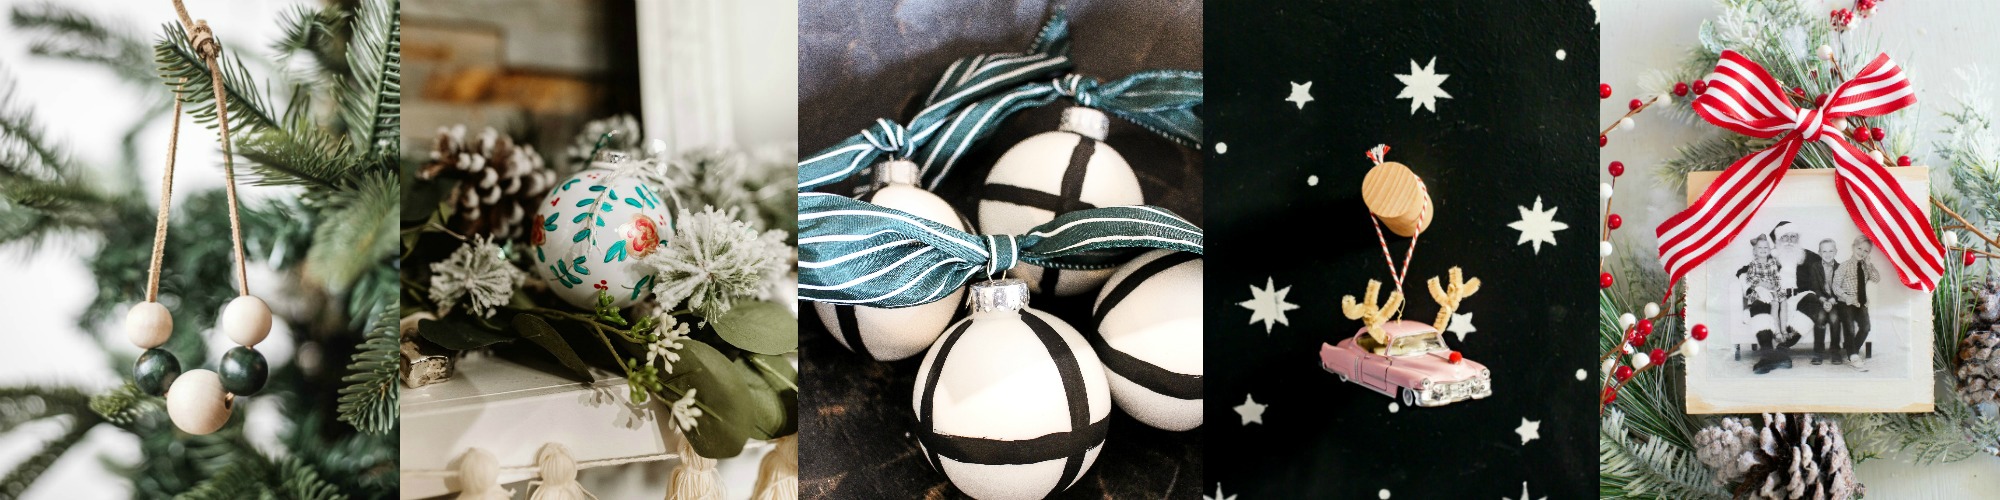
Easy Wood Bead Christmas Ornaments at Cherished Bliss
DIY Hand Painted Floral Christmas Ornaments at The DIY Mommy
DIY Black and White Ornaments at Taryn Whiteaker
DIY Reindeer Vintage Car Christmas Ornament at Cassie Bustamante
Photo Block Christmas Ornament at Amber Tysl
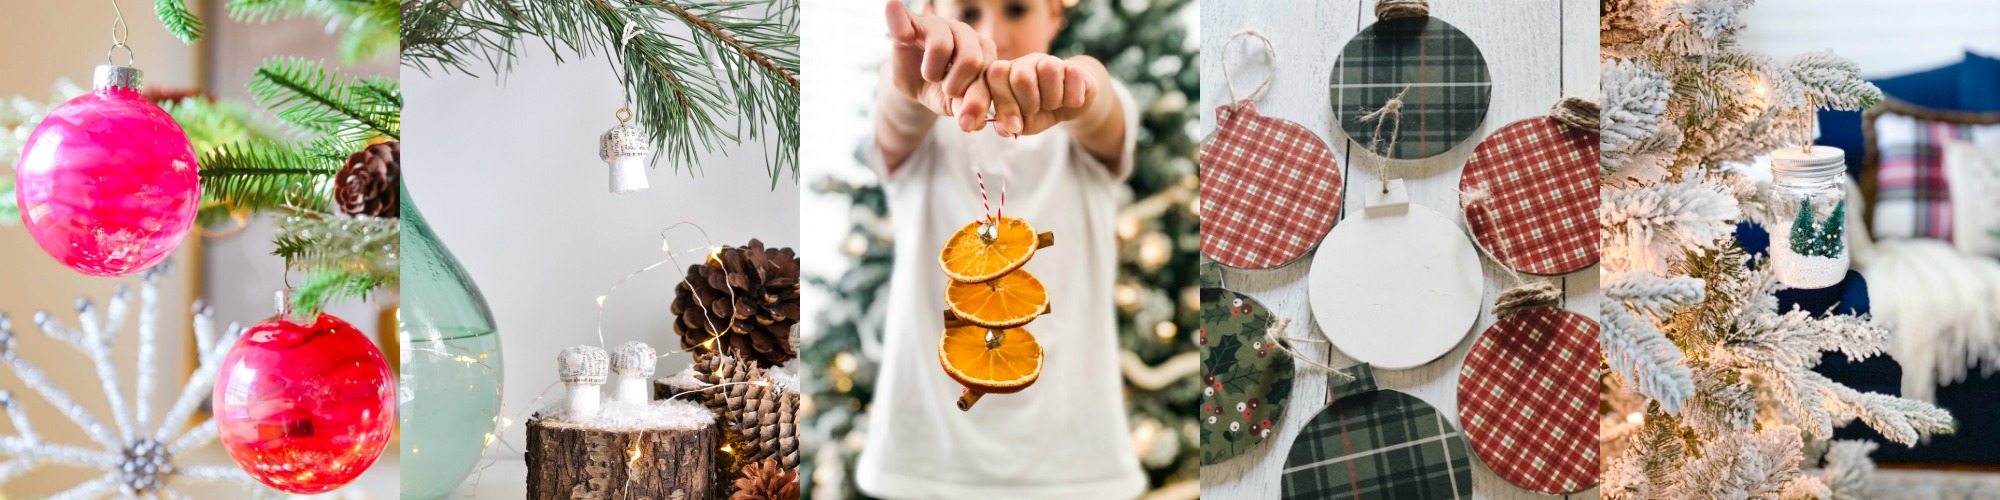
Melted Crayon Ornaments at Modern Glam
Wine Cork Mushroom Christmas Ornaments at Life is a Party
Cinnamon Stick and Orange Slice Ornaments at A Pretty Life
Easy DIY Reversible Christmas Ornaments at She Gave it a Go
DIY Mason Jar Snow Globe Ornament at Lolly Jane