This post contains some affiliate links. If you click on these links and buy something, I make a commission at no cost to you.
Welcome back to part two of my three-part series on a complete guide to creating interior spaces. I am joining four other bloggers who are sharing their complete guides as well, and have linked to their guides at the end of this post. You’ll want to head over to check them out; they’re full of invaluable information.

Daydream Believer sign was an inspiration piece for our Master Bedroom. Photo courtesy of Sugarboo.com
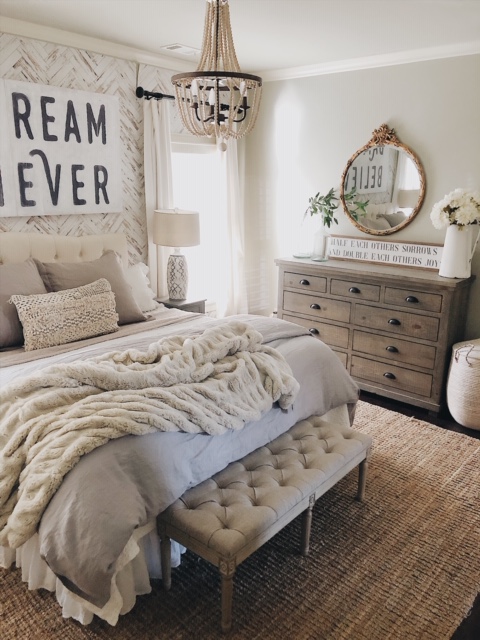
Together we’re tackling questions like “Where do I start when updating/creating a space I love in our home?” Or, “I know what I want, but when I get to the store, I feel so lost.” Last week we talked all about where to find inspiration when it comes to creating spaces you are sure to love and enjoy (See my “5 Places To Find Home Decor Inspiration” found here.) This week, we’re moving the process down the line, gathering all the inspirational pieces and figuring out how to put them to work in your home. As I mentioned, I’m using our master bedroom as my example throughout this guide, thus, will be sharing it again in this part of the series.
You’ve gathered tons of inspiration! Now what? Here are four important things you need to do before you get started decorating.
1. Revisit
Now that you’ve spent time in the inspirational stage, what conclusions did you come to? Some of the conclusions will hopefully include answers to these questions:
-
How do you describe your overall style? For example, do you love the farmhouse look, or is it more of a cottage style? Do you love a modern style? Or more boho?
-
Are you digging color in your inspiration choices or more neutrals?
-
Are you a “less is more” kind of person, or a “the more the merrier”?
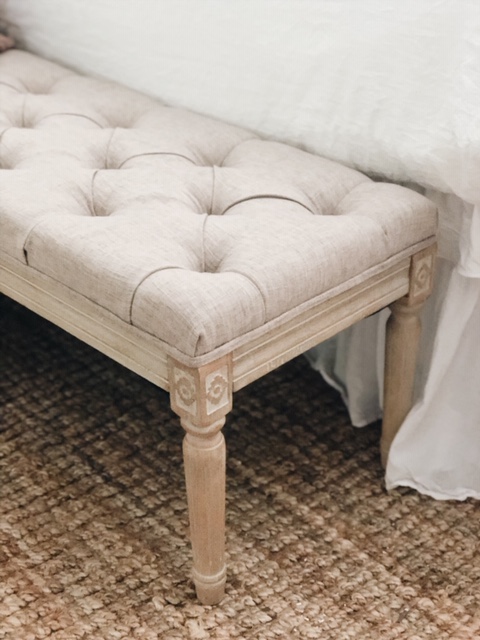
We needed a place to sit and put on our shoes, so adding a bench at the bottom of our bed not only added something to anchor the space but provided functionality.
2. Remember
There are a few decor rules you probably need to remember. But rules can sound like you “have to” in order to have a pretty space, which isn’t necessarily true. I’ve always said that it’s OK to break a design rule as long as you know the rule and intentionally decide to go against it! So here are a few rules to remember:
-
Have something with the color black: a light fixture, vase, headboard, or a wooden sign just to name a few.
-
Florals or greenery: If you know me at all, you know this is something that you’ll see in every space in our home. From faux eucalyptus stems to fresh roses and garlands, to plants that sit in terracotta pots, greenery and florals add beauty in our interiors. I shared my favorites in this post here. The only place I break this rule is my son’s room.
-
Functionality: If it doesn’t function it won’t ever feel “right.” (We are going to talk about this element further below.)
-
Neutrals for big ticket items: I feel like I’m talking out of both sides of my mouth here a bit, but hear me say, if you are loving the neutrals more or even on the fence between lots of color and neutrals, purchasing the larger furniture pieces in neutral allows you to build on those with color and seasonality. For example, I love neutrals and modern farmhouse style but enjoy adding splashes of color during various seasons and in my children’s rooms. It’s much easier to change your mind on a pink pillow than a pink sofa haha! But, I should say, my parents have had red leather sofas for years and my dad could live with them many more years. So, for some of you, your inspirational pieces may be red leather sofas and that’s OK!

Love the look of weathered wood and what better way to bring it into our bedroom than with this removable wallpaper? Photo courtesy of Rockymountaindecals.com
3. Functionality
A wise friend, the Nester, talks about how if a space is not functioning well, it is not cozy. Those words are so true. Now that you’re inspired and know what you want the room to look like, make sure you define the purpose of the space you are trying to create.
-
When doing a space makeover, does the dresser still function well for the grown teen vs. the little girl that once used it?
-
Is there enough sitting room for your family at the table you like?
-
Are the sofas stain-proof if you are planning on using them in a family room?
Of course if you are starting a space from the beginning, these are questions you’ll be asking yourself as you are putting together your wishlist and mood board (which I’ll cover below). But if you’re doing a seasonal makeover, are you thinking in terms of how the temporary pieces will continue to serve you and your family in a useful way? When designing my fall bedroom here, I knew that we wanted a blanket that would keep us warm on the cooler evenings, some seasonal pieces like pumpkins, and just one pillow for the season because our bed doesn’t function well with so many pillows on it. Also, I created a board with my favorite 2019 spring trends here as a reference for when I’m planning my spring decor choices.

Again, with big ticket furniture items like dressers, beds and rugs, I recommend neutrals if on the fence if you love color in space. You can always add color in a vase or flowers on top of the dresser. Photo courtesy of Overstock.com
4. Mood Boards
Back in the day, a mood board was where you’d gather fabric samples, photos of the bedding, cut outs of various mirrors, and put it all together on a physical board to see how it all looked. Today, there are many apps you can download that allow you to create mood boards of the pieces you are shopping for online or ones similar to see how it virtually will look. Isn’t that so cool? Mood boards help you save time, money, and wasted energy. I’ve learned this the hard way, and trust me this is a great practice to implement!
Ready for the coolest part? Because I do not have photoshop (maybe one day LOL!) and I am on a budget and don’t want to subscribe to another email haha, I figured out a FREE way to create a mood board! Here’s how (quick disclaimer, though this is a great way, it doesn’t give you the option to see it in a virtual room, but rather how all the pieces look together. If you want to see how paint looks on your walls and a completed virtual space, you’ll need photoshop or a mood board app for that):
-
First, save the images from the various websites or other places that has the product.
-
Then, download the FREE Collageable App. There are several collages to choose from, choose one that will hold all the pieces you are looking at for your space.
-
Place each image in the collage square until you fill it up (it goes without saying, choose the collage option that has the number of pieces you’re going to fill it with).
-
Next, go to frame adjust and you can play around with how much “frame” you want around your items, I try to take it mostly away.
-
Then save it and you’ve got your mood board. Here is my room board for my master bedroom done this way.
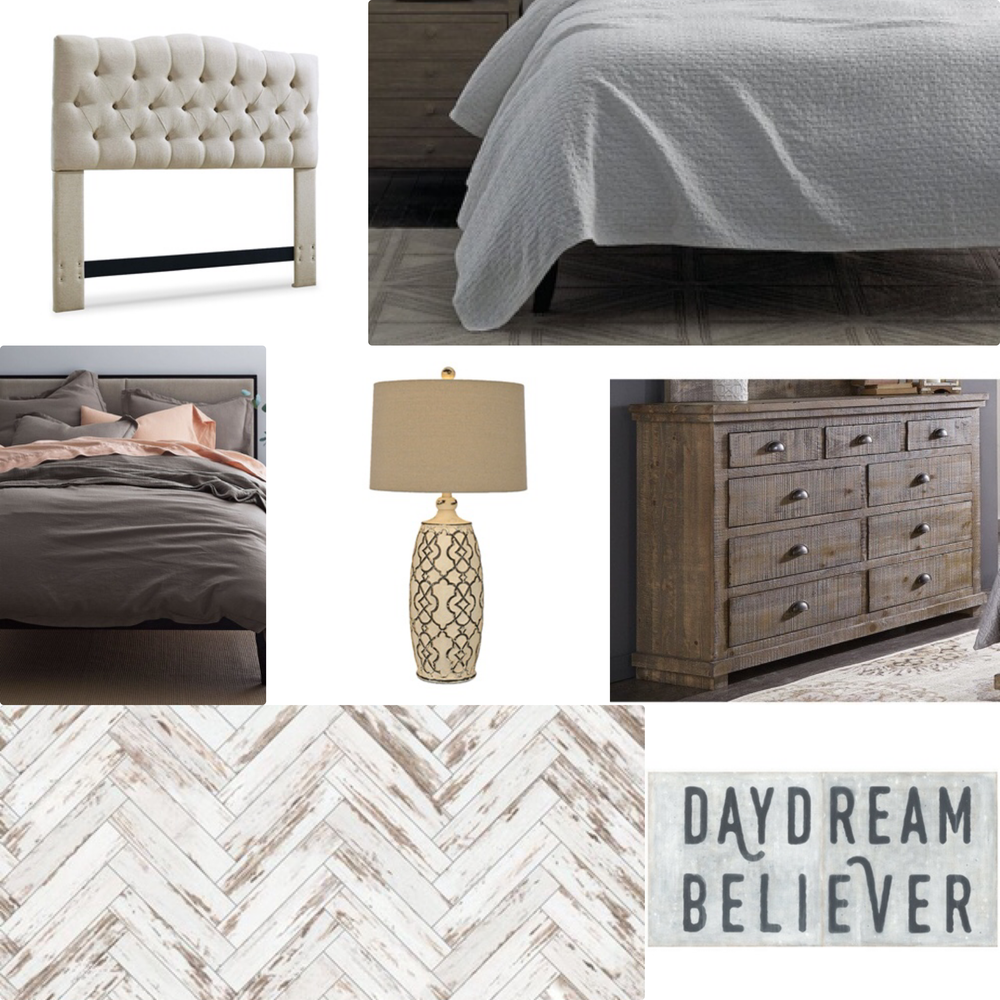
Master Bedroom Mood Board option 1. You can find my headboard HERE.
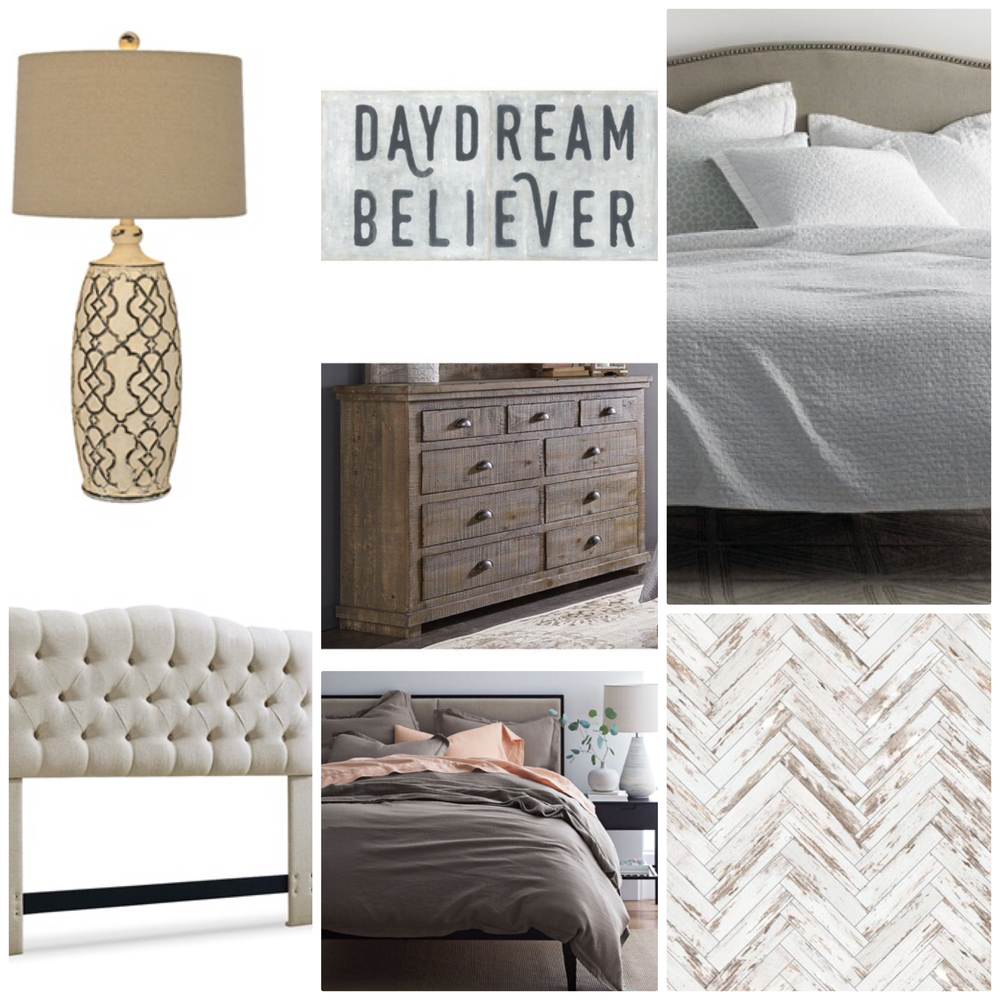
Master Bedroom Mood Board option 2.
I hope part two of creating spaces you will love and enjoy in your home has continued to build up your confidence in this process. And that when doing it, I hope it helps you feel confident in how you are spending your time, money, and energy.
Remember, you can do this!
Now, I encourage you to head over to each of these dear friends for the rest of Part 2 of the series. You are sure to walk away with tons of tips and encouragement regarding inspiration!
Grace In My Space | Aratari At Home | Citygirl Meets Farmboy
She Gave It A Go | Midcounty Journal
Part 3 of a complete guide to creating spaces in your home can be found here.
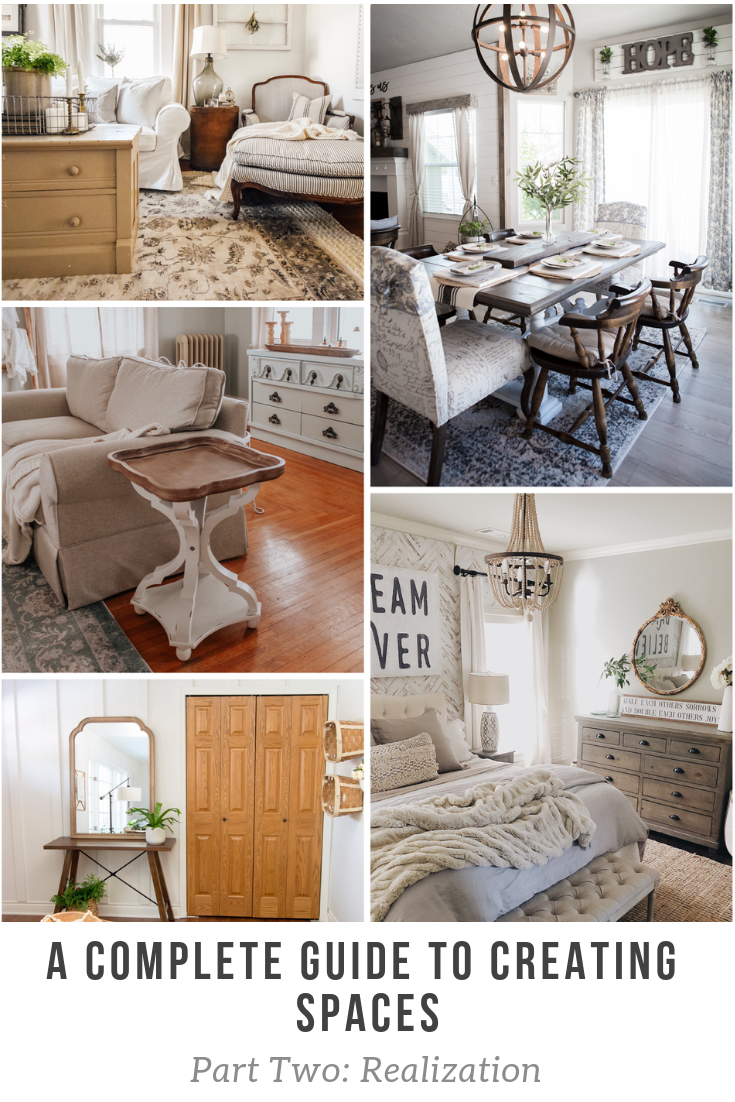
Pin now, save for later.
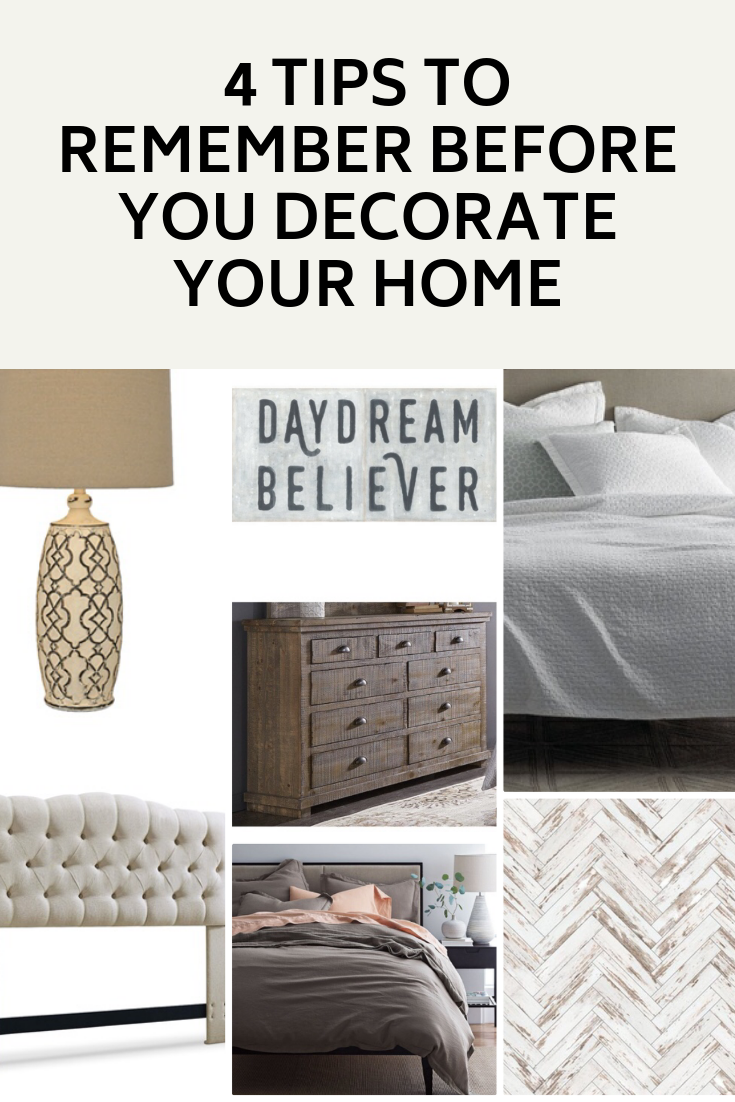
Pin now, save for later.
I would love for you to stay in touch by subscribing to my weekly newsletter! Get weekly tips, encouragement, special deals, and more!
Sign up HERE and receive a free DIY Guide for making any table the perfect chippy paint table.
