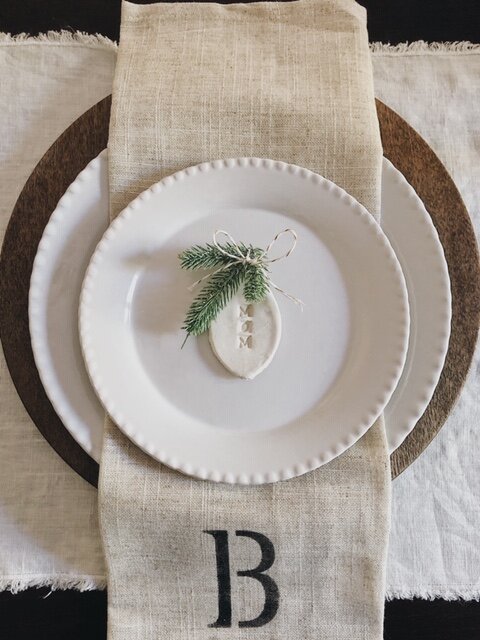
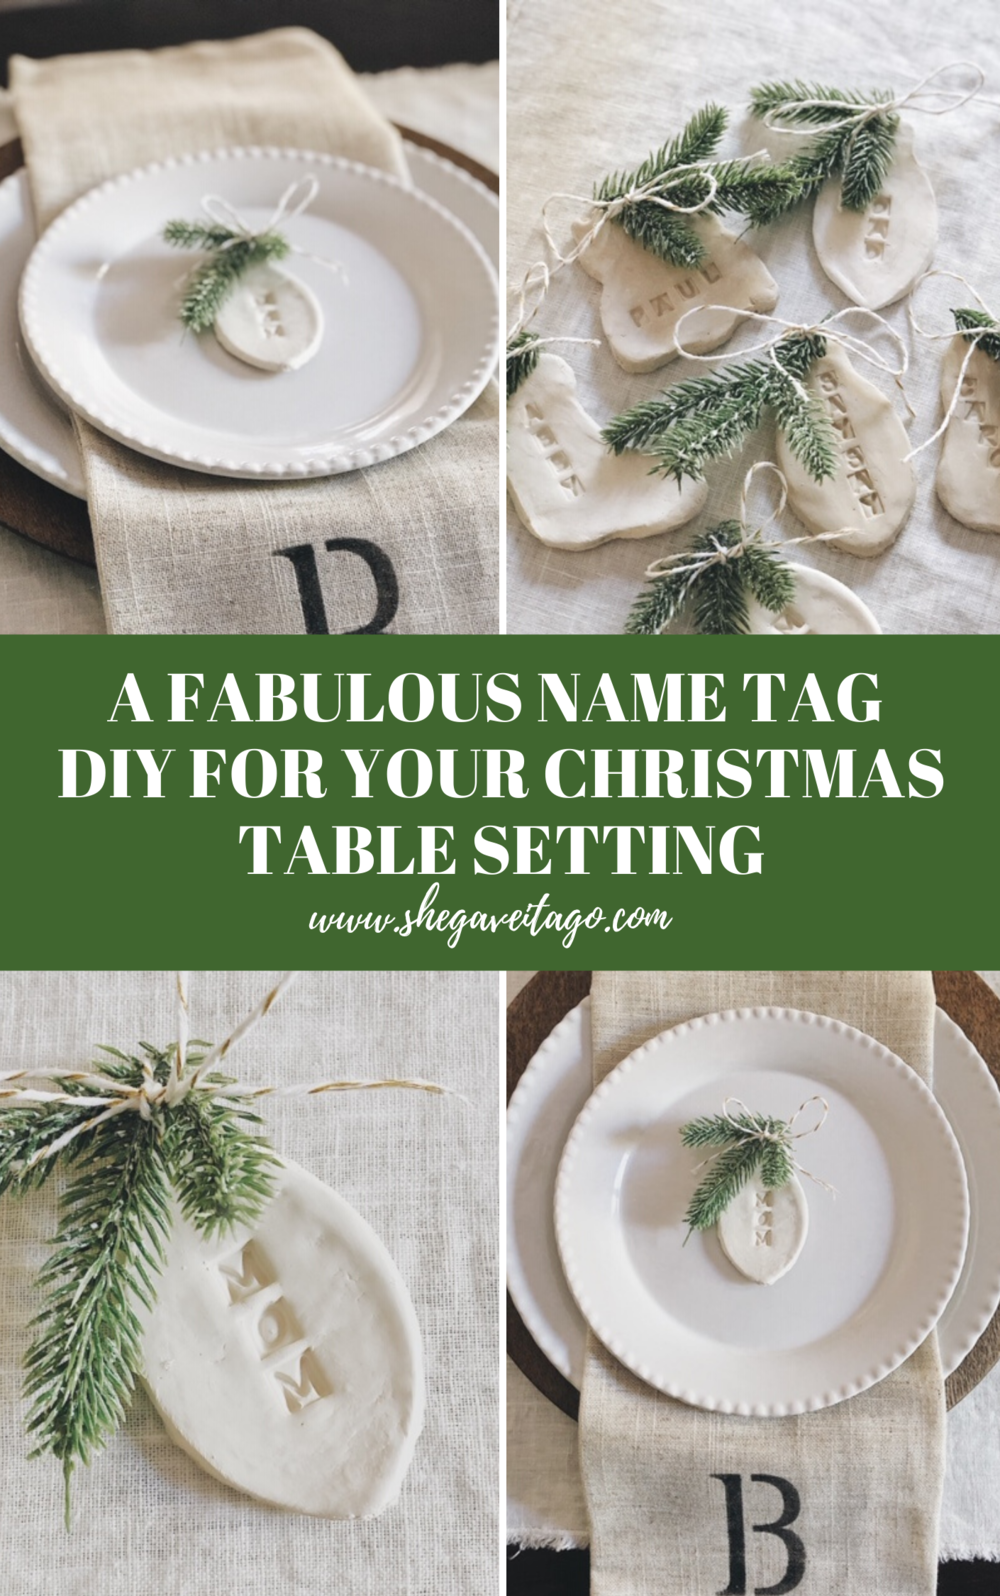
I have been so inspired to try using the air dry clay and cookie cutter idea to create a fun DIY. What better time than the holidays?! My mind was spinning on what I could do, something different than an ornament or garland (which I love those ideas too!). Then it hit me! I could create name tags to use for friends or family members to easily find their seat. I felt they would be so cute on top of a Christmas napkin and be something the family member or guest could keep as a party favor.

I was so excited to get started on this DIY. I found all the different things I needed at JOANN with the exception of wax paper and I rolling pin, both of which I already had on hand.
I am going to walk you through this name tag DIY for your Christmas table setting and then at the end of the post are tons more DIY/craft ideas from my blogger friends that you will most definitely want to go check out too! Thanks you to Krista over at The Happy Housie for hosting this hop.
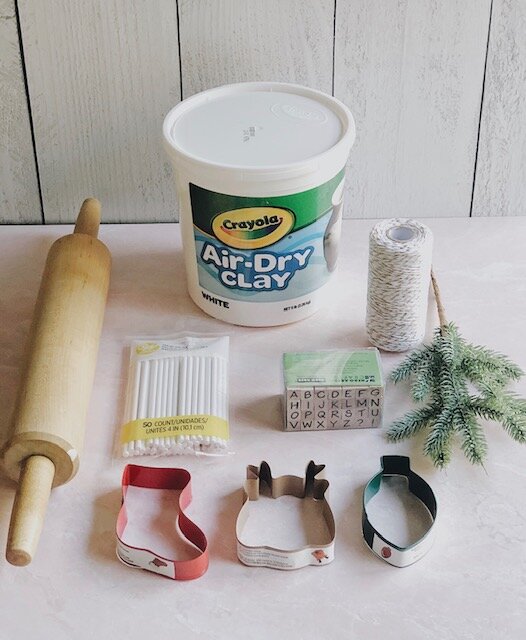
Supplies list for this awesome name tag DIY for your Christmas table:
-
Air-dry Clay
-
Rolling Pin
-
An assortment of Christmas cookie cutters
-
Treat Sticks
-
Stamps (I recommend very small ones)
-
Faux or Real Holiday Greenery
-
Baker’s Twine
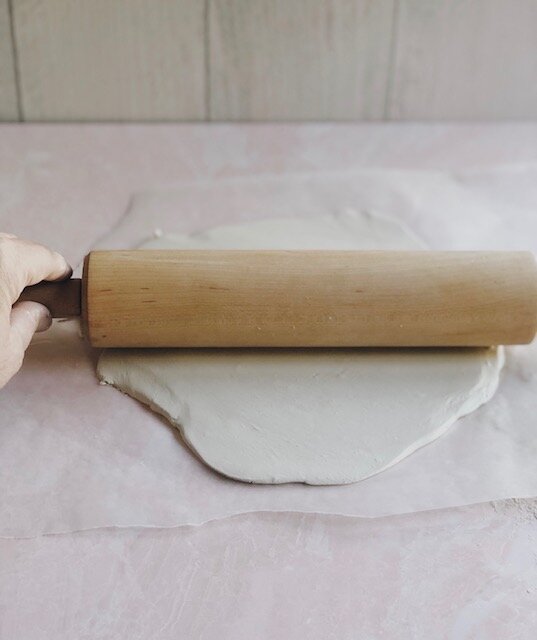
First you are going to grab a large amount of the air-dry clay and roll in out as evenly and flat as you can on wax paper. You are going to have to put some muscle into it lol! Once it is smoothed out you are ready to place your cookie cutters on it.
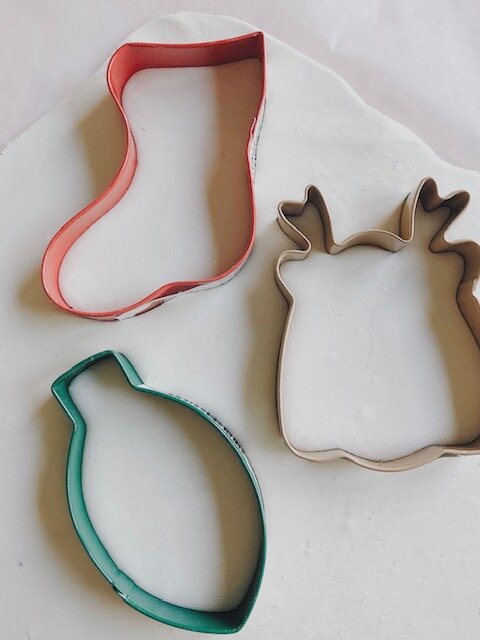
When you place your cookie cutters on the clay, try to configure them as best you can to get max amount to fit on there. It will save you clay and time! One of the biggest tips I will offer is the complicated nature of the more intricately detailed cookie cutters versus the more simple ones. If you are a very detailed and patient person, the reindeer shape I used is for you! If you are more like me, and not quite as detailed orientated but still like crafting, choose the more basic shapes like the stocking and ornament I used.
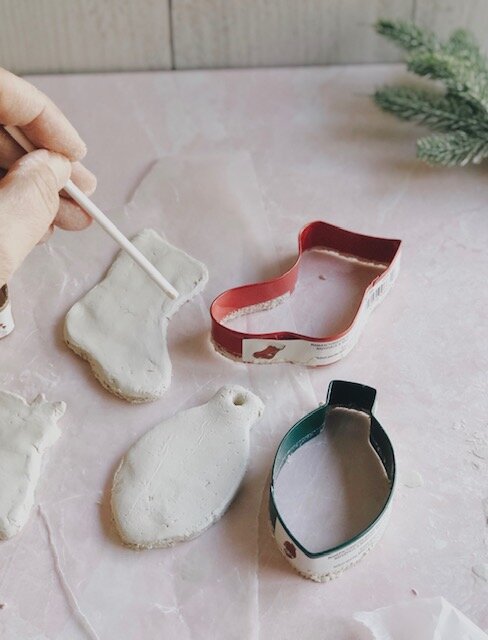
Next up, I smoothed out the clay as best I could using my fingers. It’s not perfect, but I wasn’t going to a perfectly smooth look. I don’t mind imperfections but to a certain point if that makes sense. So, I don’t want it to be wavy or messy looking, but don’t mind it having a couple of little imperfections. After you’ve smoothed it out, take a treat stick and create a hold towards the top of the tag. Simply press and lightly twist!
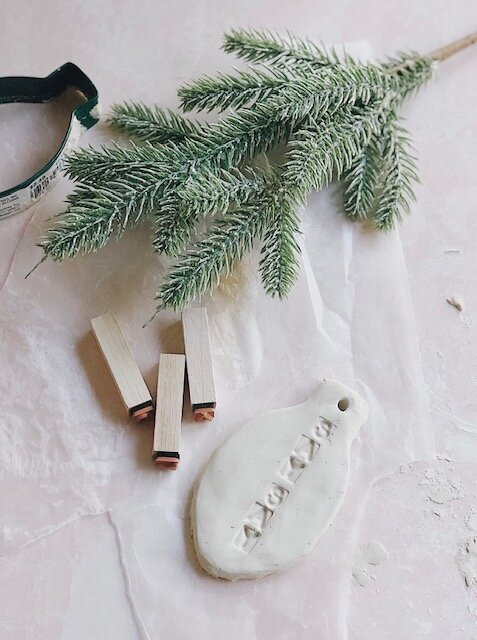
Then it is time to stamp the name you want on the tag! This was the funnest part to me. I loved seeing our family members names on something that I had just created and thought how fun it will be to see their own names at the table on Christmas morning. Again, I didn’t try to space each letter out perfectly but would play around with the spacing by eyeballing it before I pressed it into the clay. The good news is that clay is forgiving so if you mess it up, you can smooth it back out.
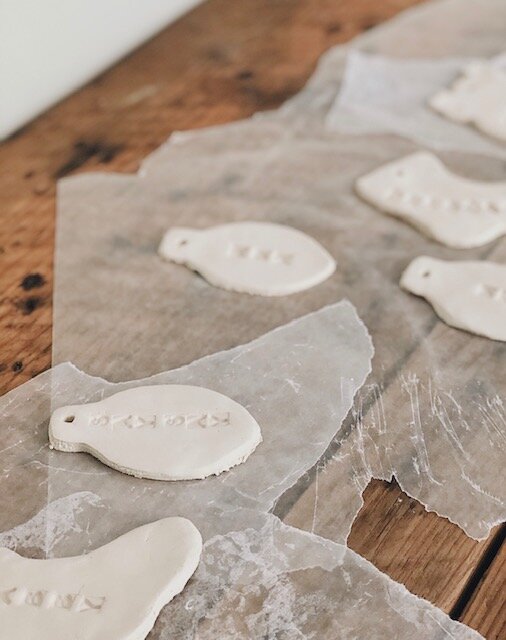
Next, I set them out on this table to dry for 24 hours. Not all air-dry clays are alike so be sure to check the label of the one you use to see what timeframe they suggest for drying.
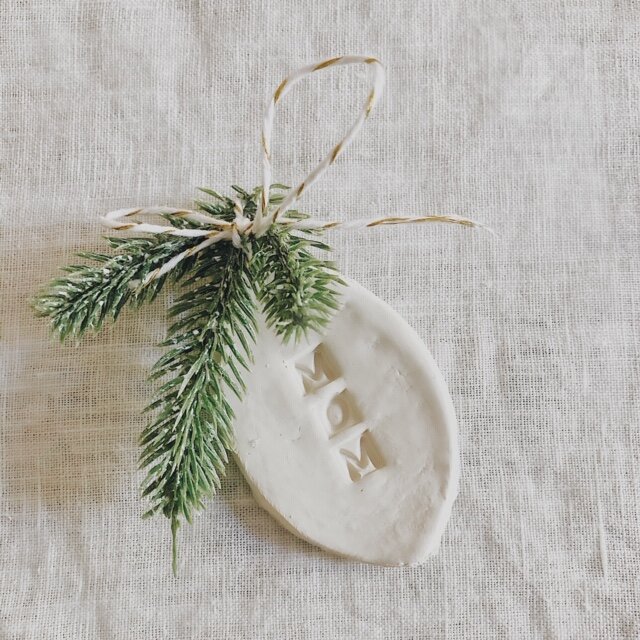
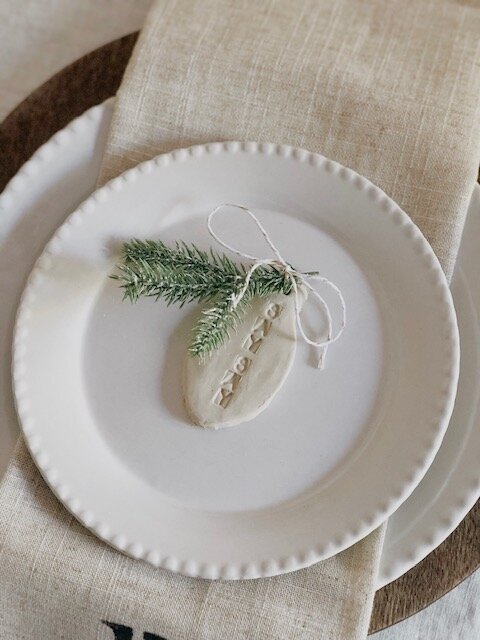
Now that they are dried (yay!), the final step is to take the baker’s twine and a piece of greenery and tie it to each name tag. It gives it the finishing touch, doesn’t it?! What do you think? I am so excited about how fabulous they turned out. This idea is one that can be used for all kinds of Christmas table settings; from formal to informal, and young to old! Now I can’t wait for you to check out my friends Christmas DIY and crafts they have shared too!


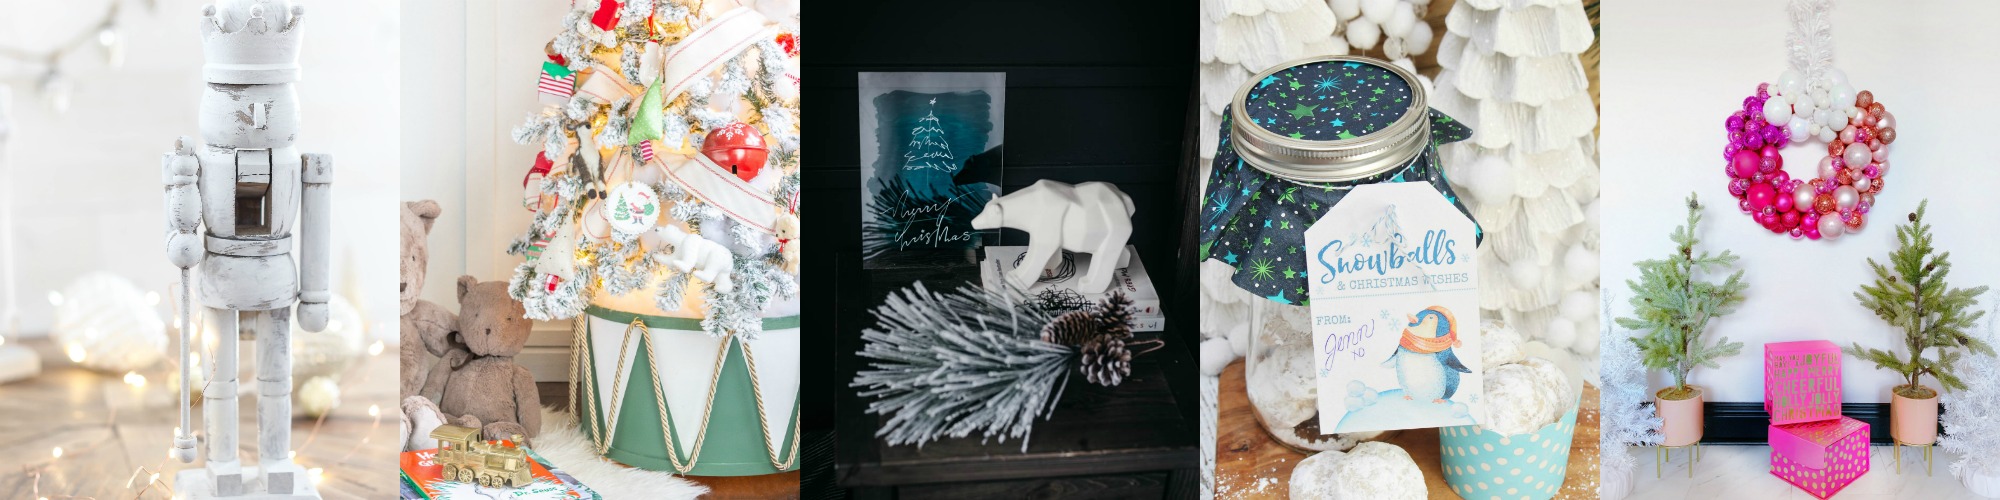
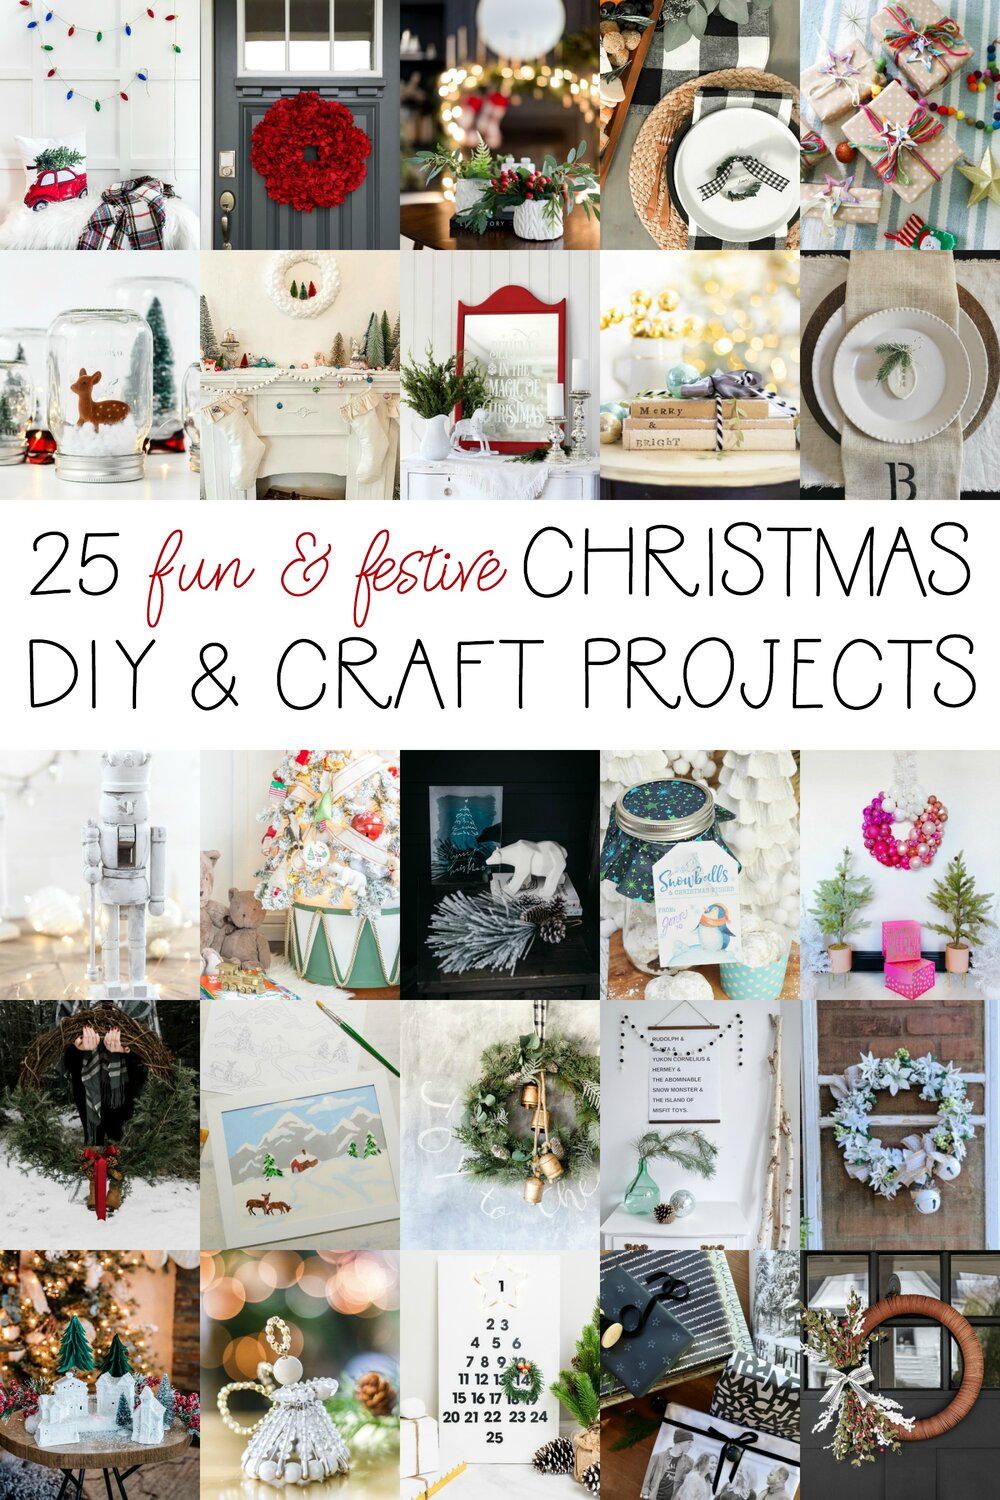
Welcome to the first week of the Seasonal Simplicity Christmas Series! Today a group of my blogging friends and I are sharing our Christmas DIY orraft projects to help inspire you for the upcoming holiday season. Click on the links below each image to be taken directly to my friends’ posts!
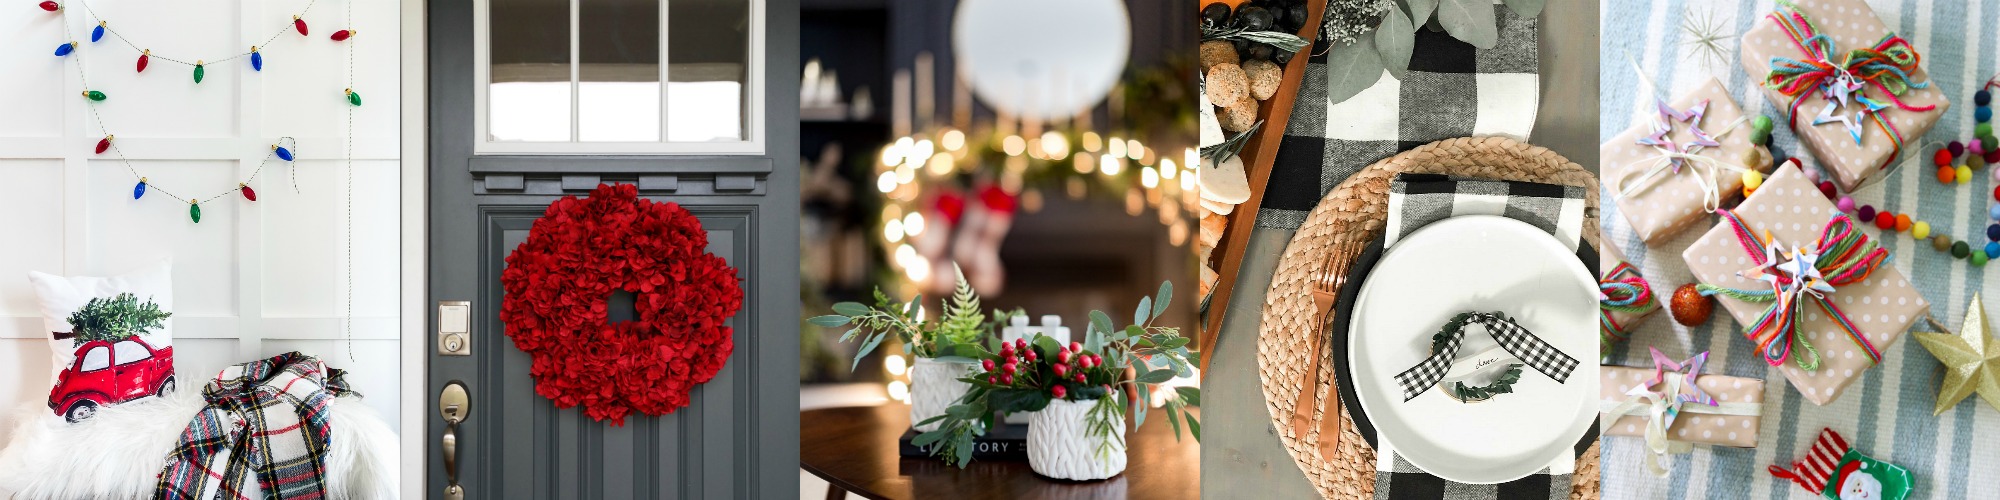
Classic Christmas Light String Garland DIY at The Happy Housie
DIY Hydrangea Christmas Wreath at Two Twenty One
Chunky Knit Vase DIY at Craftberry Bush
Holiday Place Card Wreaths with Printable Tags at Tatertots and Jello
Easy Christmas Star Garland Gift Topper at The Handmade Home
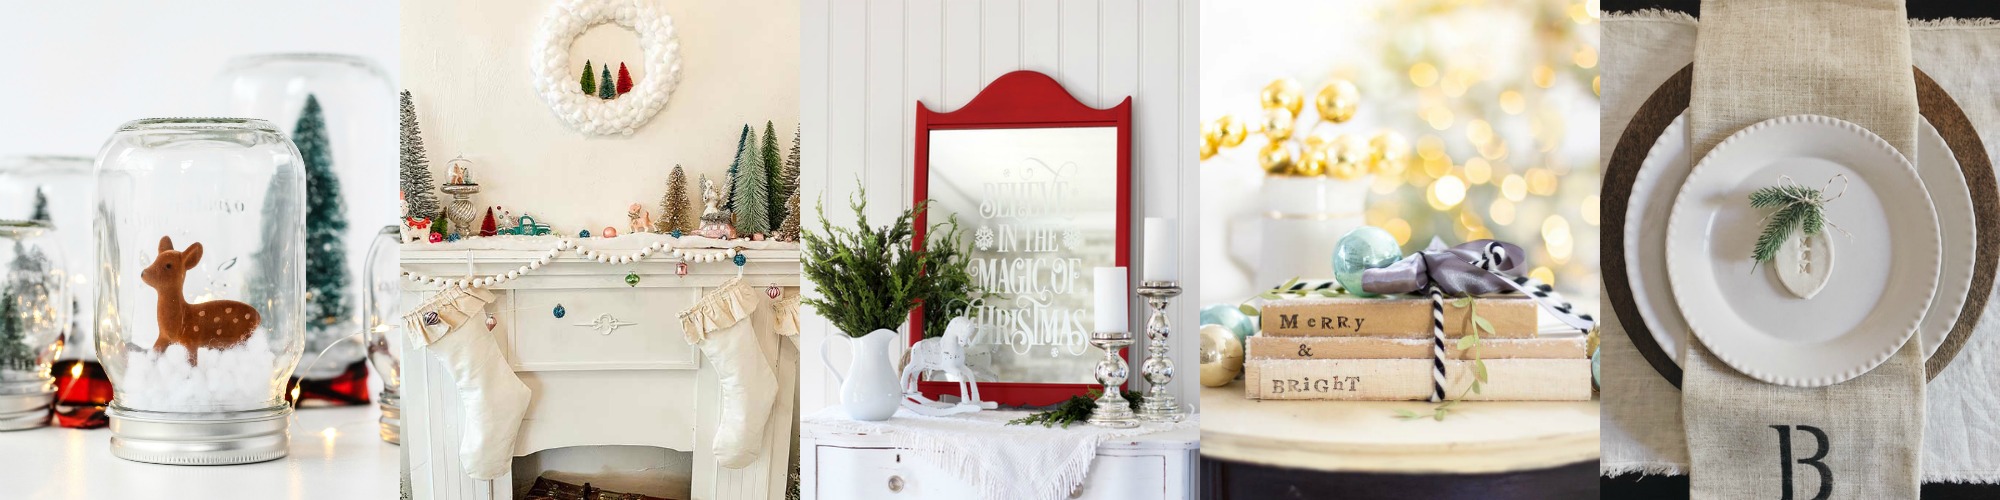
DIY Winter Wonderland Snow Globe Forest at a Pretty Life
DIY Cotton Ball Wreath at Hallstrom Home
DIY Faux Etched Christmas Mirror at Confessions of a Serial DIYer
DIY Christmas Book Craft Project at Happy Happy Nester
DIY Christmas Place Setting Name Tag at She Gave it a Go
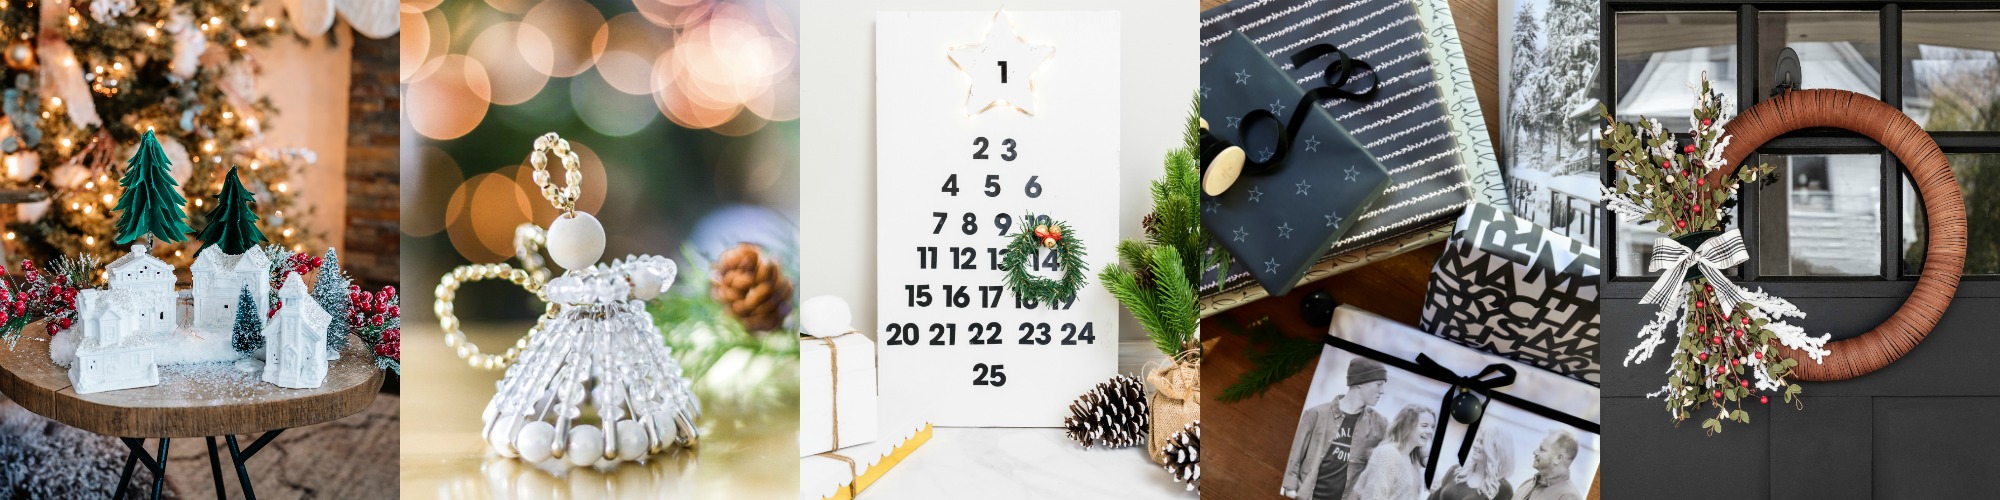
Elegant DIY Dollar Tree Christmas Village at The DIY Mommy
DIY Safety Pin Christmas Angels at Zevy Joy
DIY Wooden Advent Calendar at Jenna Kate at Home
DIY Holiday Gift Wrap at My Sweet Savannah
How to Make a Modern Christmas Wreath at Cherished Bliss

DIY Giant Pine Wreath at Love Create Celebrate
Paint by Numbers Printable Christmas at Rambling Renovators
DIY Winter Wreath at The Turquoise Home
Christmas Art Work at Life is a Party
Dollar Tree Rustic Glam Christmas Wreath at All Things With Purpose
DIY Vintage Whitewashed Nutcracker at Rooms FOR Rent
DIY Drum Tree Collar at Sincerely, Marie Designs
Line Art Christmas Tree DIY Acrylic Sign at Lemon Thistle
Snowball Cookies in a Jar at Clean & Scentsible
DIY Pink Ombre Ornament Wreath at We’re the Joneses
I would love for you to stay in touch by becoming a She Gave It A Go Insider! Get weekly tips, encouragement, special deals, and more!
Sign up HERE and receive a FREE DIY Guide for making any table the perfect chippy-paint table.

Such a cute idea. I pinned it to my holiday board. I can’t wait to make some!
xoxo
These are BEAUTIFUL. I love that it’s such a personal decoration and for guests- they can take it home !
Hi Hannah!
Thank you so much for stopping by and your kind word!
I hope these are something you will enjoy making this holiday too!
Have a wonderful day,
Brendt
I love this! So simple and pretty!!
Brendt what a cool idea! I love the nametags! So cute- I might make these for Thanksgiving and so they have for Christmas. Pinned!
Love it! I recently got a set of small letter stamps and plan on making some of these!!
I love this name tag idea! So festive and pretty! Pinned.
These came out so pretty, I love this idea so much! Pinned!!
Such a really cute project! I love gifting to my guests, too! So good to share space with YOU, this week! 💛