

[This post contains sponsored links. The items featured and linked in this post were all provided by JOANN; all opinions and reviews are my own.]
I am so excited that Easter is right around the corner. I have shifted my spring decor into a more Easter themed focus now. This year I wanted to try my hand at styling neutral Easter vignettes inline with farmhouse style throughout our home. I started in our living room and moved out from there spreading more Easter vignettes to other rooms in our home.
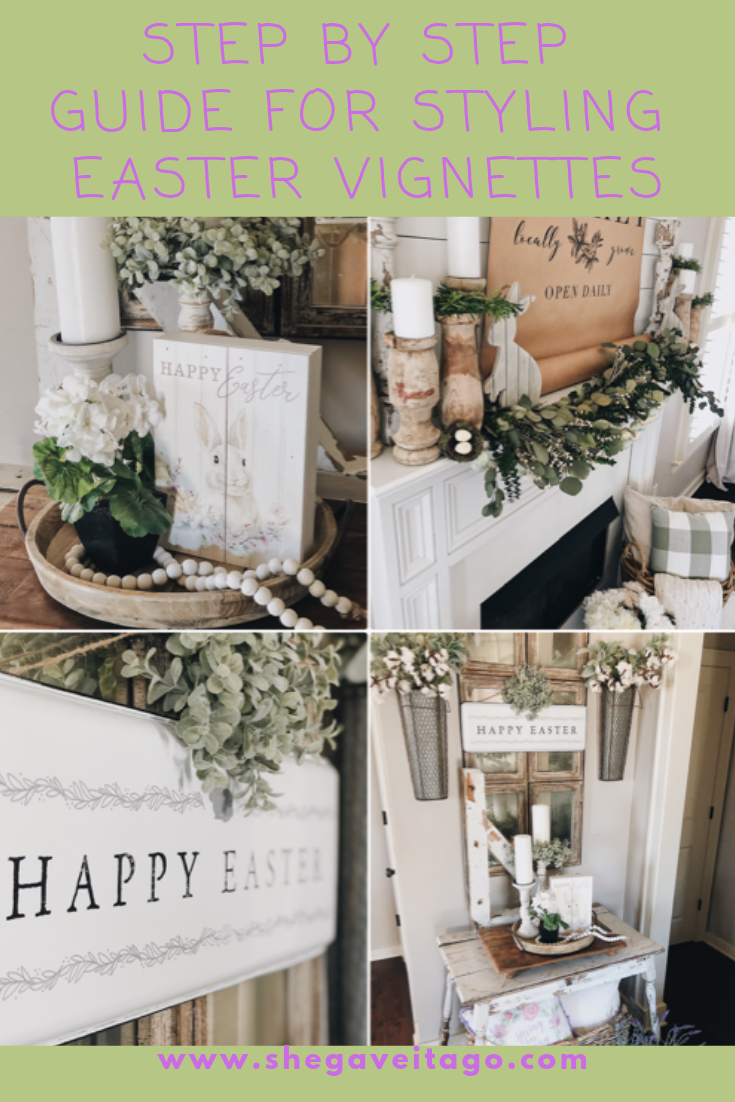
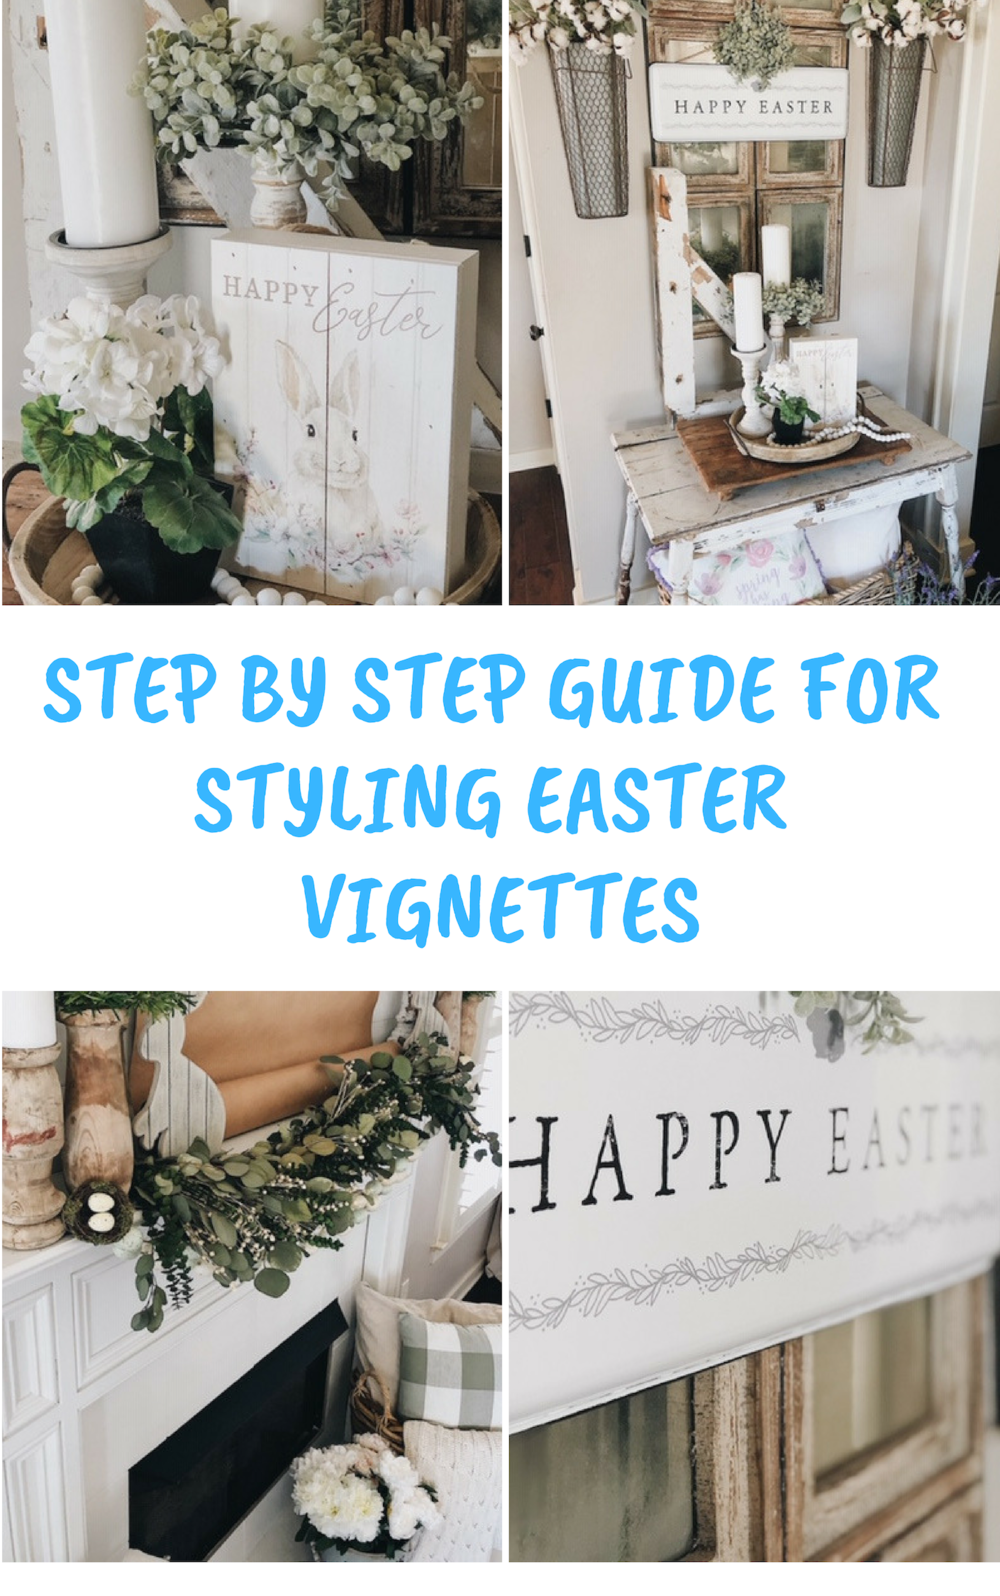
I am sharing a step-by-step guide on how to do this in your own home, that way, wherever you are planning to add Easter decor you will be ready to go!
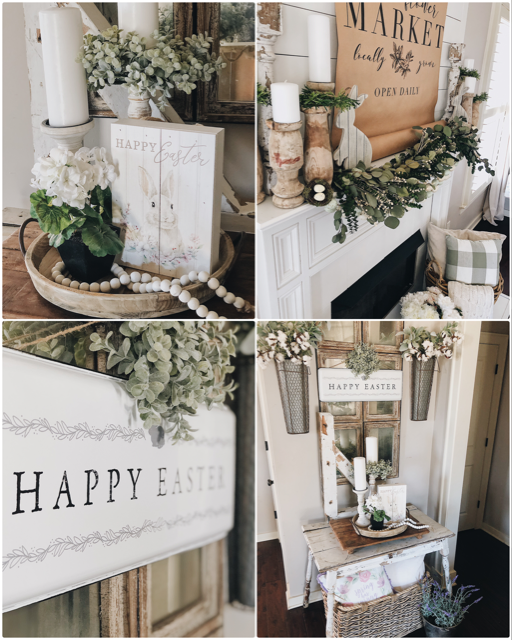
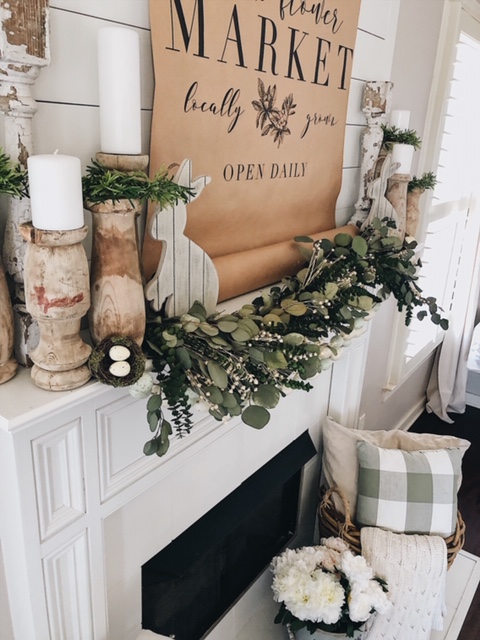
To create these farmhouse Easter vignettes, I wanted to infuse our living room with greenery, whimsical pieces (Easter bunnies), Easter themed signs, coordinating pillows, and eggs. I was excited when I found everything at JOANN. The vast breadth of Easter selection at JOANN made for a one-stop shop for everything I needed, and easily allowed me to achieve the look I wanted for these vignettes.
I couldn’t wait to get home and set everything up. In no time at all, our spring decor transitioned seamlessly into Easter decor. Here’s how I did it:
-
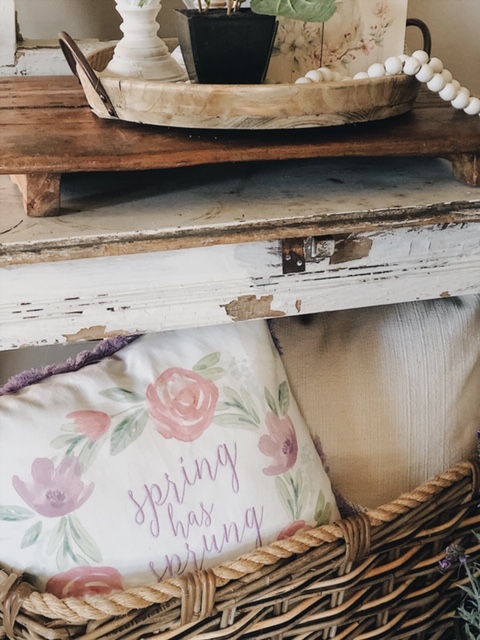
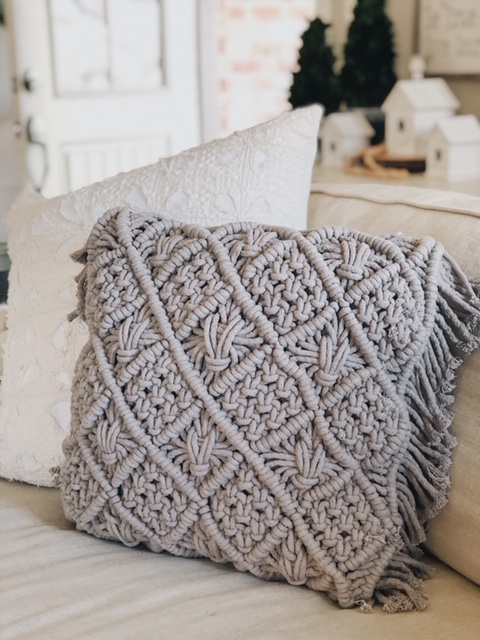
Utilize Various Textures
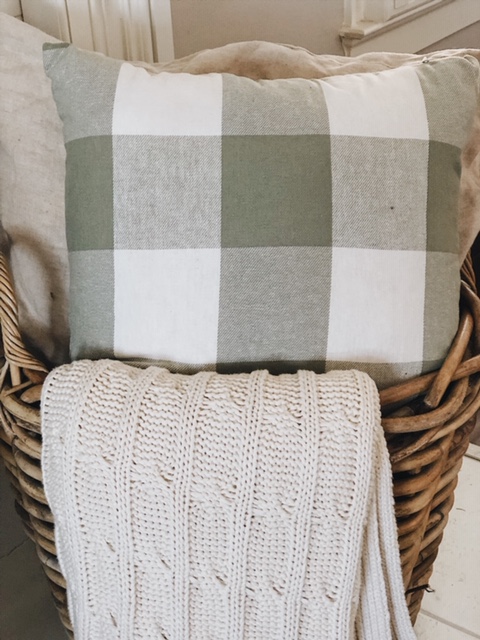
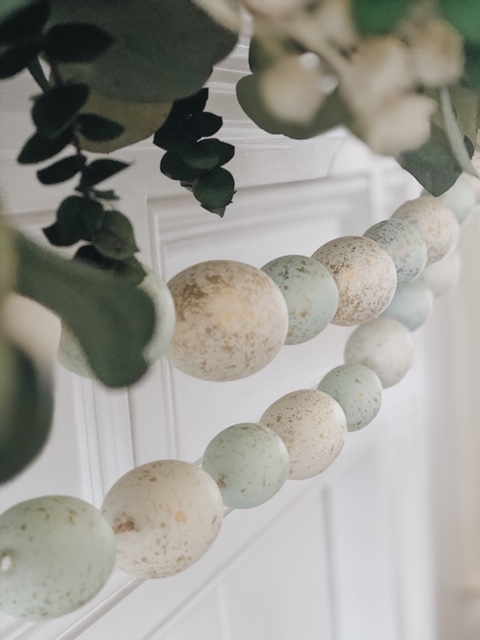
Utilizing various textures gives your vignette a time-worn feel, like you have been collecting these pieces for years. This is a trademark of farmhouse style and creates a more authentic feel to your decor.
These are textures I both considered and used in my vignettes:
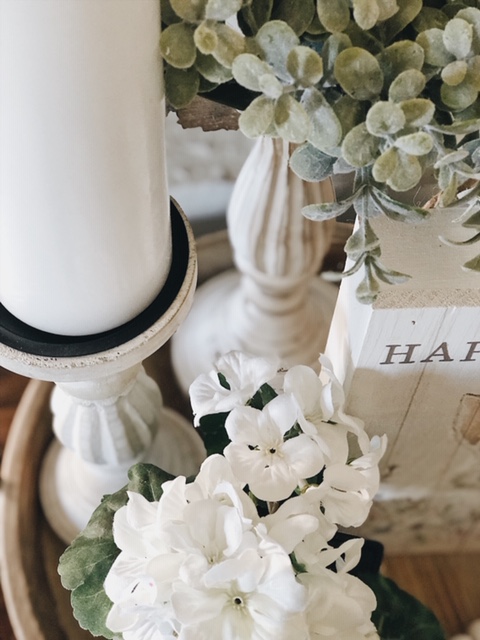
2. Create Layering With Differing Heights For Great Dimension
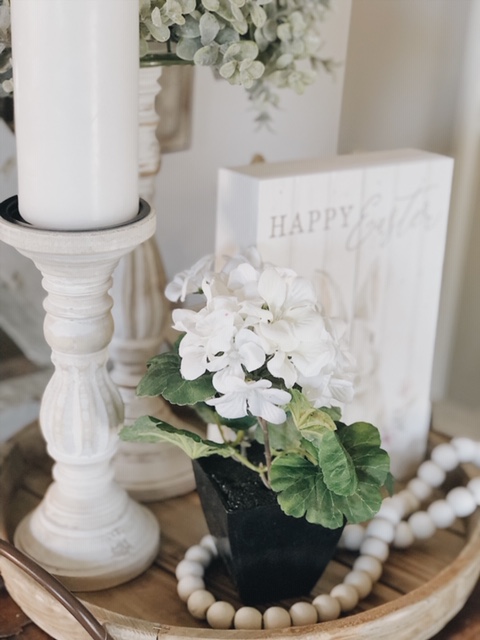
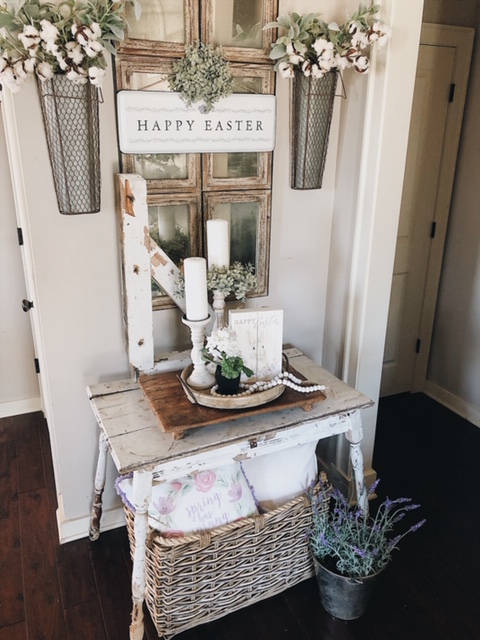
Creating differing heights in a vignette adds dimension and interest. If you are looking at the examples I share here, you can see that the candlesticks + candles, the wooden sign, and the flower pot are all different heights. Make sure to do this in your vignettes.
Here are the pieces I used for this step:
Candlesticks found here
Candles found here
Potted (similiar) plant found here
Easter bunny (similiar) sign found here
Wood and metal tray found here
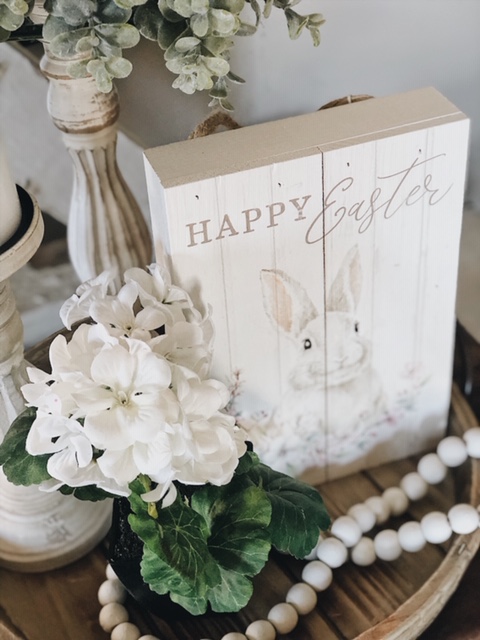
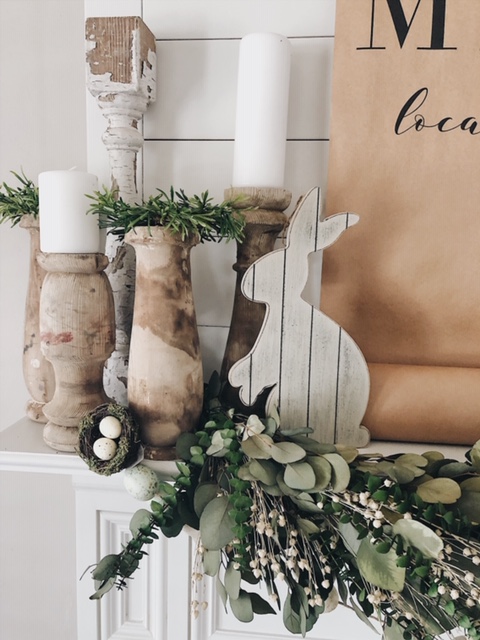
3. Add Easter Themed Pieces
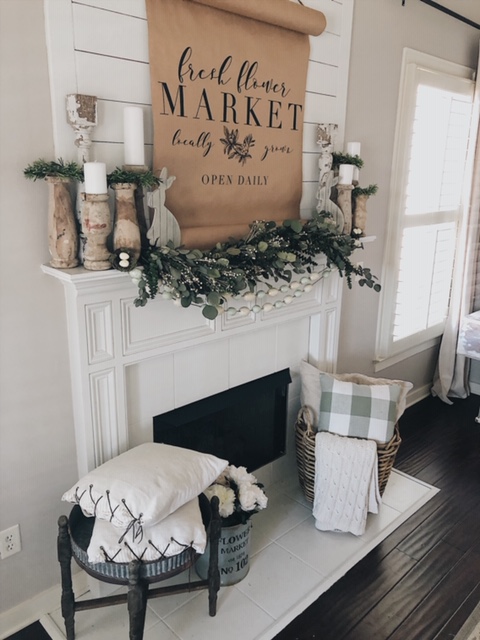
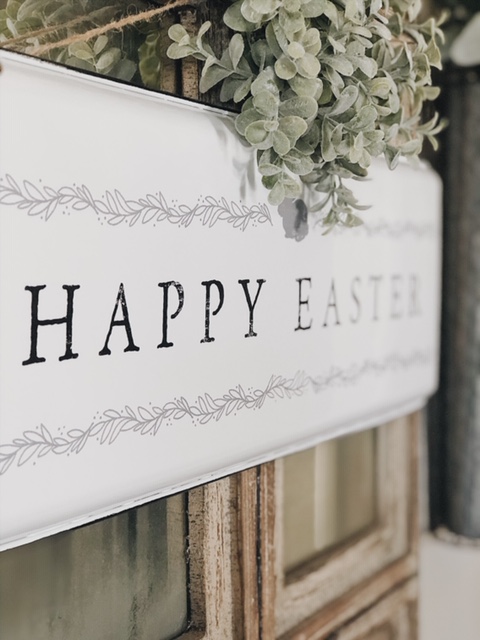
If you’ve been following me for a while now, I love adding something whimsical to a space, especially when it is a holiday. I knew I wanted bunnies and Easter eggs as a part of these vignettes and I found some farmhouse style options at JOANN to meet this goal. By adding these wooden rabbits to our mantel, an egg garland, and little bird’s nest (similiar found here), it instantly transformed it from spring to Easter! Also, I layered the metal “Happy Easter” (similiar one found here) sign over the entryway mirror above the table vignette shared above. This helped tie everything together!
I hope that you enjoyed learning how to style Easter vignettes. It doesn’t have to be too costly or too complicated to transition your home for Easter. By implementing these three steps, you are sure to create beautiful Easter vignettes too.
I would love for you to stay in touch by subscribing to my weekly newsletter! Get weekly tips, encouragement, special deals, and more!
Sign up HERE and receive a FREE DIY Guide for making any table the perfect chippy paint table.
Leave a Reply

