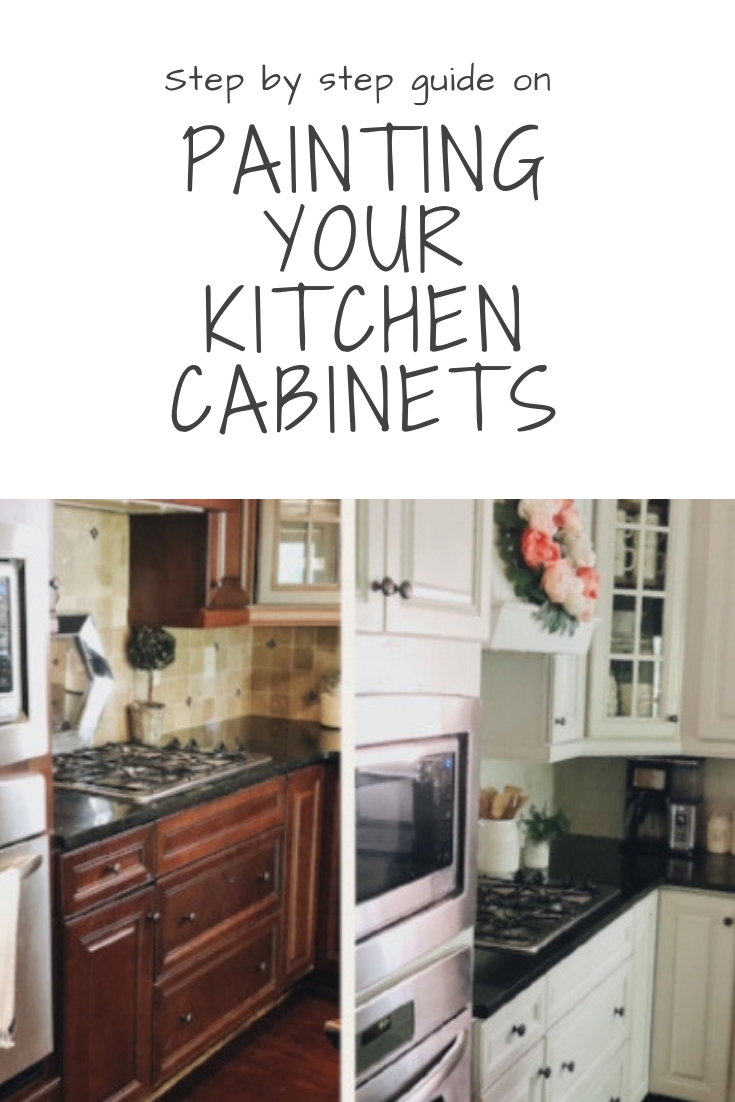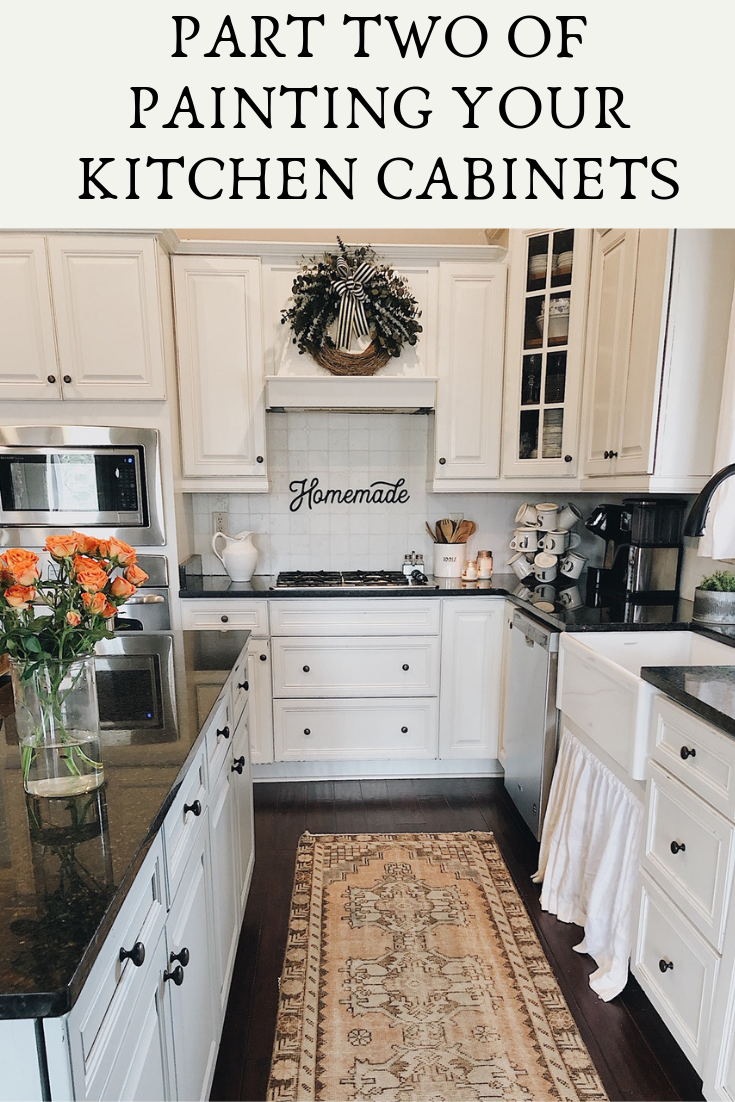
AFTER
Sponsored post. The Kilz Max Primer and Magnolia Home by Joanna Gaines Paint in Trim and Cabinetry (Shiplap), and paint brushes featured in this post were all provided by KILZ; all opinions and reviews are my own.
It is so exciting to share with y’all part two of my series on painting your kitchen cabinets. If you are coming from my first blog post, found here, I am hopeful that after the painted cabinets reveal, you will feel all the more inclined and excited to get started on painting yours. If you did not catch the first part of this series (and want to see more “before” photos), head here to get started.
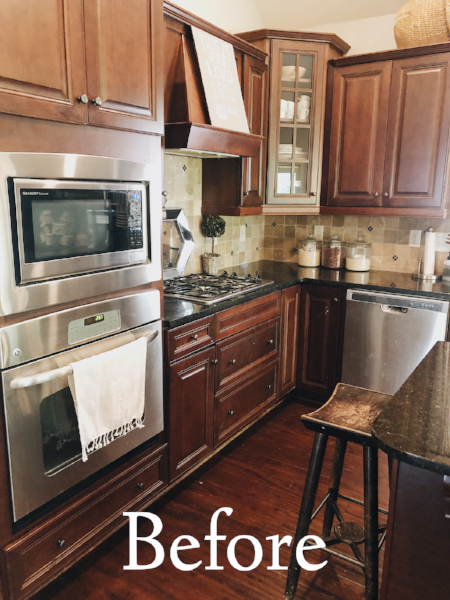
After
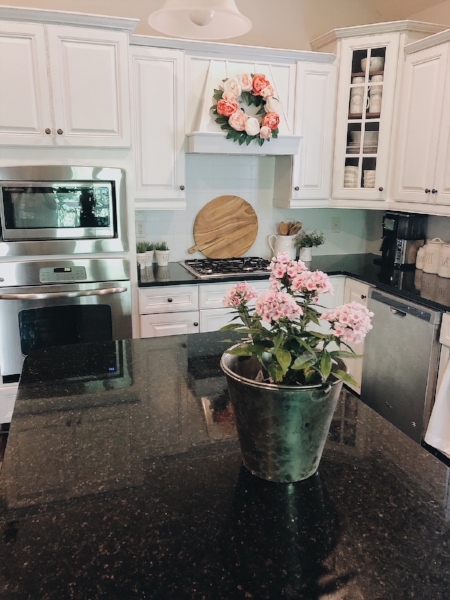
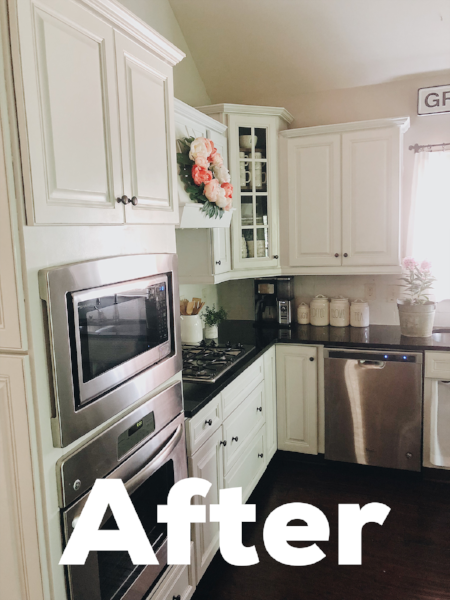
After
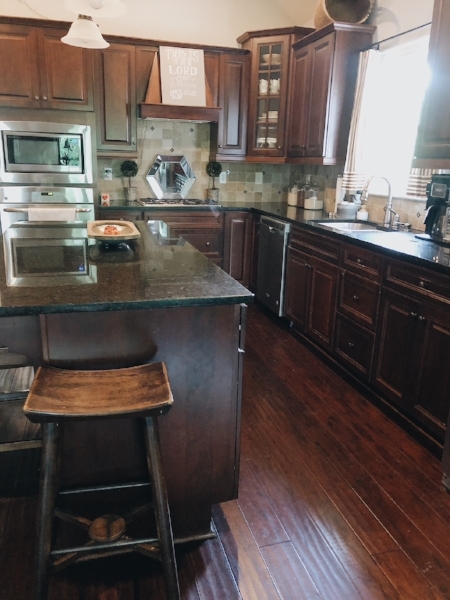
Before was dark and all brown.
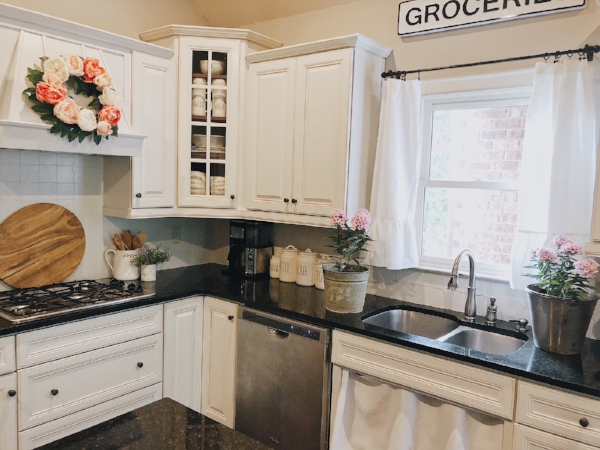
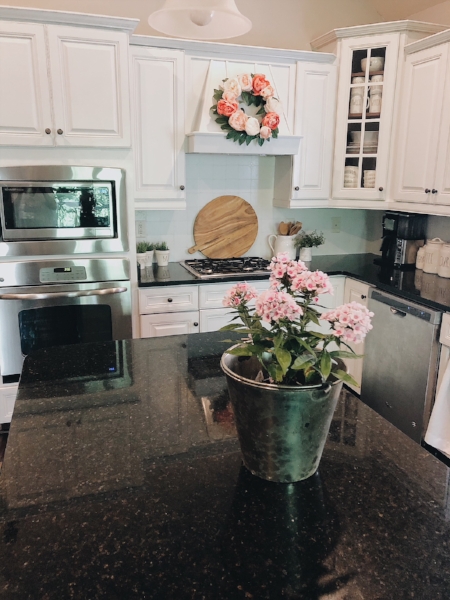
After is bright and happy.
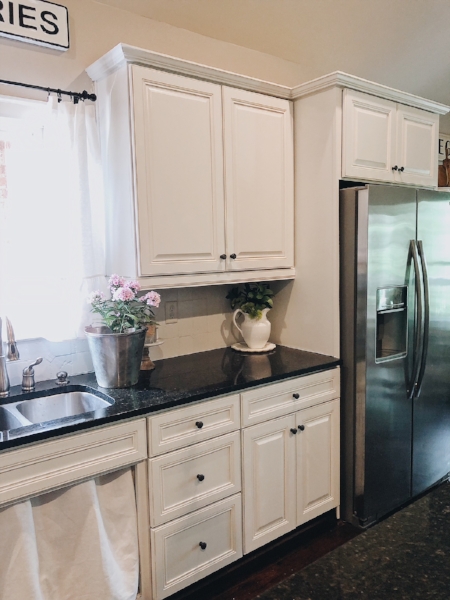
After
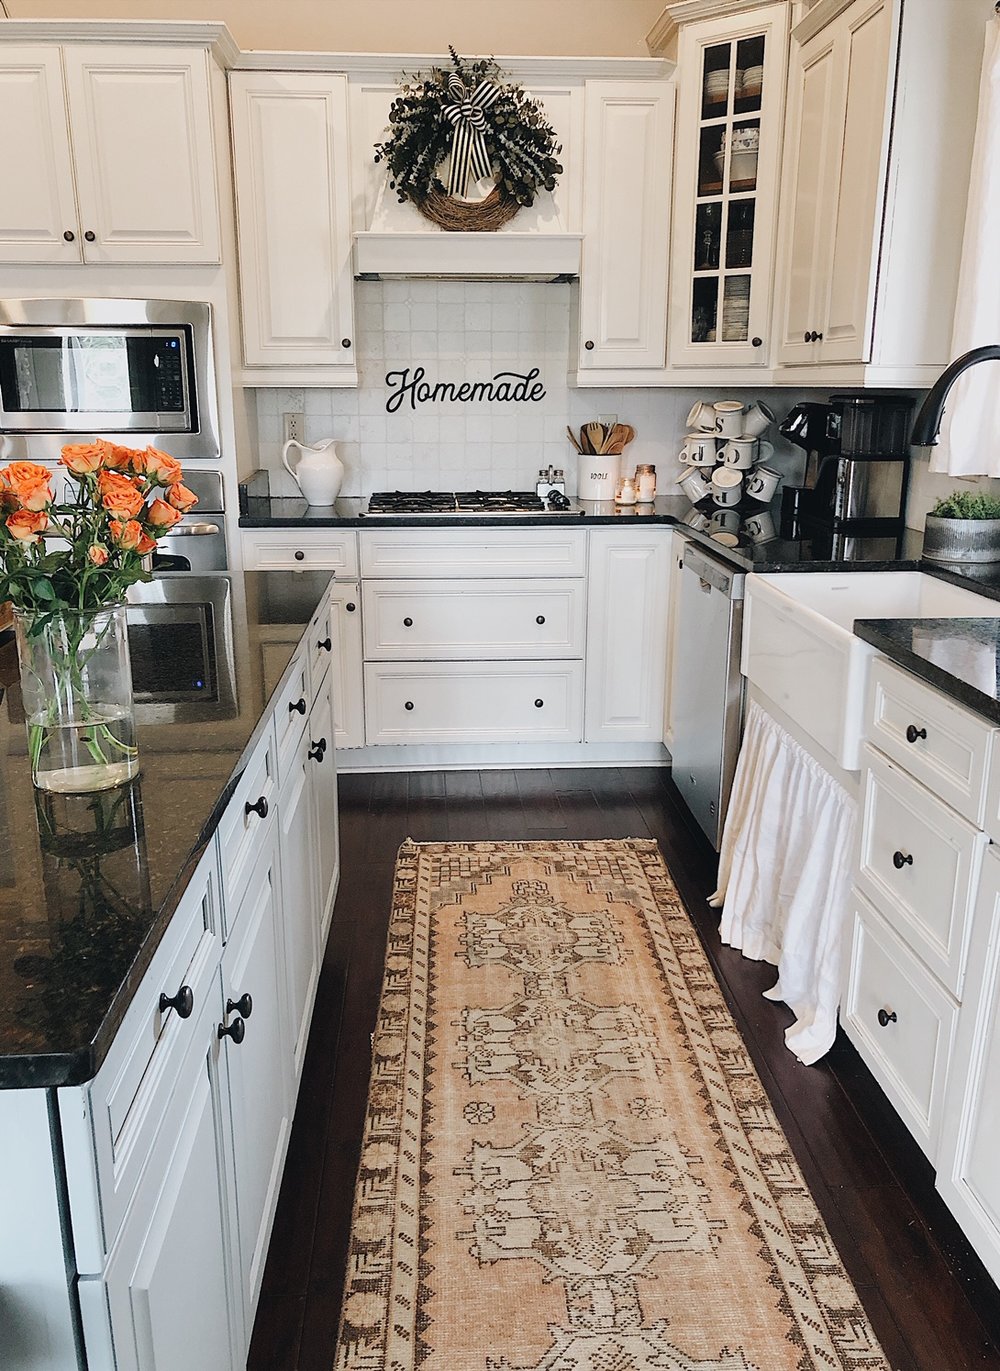
AFTER
Let’s get started on painting!
Remember, where we pick up in this blog post, we’ve already put a coat of Kilz primer on all cabinets, drawers, and doors. (Additionally, we had a pretty dated looking travertine back splash. After deciding we didn’t want to sink our budget by replacing it, we went ahead and painted it. Kilz Max Primer is great for tile, and as you’ll see in the finished pictures, the Shiplap by Magnolia Home By Joanna Gaines Paint in Trim and Cabinetry looks wonderful.)
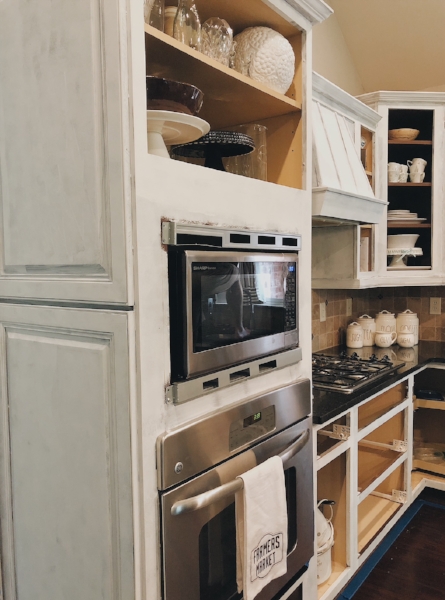
Kitchen Cabinets Primed.
Step One: Once you’ve primed all surfaces, you’re going to want to go back and lightly sand before you paint. We sanded all primed cabinet doors and wood surroundings. I recommend sandpaper with a 220 grit, if not finer. As you are sanding, you’re specifically looking for drips, bumps or foreign objects (i.e., dog hair) that may have snuck in while the paint was drying.
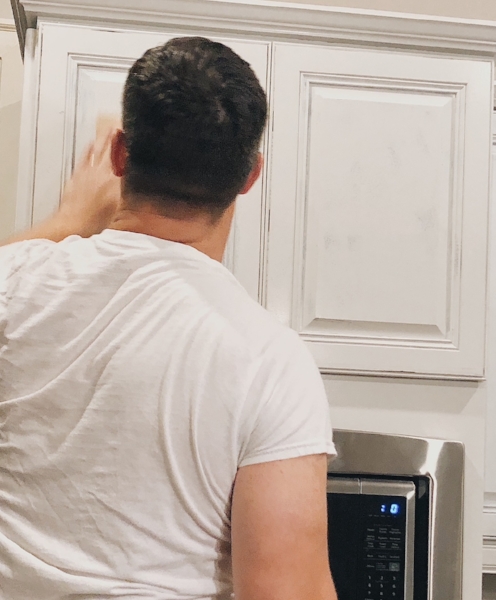
Sanding after priming.
Step Two: While the cabinet doors are off, we painted the actual cabinets themselves. We did two coats of the Shiplap from the Magnolia Home By Joanna Gaines Paint in Trim and Cabinetry, sanding lightly in between each coat. For detail work, we used the Magnolia Home paintbrush (2.5 inches) and for larger areas, we used a paint roller.
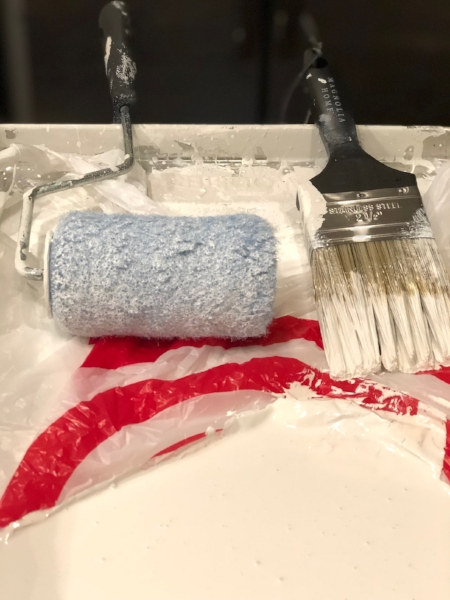
Money and time saver tip: Reuse a store plastic sack to line your paint tray. Prevents having to wash tray between coats and free.
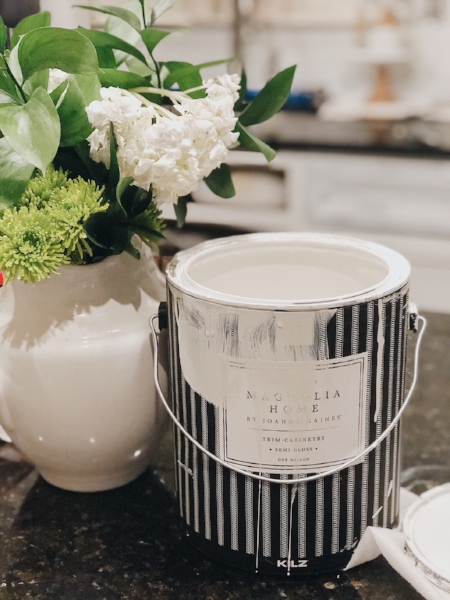
Shiplap, Magnolia Home By Joanna Gaines Paint in Trim and Cabinetry
NOTE: With a semi-gloss or high gloss paint, you will be able to tell the difference between a top coat done with a roller and one done with a brush. As much as possible, be consistent in the “final” coat you put on the wood.
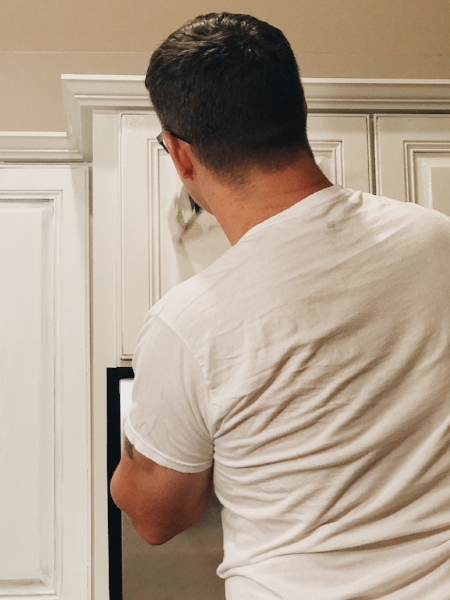
Painting first coat of Shiplap.
Step Three: We didn’t have enough room to paint all the doors and drawers on the work table we had set up in the kitchen. So, we attached the doors, put the drawers back in, and then finished painting them using the same recommendations from step two. Again, we applied two coats of paint, sanding between each coat.
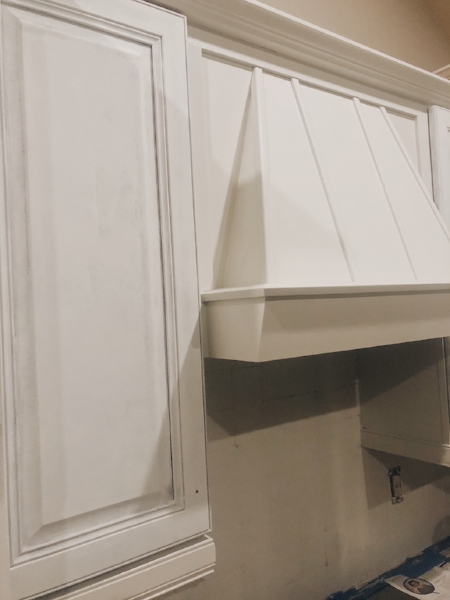
Left cabinet primed and oven hood painted with 2 coats of Shiplap.
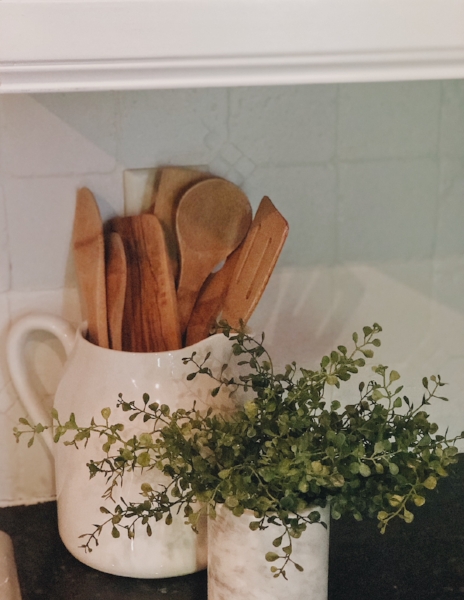
Travertine back splash painted.
Step Four: A final clean up will be necessary for a completed look. I recommend looking for drips again and lightly sanding those down. You’ll need to touch these areas up. Also, you will need to figure out what works best for you to clean up the splatters and drips that inevitably happen. We used Goo be Gone Wipes in many spaces, though some spots needed paint thinner and a brillo pad.
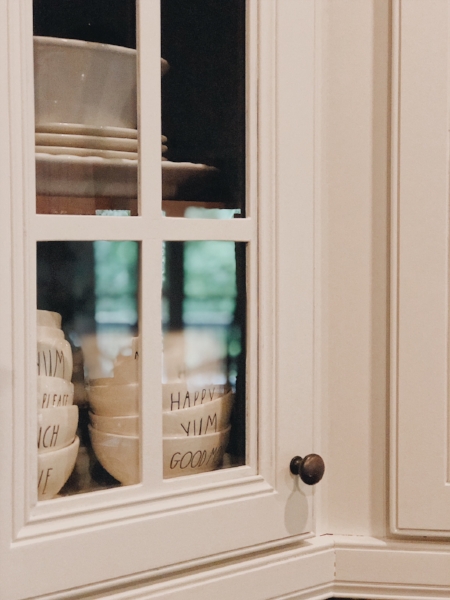
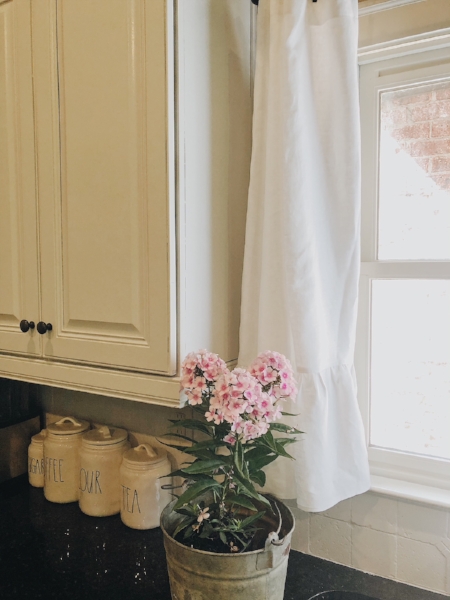
Pictured here are the cabinets still needing caulk and sanding in the grooves of wood work.
Step Five: When going from dark to white cabinets, cracks and gaps in your cabinet that you didn’t notice before will show more easily. Therefore, you will want to plan on caulking these cracks. Use any interior caulk available at your local hardware store. Just make sure it’s paintable as you’re going to need to go back and touch up where you have caulked.
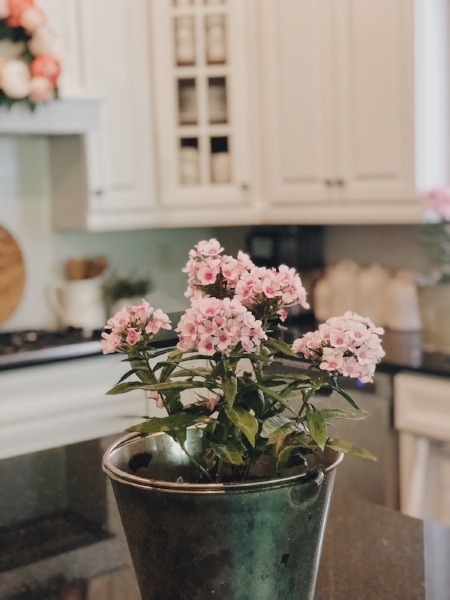
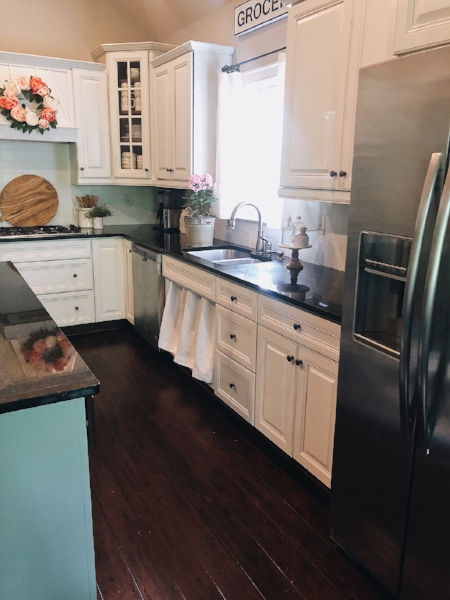
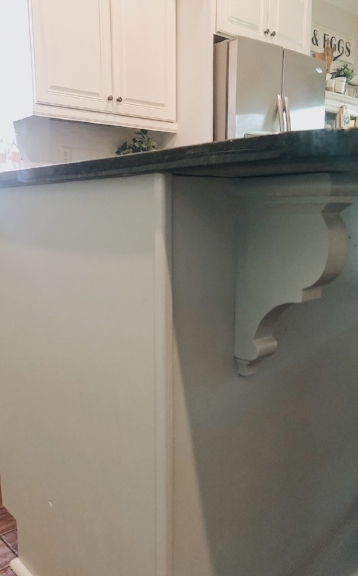
Island painted Rainy Days by Magnolia Home.
We are blown away at how truly transformative painting our cabinets was for our kitchen. It has been a lengthy project but well worth it. I cannot wait to walk into our kitchen now, whereas before I felt like it was dark and bland. Painting your cabinets will truly provide you with a change that is sure to impact your home’s beauty. Also, our experience with Kilz Max Primer and Magnolia Home paints was top-notch. Kilz Max Primer provided a nice base, even over our dark wood cabinets. And the paint from Magnolia Home was great to work with. (And I love the Shiplap color for our cabinets and the Rainy Days for our island.)
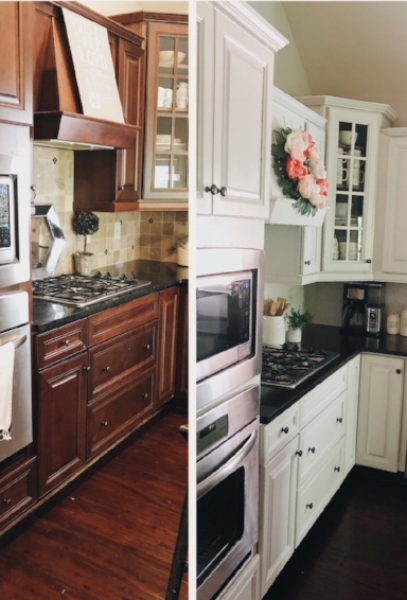
BEFORE (Left) and AFTER (Right)
