Sponsored post. The Kilz Max Primer and Magnolia Home by Joanna Gaines paint brushes featured in this post were both provided by KILZ; all opinions and reviews are my own.
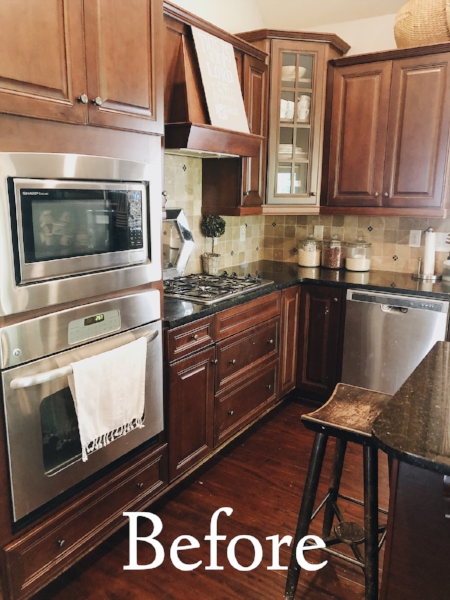
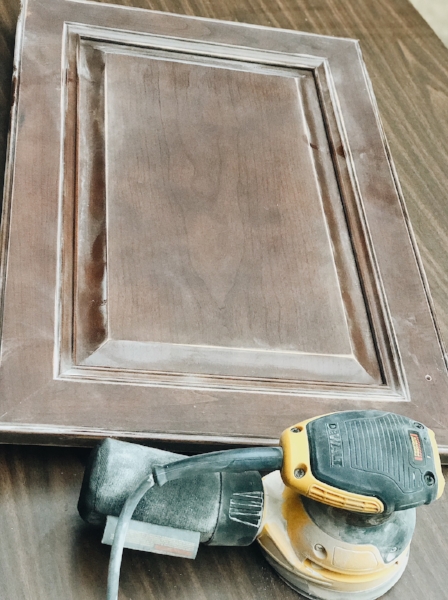
BEFORE view
I told my husband yesterday that there needs to be a bumper sticker that says, “If you can survive painting your kitchen cabinets, you can survive anything”! Haha, as dramatic as that may sound, it can feel true at times during this process. However, this feeling will so easily be forgotten when you see what this transformation can do to your kitchen; it’s incredible!
Additional BEFORE view
Our kitchen has been an eyesore to me for some time now (in fact, it makes me cringe just a bit to share with you, so hang in here with me to see what the magic of paint can do!). I have spent many moments imagining what it would look like to have white cabinets, as well as other touches of white to replace all the dark brown tones that dominate it. We finally were able to move forward in making this transformation happen (YAY!) and if you follow me on Instagram you probably have been catching my stories of videos and photos of this process. In this first part of the series on painting your kitchen cabinets, I want to share with you all the materials and priming process of the project up to this point. Part two will be of the painted cabinets.

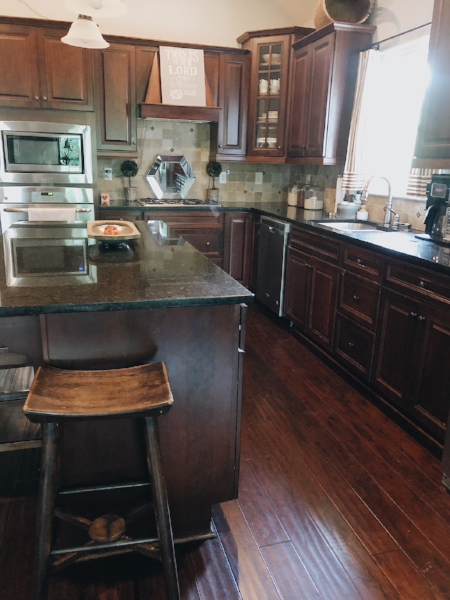
Additional view of BEFORE
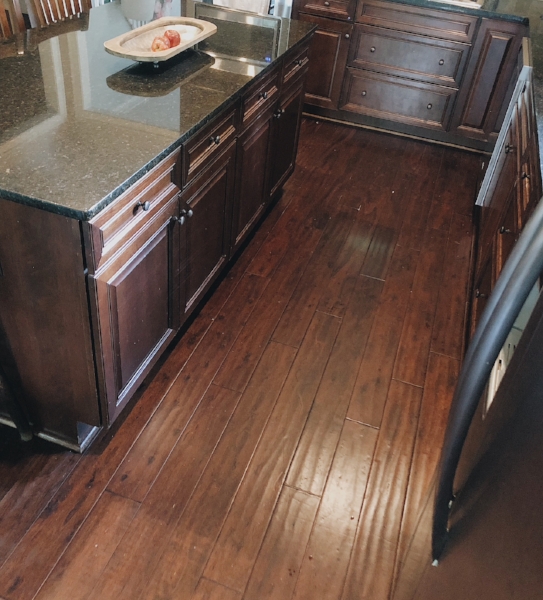
BEFORE view of island
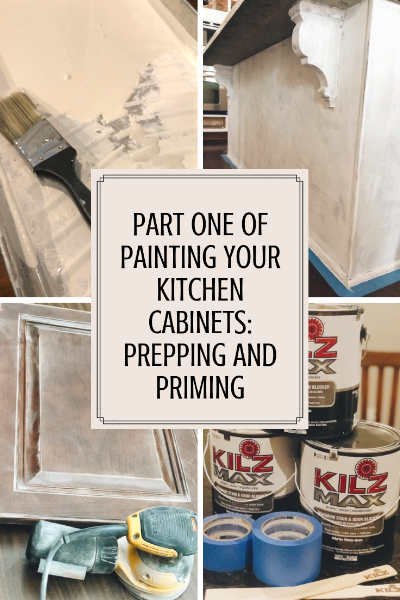
FIRST: The first step my husband did was to remove all the cabinet doors and drawers from the cabinets. We set them on long tables to sand them down so that the primer will adhere better to the wood and be less likely to chip off. We used the sanding discs pictured to sand our cabinets with.
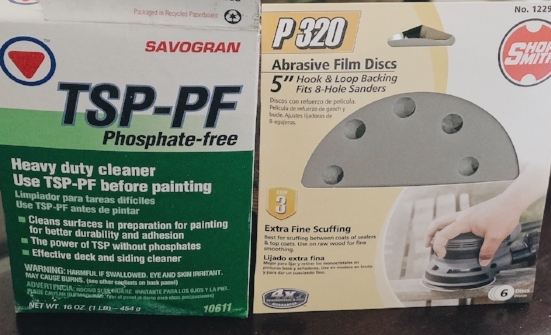
SECOND: We cleaned off all the surfaces with this heavy duty cleaner pictured above. You can find it at Lowe’s (make sure you read the instructions, at it is very powerful). It did a great job cutting the grease and grim off our our cabinet surfaces.

Kilz Max Primer
THIRD: Next, we placed painter’s tape around the cabinets, appliances, and floor. Then it was time to open our Kilz Max Primer paint cans and get started!

FYI: Throughout the priming process, we used the Magnoila Home brushes, as well as a paint roller we had on hand for the larger surfaces like our island and doors of the cabinets. These brushes are wonderful. I would highly recommend them. Whether you use them or not, make sure you have a high-quality brush. It makes a difference.
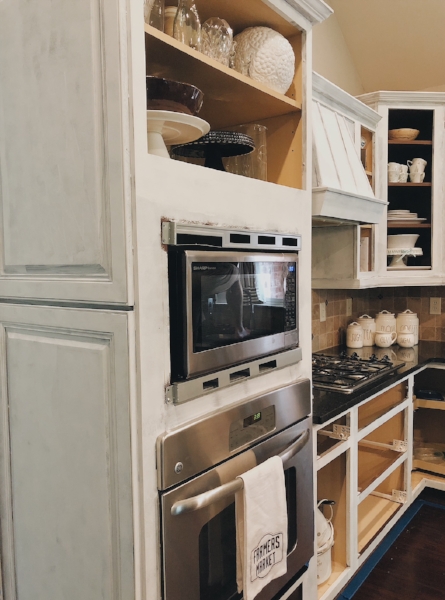
View of primed cabinets.

Another view of cabinets being primed with paint brush.
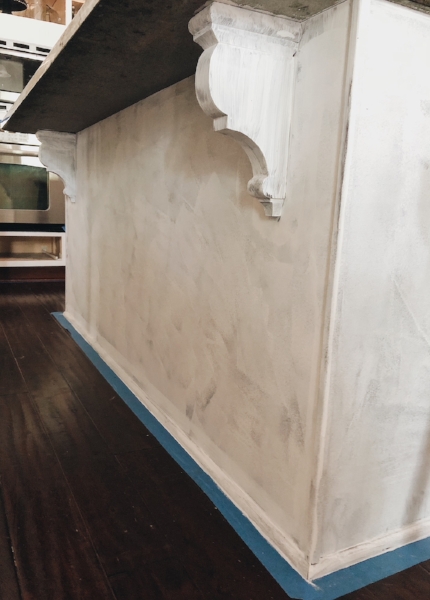
View of island, primed.
Already our kitchen is feeling brighter! Part one of painting your cabinets, prepping and priming, is essential to do right for the best results when applying the paint.
I cannot wait to share part two of painting your kitchen soon. You guys are not going to believe the transformation!
