This 5-step process for decorating the perfect Christmas tree will yield beautiful results! I walk you through each step, offer bonus protips along the way, and include a FREE e-book + supplies list for you. Scroll down to get started on getting that perfect Christmas tree you’ve always wanted.
PIN NOW, SAVE FOR LATER!
How To Decorate The Perfect Christmas Tree
Perfect Christmas Tree Decorating Introduction
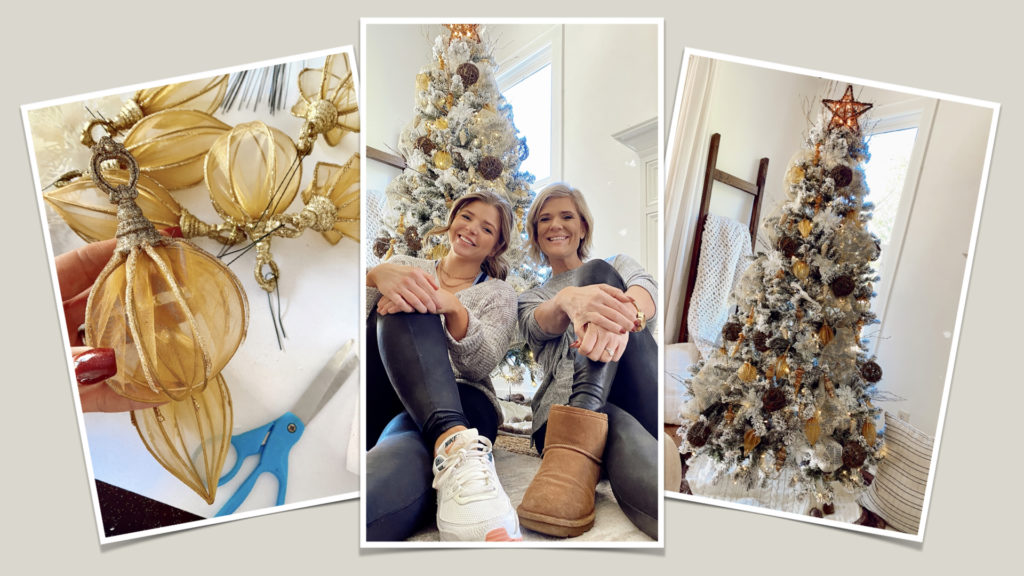
How To Decorate The Perfect Christmas Tree
Have you ever wanted the kind of Christmas tree that takes people’s breath away but doesn’t quite know where to start? Lights. Ornaments. Ribbon. Tree-toppers. Pulling all this together in a beautiful presentation can frustrate even the most experienced decorators.
This post will take all the guesswork out of the decorating process. In this post, you will find:
- Step-by-step tips on HOW to craft the PERFECT Christmas Tree
- In the end, a FREE supply list option with every product already linked so you can recreate the EXACT tree you see here!
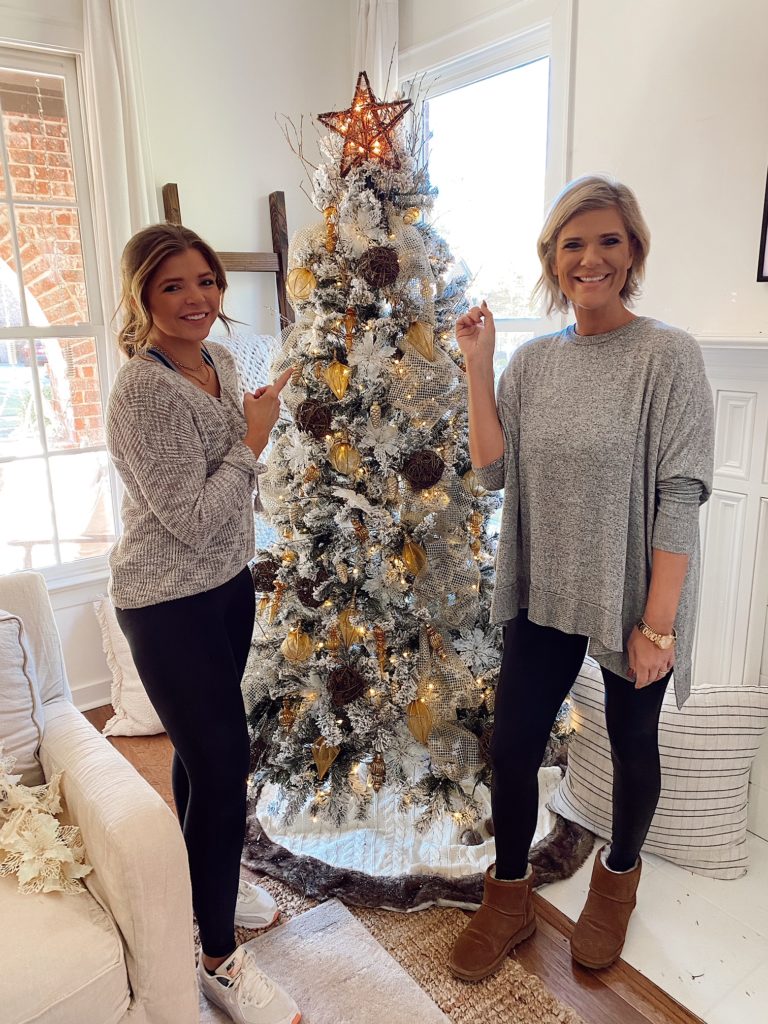
5 Easy Steps to Decorating the Perfect Tree!
Gab Schwarz, from Gift of Gab Design, is our in-house resident, Christmas tree extraordinaire! She and I are excited to share with you a step-by-step process to create the Christmas tree of your dreams.
Don’t have time to read the full post now? I’ve got you!
Download my FREE e-book that includes all the steps, a supply list, and explanatory photos in one place for you, allowing you to reference back to these concepts anytime.

How To Decorate The Perfect Christmas Tree
I want the FREE E-Book!
Step 1: Christmas Tree Decorating Preparation
The first thing you will want to do is to put your tree together and install the lights. The most important thing to remember about hanging lights is to distribute them evenly. Also, for the best look, ensure the lights are pushed slightly toward the tree’s trunk (you don’t want them all on the outermost parts of the branches). This gives the lights a charming, in-depth look.
Step one: Preparation
Then, lay out all of your supplies and decorations as organized as possible. This way, you know exactly what you’re working with. (I like to make individual sections for ribbons, stems, and ornaments.) If you’re really in the mood, organize your supplies by size and color.
Protip: Are you a visual learning person? Grab my video tutorial, where Gab and I show you exactly what to do with each of these steps. Plus, several bonus tips are included in the video tutorial.
I want to access this Christmas tree decorating tutorial!
Step 2: The Topper
For the topper, use ribbons to make a large bow, or place your ready-made tree topper at the top of your tree using floral wire.
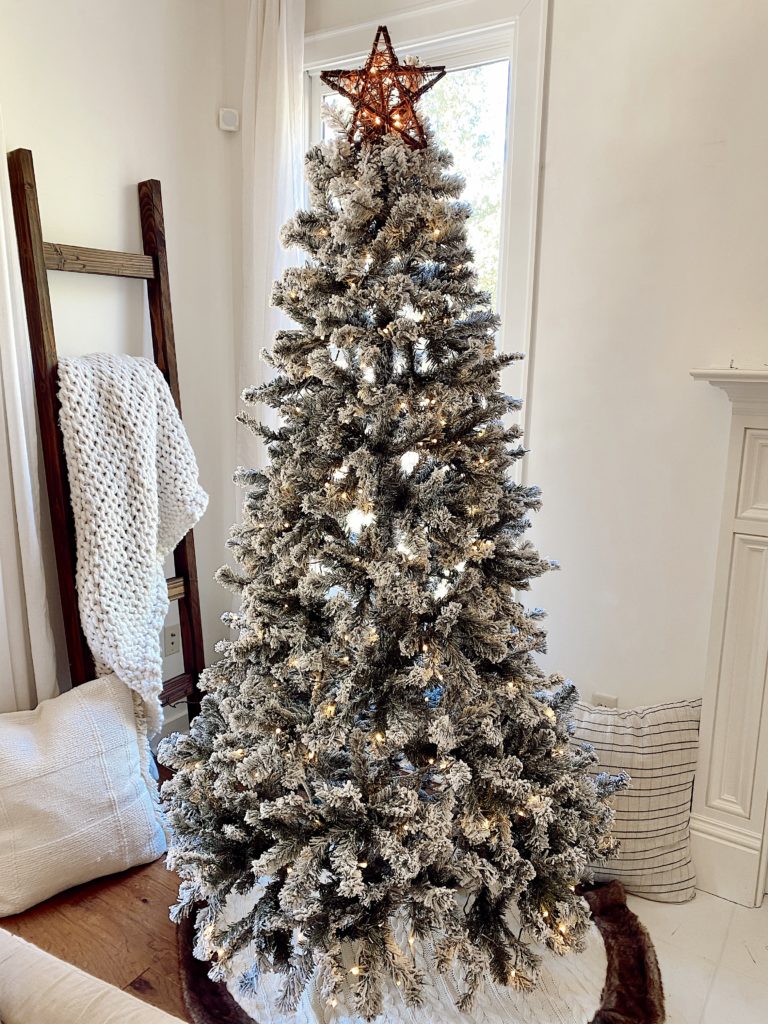
Flocked tree
Step 3: Ribbons
When applying your ribbons, always start at the top of your tree & work your way down the tree (vertically), attaching ribbons to stems using floral wire.
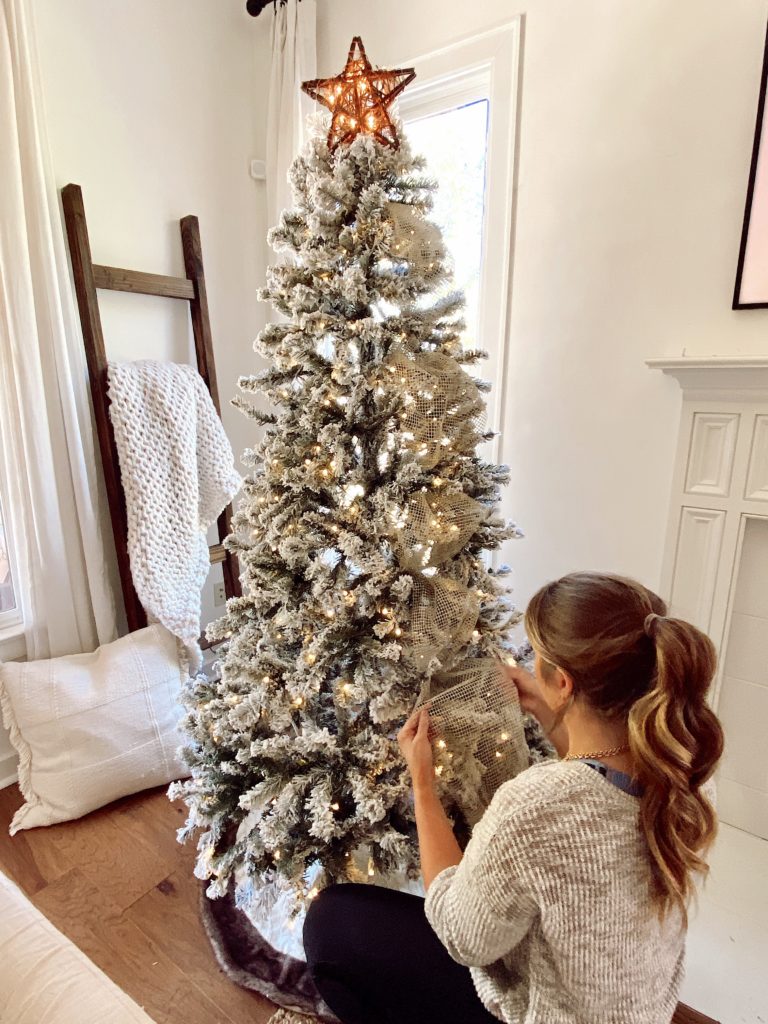
Step 3: Ribbon
Step 4: Stems
Once you’ve got your topper and ribbon up, spread the stems throughout the tree in an even fashion, using lots of stems at the top to make your tree-topper pop and the top of the tree your most decorated area.
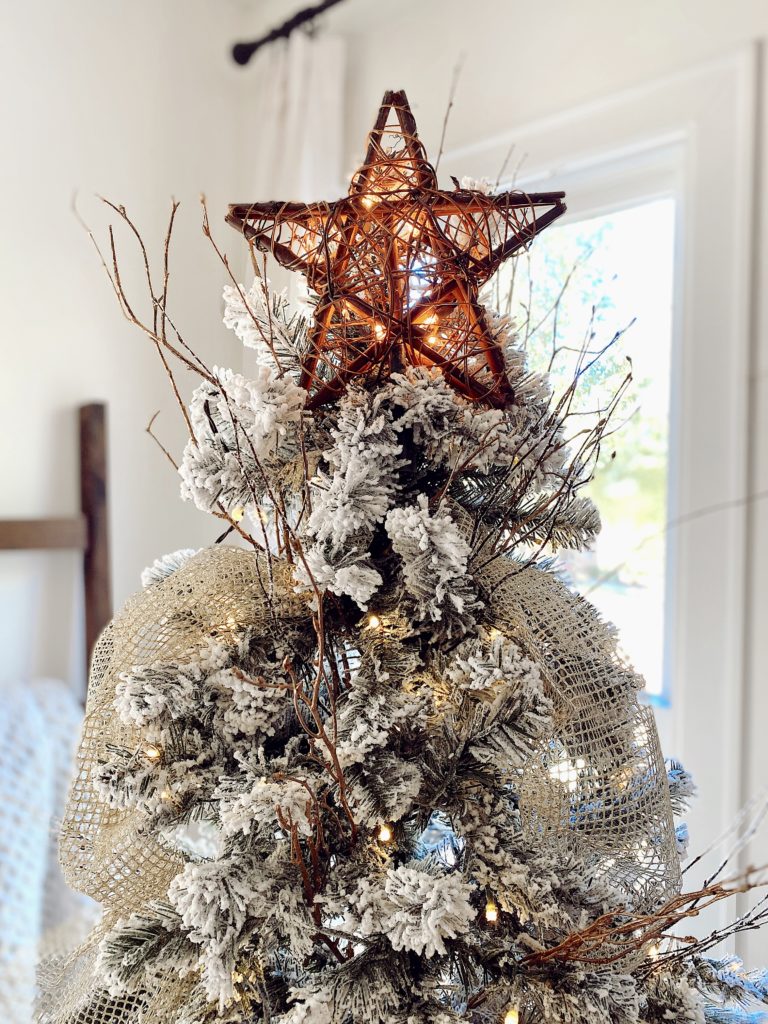
Step 4: Branches
Protip: Shop all of my exclusive Christmas 2022 decoration lists HERE on my Amazon storefront. Gift guides, home decor, trees, and tons more!
Step 5: Ornaments
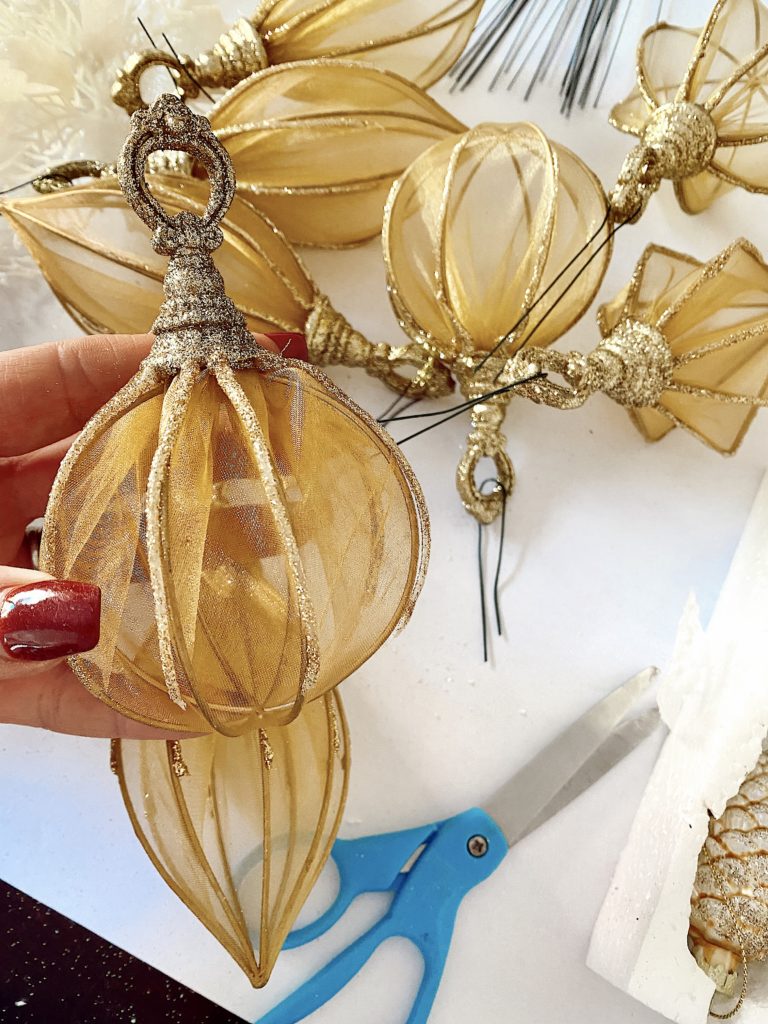
Starting with your largest ornaments, place your decorations throughout the tree. With the larger ones, you’ll mainly focus on the center and bottom of the tree. Work through ornaments by size (your smallest decorations will be placed last).
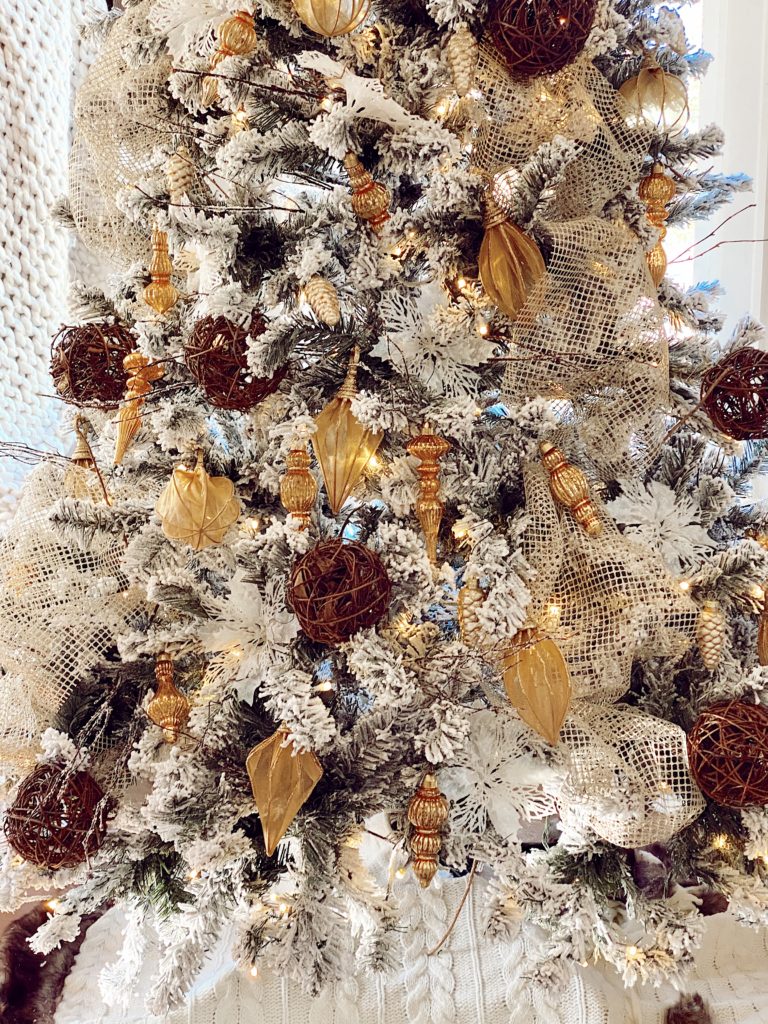
Step 5: Ornaments
Space them evenly, as it pertains to color, but the smallest ornaments should focus mainly on the tree’s top.
Christmas Tree Decorating Supply List
Now that you’ve seen HOW to create the perfect Christmas tree, the best part is that we’ve listed and linked EVERYTHING we used to create the tree in this post.
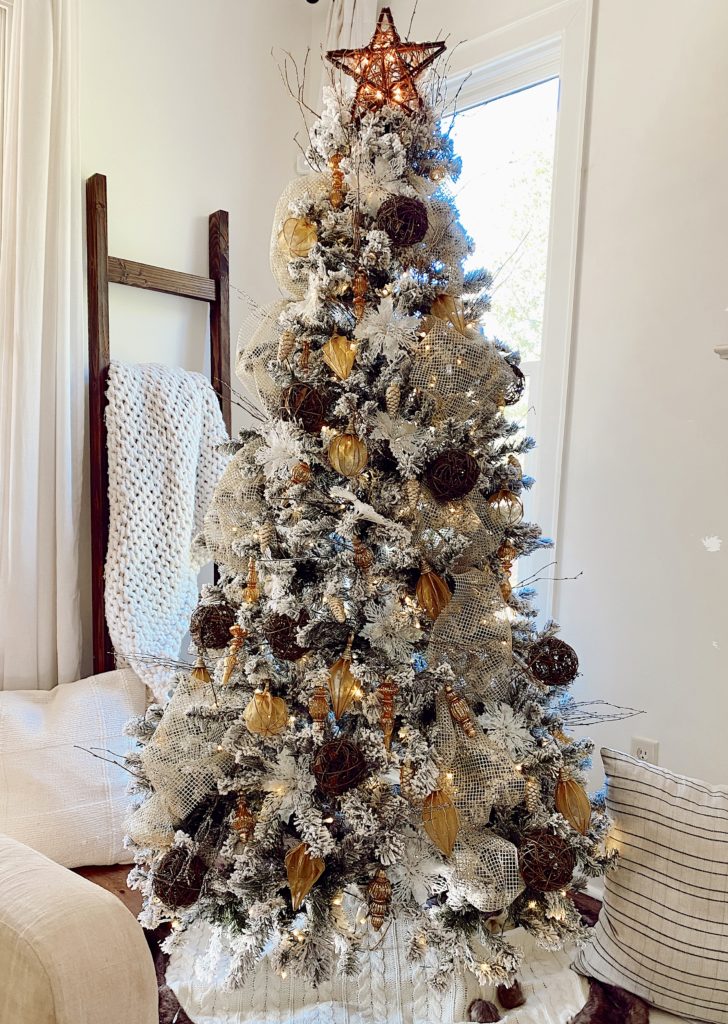
Modern Farmhouse Christmas Tree
Below you can tap to get the shoppable full supply list for each tree in this post.
Tree One: Cozy Minimalist
Tree Two: Modern Farmhouse
Protip: Want to these must-have Christmas trees and items up close? I share them all on my Amazon Live Stream HERE!
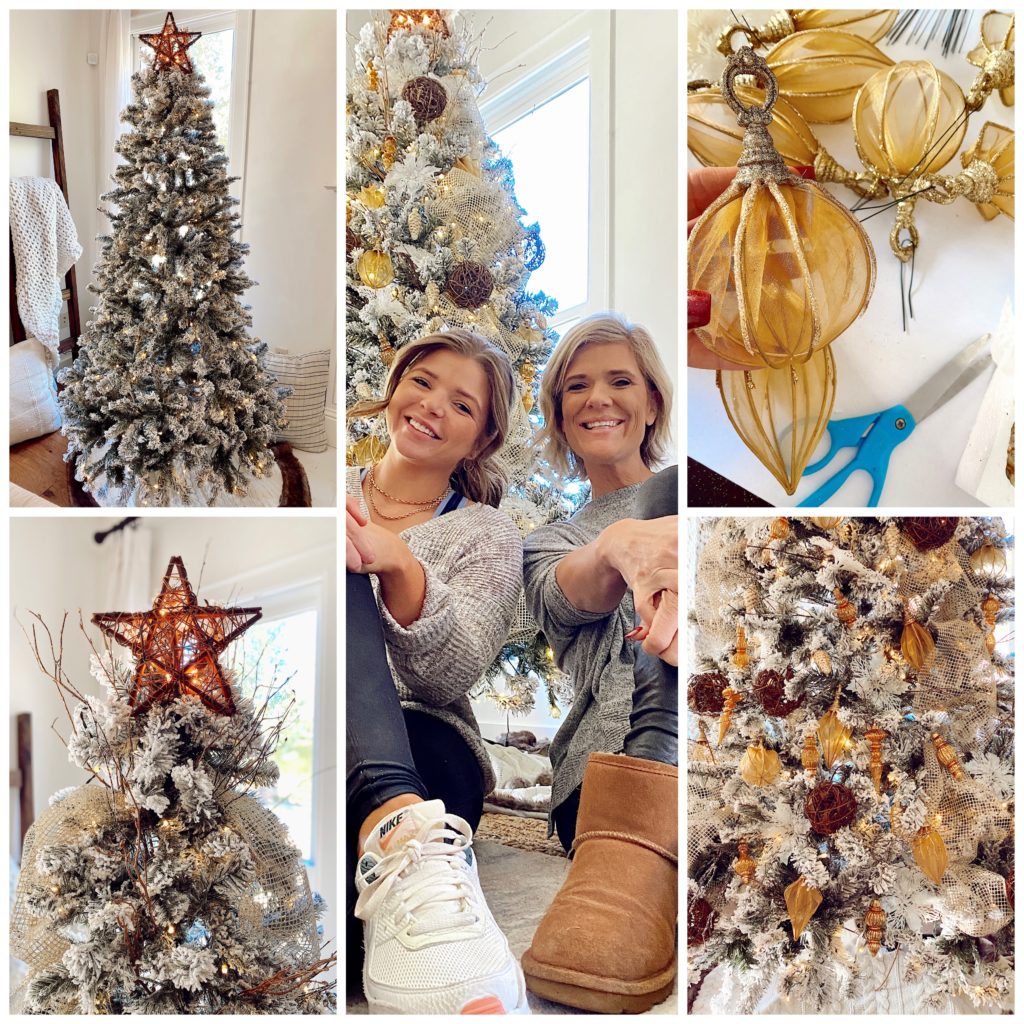
Decorating the perfect Christmas tree in 5 easy steps!
If you enjoyed this post, I recommend checking out these posts too:
- 3 Best Holiday Hacks for Decorating Your Home in 2022
- Welcome Home Saturday with Michelle of Our Crafty Mom
[…] One of my favorite recent DIYs is how to decorate the perfect Christmas tree in 5 easy steps. You can read all about it here. […]
Your tree looks great, I love it! Thanks for sharing! Pinned.
[…] How To Decorate the Perfect Christmas Tree […]
[…] Have you ever wanted the kind of Christmas tree that takes people’s breath away but haven’t known where to start? Lights. Ornaments. Ribbon. Tree-toppers. Brendt from She Gave It A Go is sharing How To Decorate The Perfect Christmas Tree. […]
[…] READ MORE HERE […]
[…] How To Decorate The Perfect Christmas Tree | She Gave it a Go […]
[…] How To Decorate The Perfect Christmas Tree […]
Ok this really is the perfect tree! I love how you decorated it! Pinned!!!
I love how the ornaments play off of the white-flocked tree! Looks really pretty!
This tree is so pretty! I love all the ornaments that you used, you did a great job decorating!! Pinned.
What a beautiful tree! I just love those gold ornaments, Brendt. Great job! 💛