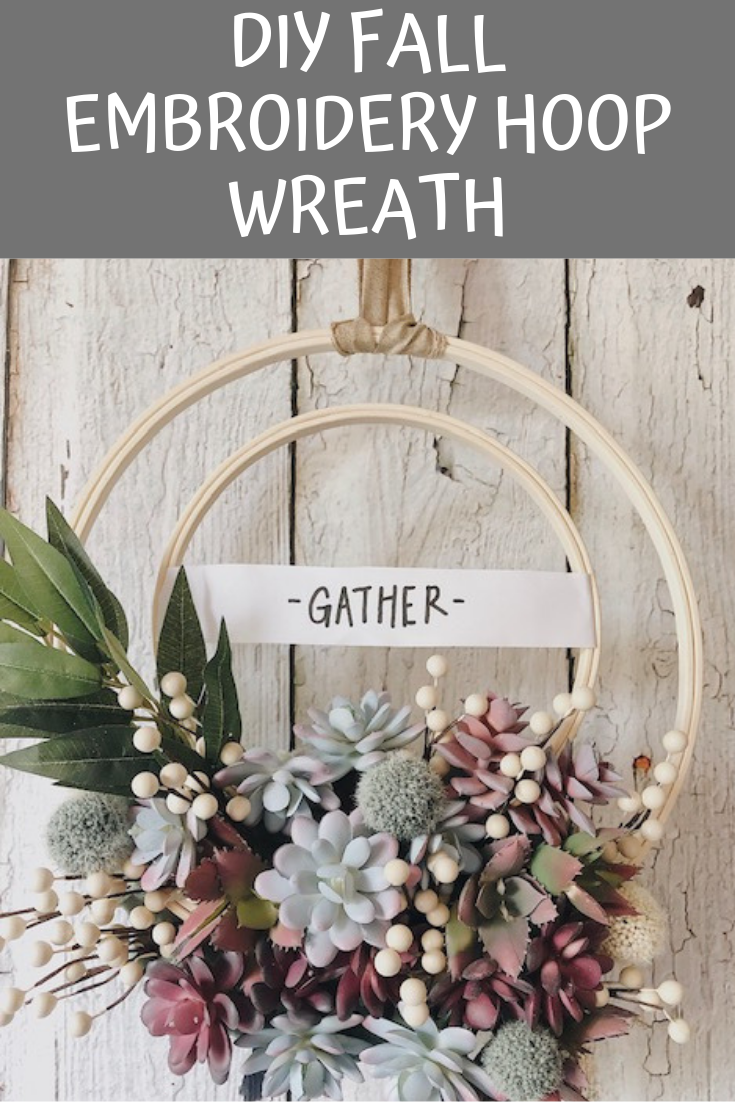
If you are like me, you will be scrolling through Pinterest and see something that says, “wow”! This was my reaction to an embroidery hoop wreath that Better Homes And Gardens had shared for Christmas. It had succulents, berries, wicker balls, the word “Merry” on a white banner, and ribbon. It all looked so beautiful together. It inspired me to try and create a similar one for Fall.
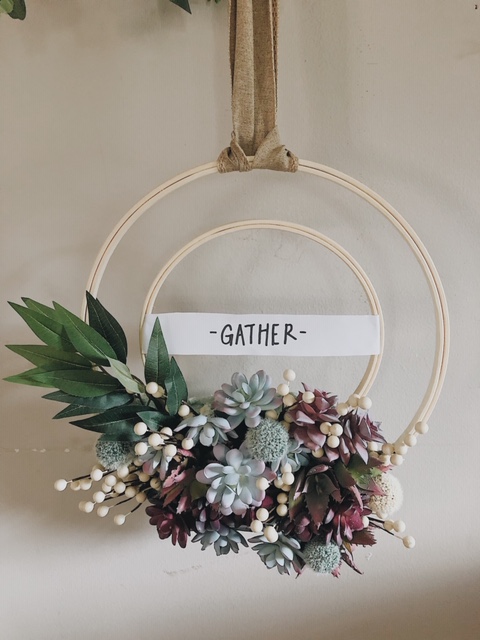
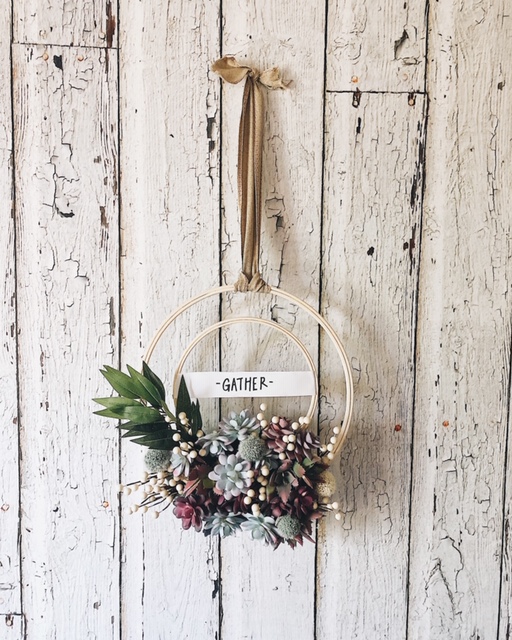
I am so excited to say that this DIY fall embroidery hoop wreath turned out lovely! With a trip to your local craft store (I went to JOANN), you can find everything you need to create this simple, seasonal wreath. I chose cool but vibrant colors for a fall feel. The word I placed in the middle of the wreath was “Gather,” but you can choose any word that captures fall to you! Some examples could include “Harvest,” “Giving,” “Thankful,” and “Gratitude.”

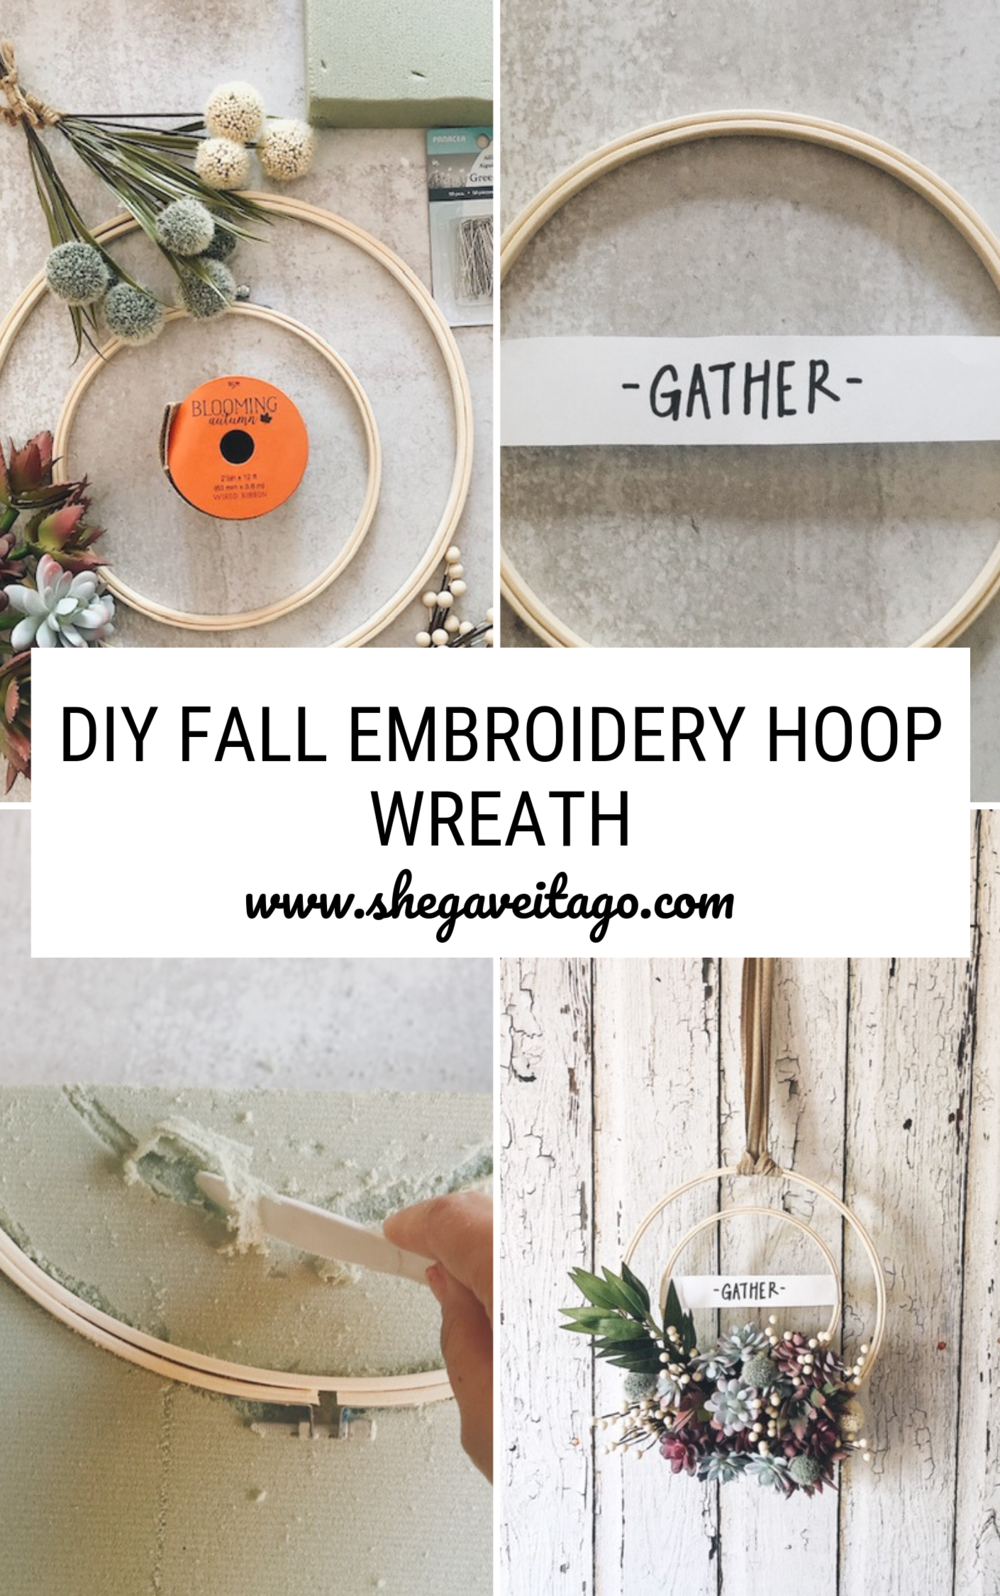
I am going to walk you through each step, but first, I want to provide you with a supplies list. This project can be done in under an hour once all supplies are gathered and ready! And, don’t miss the end of this post; I’m joined by several blogger friends who are also sharing their fall DIY wreaths! Thank you, Krista, at The Happy Housie for hosting this series. Let’s get started.
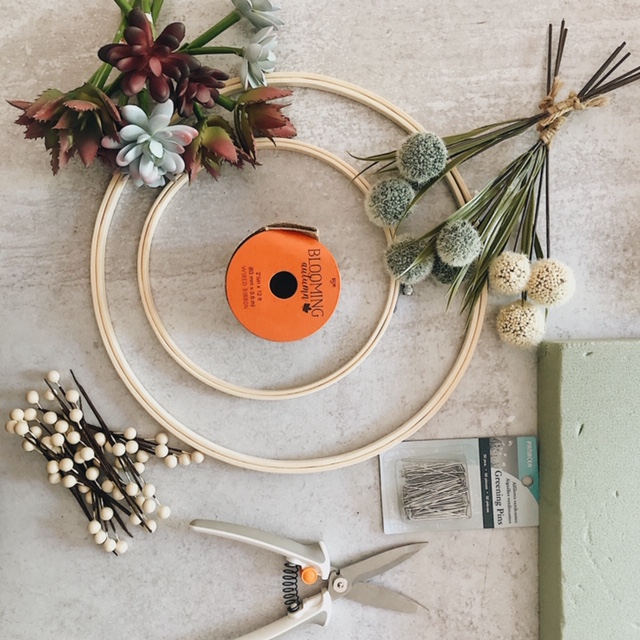
Supplies for DIY Fall Embroidery Hoop Wreath
-
Embroidery hoops that vary in size (I chose an 8” hoop and a 12” hoop)
-
DIY floral foam (make sure the width is at least an 1” width longer than your larger hoop)
-
Glue gun
-
Plastic knife
-
Wire cutters
-
Ribbon
-
Floral pins
-
Paper (any color, I used white) + a printer or thin black marker
-
Succulents (I bought 12, 4 of each style)
-
White faux berries
-
An additional round shaped floral (I chose to cut off the stems from a floral pick)
-
1-2 stems of greenery
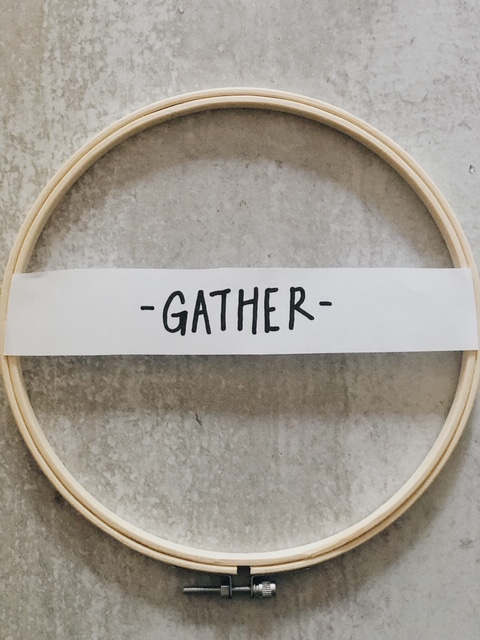
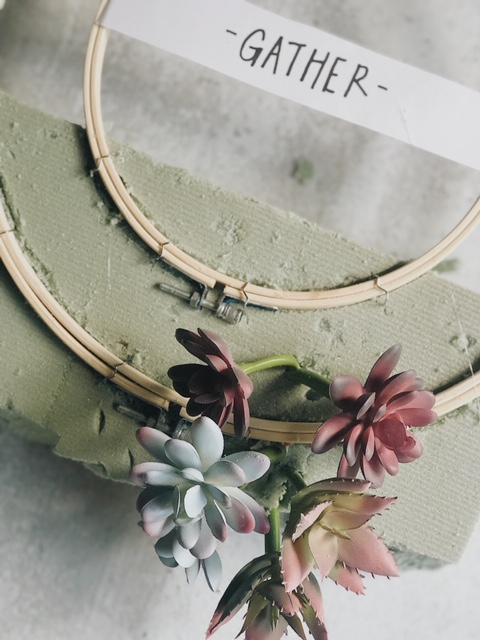
FIRST, create the word banner that will go in the middle of your smaller hoop. I chose to write my word, but you can also print yours. Keep in mind that the width will need enough length to tuck into the inner hoop of the smaller one. Once tucked, you will screw the hoop tight.

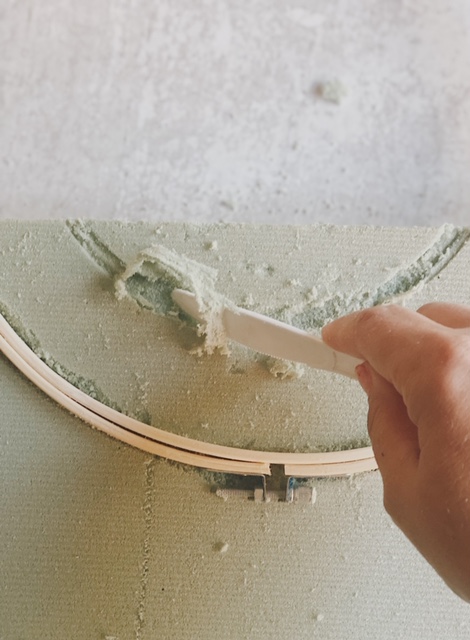
NEXT, you want to center the smaller hoop within the larger hoop and press it into the floral foam. (See photos for hoop placement.) Do not go too far up, because this wreath will get full and you do not want to block the visibility of the word banner. Press firmly to mark hoops placement. Then take a plastic knife and cut a groove so that the hoops will sit inside them. You can now add hot glue to the grooves and press the hoops on the foam, adding floral pins to secure their placement.
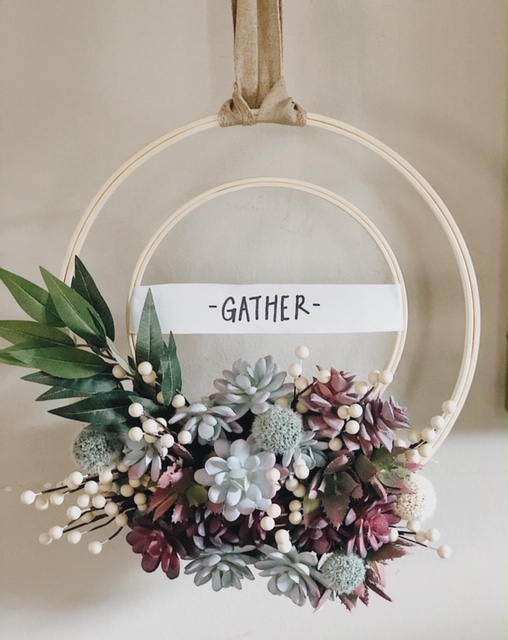
THEN, it’s time to add succulents and other floral items. I began with the succulents because they are the most significant pieces. (Tip: Cut the succulent faux stems to were they will dig deep into the foam but not come out the other side!) Then, push the stem in until it’s just the top of the succulent showing. Once you are done with the succulents, add berries and the additional round shaped pieces to fill in any holes. Lastly, place your greenery along the left side for a finishing touch.
FINALLY, you can add some ribbon as I did by cutting it to the desired length (plus a few inches to allow for tying it at the ends). Then loop it over the larger hoop, and it is ready to hang! This beautiful wreath can be placed in an entryway, layered over a long mirror, or on a door. You will love how all the texture of the florals look against the simplicity of the hoops. I am inspired to create more hoop wreaths in the future; it was a fun and time friendly project that adds a gorgeous fall touch to our home.
I would love for you to stay in touch by becoming a She Gave It A Go Insider! Get weekly tips, encouragement, special deals, and more!
Sign up HERE and receive a FREE DIY Guide for making any table the perfect chippy paint table.
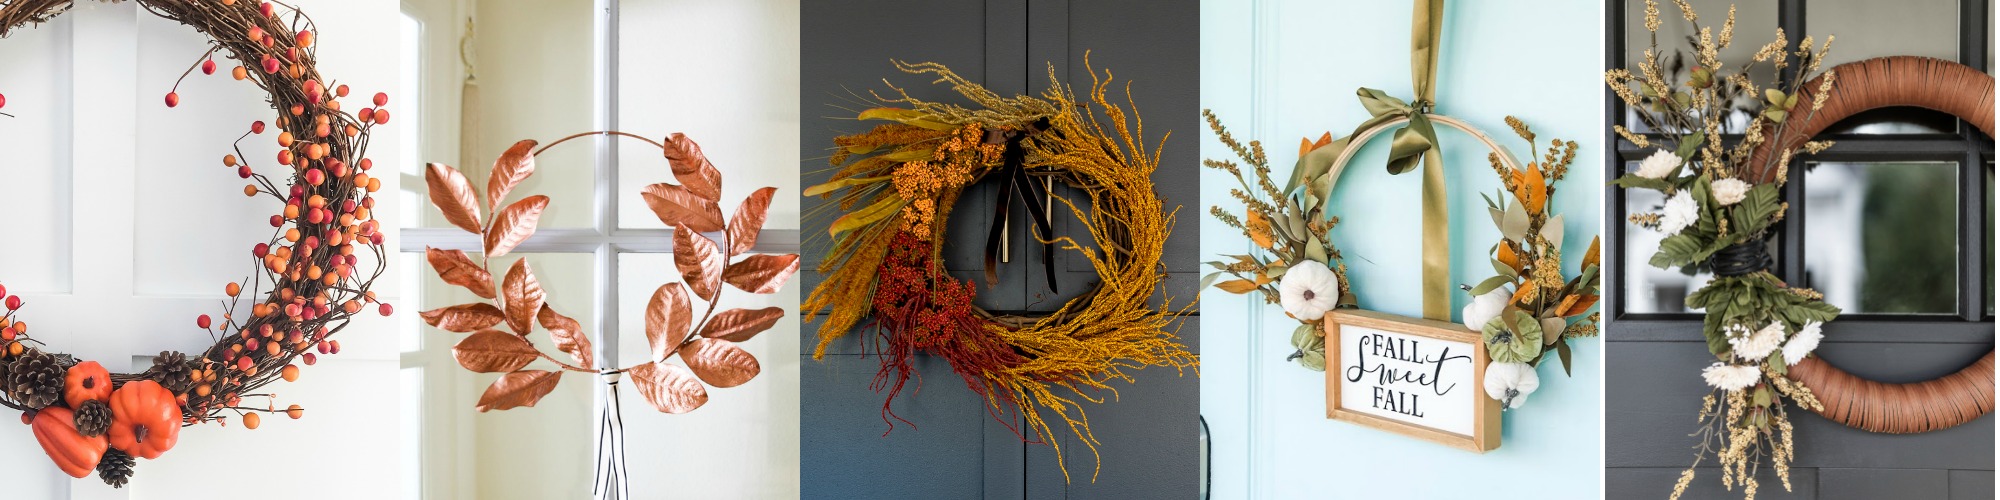
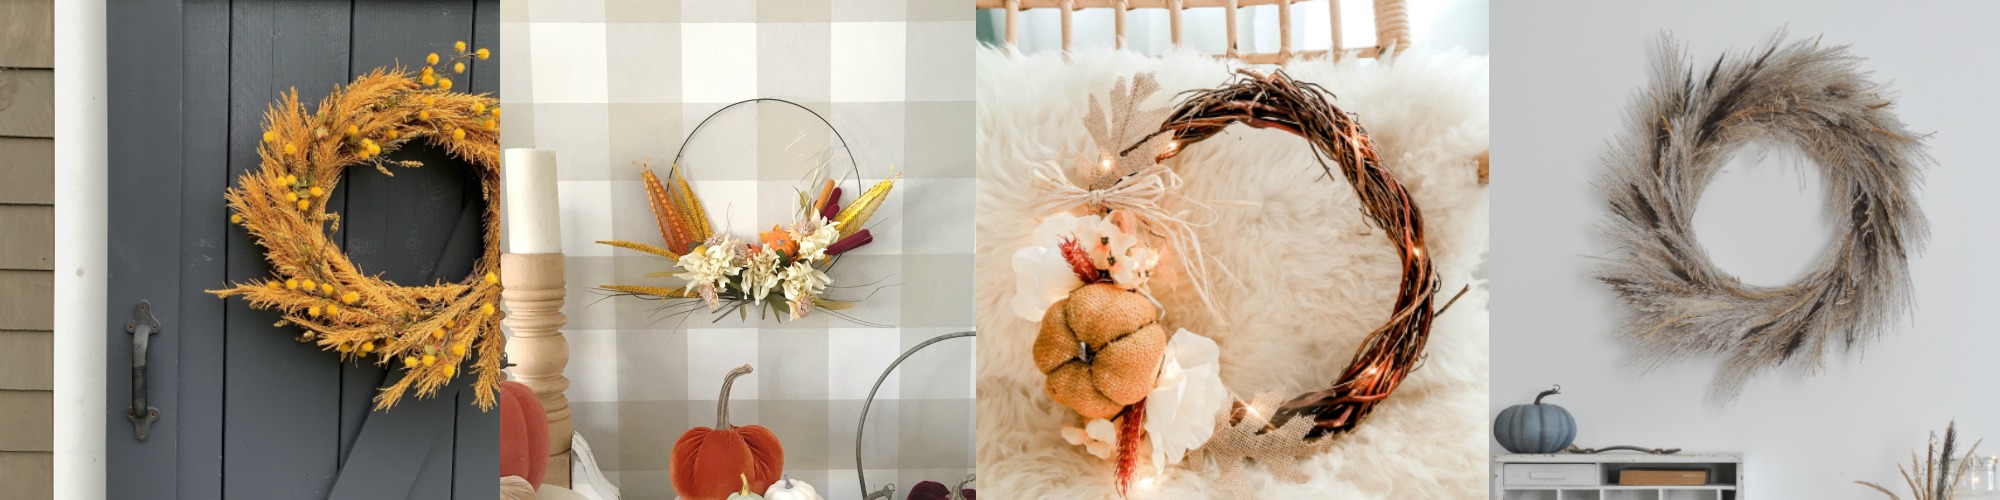
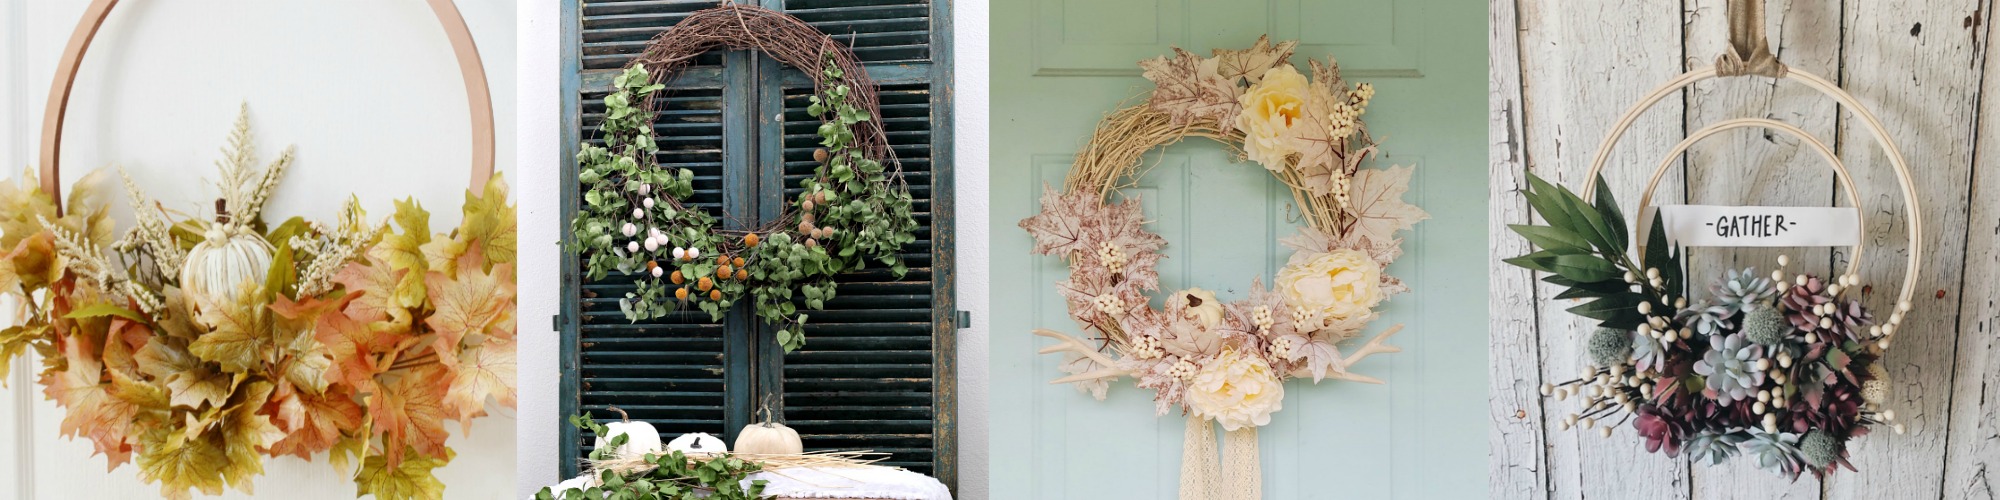
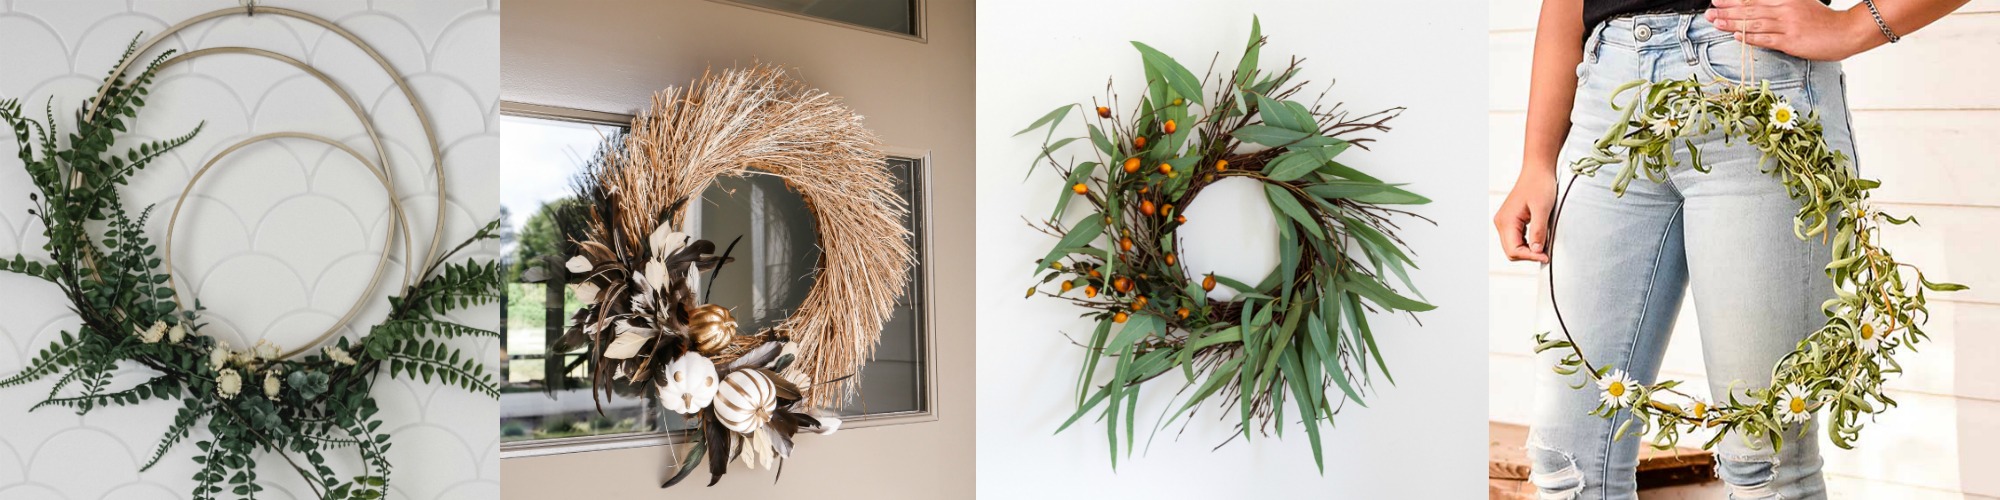
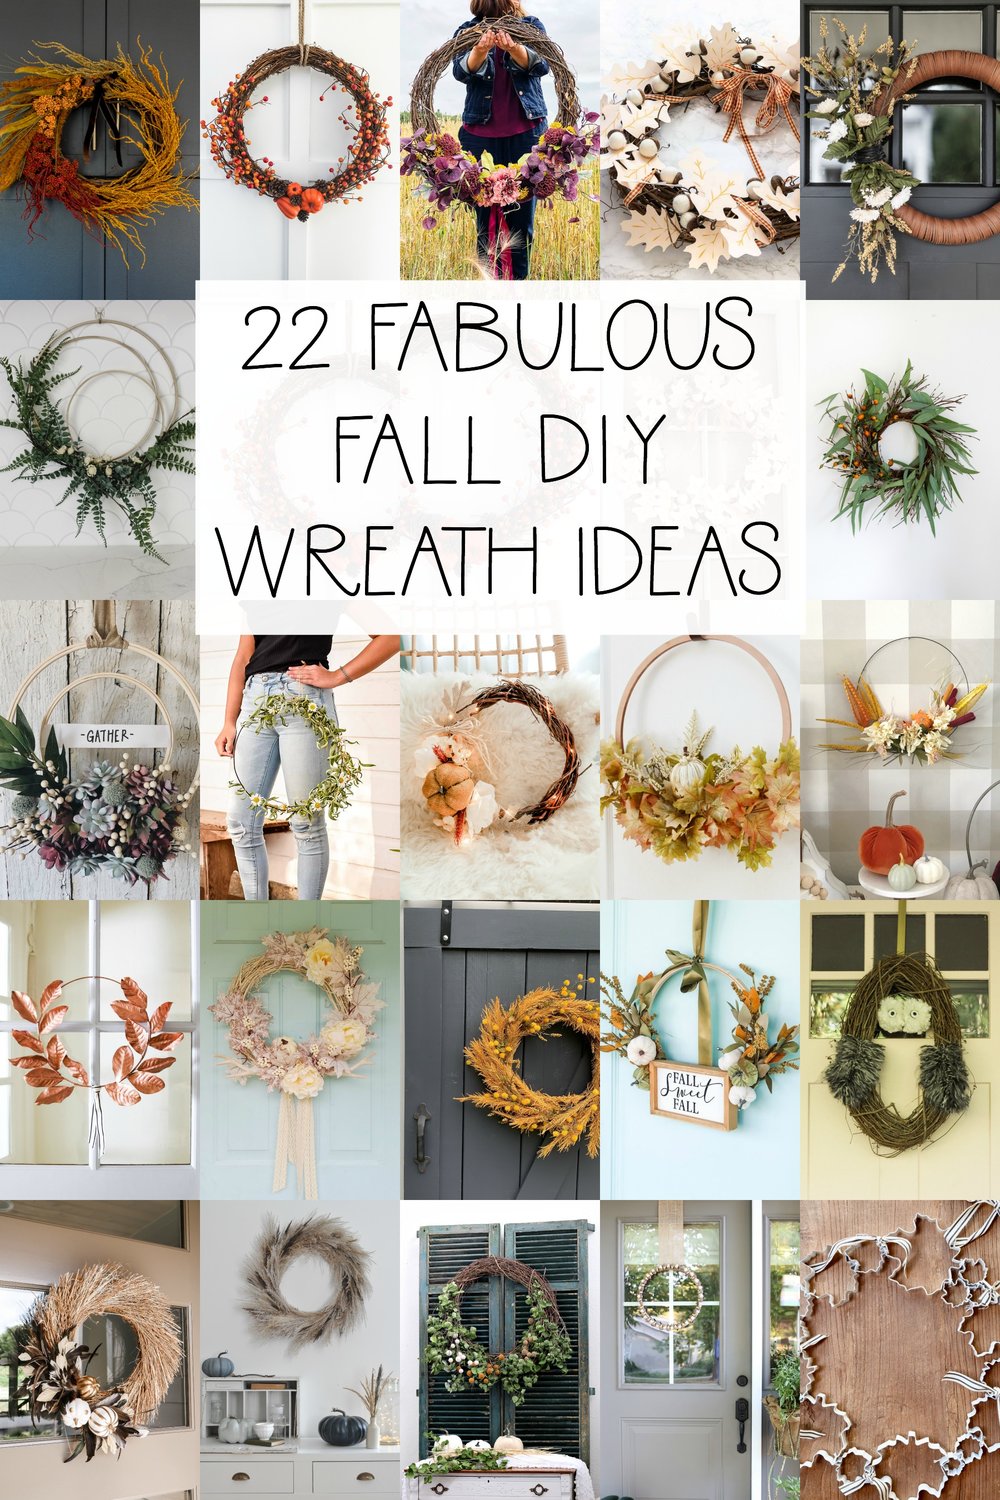
I’ve been joined by some of my blogging friends who are also sharing their fabulous Fall DIY Wreath ideas. Just click on the links below the images to see how they created their fall wreath…

Easy DIY Dollar Store Fall Wreath at The Happy Housie
Rose Gold Laurel Fall Wreath at Modern Glam
Five Minute Dollar Tree Fall Wreath at Craftberry Bush
DIY Embroidery Hoop Fall Wreath at Tatertots and Jello
Modern Leather Fall Wreath at Cherished Bliss
Fall Pampas Grass Wreath DIY at Rooms FOR Rent
Dollar Store Fall Hoop Wreath at Lolly Jane
$7 Dollar Tree Fall Wreath at The DIY Mommy
Pampas Grass Wreath at Life is a Party
DIY Copper Fall Hoop Wreath at Clean & Scentsible
Large DIY Fall Farmhouse Wreath at The Tattered Pew
White Boho Fall Wreath at All Things With Purpose
DIY Fall Embroidery Hoop Wreath at She Gave it a Go
DIY Modern Fall Wreath at Love Create Celebrate
Feather Fall Wreath at Taryn Whiteaker
Eucalyptus and Berry Fall Wreath at Zevy Joy
Floral Hoop Wreath DIY at Hallstrom Home
Fall Wreath Ideas at Happy Happy Nester
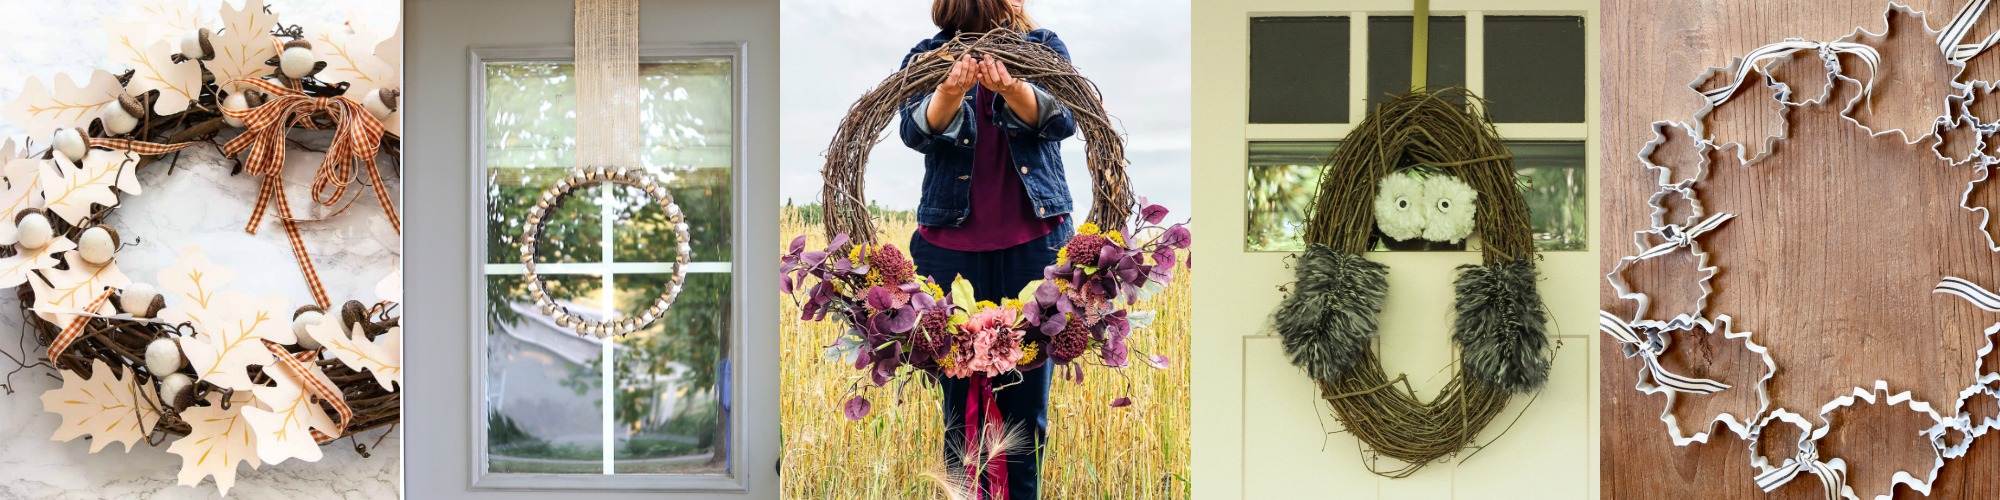
DIY Fall Acorn Wreath at The Handmade Home
DIY Floral Fall Wreath at A Pretty Life in the Suburbs
Simple DIY Fall Owl Wreath at Cassie Bustamante
Easy Cookie Cutter Fall Wreath at My Sweet Savannah

SO sweet and simple! This is adorable.
Thank you Ashley so much! I truly appreciate you stopping by and your kind words.
Have a wonderful day,
Brendt