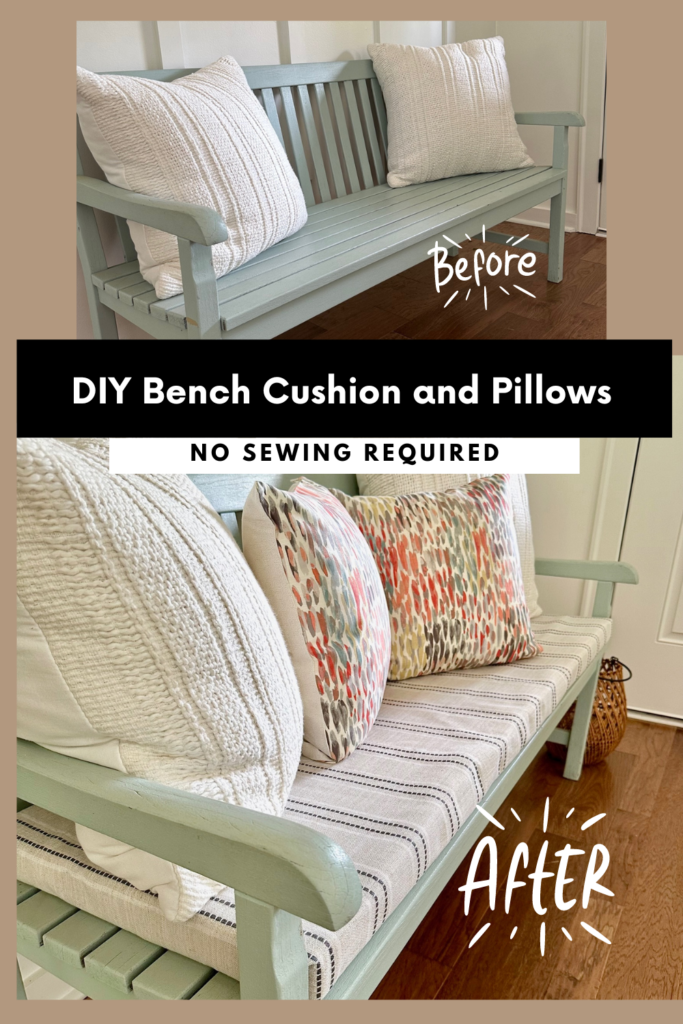
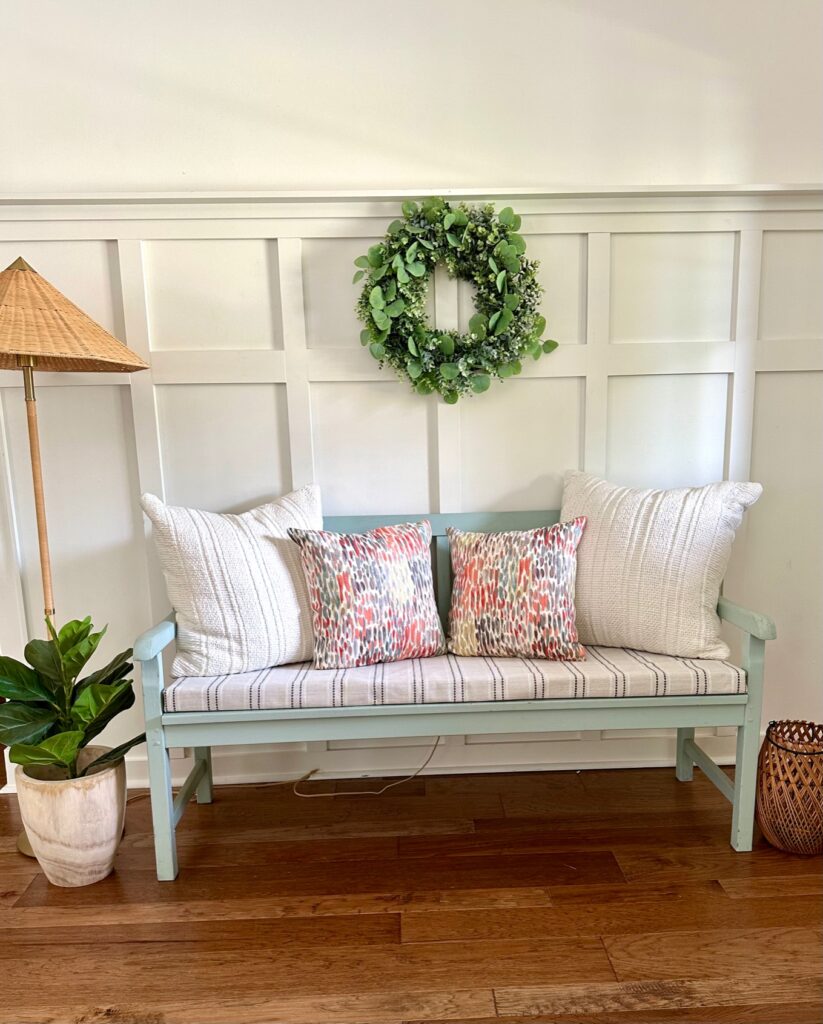
I am so excited about how this no-sew DIY bench cushion and pillows turned out. And I am sharing all you need to know, from the supplies and steps to create your project to the tips and tricks for success. Scroll down to check it out!
Pin now, Save for later!
This post on a DIY bench cushion and pillows contains sponsored links. The items featured and linked in this post were all provided by JOANN; all opinions and reviews are my own.
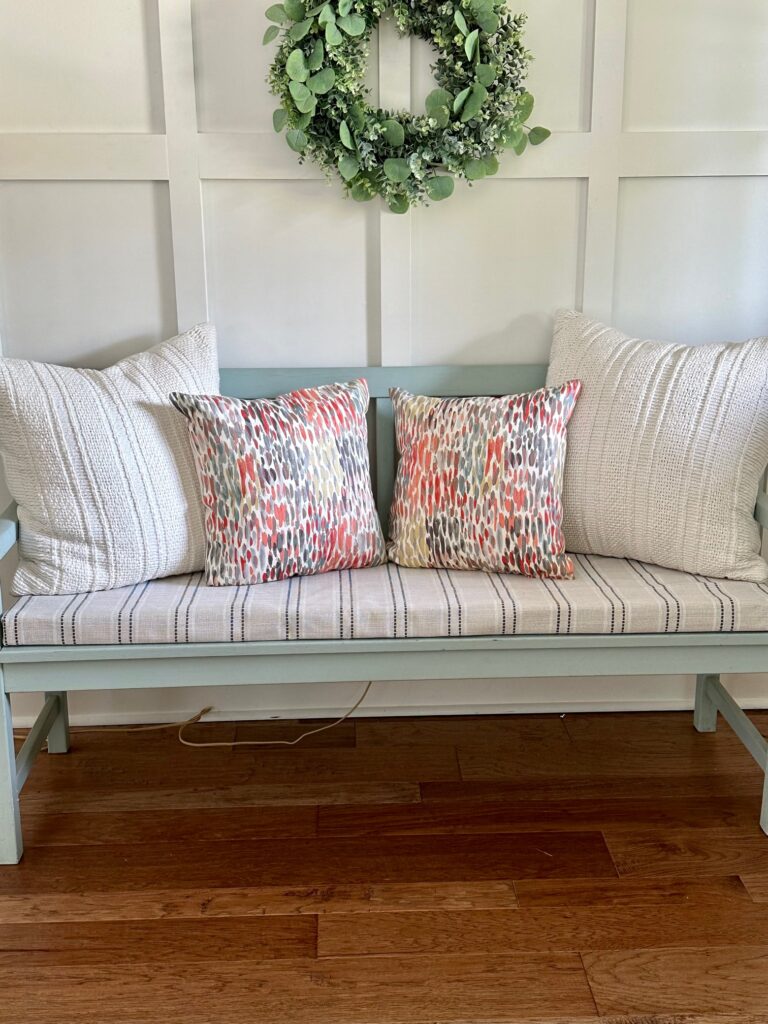
I had been thinking about adding a cushion to my entryway bench, and I knew it wouldn’t be too hard if I had a no-sew option. So I set out to give it a go! I also ended up making some no-sew pillows, too..voila! Instant transformation.
Friends, if you want to spruce up your home, adding a bench cushion and cute pillows is a simple way to go! I can’t wait to share how you can do it too! I know you’ll love the updated look of your home too.
DIY Bench Cushion & Pillows – No Sewing Required!
Regarding upholstery projects, JOANN offers an incredible selection of fabrics and supplies to help you create your project. I was so impressed by the beautiful fabric options available, and after careful consideration, I chose the Thomasville upholstery tweed fabric for the bench cushion– it has felt lining, which is a charming touch.
For the pillow project, I was able to find another great fabric too.
And, of course, all the other supplies I needed, JOANN had!
What You’ll Need
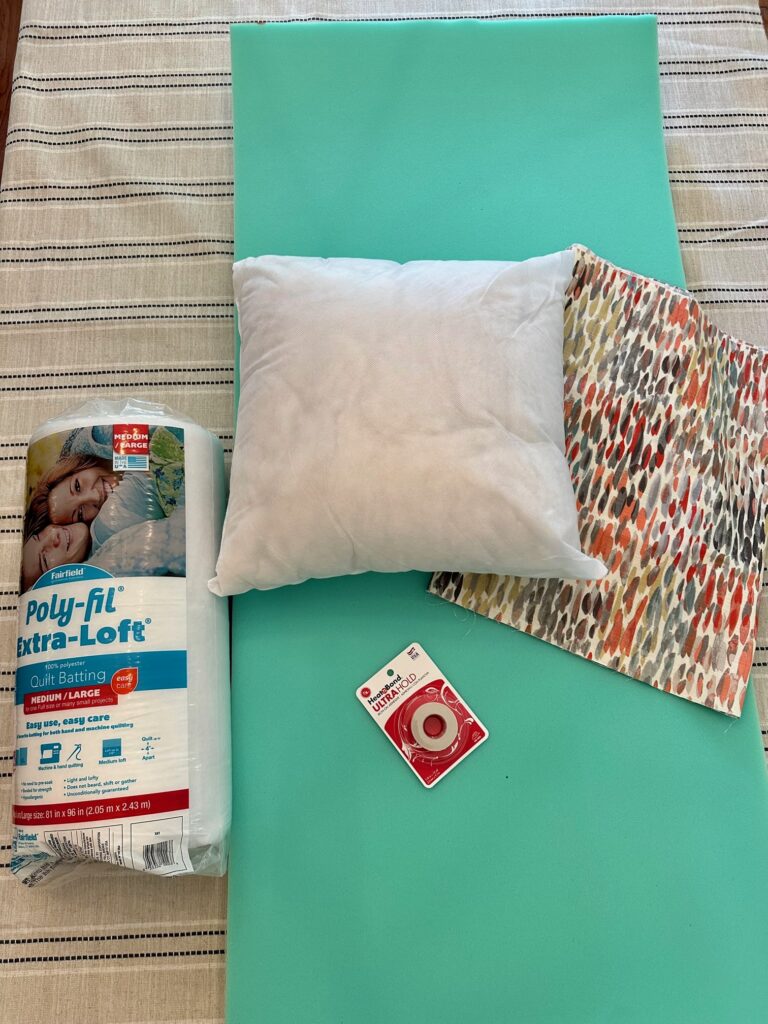
Here are the supplies you’ll need to make your bench cushion and pillows:
- Thomasville tweed fabric for bench (2 yards)
- Thomasville fabric for 18 x 18 pillows (1 1/4 yards)
- Heat Bond package of 10 yards
- 2-3” foam cut to the size of the bench top (JOANN will make one cut for you)
- two 18 x 18 pillow inserts
- heavy-duty scissors
- (optional) batting with medium to light loft (one bag should suffice)
You can make your own bench cushion without needing to sew! Let’s get started.
Assembling the Cushion
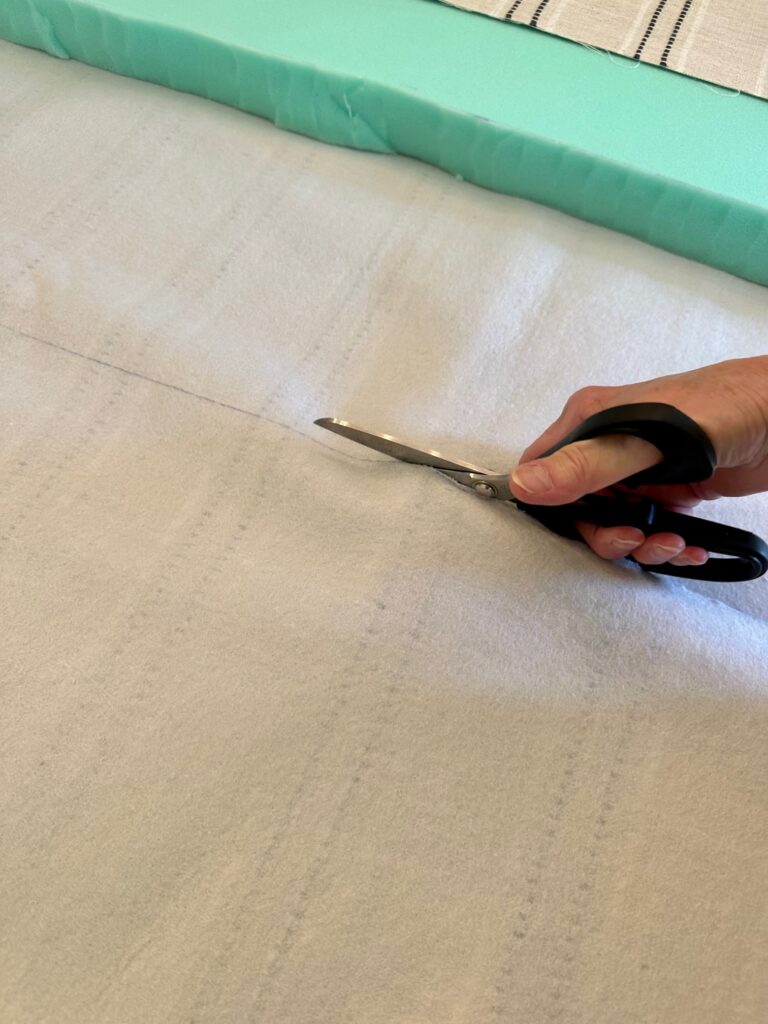
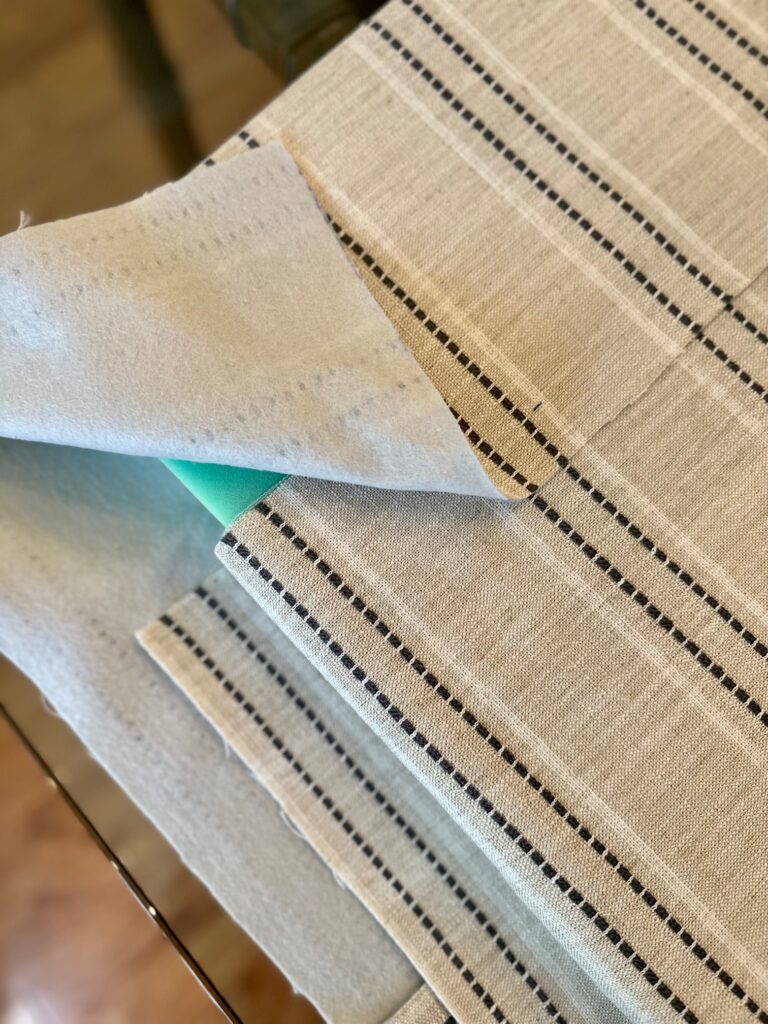
First, cut a piece of foam to fit your bench. Then grab your bench fabric, flip it to the wrong side, and put the foam in the middle. Leave about 5 inches on each end to wrap it.
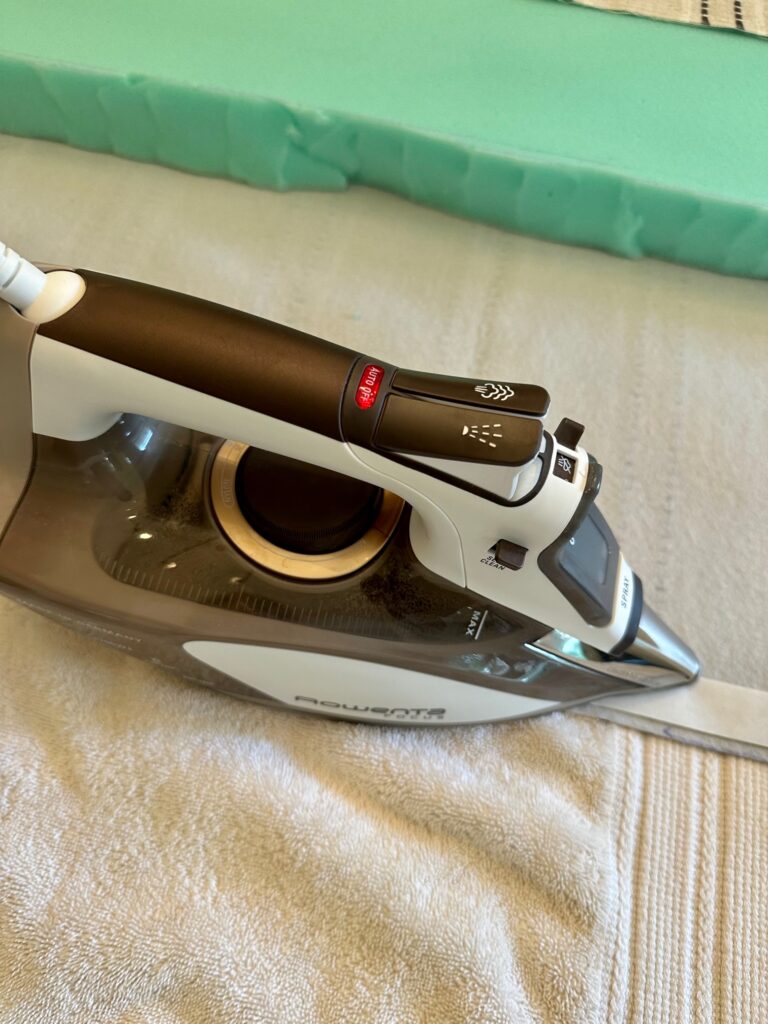
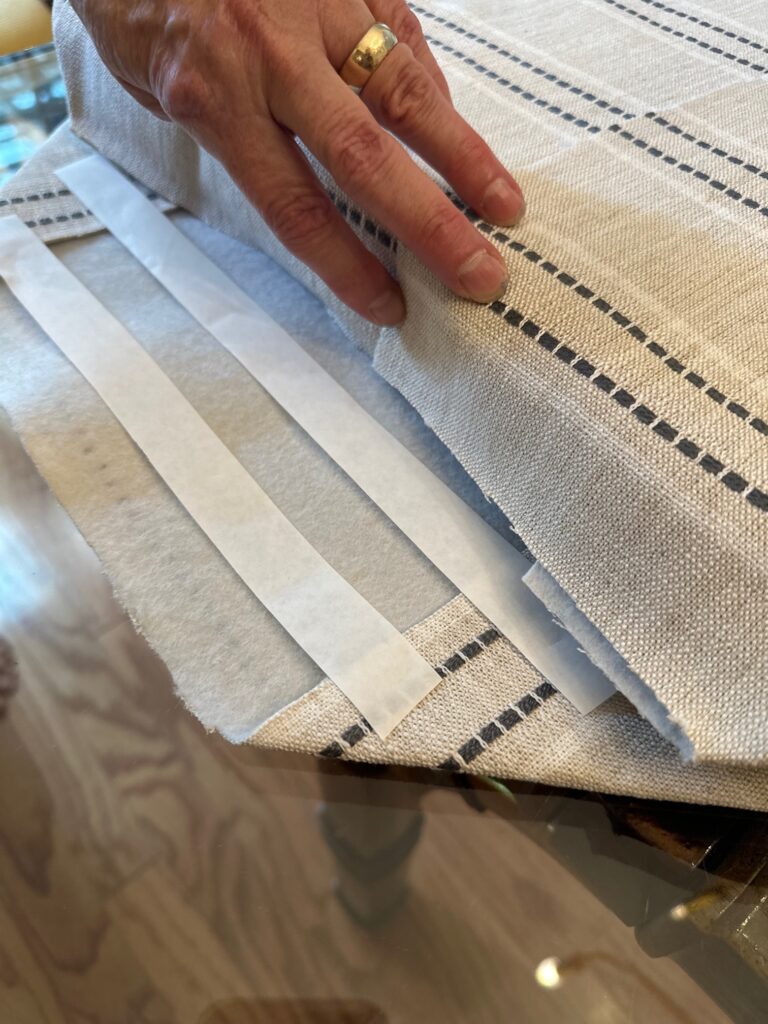
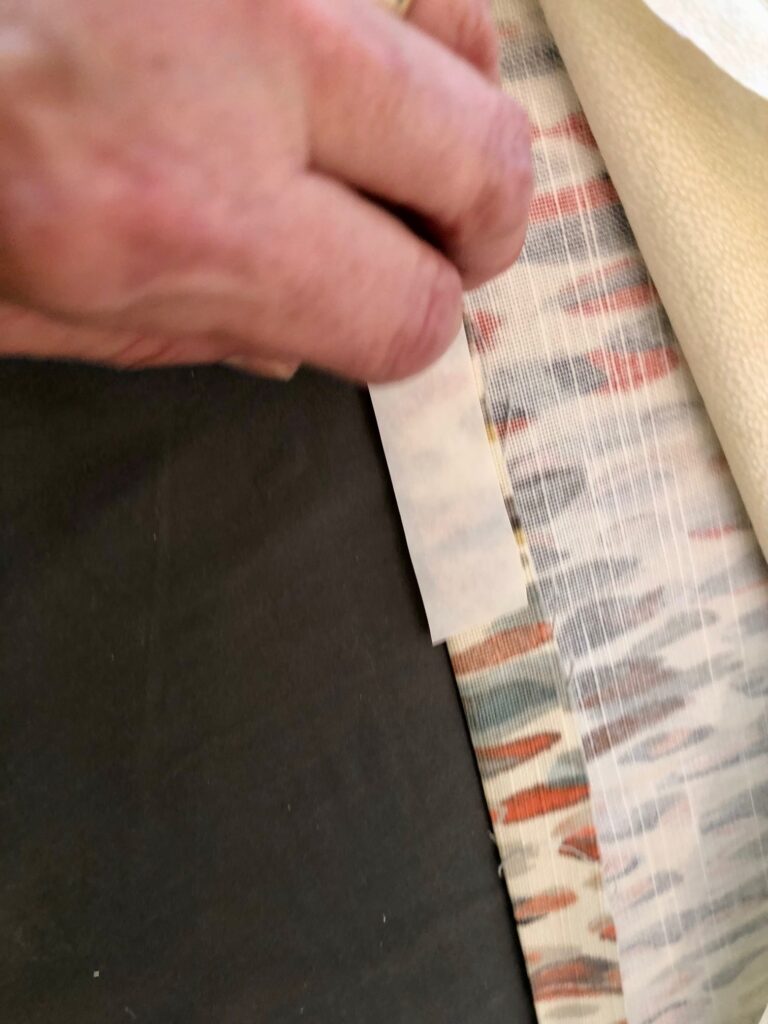
Overlap the length of the fabric by 2-3 inches, and use heat bond tape to secure the material. Start with taping and bonding down the middle, then pull the fabric taut around the sides, tuck and fold the fabric, and press down.
Cut off any extra fabric before folding the ends and lining them with tape. Finally, use an iron to press the tape and “bond it” for about 10 seconds (we ended up pressing it about three times, 10 seconds each).
Note: This cushion is not made for highly used purposes.
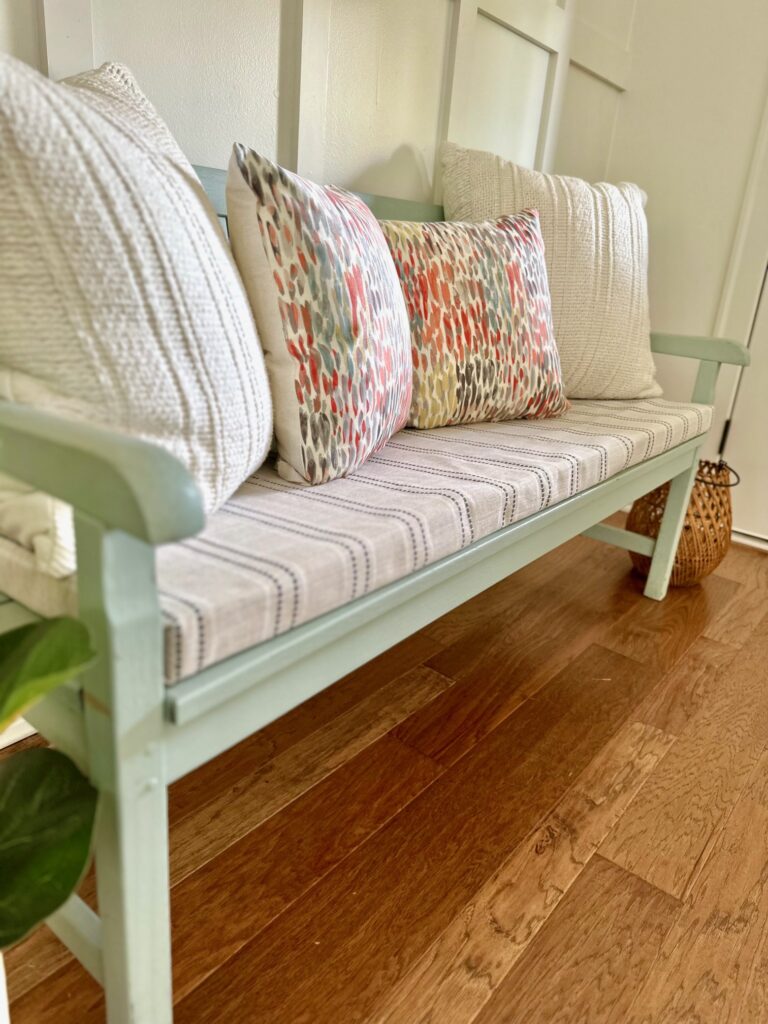
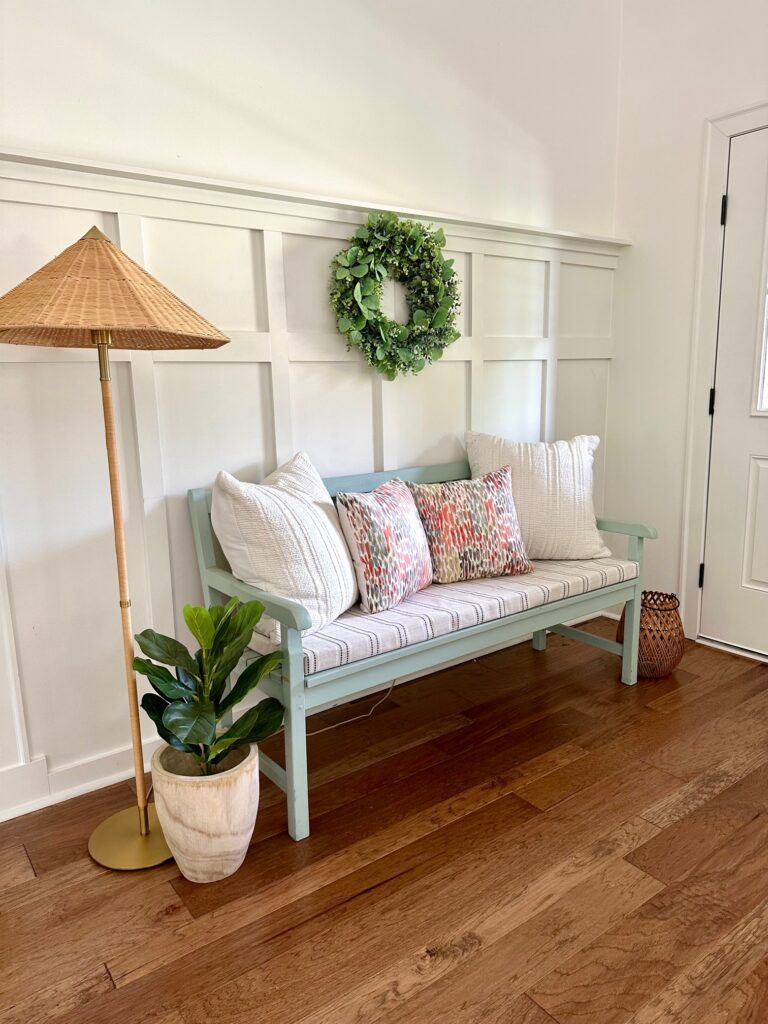
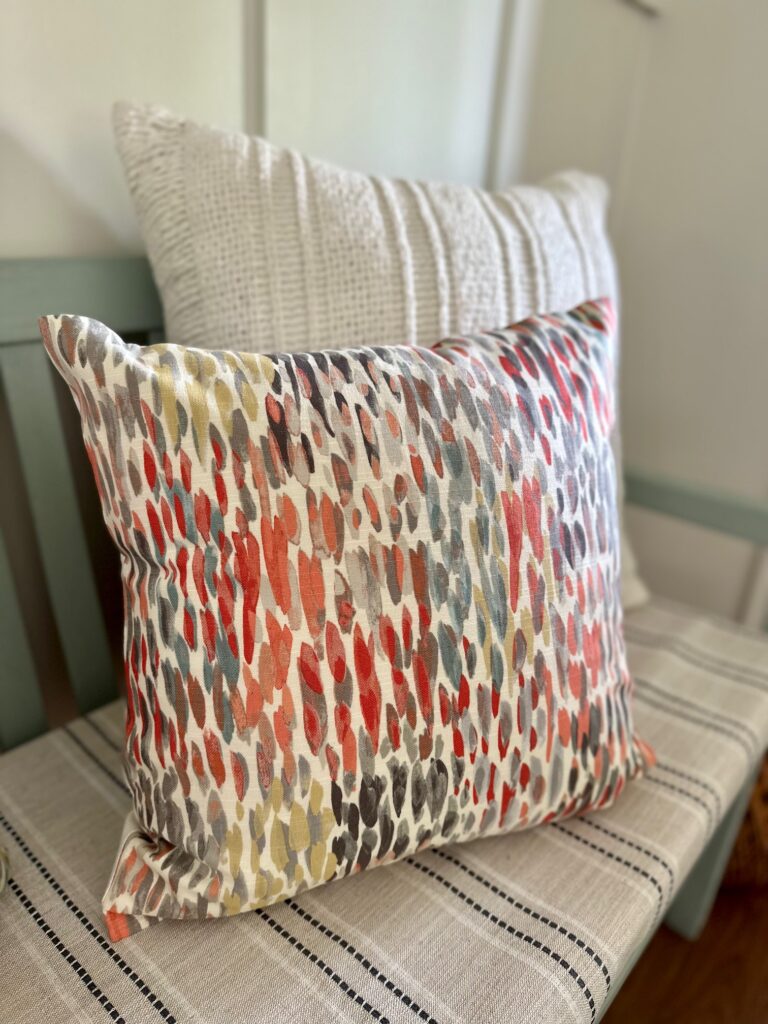
I love how it turned out; what do you think? Now, let’s take a look at the no-sew pillows.
Assembling the Pillow
For a no-sew pillow that looks like it was sewn, try this simple 6-step approach:
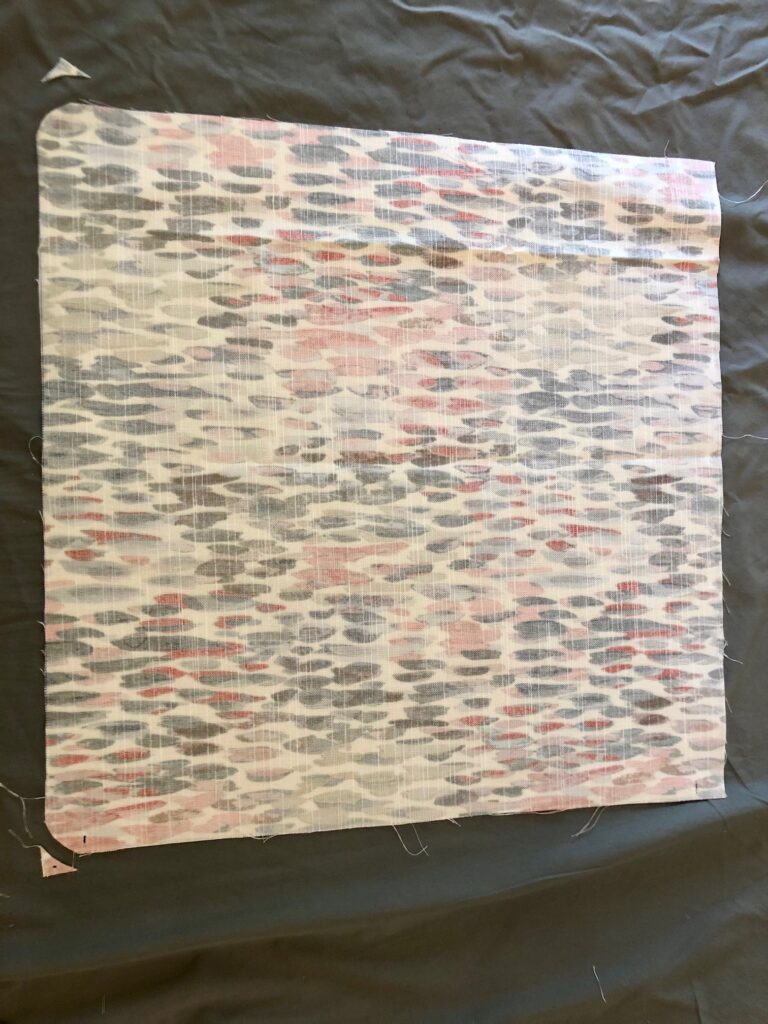
Cut fabric to the width of the pillow insert plus 1 inch (19″ for an 18″ pillow). (medium-weight material is ideal).
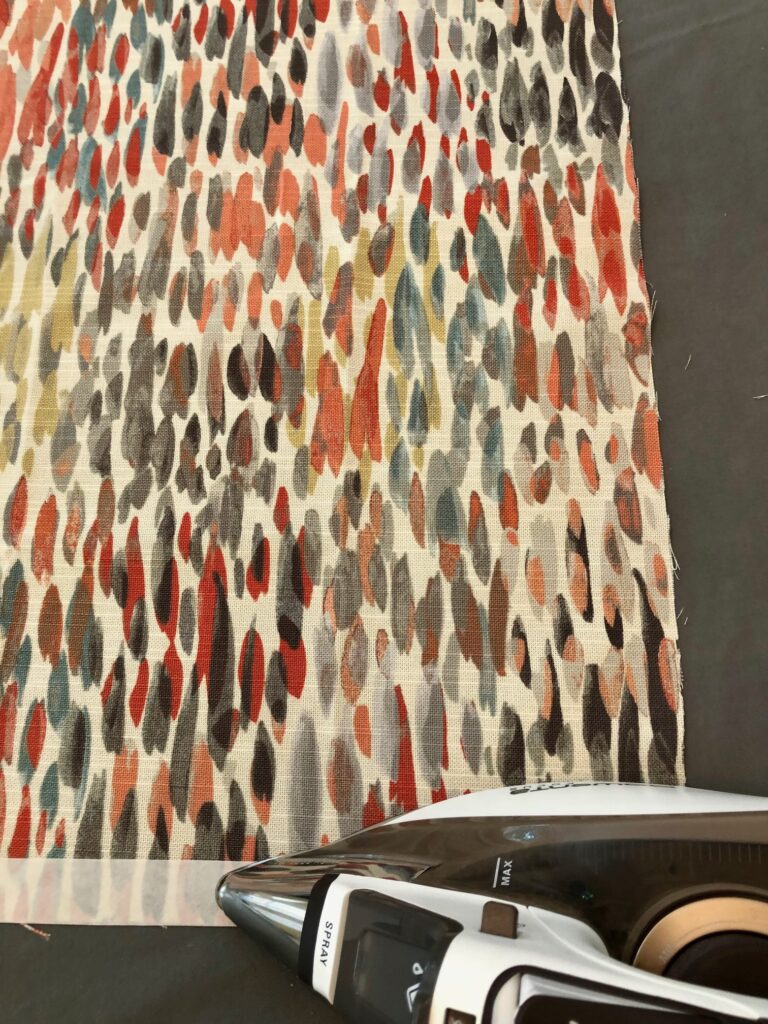
Iron pieces of sewing tape to three edges of one fabric square. Place the top of the fabric with a pattern on the bottom so the opening is on the top.
Place the second square of fabric on top of the one with the tape, with the right sides together. Iron the two together, leaving the bottom of the material open.
Turn right-side out and press the three finished sides.
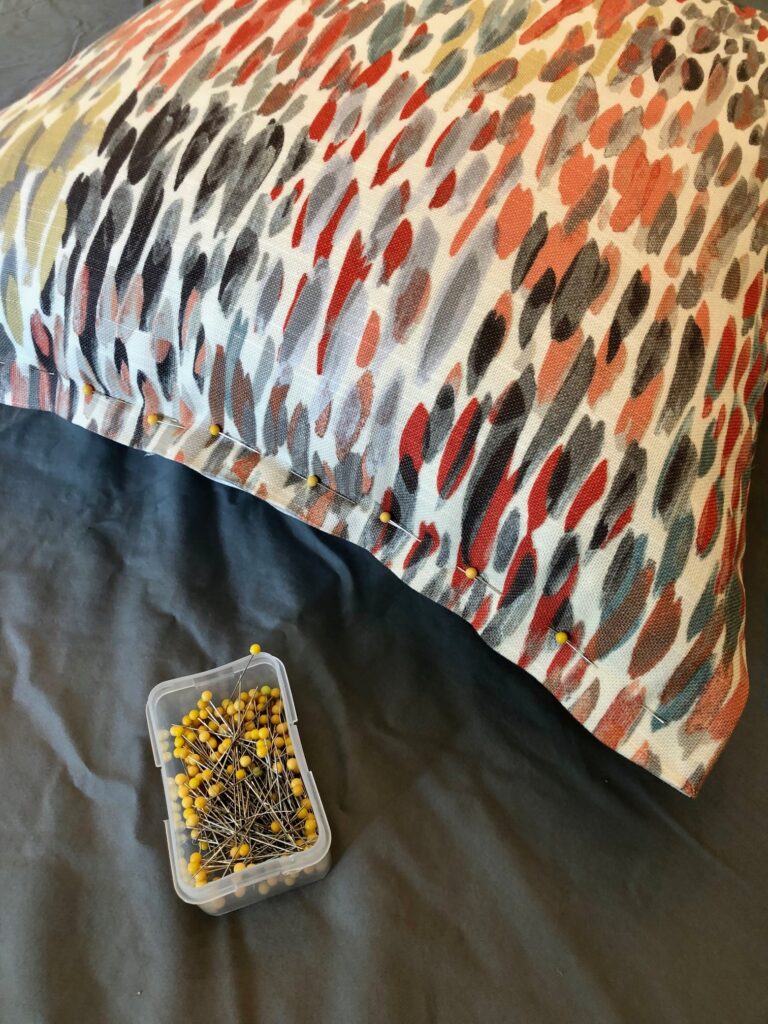
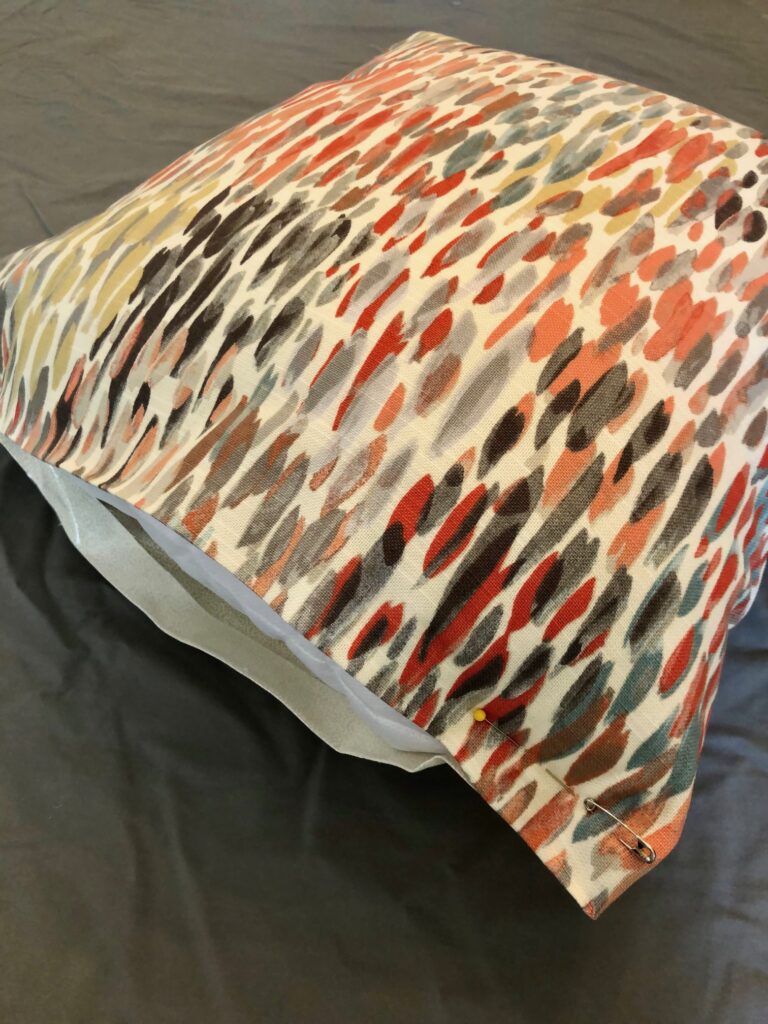
Insert the pillow form and close the opening with straight or safety pins. Make sure to pin the closure on the fabric above the tape, avoiding the pillow form.
Iron the seam to close the opening. Remove the pins and enjoy your new, no-sew pillow!
(Optional: cut shallow rounded edges to the top corners of the pillow to help the corners lay flat easier.)
Thank you for all the wonderful ideas. I love you blog.
I am looking for how to paint or color picture mats . Any ideas? Thakns
[…] your own no-sew pillows and bench cushion covers with this […]
Wow such a great tutorial!
[…] She Gave it a Go / DIY Bench Cushion and Pillows- No Sewing Required […]
[…] She Gave it a Go / DIY Bench Cushion and Pillows- No Sewing Required […]