This post contains some affiliate links. If you click on these links and buy something, I make a commission at no cost to you.
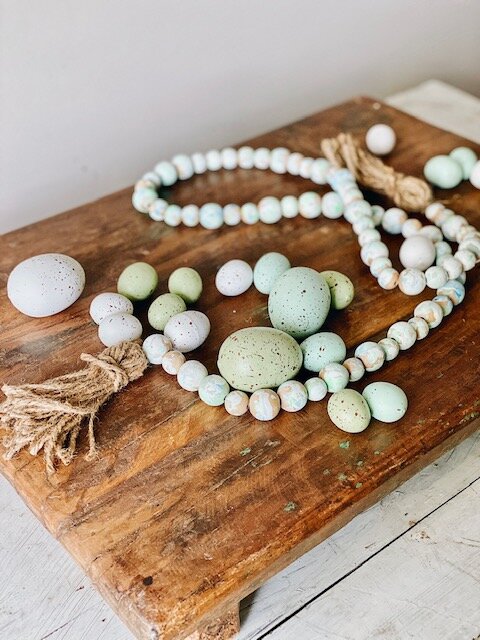
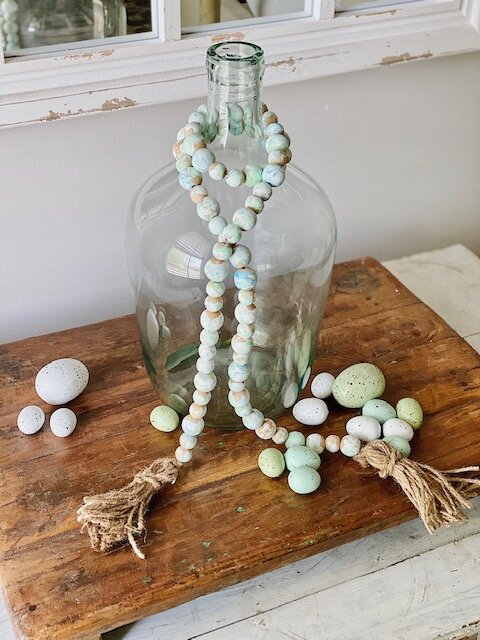
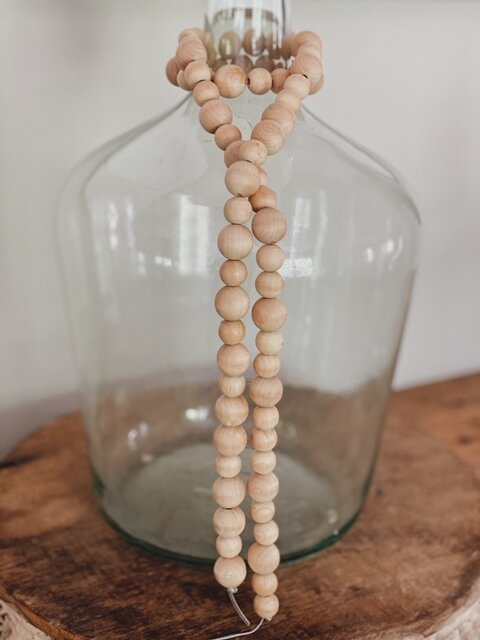
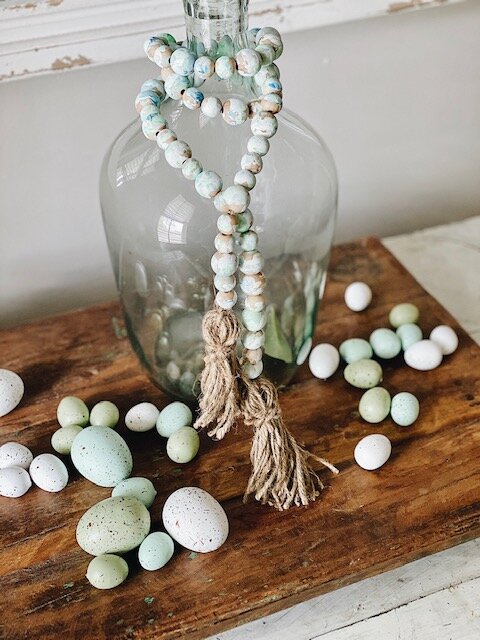
I cannot get enough of these spring wood bead garlands with tassels! They are the perfect layer to vintage jugs or draped across a coffee table stack of books. These wood beads painted in spring colors are sure to brighten up your spaces and provide amazing texture. Plus, the tassels are easy to make and the perfect finishing touch.
Wood bead garlands have been gracing homes for some time now and I have always loved the look of them. There are endless possibilities of how to use them in your home. i made my wood bead garland a couple of years ago and have enjoyed it wrapped around these antique jugs. I was ready to change them up a bit and wanted to try my hand at painting them for spring.
Supplies for the Original Wood Bead Garland:
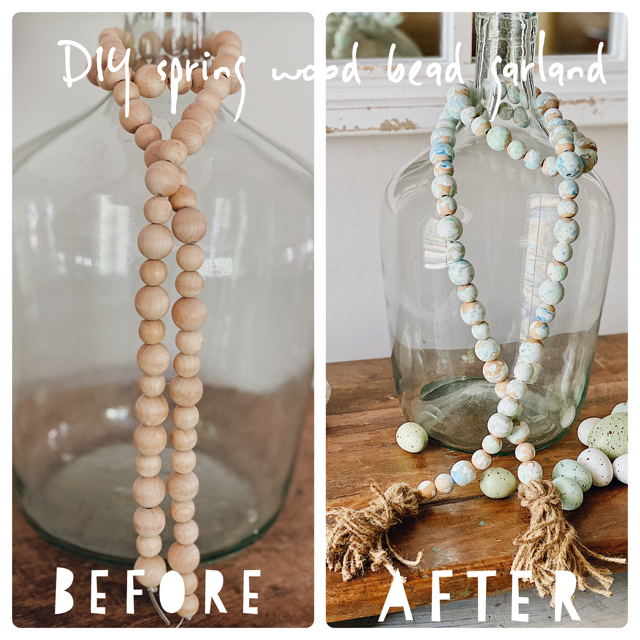
After reading some articles on how to dye or paint wood beads, I decided I would just give it a go and try my own method basically because the others involved a lot of time lol. I will happily place a disclaimer here, and that is, I am lucky they turned out pretty in the end but along the way I was wishing I had cut the string and done a tried and true method.
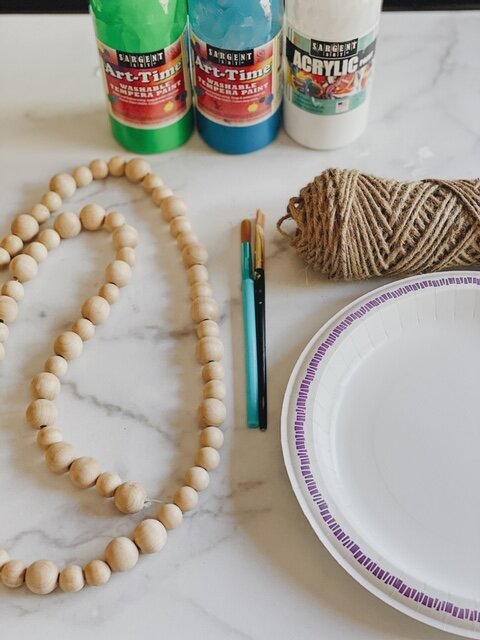
So, for a fun, tie-dyed look, you can easily do my method. For a more solid colored bead, check Pinterest for dozens of ways to color them. I mixed the white paint with the blue and green to turn them into pastel colors. Then, I simply rolled them around in the paints. I was messy but fun!
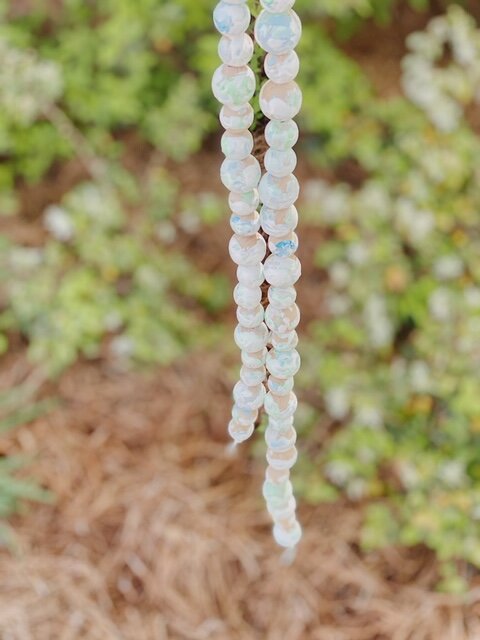
Not knowing if they were going to turn out okay, I took them out into the sunshine and draped them over a branch to dry. Meanwhile, i started making the tassels that would go on the ends of the garland. Tassels are very simple to make and are that cherry on top with garlands!
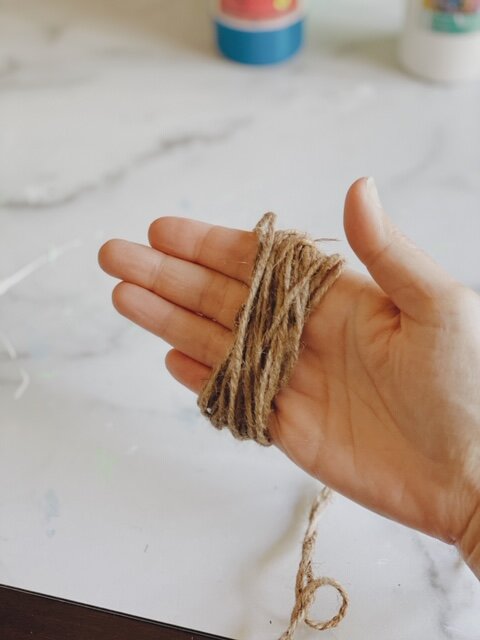
You can use your hand or a piece of cardboard paper and just start wrapping it around and around until you get a thickness you prefer for your tassels. Then you will slide it off your hand or cardboard and tie a piece of the twine to hold it in place.
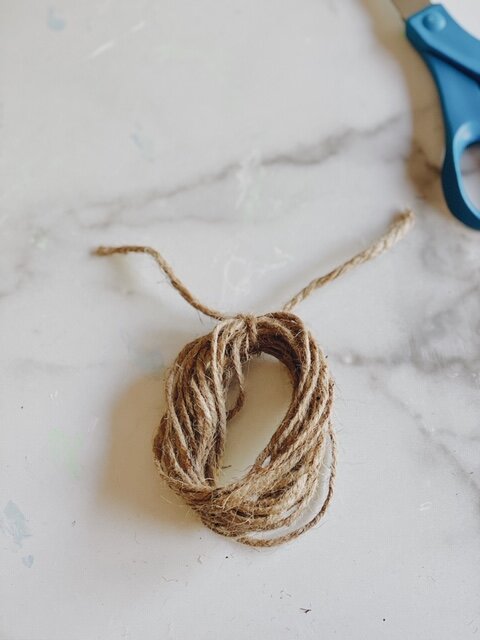
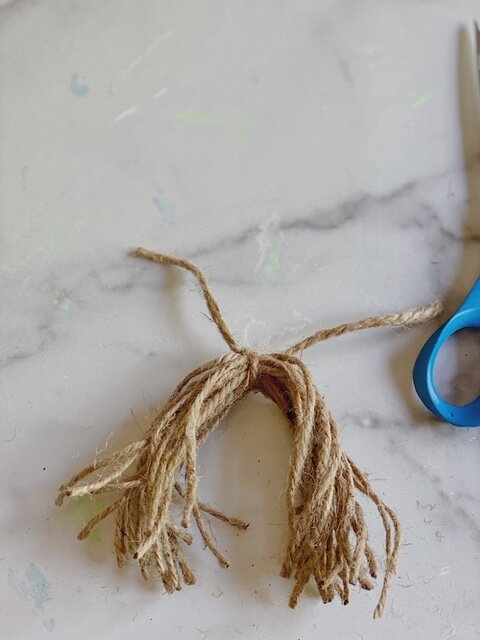
And then you simply cut the opposite end to split the circle. The final step is to take an additional piece of twine and wrap it a few times around the upper third of the tassel. You can tie them on to the ends of your garland. After I finished these, I walked outside and was very happy about how the beads dried.
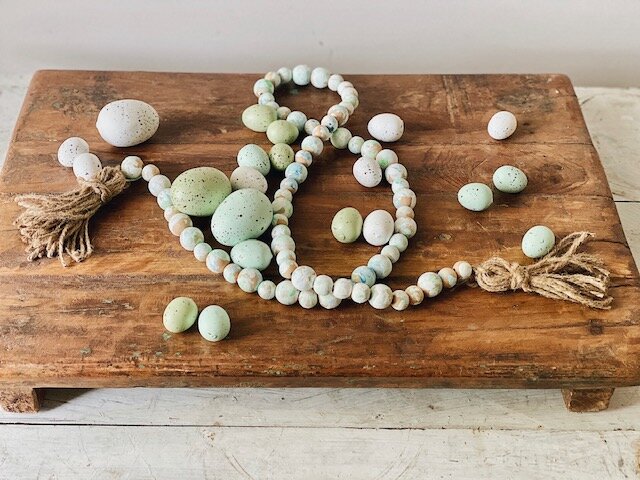
It turns out that this more fun, tie-dyed effect is one that I really like! It is different and still allows some of the natural wood to show. Now, you can take the garland and find a place for it in your home. Where do you imagine yours going this spring?
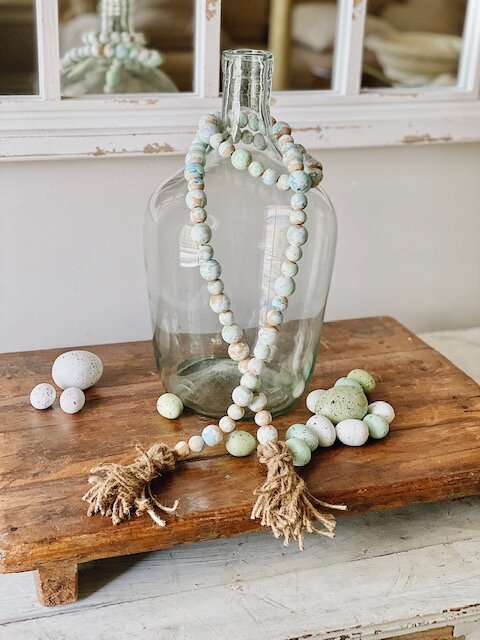
Some of my favorite ways to use wood bead garland include:
-
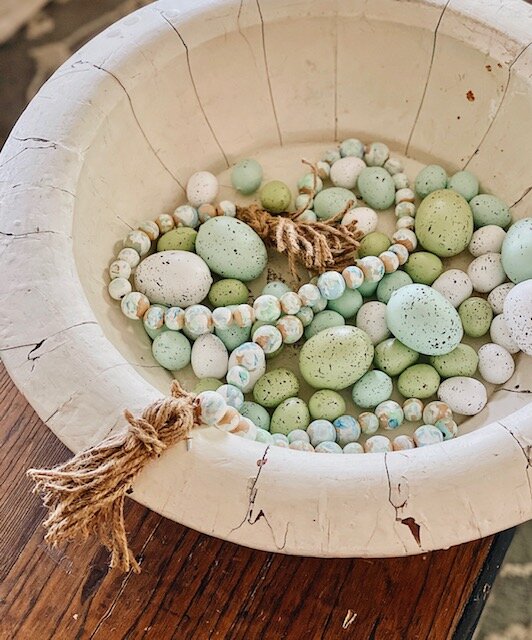
Sitting in a bowl
-
Wrapped around glass vessels (jugs, jars, vases)
-
Draped across a rustic ladder
-
Mantel decor if you have several strands you can drape and layer
-
Sitting atop a book stack
-
Wrapped around terra cotta pots
I would love for you to stay in touch by becoming a She Gave It A Go Insider! Get weekly tips, encouragement, special deals, and more!
Sign up HERE and receive a FREE DIY Guide for making any table the perfect chippy-paint table.
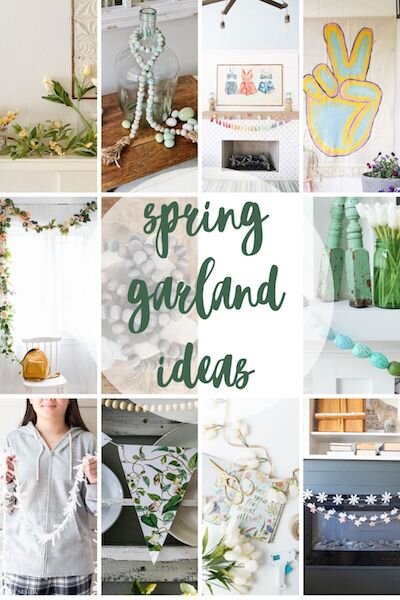
11 Spring Garland & Banner Ideas
Simple Spring Garland – Twelve on Main // Easy Tissue Paper Garland DIY – Happy Happy Nester // DIY Wood Bead Garland – My Sweet Savannah // DIY Botanical Paper Banner – Today’s Creative Life
Spring Banner Craft for Kids – Finding Lovely // Spring Easter Garland Ideas – The Happy Housie // DIY Spring Wood Bead Garland – She Gave It A Go
How To Make A Garland For Spring – My 100 Year Old Home // No-Sew Boho Banner – Cassie Bustamante // Spring Flower Garland – Craftberry Bush // Spring Garland – Life Is Better At Home



I love the painted beads that you made in this video…I have the materials to make me a strand, but haven’t decided how I am going to paint them, or stain them…Thanks for sharing on how they are made…
Hi Darlene,
Thank you so much for stopping by, and so happy to hear of your painted bead project getting started after reading this article!
Perfect for summer coming up!
Have a wonderful day,
Brendt