
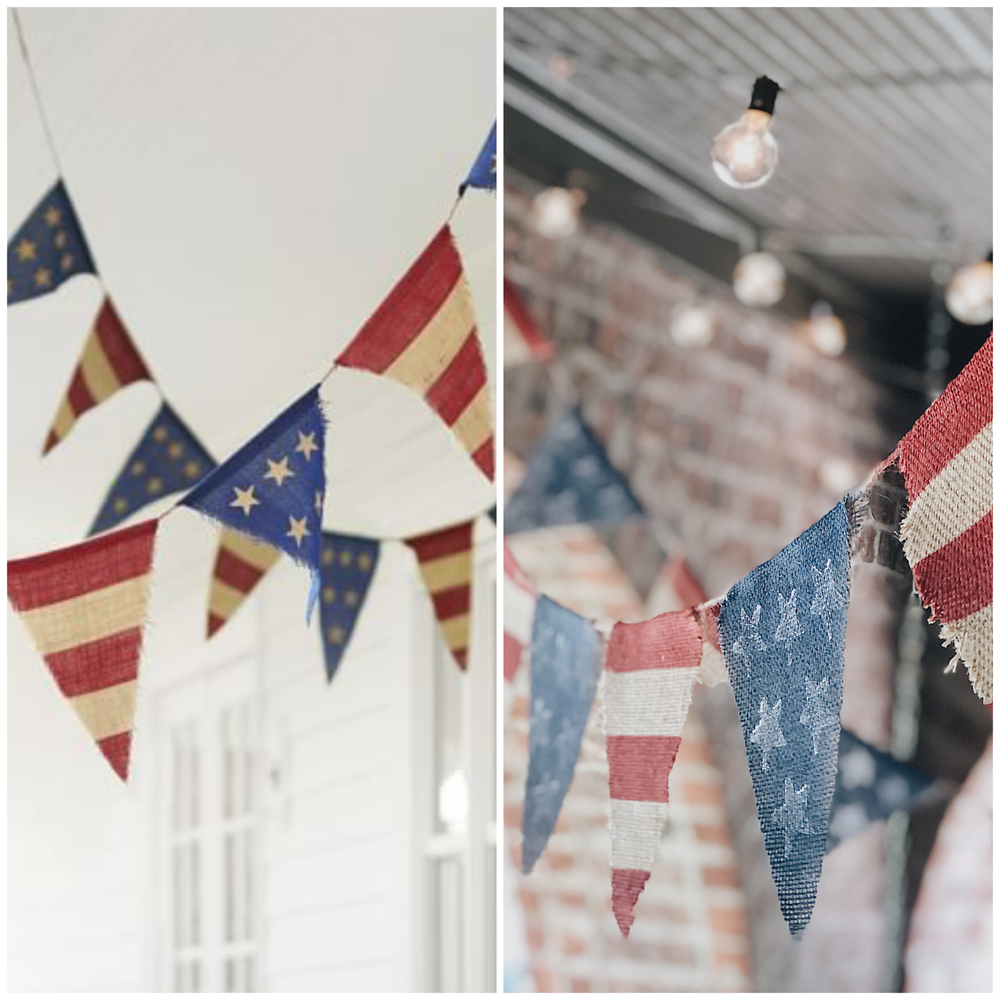
Photo credit for image on left side of collage: www.potterybarn.com
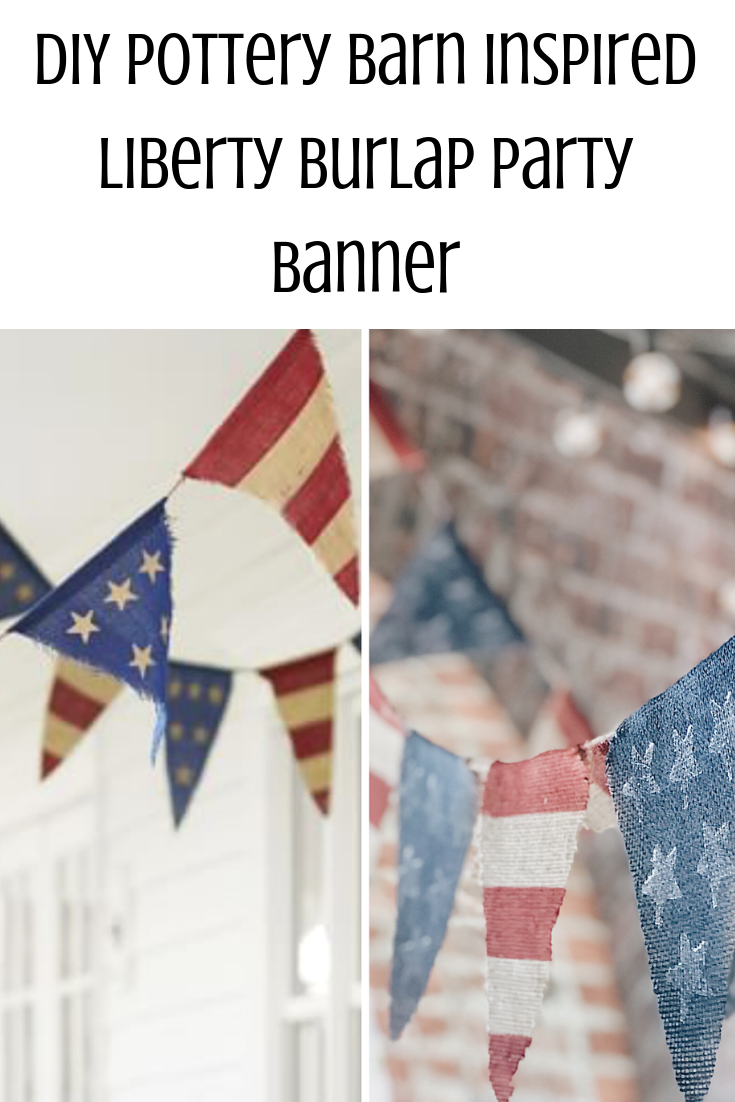
Pottery Barn has been a long time favorite store of mine for home decor. I have enjoyed shopping there but also gained much inspiration by looking at their store displays, catalogs, and more. Last year I purchased their Liberty Burlap Party Banner and enjoyed having it in our home during the summer months. It is a fabulous farmhouse style look, and so summer perfect with the patriotic theme home decor so often takes in the summertime.
I shared this banner styled in my home from last year over on my Instagram feed a couple of days ago, and many people were interested in where it came from! While it is an option to purchase one as I did, I wanted to try my hand at making my own and seeing how it would turn out! Plus, a DIY typically is a big money saver.
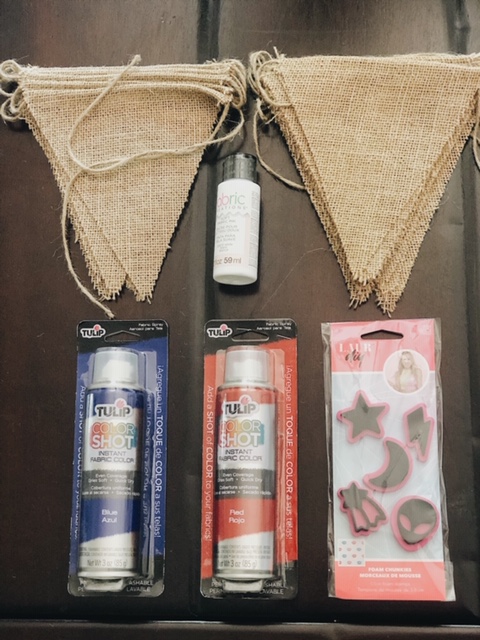
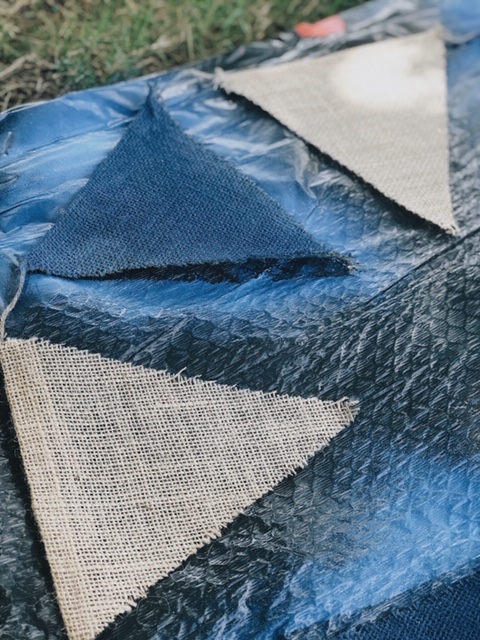
I gathered my supplies and got started. I used a pre-made burlap banner; they can be found at just about any craft store, Walmart, or Amazon. (If you want to make your own, they are pretty simple to pull off. All you need is some twine and burlap. Cut your triangles to your liking, fold about a quarter of an inch of burlap over the twine, and use fabric glue to secure it.) I got red and blue spray paint specifically made for fabrics (if you are making two banners as I did, grab two bottles), regular (non-spray) white fabric paint, a stamp kit that included a star, and some painter’s tape.
After you’ve gathered your supplies, you will want to lay out the banner on a surface that is spray paint friendly. For me, it was a black trash bag. Next, start with spraying every other pennant with the blue paint. This needs to be done first so it can be drying and ready for the stars later on. I recommend two coats of paint per banner.
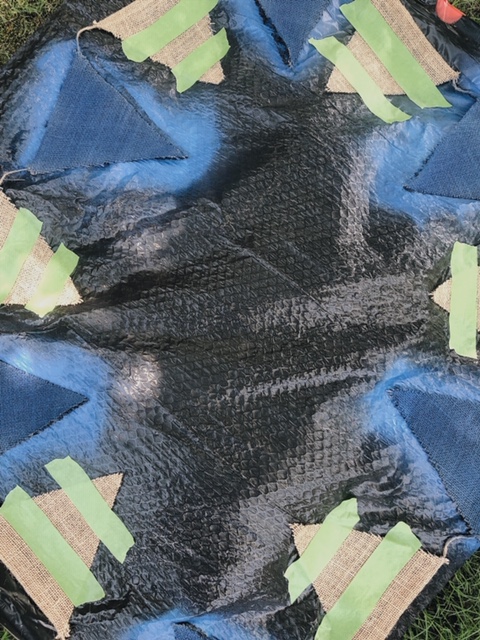
Once you’ve sprayed the blue, you will then grab your painter’s tape and place two pieces per pennant like the photo above. I did not measure these, but rather, just eyeballed them. You can measure them but found this to work just fine and not be so time-consuming.
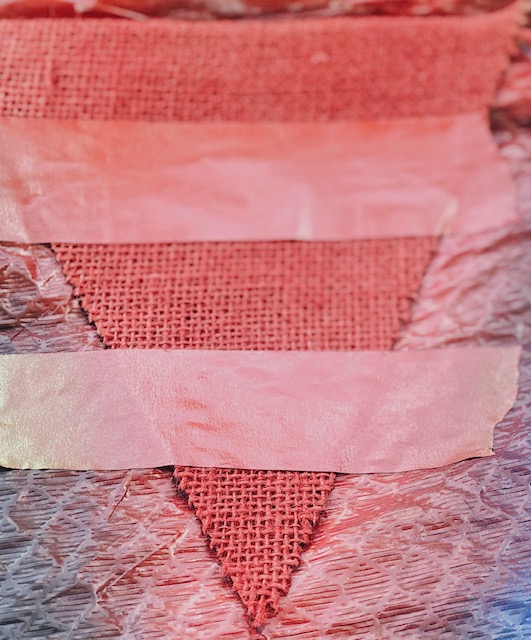
Now you are ready to spray your red paint on the taped off pennants. Again, two coats is recommended for great coverage. If you are doing this outside, be aware of the wind blowing the paint onto the blue pennants.
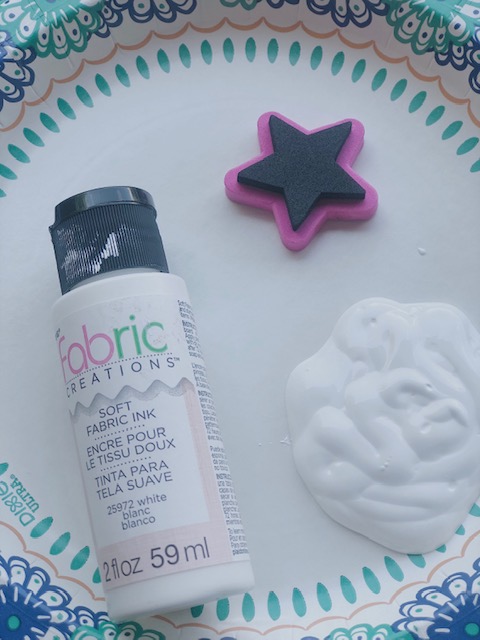
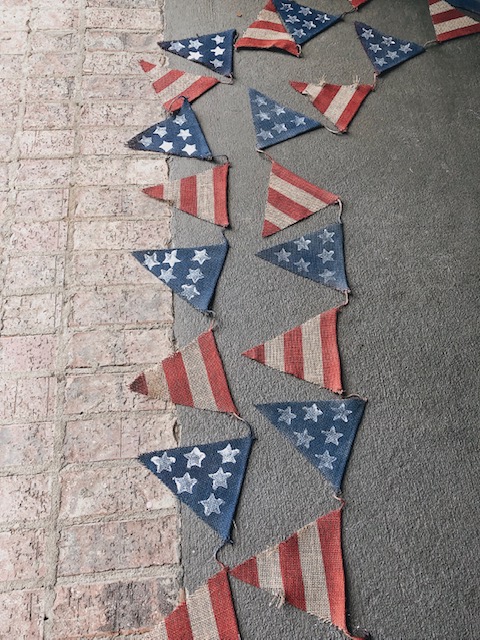
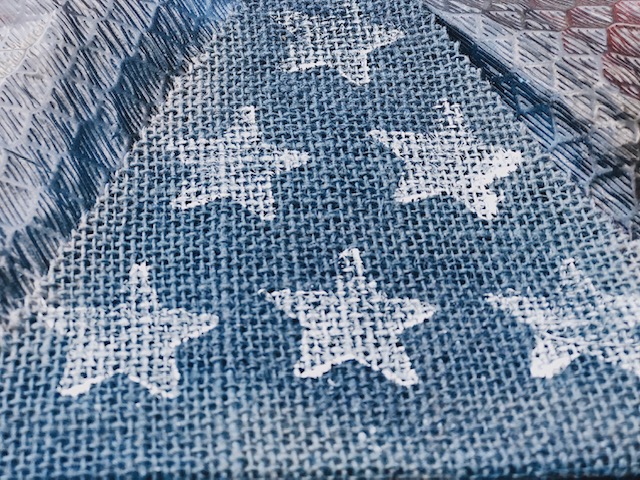
Once you’ve finished and everything is dry, you can begin stamping the stars into the white fabric paint. For me, this was a trial and error experience. My recommendation is the less paint, the better they look. Also, you will want to press the entire star stamp down, but not mash it hard onto the pennant. You will have three rows of stars going from three on the top row, two in the middle, and one at the bottom. I eyeballed the placement of these stars; any inconsistencies will only add to the look and feel.
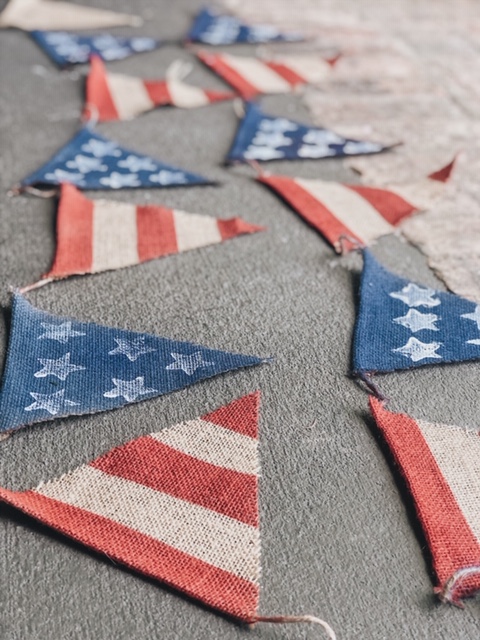
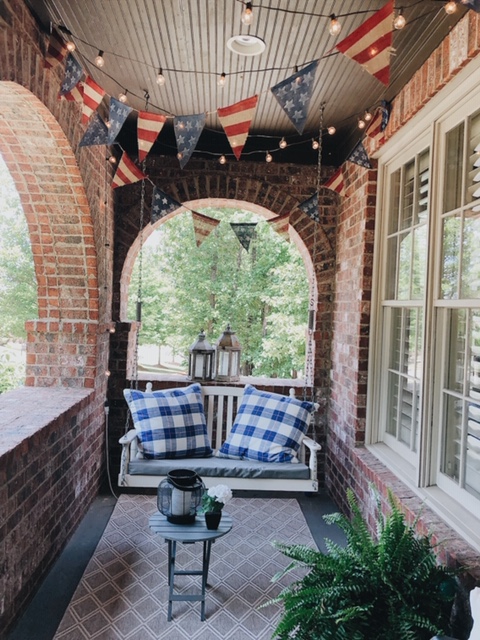
After the stars have dried, I took off the tape and laid them out on my porch. I am so excited about how they turned out. This project took about an hour to complete, and that was making two total banners. Also, I spent under $30 for all my supplies to create these two banners, which is less than just one of the Pottery Barn banners!!
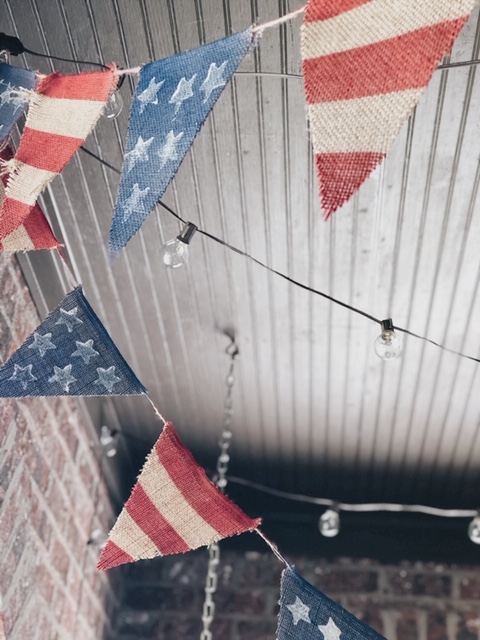
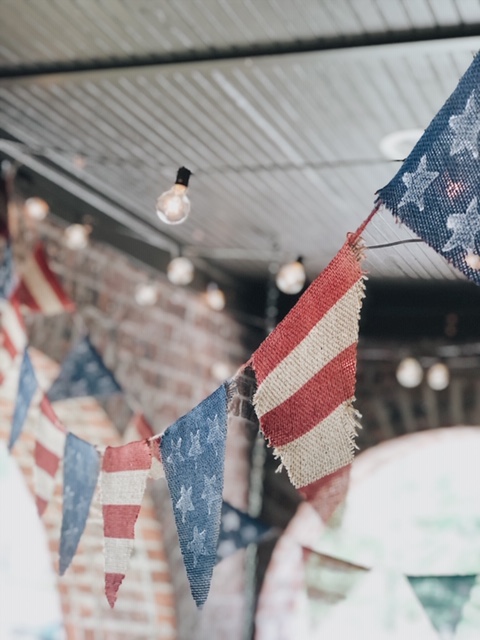
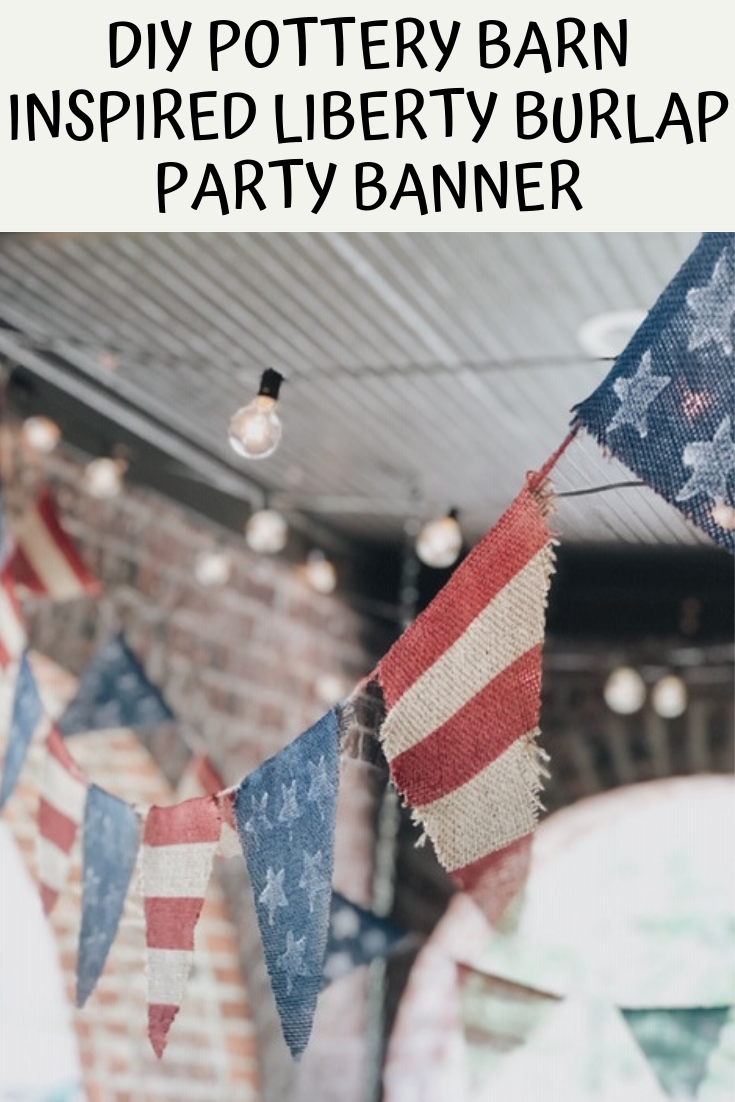
I knew they’d be a great way to decorate our porch for summer, especially as we are nearing the 4th of July. The patriotic decor is overall great summer decor anyway! To hang them, I followed the lines of our string lights and let them drape a bit lower so they could be seen well.
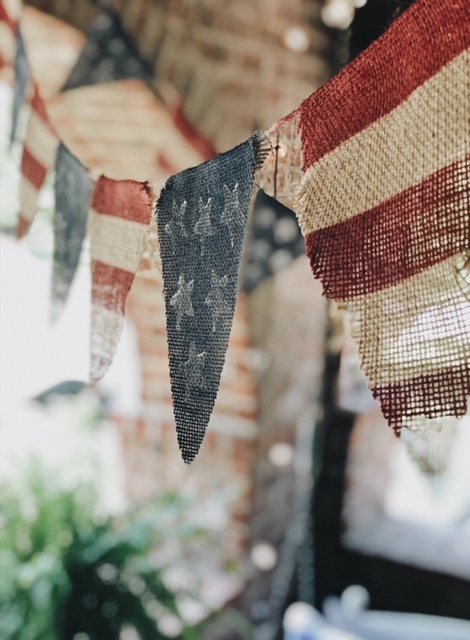
The banners in and of themselves just feel festive! Then, by adding a few more red, white, and blue items like pillows or additional flag items plus some ferns, you will be ready to celebrate this summer. Are you ready to create your own liberty burlap party banner too?
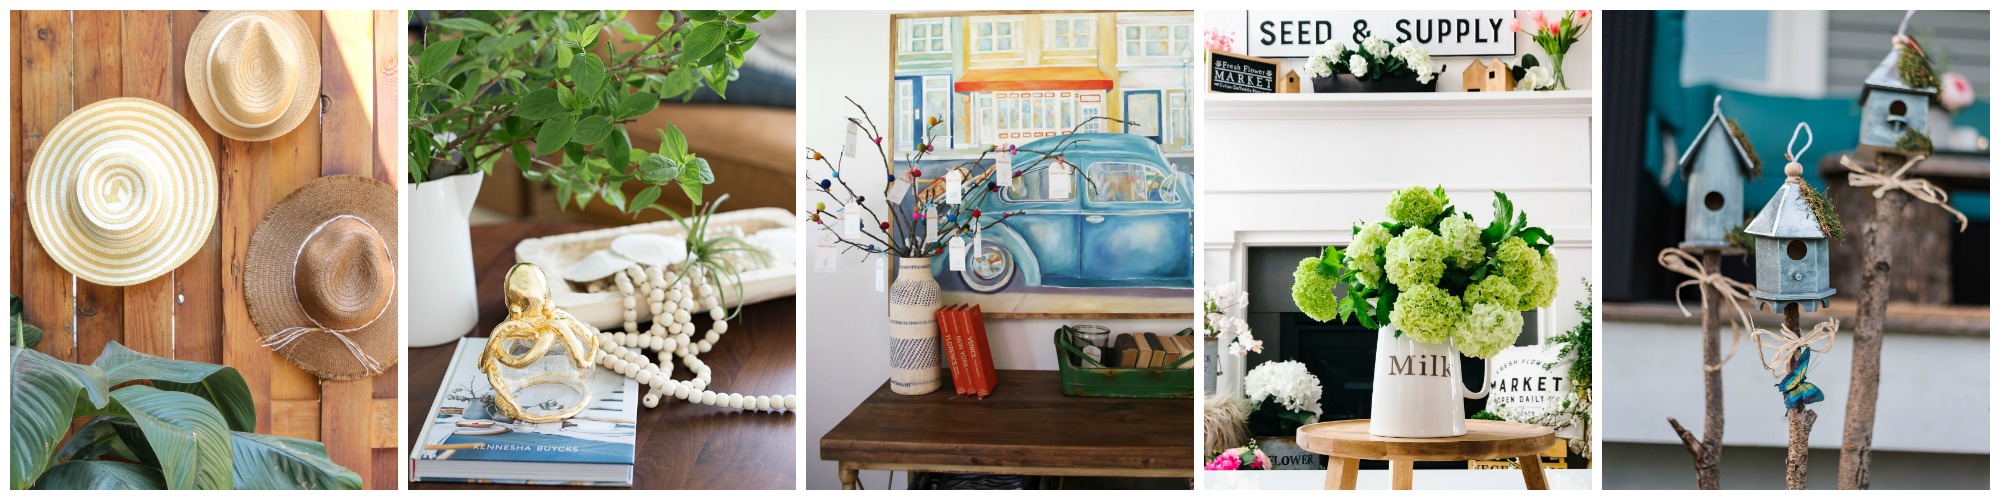
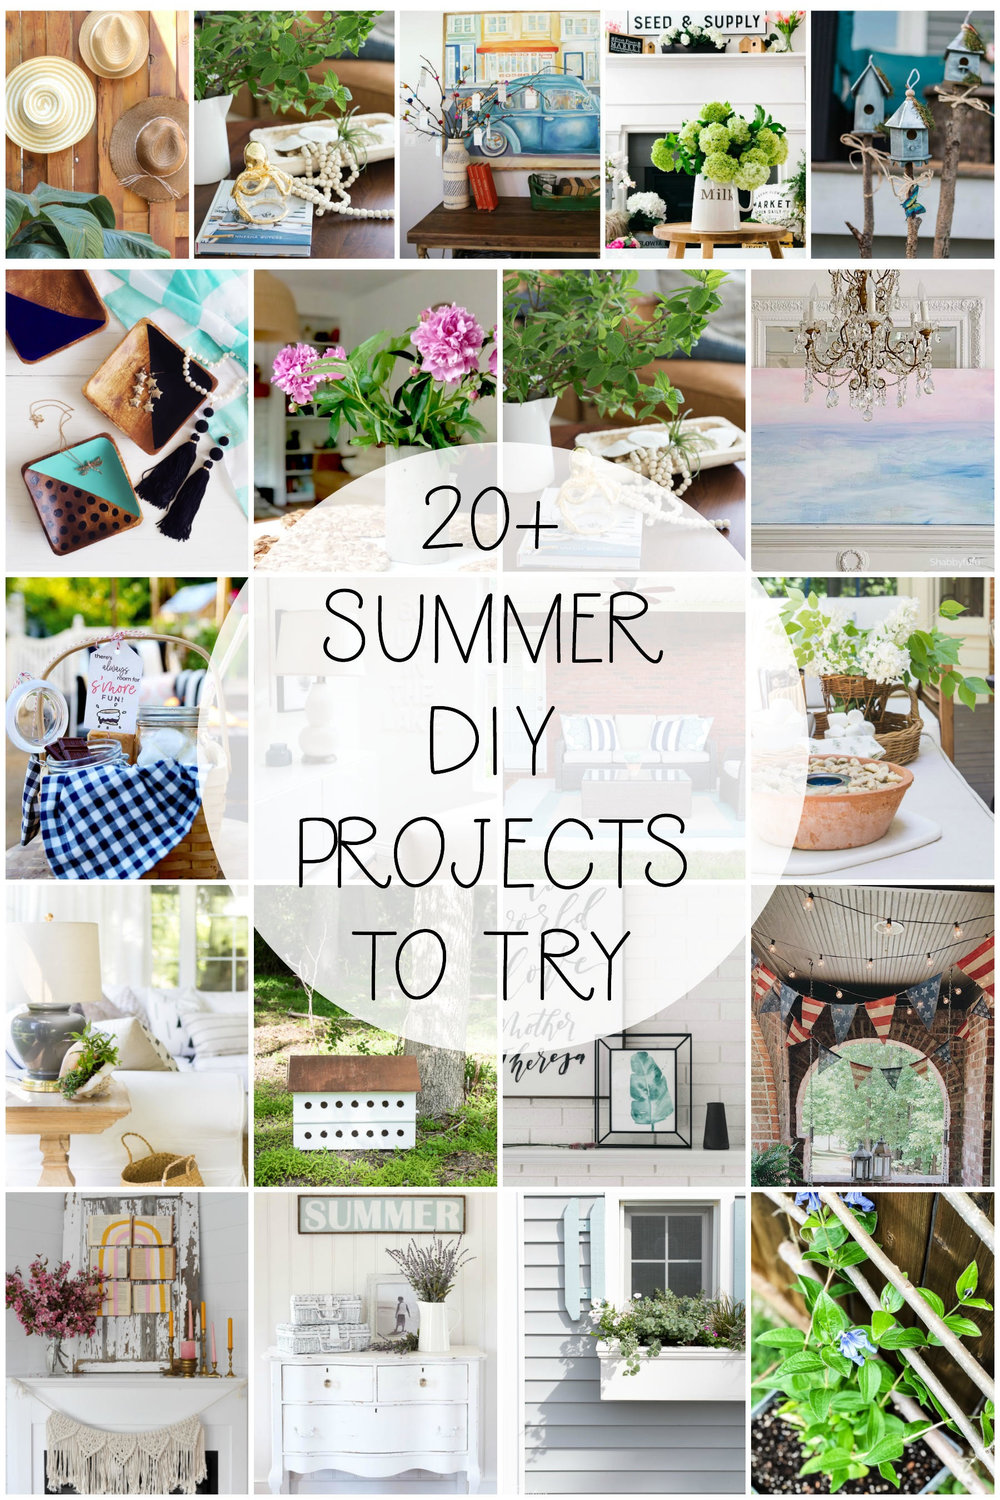
And today I’m joined by a fabulous group of blogging friends who are also sharing their Summer DIY Ideas as part of the Seasonal Simplicity Summer Series…

Just click on the links below the images to be taken to their posts and see what they’re sharing today. I’m blown away by all the awesome summer DIY ideas!
5 Minute Dollar Store DIY Hit Wall at The Happy Housie
Anthro Octopus Knockoff at Craftberry Bush
Summer Activities Tree at The Handmade Home
Easy Ways to Bring Colour Into Your Home for Summer at Tatertots and Jello
Rustic Birdhouse Garden DIY Decor from the Dollar Store at The DIY Mommy
DIY Shell Planter Tutorial at Zevy Joy
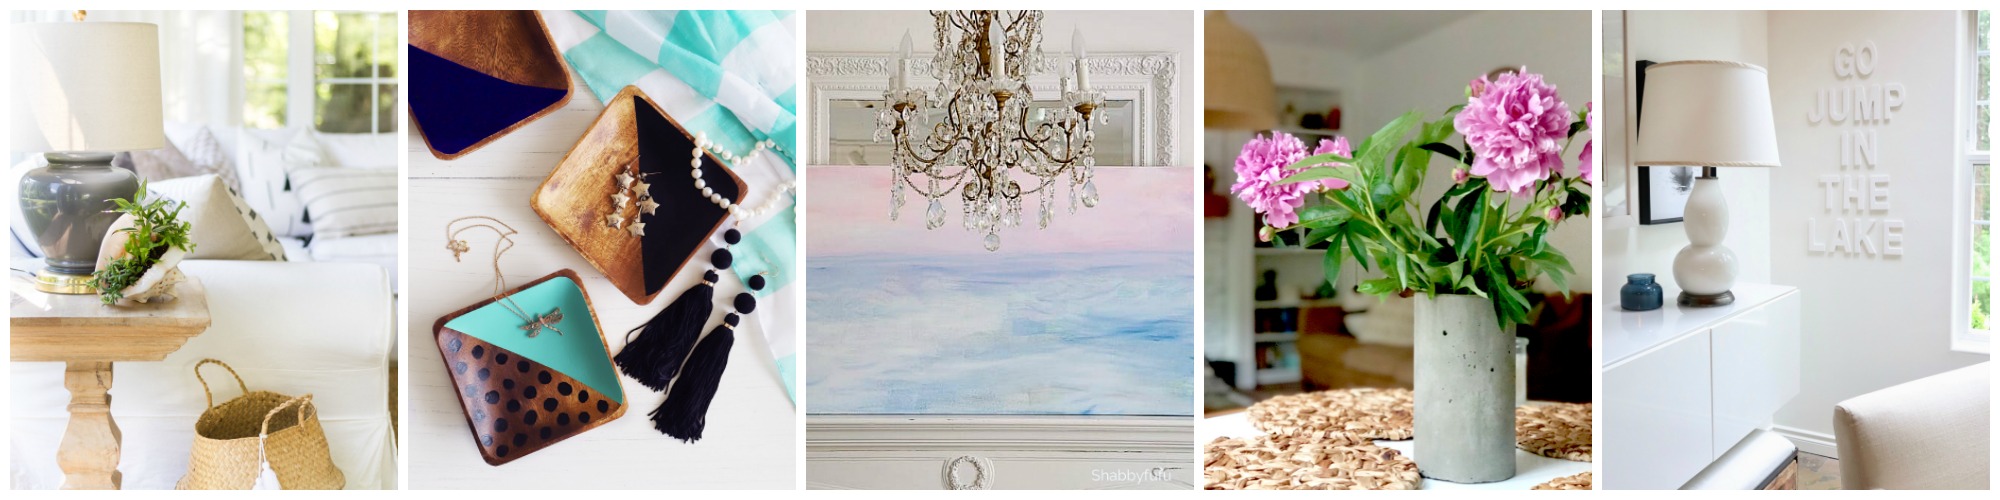
Painted Wood Jewelry Dish at Paint Me Pink
DIY Beach Art on a Canvas at Shabbyfufu
DIY Concrete Vase at Place of My Taste
How to Dress Up Your Walls For Summer at My Sweet Savannah
DIY Pottery Barn Inspired Liberty Burlap Party Banner at She Gave it A Go
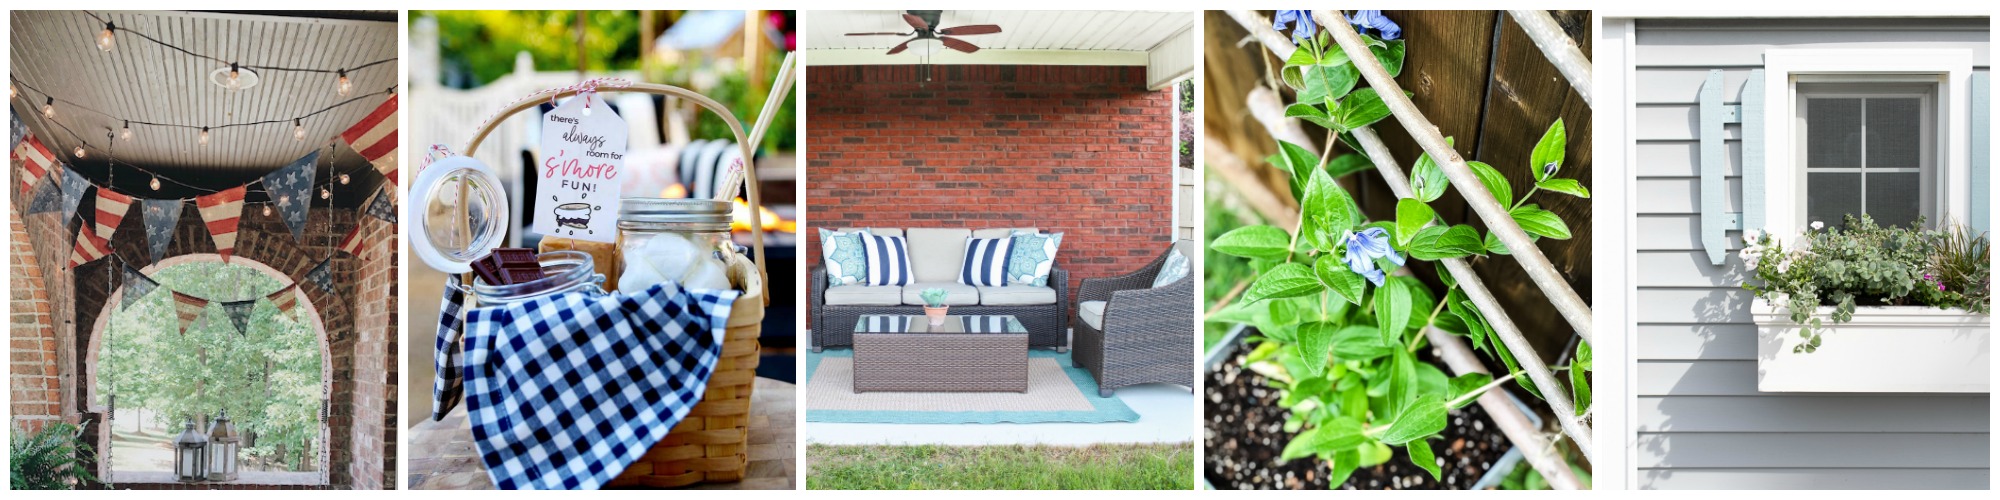
Campfire S’Mores Gift Basket Idea at Modern Glam
How to Paint a Concrete Patio at The Turquoise Home
DIY Hanging Garden Trellis at A Pretty Life
DIY Coastal Window Box at Finding Silver Pennies
DIY Rainbow Book Art at Life is a Party
DIY Tabletop Marshmallow Roaster at Sincerely, Marie Designs
How to Make a Sign the Easy Way at Confessions of a Serial DIYer
DIY Bird House at Seeking Lavender Lane
Simple Botanical Watercolour at Lemon Thistle
DIY S’mores Bar at Clean & Scentsible
I would love for you to stay in touch by subscribing to my weekly newsletter! Get weekly tips, encouragement, special deals, and more!
Sign up HERE and receive a FREE DIY Guide for making any table the perfect chippy paint table.

Did you spray paint on just one side of the burlap? If so, what does the other side look like?
Hi Kim! Yes, I did just spray paint the one side. I am guessing that spraying the other side would work just fine once it’s dried? Where we having ours hanging, we really just needed the one side painted. Let me know what you discover if you do both sides! Thanks so much for stopping by!
Brendt