One Room Challenge: Week Six (Teen Girl Bedroom Reveal And Cozy Den Coming Soon)
Decor | November 9, 2019

[This post contains affiliate links. Most of the items featured and linked in this post were provided by HomePop, ROOLEE, Antique Farmhouse, DeAnn Art, RugsUSA; all opinions and reviews are my own.]
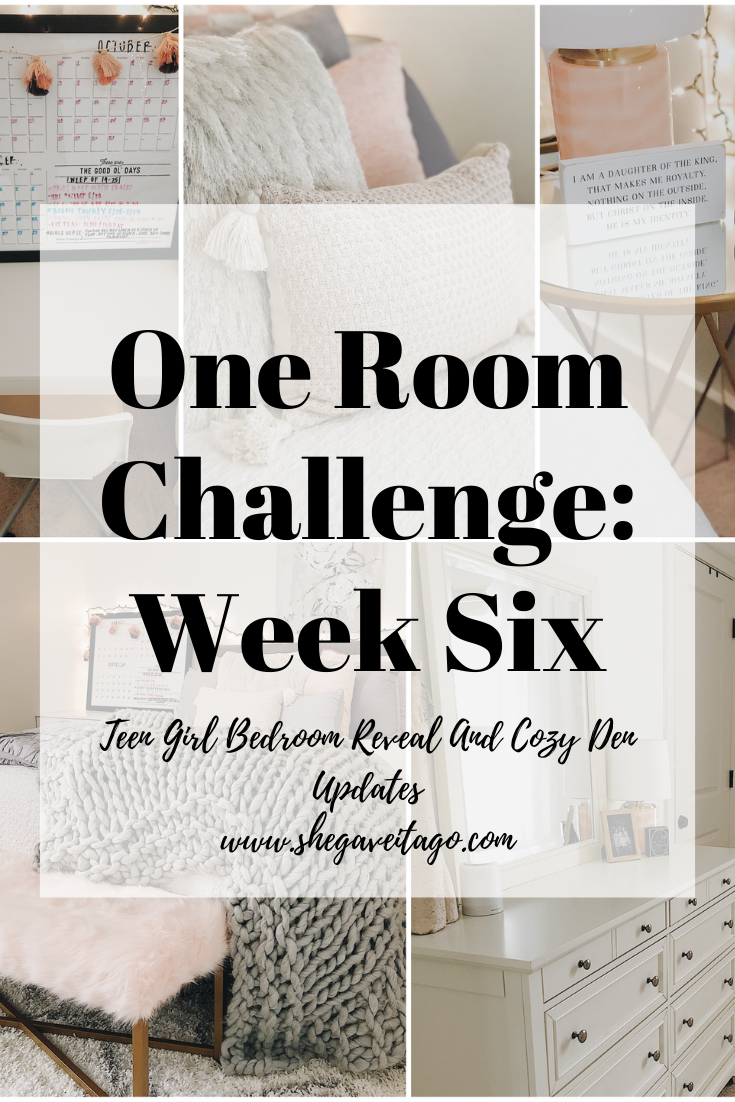
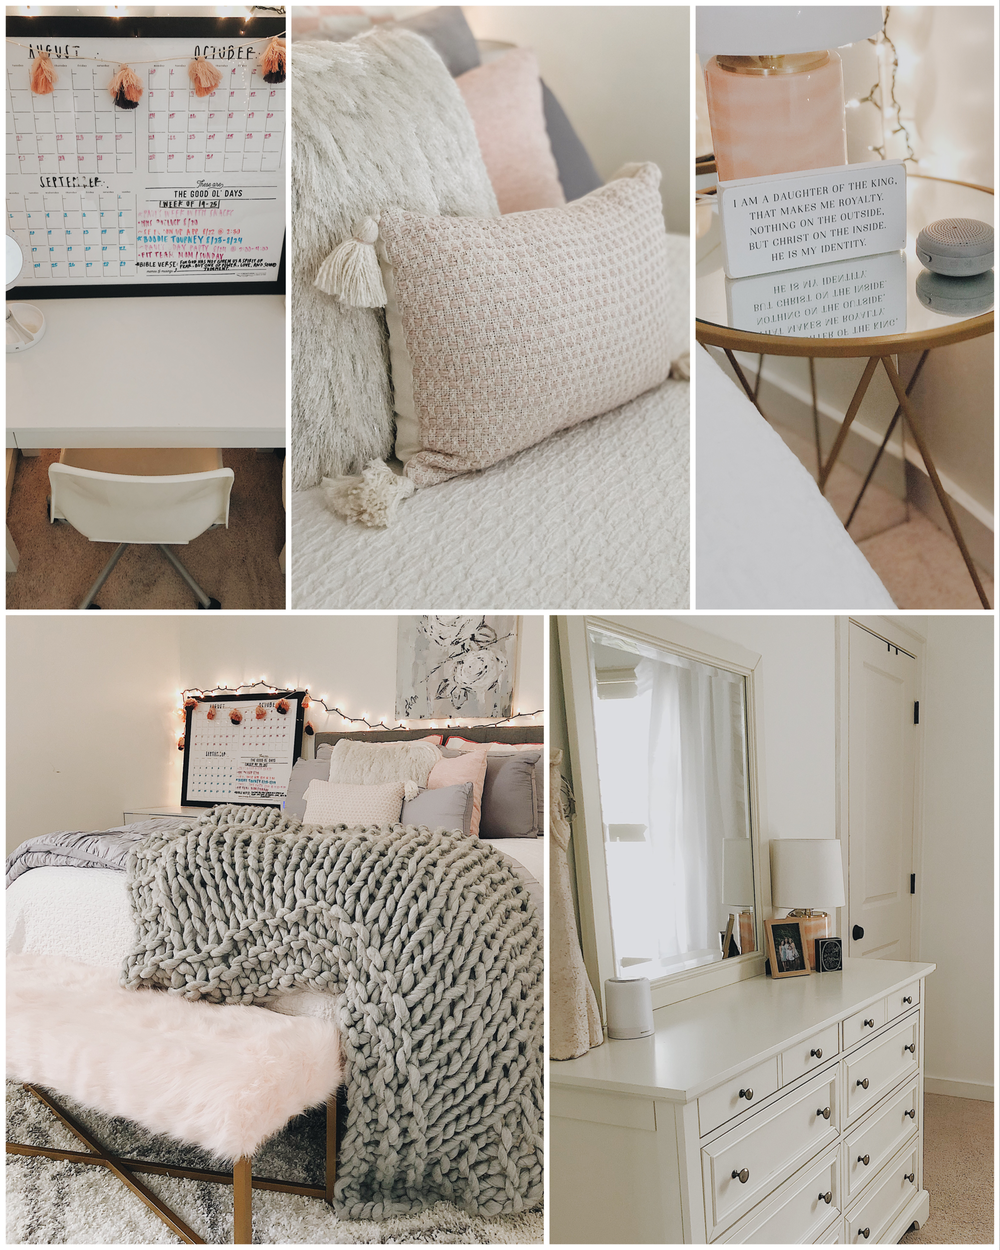
Hi friends! Welcome back to week 6, the final week of the One Room Challenge!! If you missed the first five weeks, you can start with week one here. In the beginning weeks, I shared all about my goals for this challenge and tons of “before” pictures. I also included the “before” collage below (2nd one down; the first collage is “after”). In week two, I show you the original mood boards for the two spaces that I created out of the one, long space, plus the progression of the wall we built.
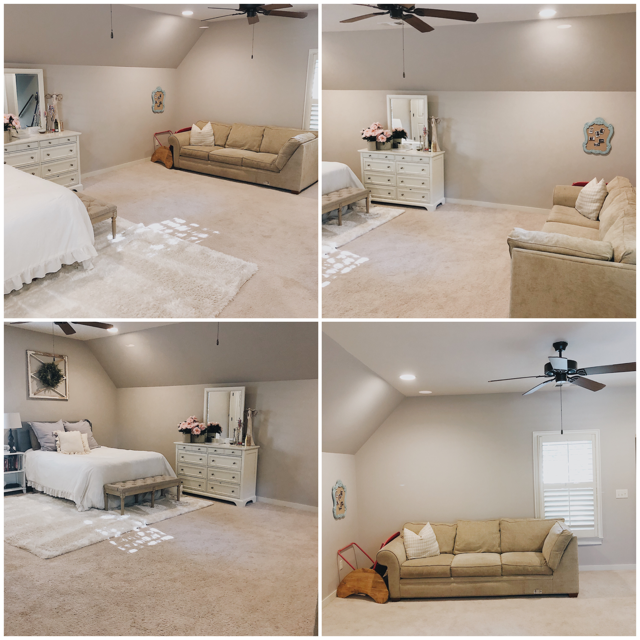
BEFORE OF SPACE
Then head to weeks 3-4 to see how the mood boards changed some, how the wall was made, and the beginning stages of painting. Week 5 is the completed wall and cleaning plans. Before I walk you through the updates for this week, you can go here to check out all the participants for this challenge. It’s has been incredible joining alongside so many creative and talented other blogger friends! You are not going to believe their amazing transformations too!
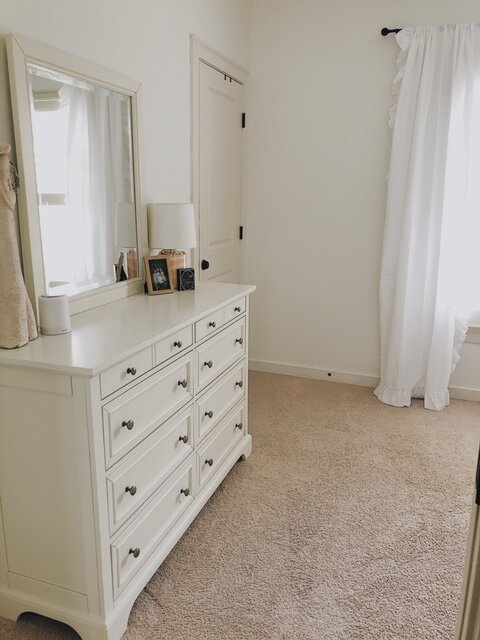
It is hard to believe that in just six weeks, such an incredible transformation has taken place. I cannot wait to share with you what it looks like now; let’s just say we could not be more excited with how it looks! Our cozy den is still awaiting the sofa, so I will share that space in just a few more days, but for now, let’s go check out my teen daughter’s new room!
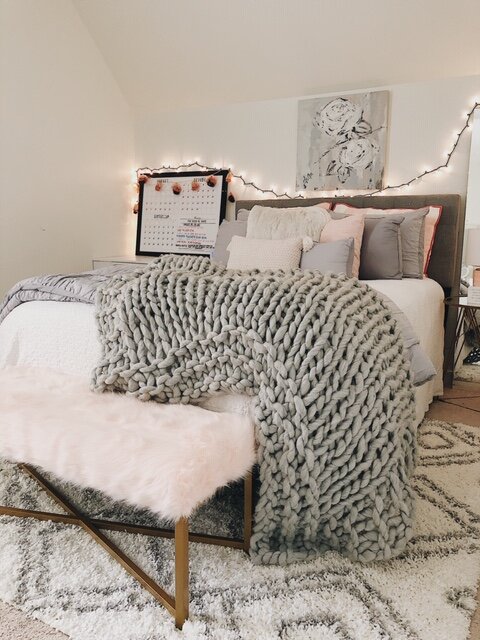
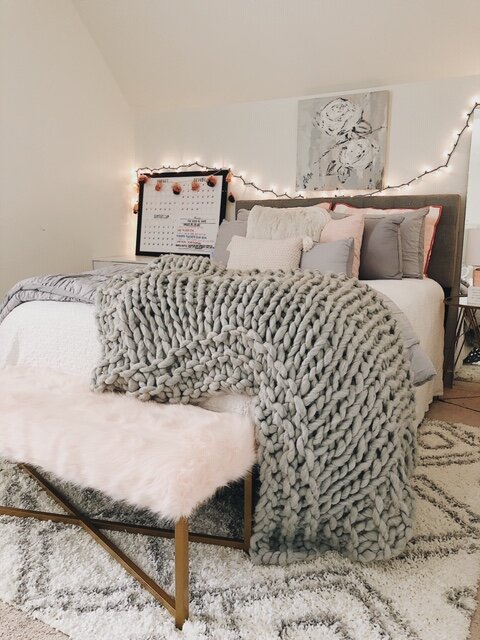
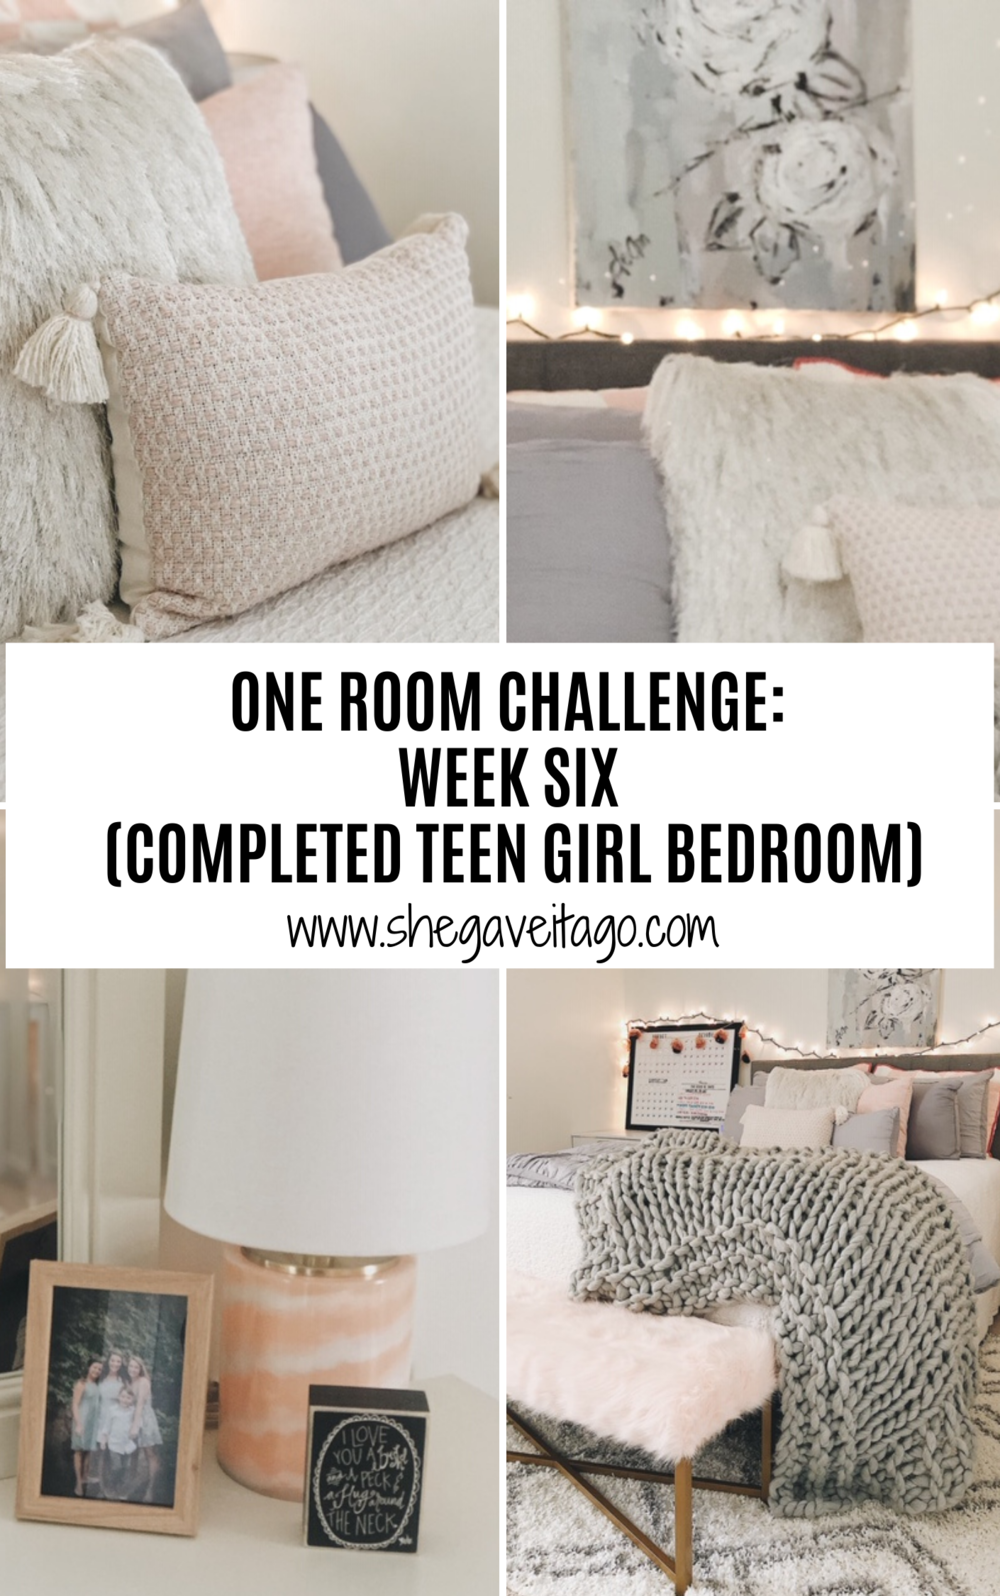
Ahhhh, isn’t it beautiful?! Pinks, greys, creams, and golds make up this full of texture and cozy space. You know with it being a teen’s room, we had to drape some string lights (we used ones with a darker cord, and I would recommend using these white ones though)! There were so many amazing companies that sponsored this space, and I can’t wait to share them with you throughout this post. And, don’t miss at the end of the post, I provide a complete product list for your refrence! My daughter already has enjoyed the smaller, more defined space rather than the long, undefined space her bed was set in before now.
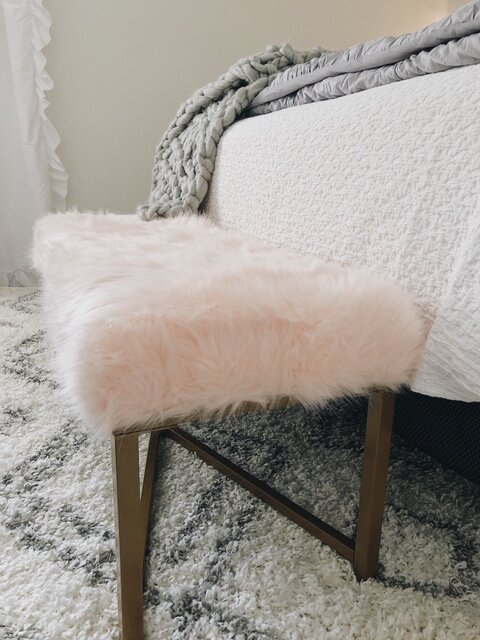
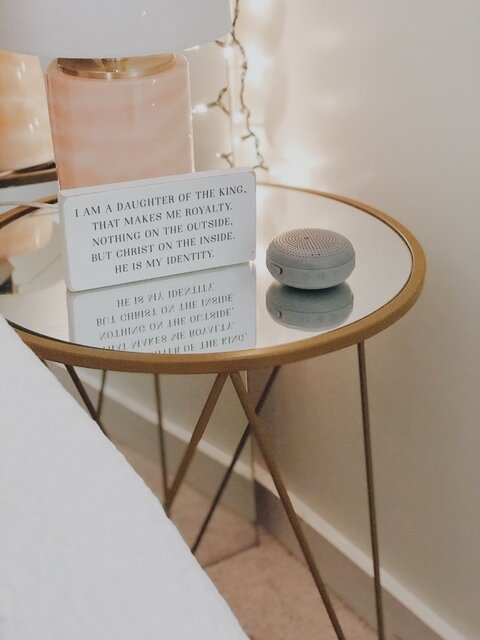
Bench And Accent Table
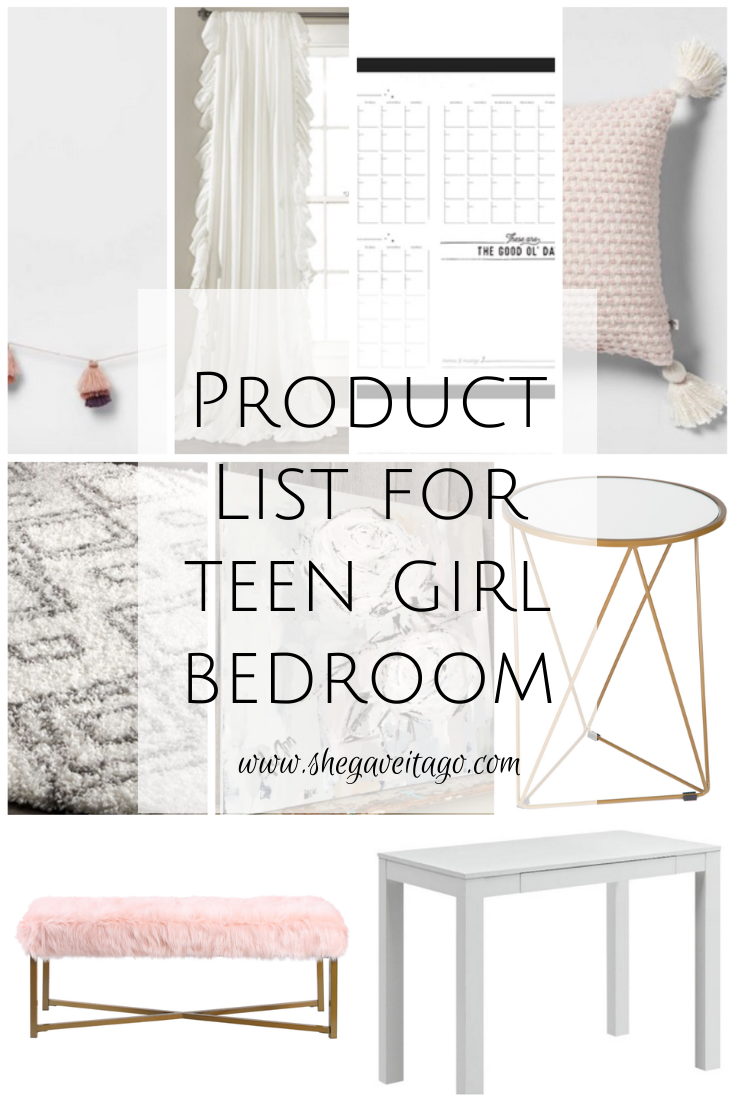
HomePop was so generous to sponsor the bench at the base of her bed and the accent table beside her bed. These pieces are so pretty and also functional! This bench at the foot of my daughter’s bed provides her a place to land and take off her shoes or space for her friends to sit and hang out. What’s better too than this pink fur one for a teen girl?! Of course, every bed needs a bedside table, right?! Her gold base table has a mirror top that is perfect for a teen’s room!
Cozy Throw
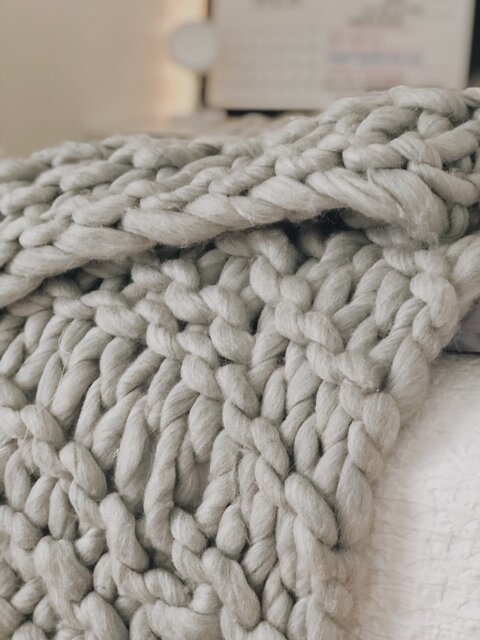
ROOLEE provided this super-soft Waterford Knit Throw found here. This throw is the look we wanted for her bed; it just creates the coziest look, doesn’t it!? I love the grey too. It’s perfect for this space. When laying your throw on your bed, if you want a more relaxed, casual look, you can grab towards the middle of the throw and just kind of drape it there towards the end of the bed. For a more tidy look, you can fold in half and place it on top of your comforter. Either option looks great and adds yet another great layer to your bedding!
Wall Art
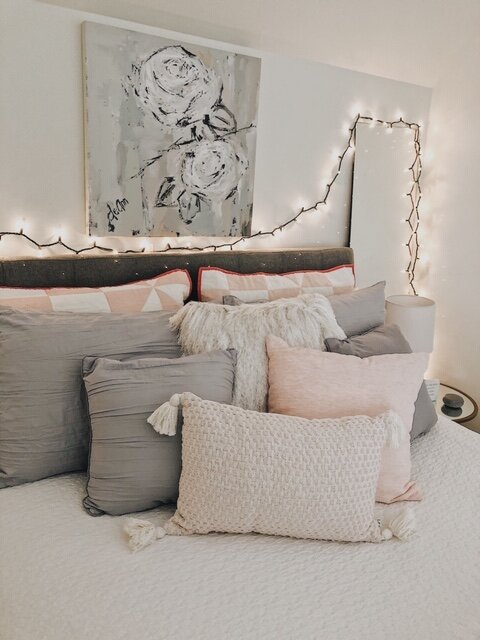
Next up is this fantastic canvas print “Be Free” by DeAnn art! She sent us the “Be Free” in a 24 x 24 size, and it hangs perfectly above her bed! This piece ties all of the colors together in her room; it’s the inspiration piece that guided our color palette and overall “feel.” Choosing an inspiration piece for a room before beginning is one of the wisest ways to decorate a room so that you make decisions that all tie together to give it a cohesive (but not matchy) feel!
Curtains And Rug
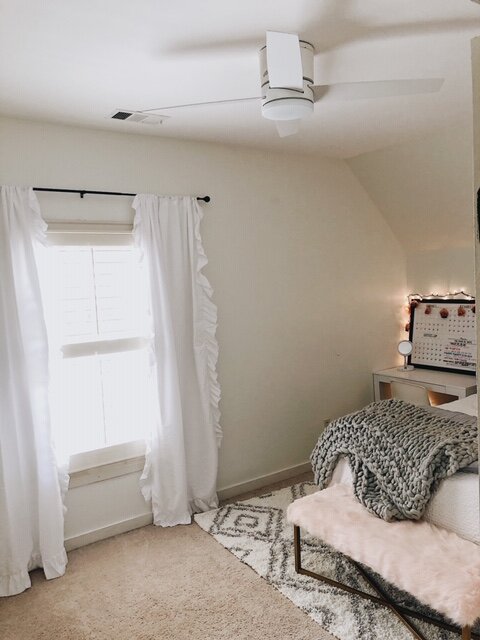
The beautiful and feminine ruffle curtains are so lovely in this room! These are from Antique Farmhouse and are their classic curtain panels found here. Each panel is 95.” I recommend always placing your curtain rod higher than and farther out than your window trim. It makes the windows appear taller and more significant, which is always a good idea! And this White Double Diamond Shag Area rug from RugsUSA is the one our daughter specifically chose, and she couldn’t be happier. The softness and design are both on point for what we were hoping for! Placing an area rug in a bedroom creates definition of the bed area, grounding it.
Desk And Desk Accessories
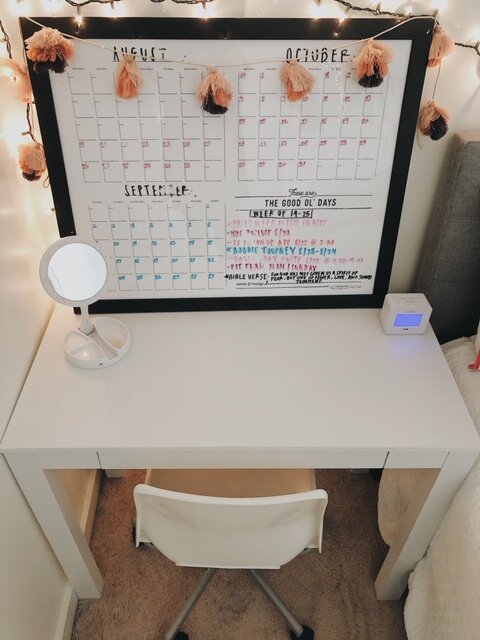
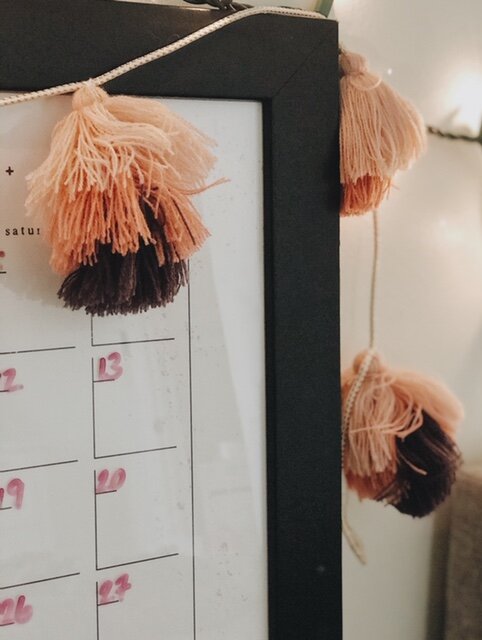
Her little desk area came together perfectly! In a narrow space, we knew we needed a smaller writing desk, and we used this one. It was the right size to slide in on the other side of her bed. We used the desk chair she already had (it’s from IKEA). We added this wall calendar from Lindsay Letters Co. and draped this fun tassel garland across the top of it. I love the colors of the garland!
Pillows
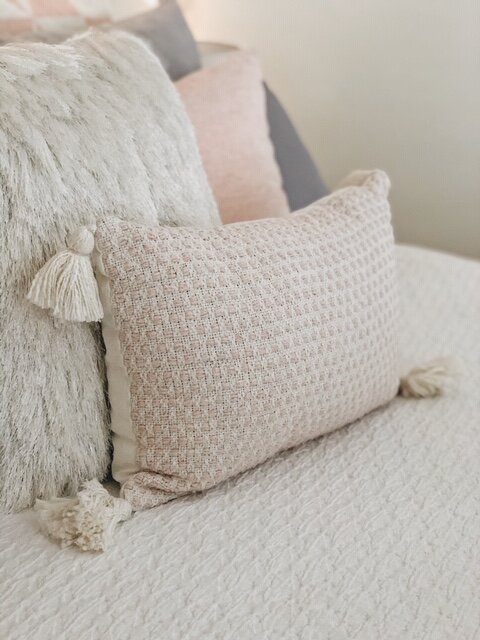
We found her pillows and grey comforter set at Target and HomeGoods! We already had the white quilt; it is from The Company Store and can be found in this post. I was so excited to find this tassel pillow from Hearth & Hand at Target on clearance, as well as, these two quilted, triangle shams. Our goal was only to buy budget-friendly pieces, and thankfully we had a lot of luck with that! Contracting the wall out and the painting was a major expense for us, so we definitely were grateful for the generous companies who provided the bulk of these rooms furnishings.
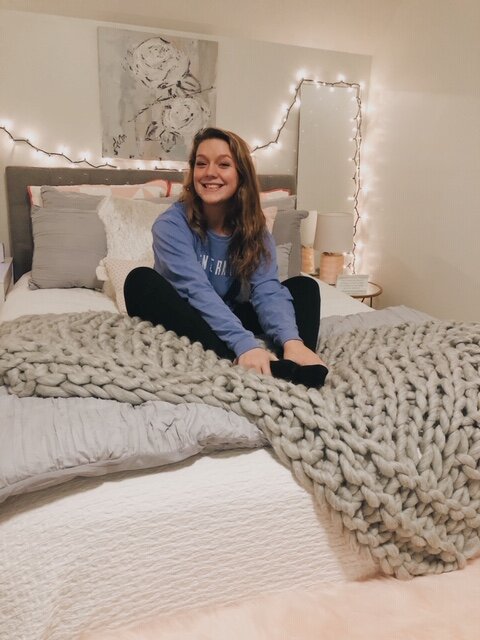
That is one happy face! She is so pleased with her new room, and it functions so much better than her old space. What do you think? I cannot wait to share with you the completed den in just a couple of days! You are sure to love it too. Below is a complete list of the items we used for this space so that you can easily recreate this room too!
PIN NOW, SAVE FOR LATER
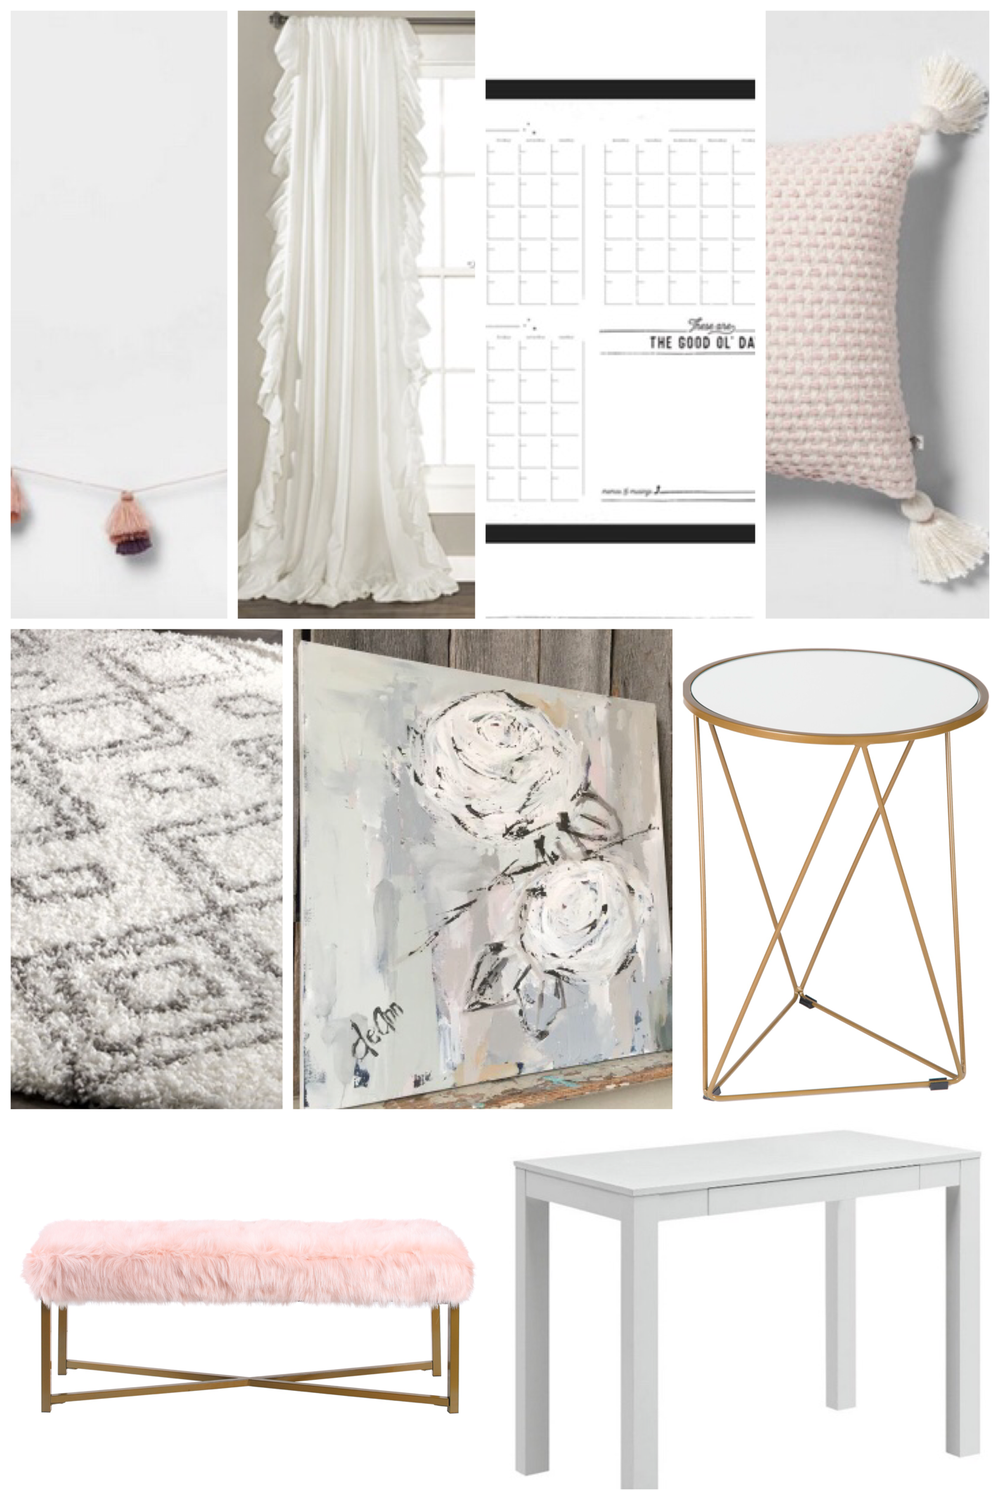
Product List For Teen Girl Bedroom
-
White Cord String Lights Clear HERE
-
Pink Fur Large Rectangle Bench with Metal Base HERE
-
Metal Accent Table Triangle Gold Base Round Glass Top HERE
-
Knit Throw HERE
-
Be Free Canvas Print HERE
-
Classic Curtain Panels 95” HERE
-
White Double Diamond Shag Area Rug 6 x 9 HERE
-
Writing Desk White HERE
-
Quarterly Calendar HERE
-
Tassel Garland HERE
-
Throw Pillow-Tassel HERE
-
Standard Sham-Modern Quilt HERE
Thank you so much for joining me on this six-week journey! It truly was a great experience. We learned a lot, sweated a lot, lost lots of hours of sleep planning and imagining it all haha, and had some late nights of putting together furniture. But of course, the final result was worth it!! I was so grateful for a very helpful husband and daughter in the installation process. Their help was invaluable.
PIN NOW, SAVE FOR LATER
I would love for you to stay in touch by becoming a She Gave It A Go Insider! Get weekly tips, encouragement, special deals, and more!
Sign up HERE and receive a FREE DIY Guide for making any table the perfect chippy-paint table.
PIN NOW, SAVE FOR LATER
Your daughter looks so happy! She has a beautiful room. Lucky girl! Congrats to you both!
Hi Angela!
Thank you so much, we are so grateful for how it all came together!
I appreciate you stopping by and your kind feedback.
Have a wonderful night,
Brendt
Hi, where is this bed from? Can you tell me?